As many of you know, we parted with our sleigh bed after stumbling upon this great find. I have been wanting to lighten up our master bedroom for quite some time so this was the catalyst to do so! Our walls are Benjamin Moore Smoke and we love the color. It is a soft gray/blue and is extremely calming. That is key when I spend the majority of my day chasing after wee ones. At first I thought I would go with all white drapes, but then realized that I really wanted to introduce a print on them.
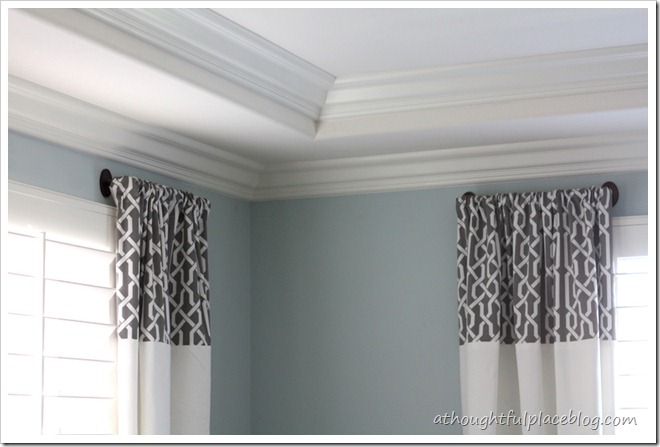
After scooping up the Strada drapes and pillows from Z Gallerie it was time to get busy. I probably over bought when it came to the drapery panels. Well, let’s be honest. I did over buy because I decided not to use the entire panel, but only the top {so I used the rod pocket already in place}. I had already purchased white panels from Ikea so it was time to marry the two. I am really excited about how light and bright they turned out.
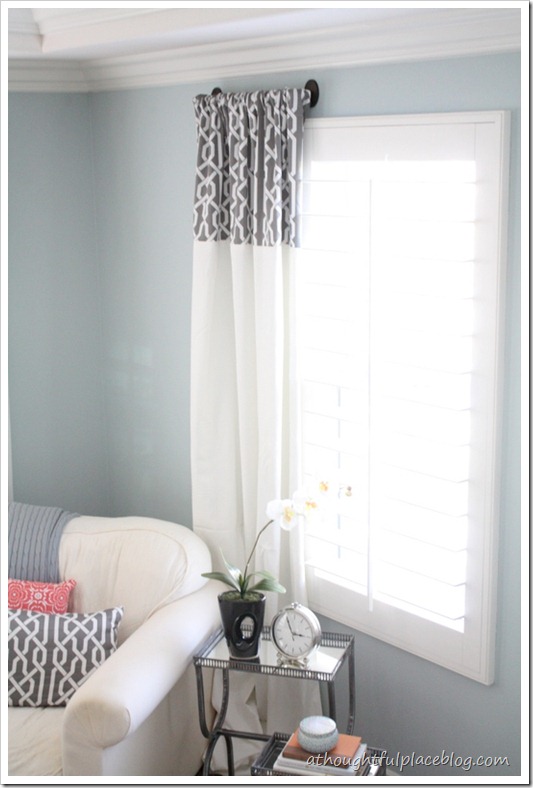 ……………………………………… the tutorial Choose any white drapery panel {I like the heavy weight of the ones from Ikea}
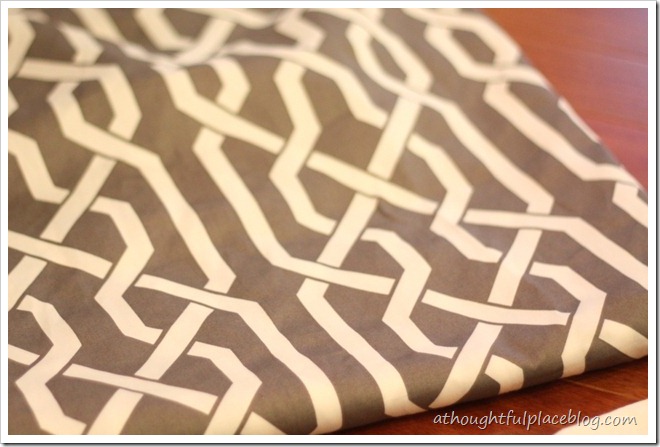
Use either a fabric you love or a ready made drape like I did.
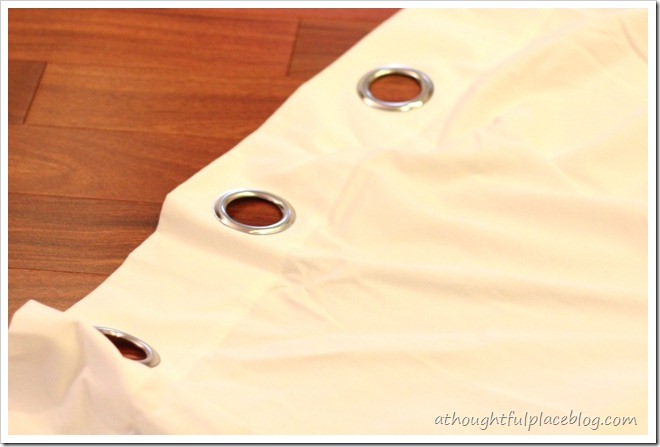
What a waste, right! So I needed to trim of the grommets {remember I had already purchased these and wasn’t about to buy new ones}. I am sure some brilliant person in blog land has come up with a savvy idea for using left over strips of grommets. Will have to do some searching.
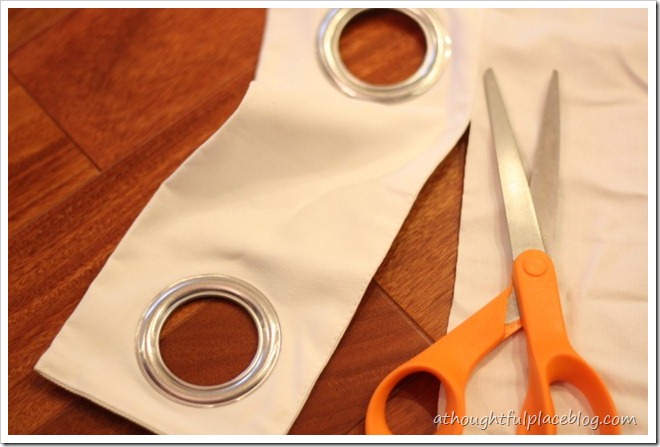
Unfortunately, the two panels were not the same width. Had they been, this would have been super quick.
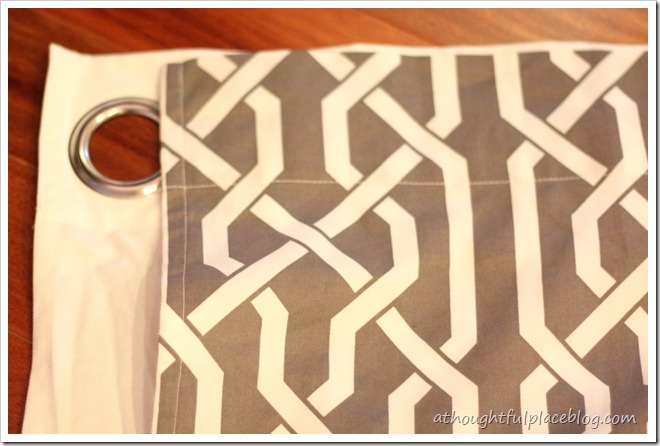
I measured the distance and decided to fold the white panel over the entire length 2 3/4 inches.
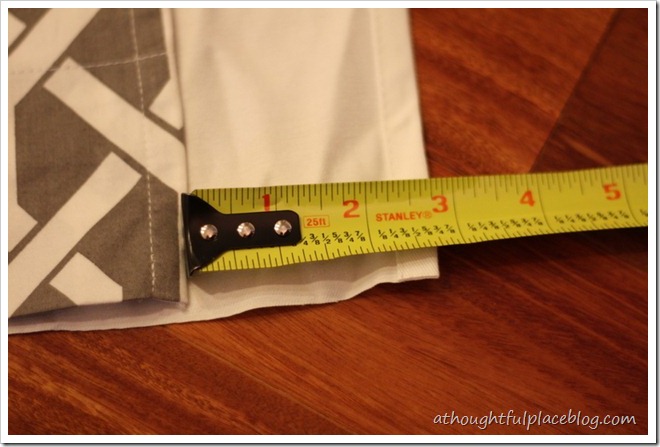
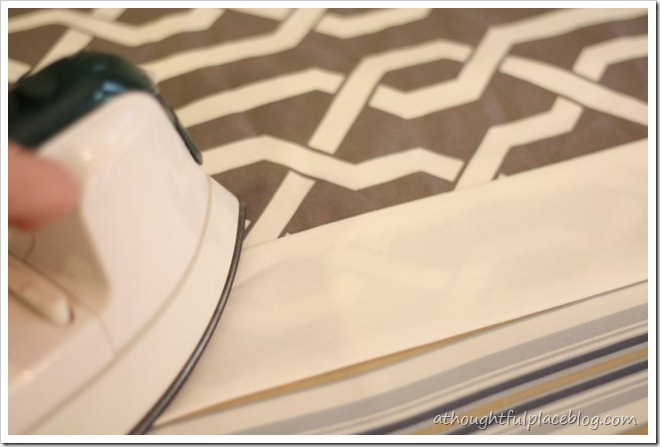
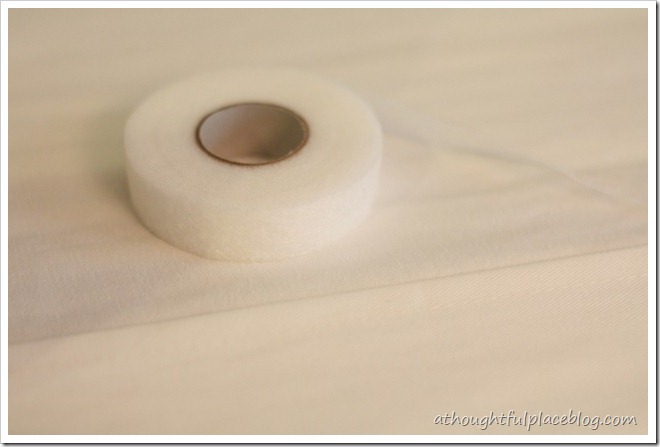
Rather than cut and sew the edge of the white panel, I chose to iron it over and fuse it down with this tape. I have to be honest with the reason I did this! I wasn’t feeling too great and was way too tired and lazy to run to the store for more white thread. I was about to run out of thread and needed it to sew the graphic print to the white panels! Hence, I used fuse tape! Just keepin’ it real.
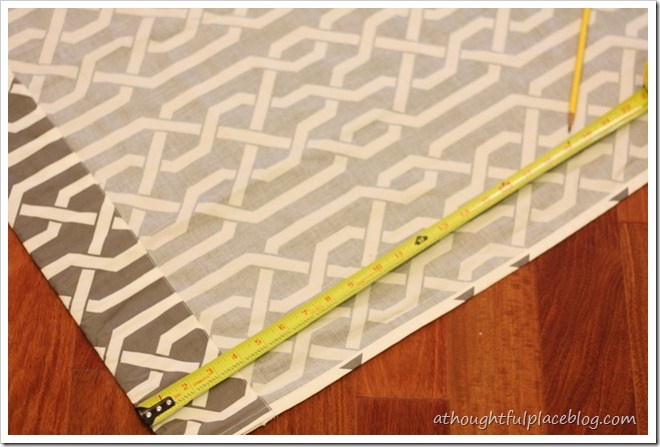
Now the two panels are the same width. I wanted my graphic print to be the top 19” of the new drapes so I marked off 19 1/2” all the way across and cut the gray fabric. Because these were premade drapes, they had a rod pocket already on top which I planned to use.
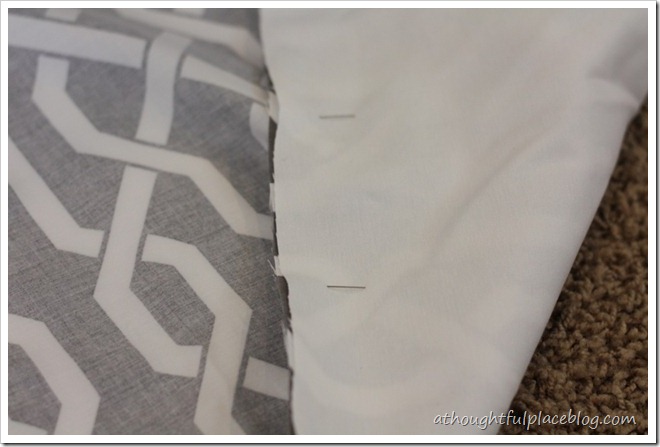
Pin right sides together and it’s an easy straight line to sew these two together with a 1/2” seam allowance.

Once they are sewn together, iron open your seem and voila . . . new custom drapes! {sort of!!}
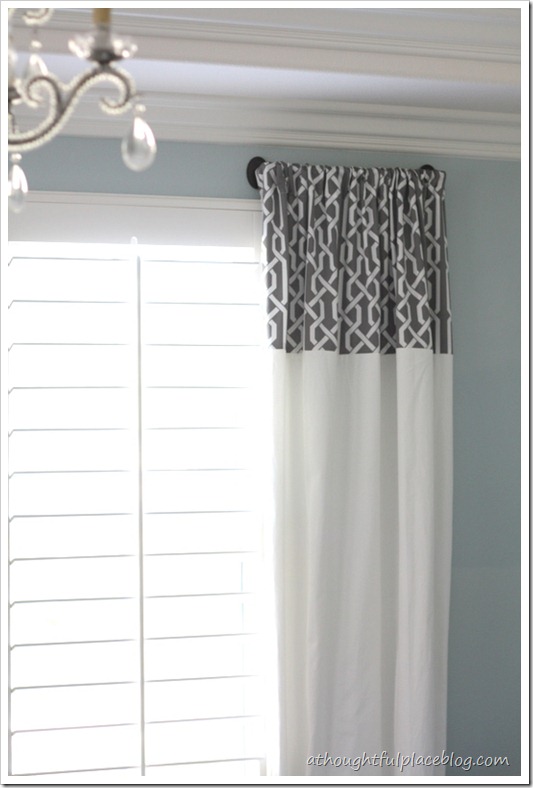
With some of the left over fabric I decided to make a pillow for the chair. Tutorial on easy envelope style pillows coming soon. Boy, I had no idea how easy they are to make. I am in love with them now! And of course you can see which pop of color I decided to go with in the room! It’s amazing what a little bit of color can do.
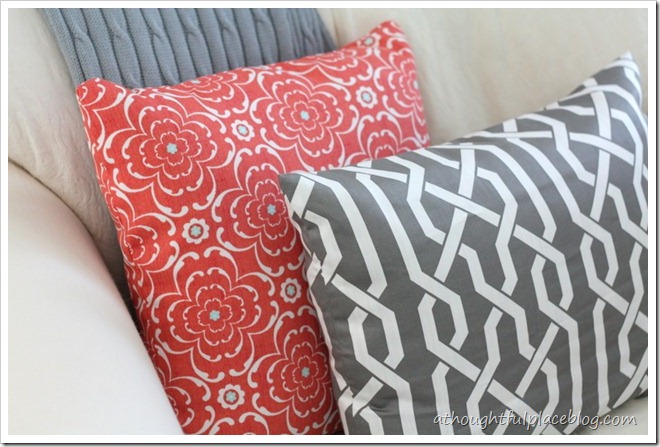
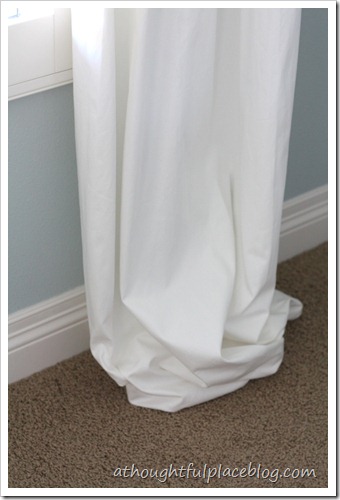
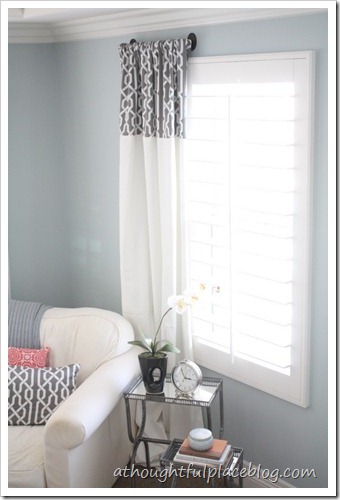
I still need to hem them but will plan to have them drape on the floor a bit. The good news is that I picked up the Z Gallerie drapes for a steal so the total investment was still low and now I have fabric leftover from which to make valances for our master bath. Still To Do: new bed new lamps make pillows make new drapes accessorize relax in my new room! Oh, and I have not forgotten about the snafu with our bed which I will have to share with you next week. Time has gotten away from me {seems to do that a lot lately!}
To see how to lengthen drapes another way, check out our living room!
And to see our Home Tour click here.
![lengthenyourdrapes[6]](https://athoughtfulplaceblog.com/wp-content/uploads/2012/03/lengthenyourdrapes6.jpg)
Beautiful! I did something similar in with my dining room drapes.. only the panel is on the bottom!
Courtey, the drapes look fabulous! What a great idea to use two pre-made panels. Love the pop of color as well on your chair, pretty pattern.
These look great! And you definitely just helped me out. I just hung my curtain rod above the window so now my panels are to short, I am going to try this idea with some of my left over fabric. Thank you so much!
So pretty Courtney!
Courtney—these are so pretty! I absolutely loved how you "married" the two panels.
oh my gosh! I love it! what a great idea! I saw those drapes at Z gallerie and liked them but thought the pattern was a bit much-and you solved that here!!! And dont you just love hem tape!! For some reason I feel I get a straighter line when I use hem tape- when I sew Im a bit all over the place!
This room is turning out to be so pretty! Love the curtains Courtney!
Love, love, love the curtains! Great use of the extra fabric as well to tie them in to the rest of the room.
I have a photography question for you. How are you able to get the light and clear shots of your curtains with all the sunlight shining in? Every shot I take turns out super dark and by the time I lighten it in Photoshop, it's super grainy. Any tips for me? What were your camera settings for these shots? Thanks in advance!
I love these!! The mix of the pattern with plain white is so pretty. I have an idea for the grommet strips – if you still have them – what if you sewed them together and used them for scarves? – Not sure that would work but it's an idea – could be a bust – but who knows?!
You are so smart. Those turned out to be so beautiful! I also LOVE the colors you have going in that room from the glimpse we got to see in that pic. Can't wait to see the final reveal!
Love this idea Courtney! I am currently working on a master bdrm makeover and will keep this in mind while shopping for drapes. I too love fuse tape and use it all the time…one word…brilliant!
Have a great day ~ Laura
Where did you get the curtain rods? I have been looking for something similar for my living room.
They turned out absolutely lovely! I adore that paint color too! 🙂
Courtney, your drapes look fantastic! They are beautiful! You know how much I love your paint color…you inspired me with my laundry room. Your bedroom looks lovely and a fun pop of color with the coral. Did you also make that pillow?
Stop it. I love these so much!! Will you help me make some for my new room in LA next Fall?! 🙂
Great thinking! These look gorgeous!
Thank you for the stunning reminder that my chevron fabric (aka curtain panels in waiting) is laughing at me…telling me I'll never find time to make them. I kid. I really do need to make my curtains, but in the meantime, I will enjoy the beautiful job you did! 😉
Oh girl, I cannot wait to see the whole thing! Your drapes came out so good- please show the pillow envelope tutorial soon- I need to learn! I think I need to hang drapes in our master too but our windows are weird- I'll have to shoot you a pic so you can tell me what you think:)
Very beautiful! I love how the room is coming together.
OMG such a great DIY…love how fresh it makes the room feel!
Oh I LOVE the new curtains!! So fun! I wish I was half as crafty as you are…Ryan keeps telling me I need to learn how to sew! :/
Love love love that pattern first off…so great. And I am a total fan of the Ikea white drapes, they are a total steal. And lastly, envelope pillows, best invention ever!!! I just discovered how to make them 6 months ago and had a total 'duh' moment of why was I doing it the hard way the entire time! Can't wait to see the entire room pulled together.
Love the pattern of the fabric!
Thanks for the inspiration! This will be a great way for me to customize boring cream Pottery Barn drapes in my daughter's room. I just found your blog via Remodelaholic and love it! I will be back!
Looks Gorgeous, Courtney! And speaking of making envelope pillows, my mom and I made SIX new pillows for our family room yesterday and we were both blown away at how easy they were to make! If only we would have known this six months ago before I bought of bunch of store bought and Etsy pillows for our living room! Oh well, here's to saving money in the future!
Those look amazing!! I love the look of using the same fabric in a few places throughout the room! Our bedroom is a similar color…twinsies! 😉
and the kitchen in your Eye Candy post…could you die?!?!!?
happy weekend lovebug! hope everyone is feeling good!
So pretty Courtney! Love the short little rods, where can I get those?
leviheart@aol.com
So those short rods are actually just towel bars! They are my little secret to short rods. I picked those up at Marshall's a couple of years ago.
Love the drapes! They're perfect with a little bit of pattern, but nice and light with the white! Great job!
The master bedroom update with diy drapes sis hown on the blog here.Have a look at it
Curtains
Where did you get the curtain rods for this room? It looks beautiful!!
Hi Courtney, we just bought our first home and are moving in next week. I just have a question about the paint in your bedroom. I know you said the color name and that it's a gray blue. And I know this is a long shot, but do you know of a Sherwin Williams color that is similar to the Benjamin Moore color you used? Don't be creeped out but I think I want to copy your bedroom color scheme. 🙂 I have to choose paint colors for our new house this week so I'm just trying to get my ducks in a row. Thanks for your help and I totally understand if you don't know the answer to my question.
Hi, I have see this beautiful curtains Perth. Definitely I will refer this blog for decorating my bedroom. Can you please tell me how many different colours are available For this.
Nice blog…Curtains looks beautiful.
Where did you get the curtain rods for the beautiful curtains you did?
Hi, nice job on the curtains. I may have missed something but how do you get the curtains on and off? Thanks. Christine
So nice! I also love the colors. Great job.
I love how your curtains turned out. I have done “banded” curtains several times before, too. I am now facing the task of creating curtains for a bedroom with a ceiling that is only 7’8″ instead of the standard 8′, and I am debating whether to put the band at the top or the bottom of the curtain. (I have both pinned and hanging right now.) I think my eye is drawn toward the band, no matter where it is. What would you recommend for a bedroom with a low ceiling height? Initially, I thought drawing my eye upward might make the low height more noticeable, but I think it actually might actually make the room seem taller, whereas drawing my eye to the floor might “drag down” the entire room. Thoughts? I’d love your input. You really have a knack for decorating.
Hi Kristin,
I love that you are tackling this yourself. My vote is definitely for the band to be at the top. I think drawing the eye up is smart for a lower ceiling. Good luck with the project and thank you for the kind compliment.