I am so excited to share one of my first projects of the year with you! I love kicking off a new year with a fresh new look in each room. Today I am sharing the transformation of a very special table. Many years ago, my very talented dad painted the most gorgeous table for my nieces and we have held on to it for all of the grand daughters in the family. My very sweet son never complained about having a white and floral table in his room! But at long last, we created a more masculine looking spot for him to create and work and he couldn’t be happier. Here is a sneak peek. 
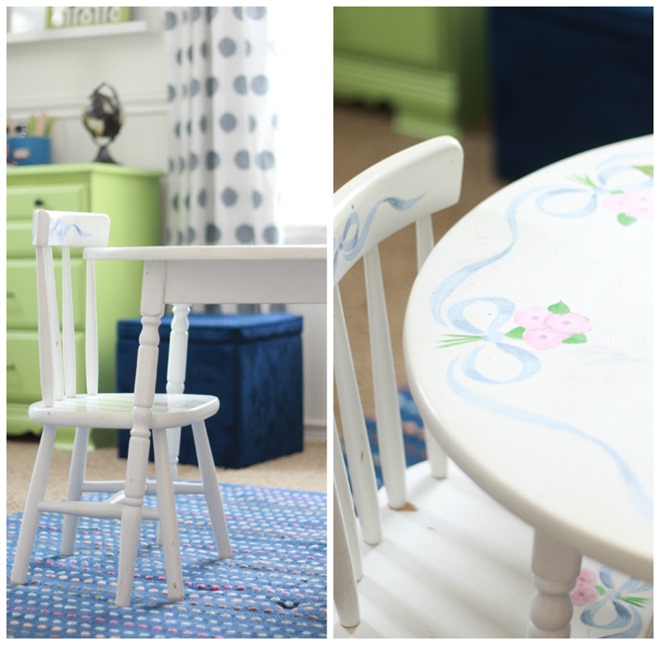 Here is the beautiful table before. I asked my dad if it would be ok to paint over it. It was actually really hard for me to do as this table holds so many memories. But he graciously said that he would be honored if we continued to use the table and if Grady created more memories with it, even better. As you can see, my dad is quite the artist and did a gorgeous job with the hand painted bows and flowers. So sweet.
 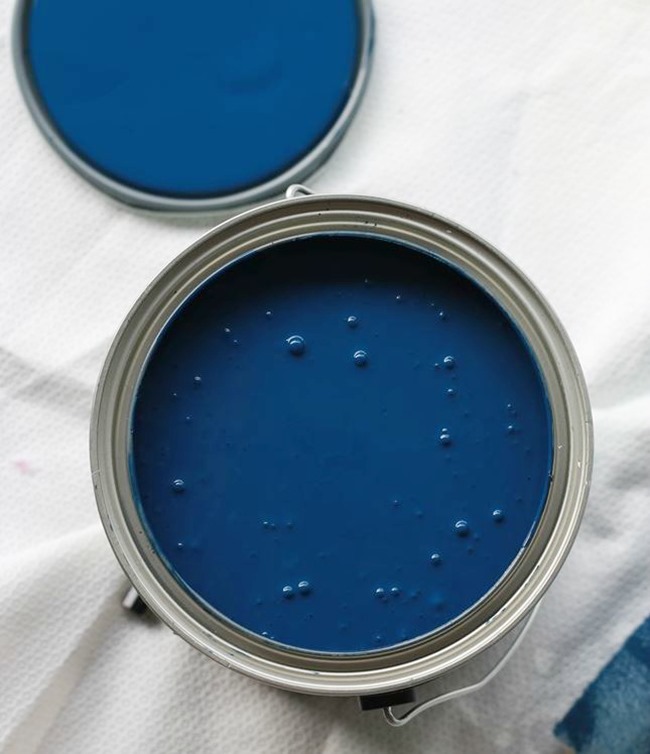 ScotchBlue™ Painter’s Tape and The Home Depot invited me to choose colors for this project. My son is all about blue so that seemed the obvious choice. We fell in love with this shade of blue. I also chose a white as I knew so fresh, white accents would work well in his room.
 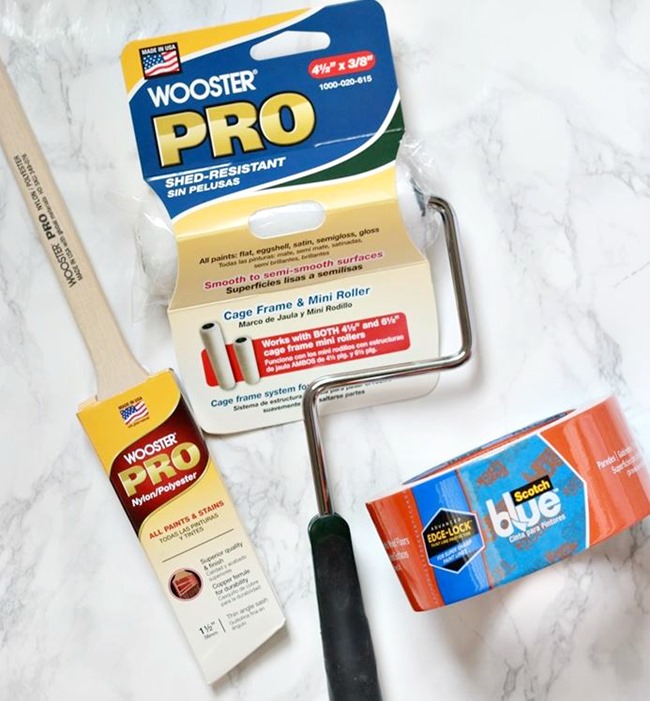 Supplies used for this project: ScotchBlue™ Painter’s Tape Delicate Surfaces with Advanced Edge-Lock™ Paint Line Protector 2080EL Behr Premium Plus Ultra® Paint Midnight Dream 570F-7 and Ultra Pure White PPU18-6 Wooster® Pro 1 1/2 inch Nylon/Polyester Thin Angle Sash Brush Wooster® Pro 4.5” x 3/8” High Density Woven Cage Roller
 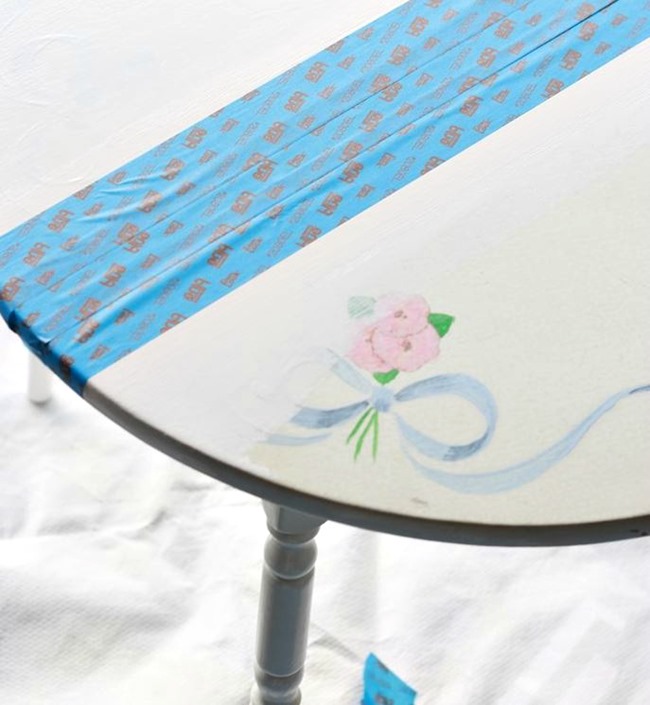 Step One: I began by painting the white accents on the table. I knew I wanted a white offset stripe on the top as well as white legs and feet { love the look of the dipped leg}. You can see the fresh white paint under the blue tape above. I painted more of the surface than I needed to just to be sure I had a nice wide white stripe.
 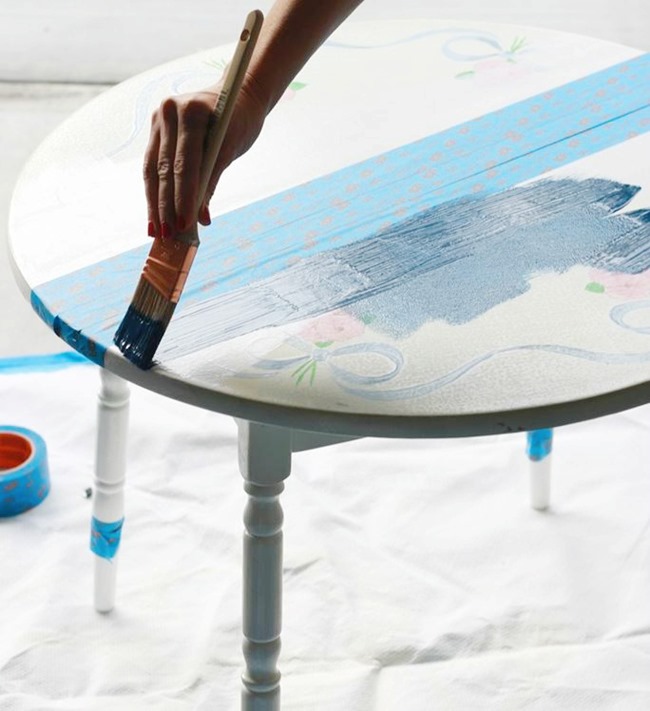 Step Two: After I painted the top of the table white, I allowed it to dry over night (at least 24 hours). Then I taped off the areas I wanted to leave white and went to town with the blue paint.
 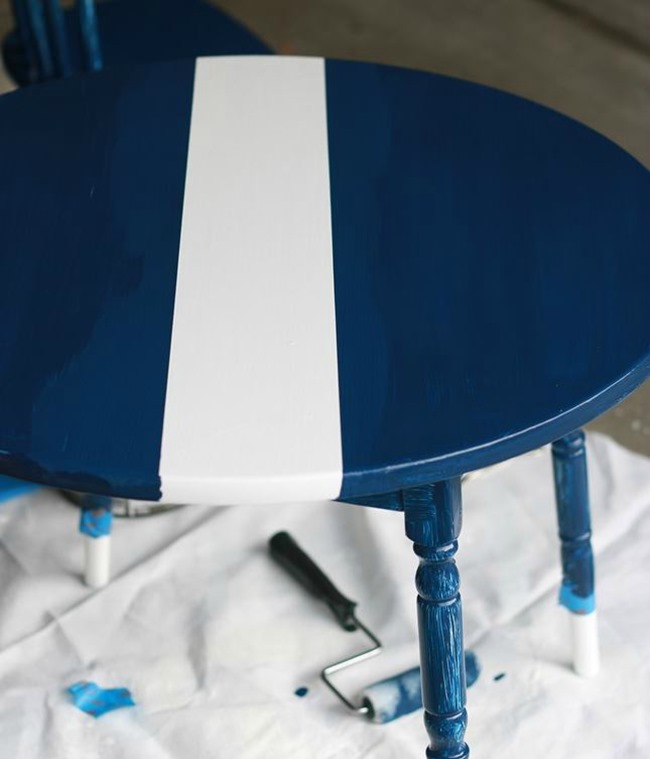 Step Three: Peel away the tape. When working with tape, always peel the tape off while the paint is still wet. Look at that gorgeous stripe. I must say it came out perfect. The tape is really that good. But let’s talk about the rest of the table. There was some panic going on for sure. I think my husband was secretly thinking I had ruined the table. Look at those legs! Here is the deal. My darling dad had put about 1,000 coats of poly on the white table. It was bullet proof. Smart for a children’s table. Having said that, I should have sanded the table down a great deal. I just didn’t have it in me to sand away the hard work he had put into it. I couldn’t erase the bows and flowers. But if you were to do this and the piece had already been painted, I highly recommend sanding the table down.
 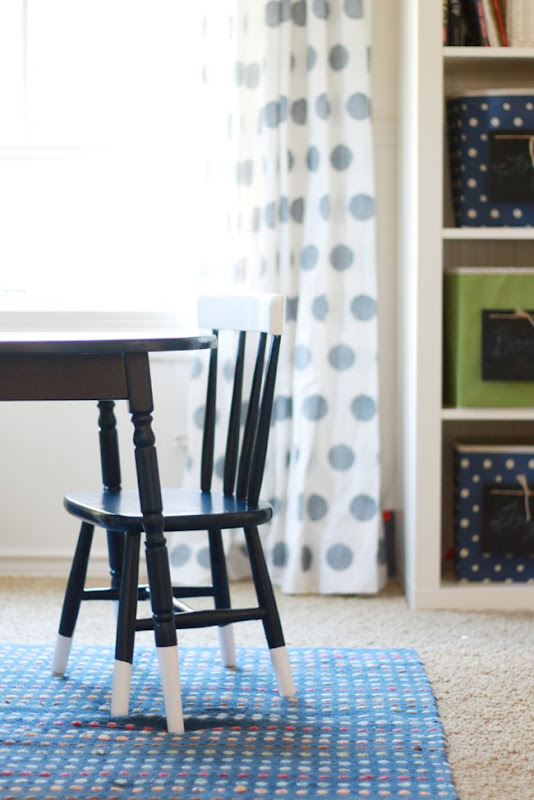 Step Four: A second coat of blue paint on the table and chairs. Luckily after the second coat of paint, it was an entirely new table. I was seriously so relieved and ecstatic. I couldn’t handle ruining the table my dad had spent so much time on!
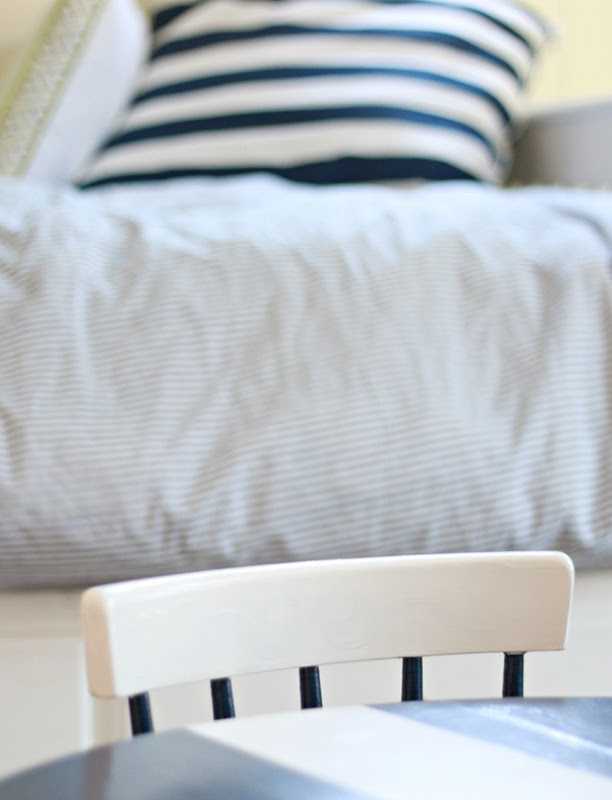
 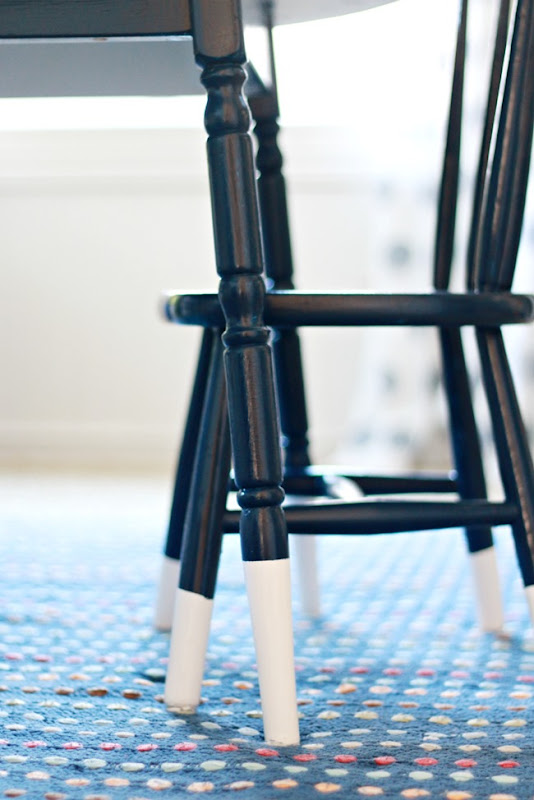 I adore the dipped legs. I also chose to do that because I knew that the blue table would be sitting on the blue rug. I like the separation of shades with a touch of white.
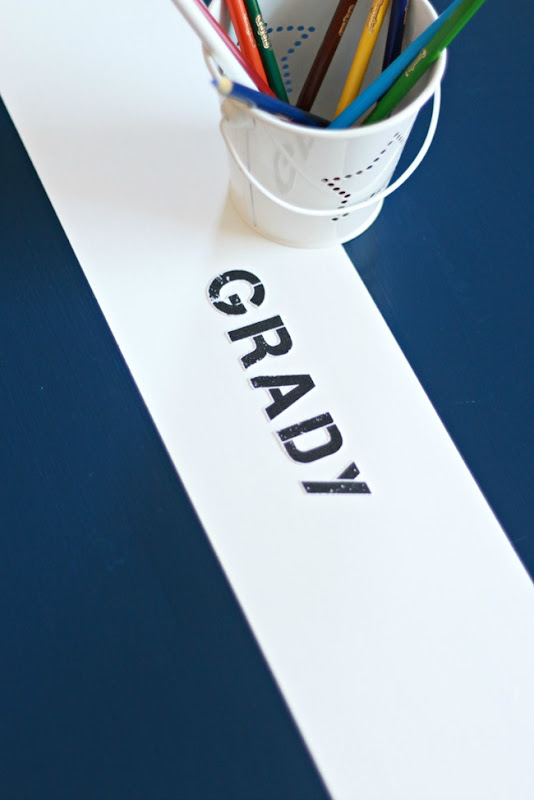 Here is another look at the stripe. We just used stickers for his name. They feel more like cloth and are a fun addition.
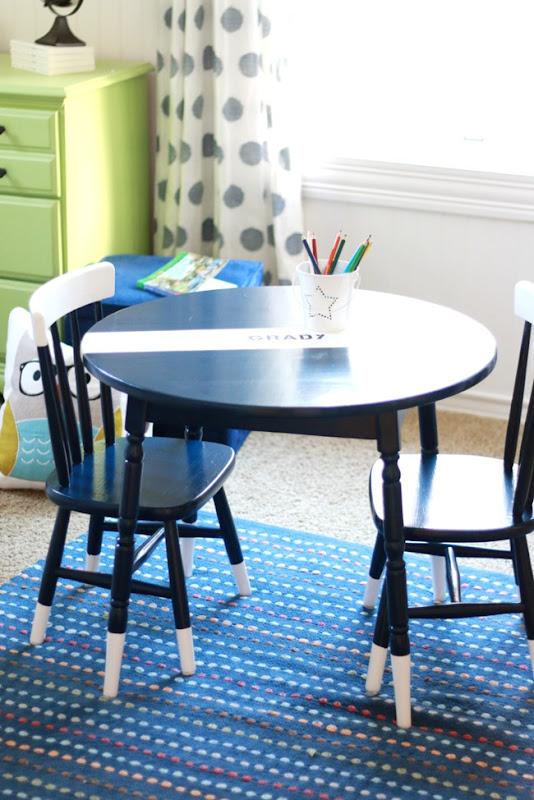
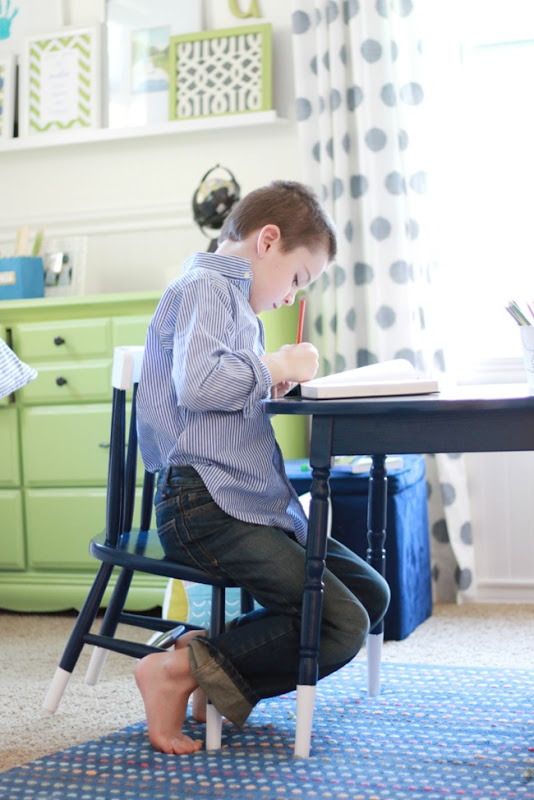 After letting the table dry over night, you should have seen my son’s face when I put it in his room. He kept touching it and saying how much he loved it. I love that he can use this sentimental piece of furniture and now it suits our sweets son just a bit better! I am proud to be a 3M, Behr®, and Wooster® – sponsored blogger, and, as part of my responsibilities, I get the opportunity to evaluate products. Opinions are my own and additional product used in the project were selected by me. Wooster® | The Home Depot Consumer Program | The Home Depot Facebook | The Home Depot Twitter | The Home Depot Pinterest | ScotchBlue™ Painter’s Tape | ScotchBlue™ Painter’s Tape Facebook | ScotchBlue™ Painter’s Tape Twitter | ScotchBlue™ Painter’s Tape Pinterest | Behr®




So cute Courtney! love the color. xoxo
I love this and would like to try something similar. My 87-year-old grandfather made a similar table for me when I was a child, and now I have it in my home. It's such a special piece, but it definitely needs an update. Thanks for the inspiration!
I might do that with the little table the kids use which I hate the colour of. Thanks for the idea!! It looks amazing.
I love this Courtney! It's a very special table with history and memories and how wonderful to keep it in the family. I am a sentimental person and do the same. Your dad is quite the artist! How cute Grady is sitting there working away at his new table mom painted for him. You did a beautiful job. The dipped legs are fun with his rug.
Looks great!!! I have an old, marker stained, kids table that needs a facelift. Thanks for the inspiration!
Personally I could never have done this. I would have kept the "girls" table as is, a special piece created for them by their grandfather that they could then have passed to their daughters. I like how you created a masculine table for him, I just would not have used the table my father hand painted for my daughter.
Great color choices…and I love the white stripe on top. PS — you may want to consider a poly seal at least on the chair legs. Our dipped breakfast room chairs were scuffed and nicked in a month from all the feet and bumping against the table. I finally had to just paint over the blue ends with the white of the rest of the chair. :/
Home Depot – please come to rural PA!!!