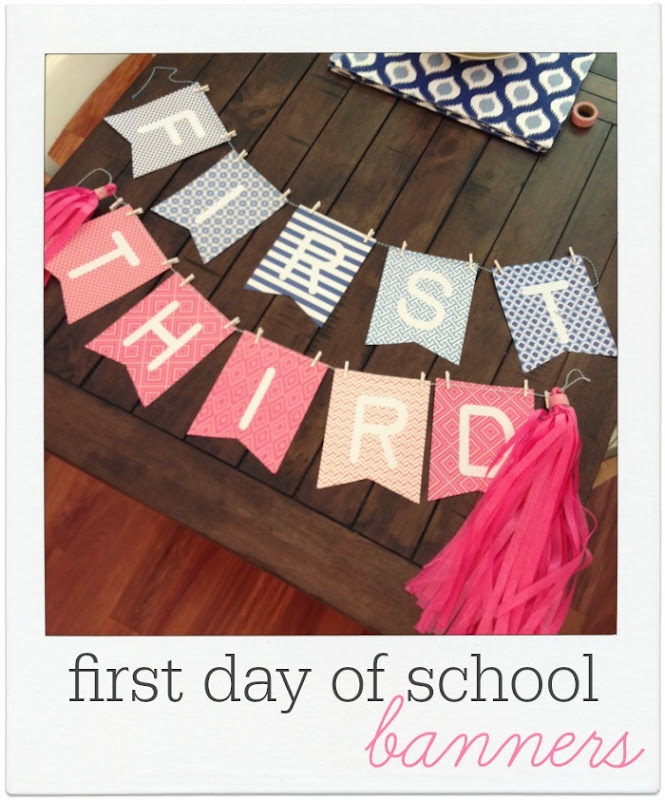
It’s almost back to school time for us and each year, like all moms, I bust out the camera and take first day of school photos. Last year we used a chalkboard to write down the grade they were entering. But this year I wanted to do something a little more unique and colorful. I decided to create a non-permanent back to school banner for my Michaels Makers project. The great thing about these banners is that the letters are removable stickers and we can reuse the banner to say anything. Teachers could even use them in the classroom on bulletin boards and rotate out the saying. Take a look. 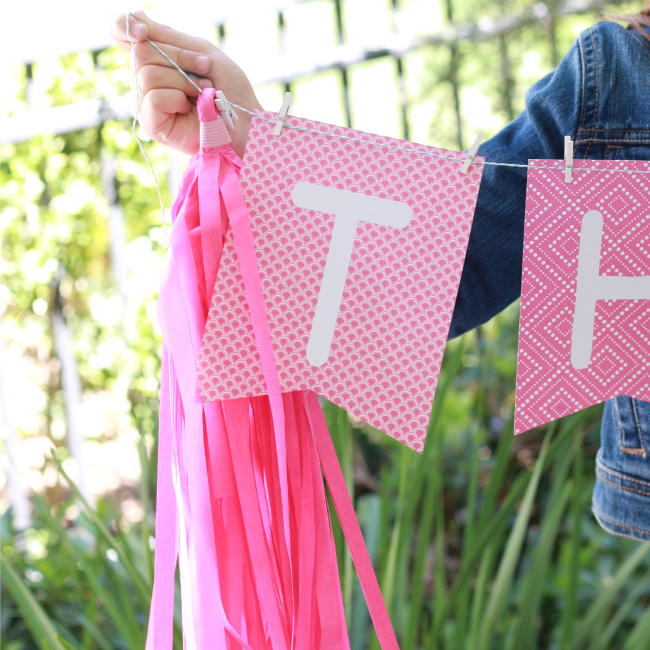
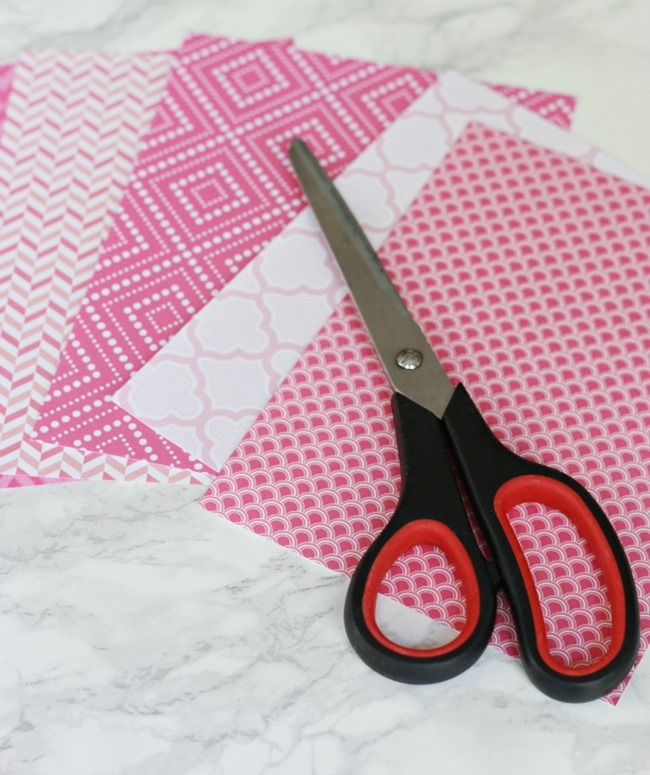
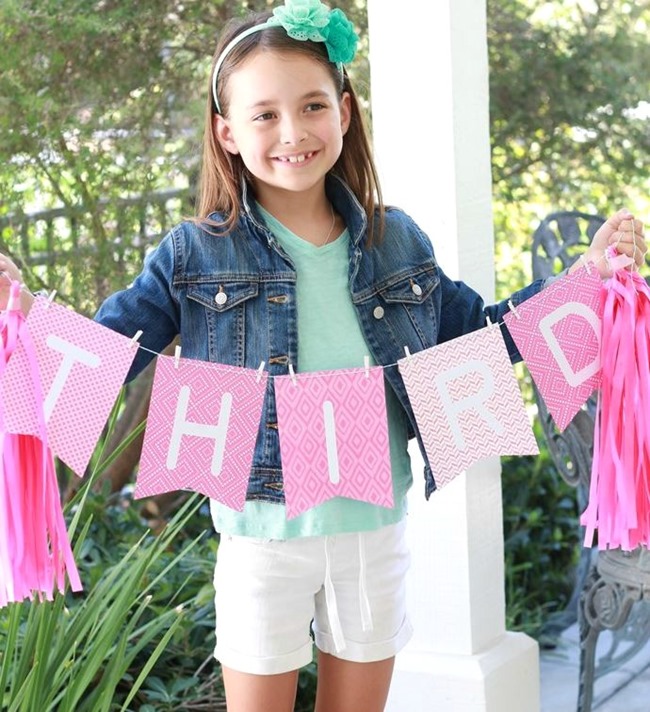 After the first day of school { I will decorate the house with the banners after the go off to school} we can remove the word “third” and replace it with her name. She really wants it hung in her room! Supplies: coordinating scrapbook papers, mini clothespins, adhesive letters, baker’s twine, scissors.
 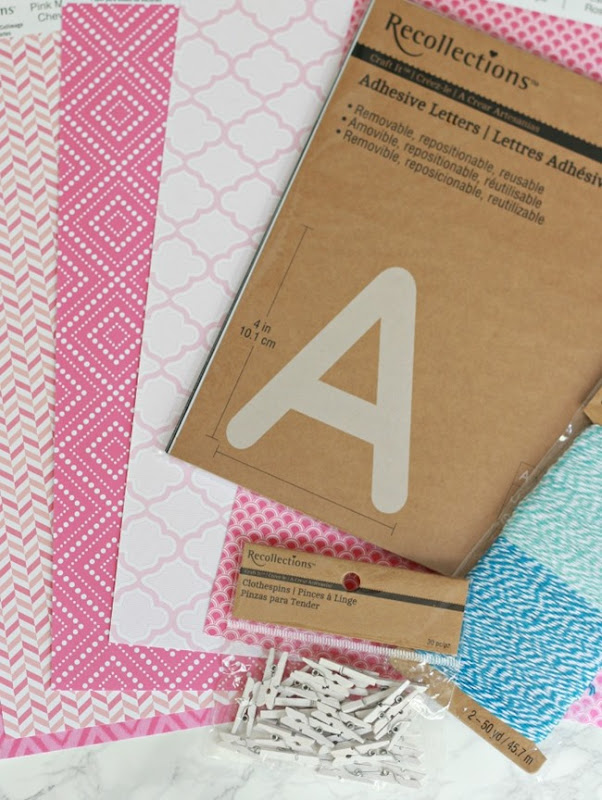 I really wanted the banner to look like fabric so I chose paper prints that would easily be found in textiles as well. I think they are just so sweet and cute.
 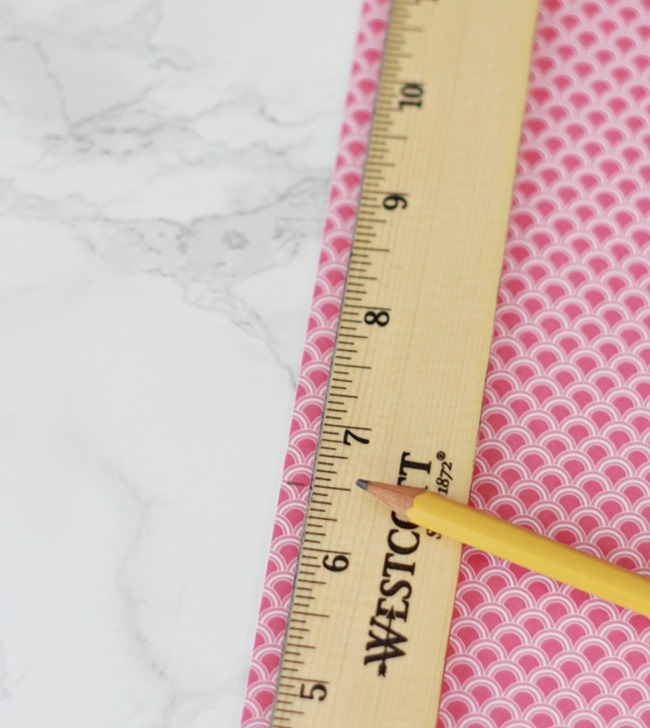 To create a banner that will fit these particular letters, I cut rectangles that measured 6 1/2 “ by 5 1/4” I placed all five sheets of paper on top of one another and only had to cut once. So quick.
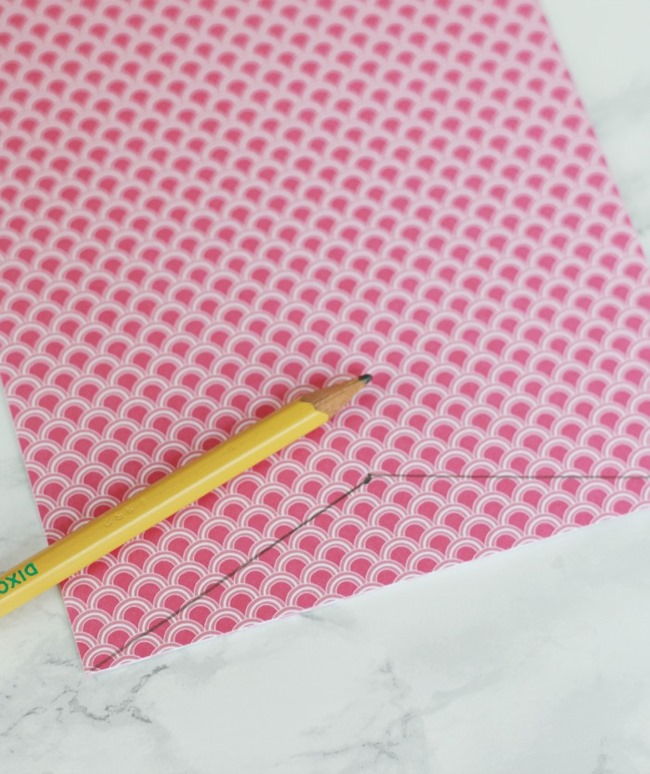 Measure and mark a dot in the middle to create the “v” shape at the bottom. I simply eyeballed mine. Again, I stacked all five pieces on top of one another and cut all at one time.
 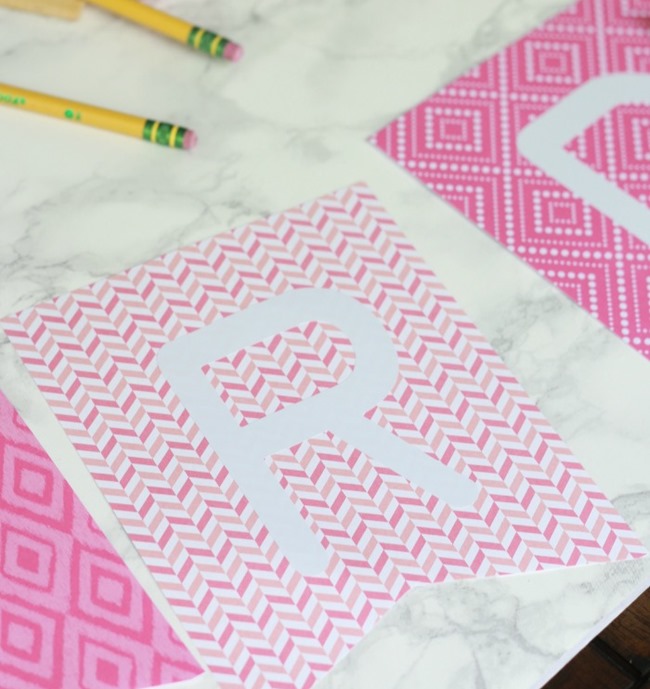 Peel and stick your letters. Luckily, because they are removable if you don’t get it right the first time you are fine. And there is a reason we all try these things first. So we can pass along what we learned. I used one piece of paper that was too light and the letter didn’t show well enough. I ended up using one of the darker pieces twice. So just be aware of that when you are choosing your paper. These letters also come in black.
 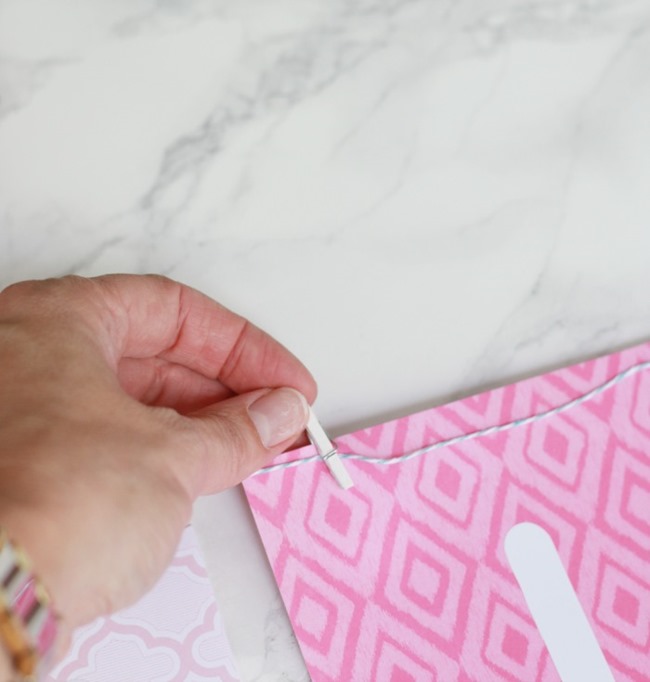 What makes this even faster is that there is no hole punching or stringing involved. Simply cut a piece of baker’s twine that is long enough and clip each letter on! Done and done!
 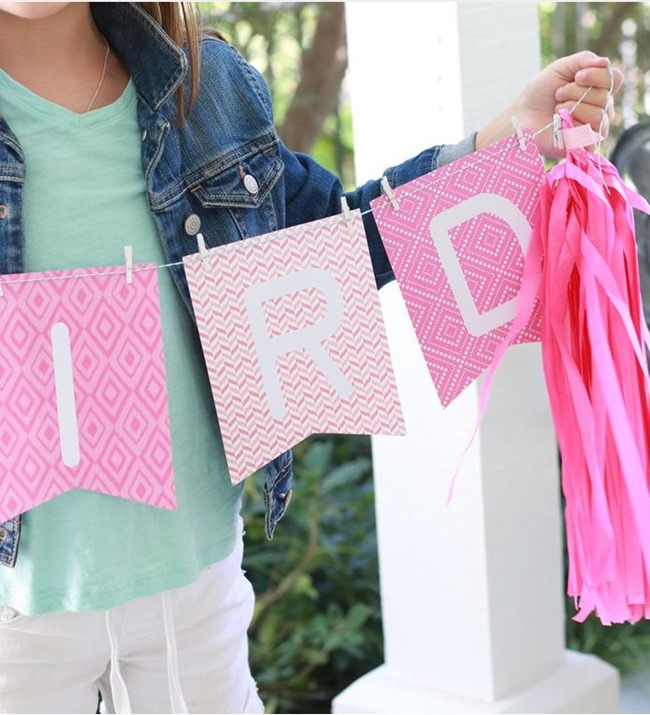 I added a tassel to each end that we already had. They were left over from her birthday party. If you don’t know how to make them yourself, you can follow this great tutorial.
 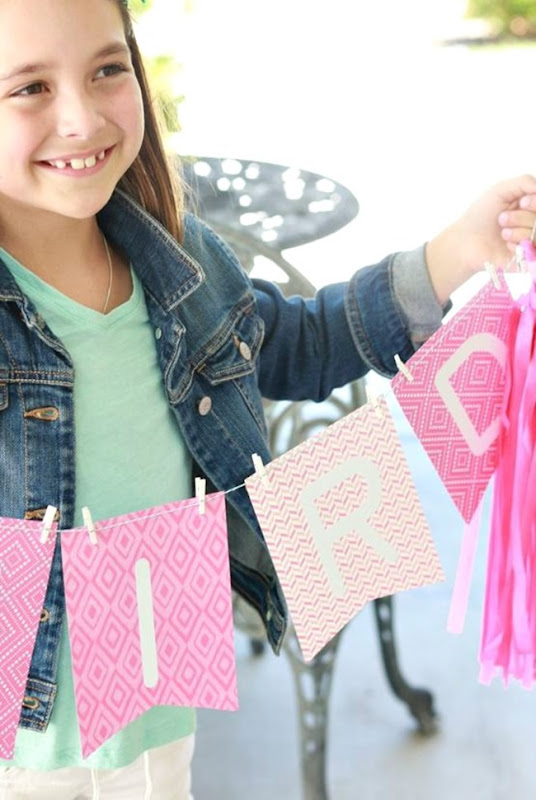 You could also hang the banner behind your little one if it was too long for them to hold. But other than spelling out Kindergarten, I think every year should be manageable. I might go with “Kinder” instead!
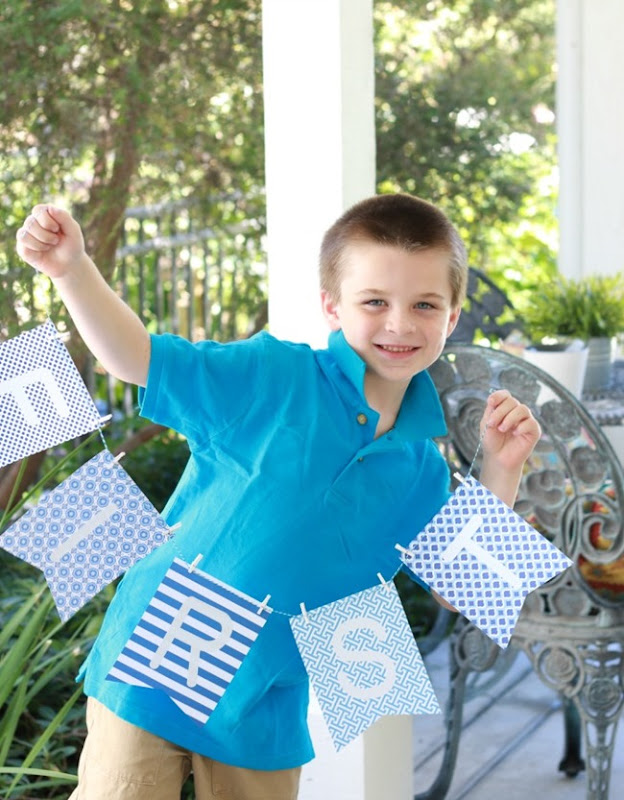 I made one in blue for my son and he is always a willing model. The kid has never met a camera he doesn’t like. Makes my job easy! I love how the scrapbook papers all coordinate. We can peel off these letters after his first day of school and create a name banner for him as well.
 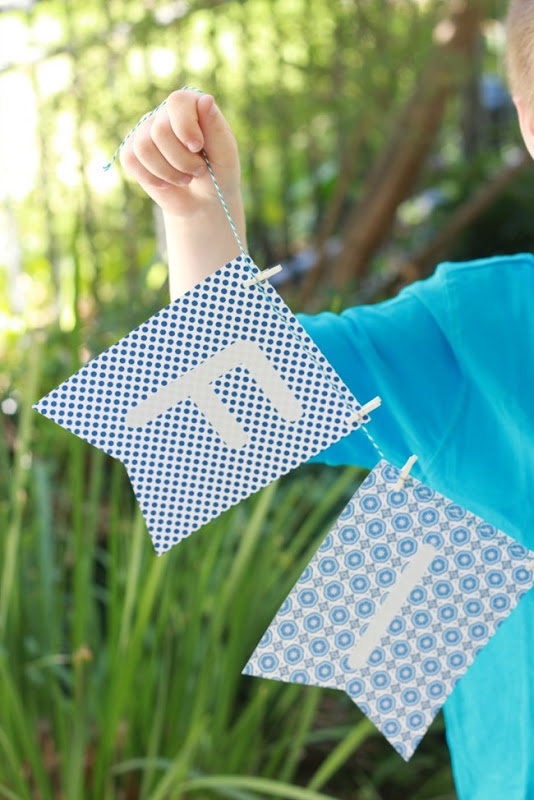 Those little hands get me every time. They grow up way too quickly. These banners honestly took five minutes to make and are a fun photo shoot prop for the first day. I plan on hanging them in the house as we dive into our first day of school rainbow cake. It’s been a tradition around here for the past three years. The children and I look forward to making it every year.
  To catch up my previous Michaels Makers projects you can click below: S’more Fun Farmer’s Market Inspired Gift Bin Check out Michaels’ Back to School Pinterest Board to find fun and creative project ideas to kick the year off right! Now have a look around at all of the other back to school crafts created by the Michaels Makers! You’re in for a treat. They never disappoint. *Thank you to Michaels for sponsoring this post. All ideas and opinions are 100% my own.
Such a darling idea!!
I should have read this this morning… I just went to michaels!
Super cute idea. And, I love that you can use them over again.
Those banners and your two cute kids are delightful! Happy Friday to you Courtney.
I totally agree, Allison, but then again I'm just a little prejudice!
Grandma Sue 🙂
Those are super adorable!! What a great idea that I could use in my classroom.
Marlainaandtom.blogspot.com
Those are the sweetest! You always have the best ideas! Love these and they could be used in so many fun ways!