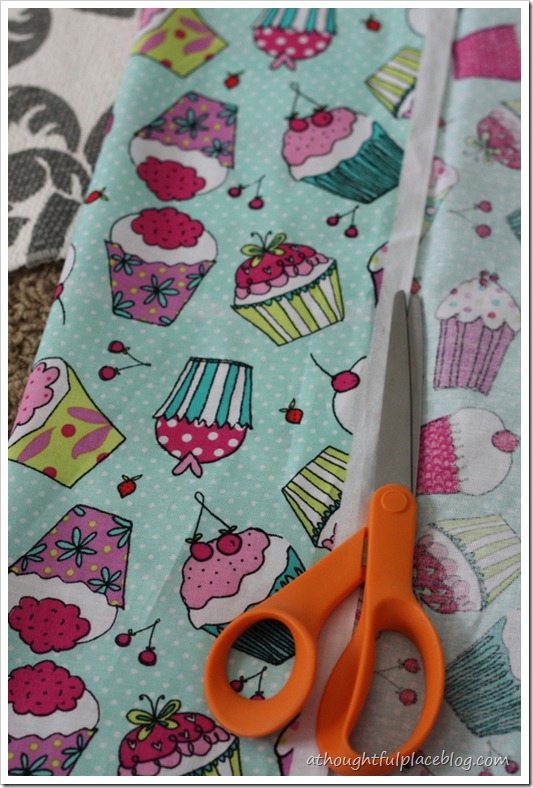
A couple of days ago I showed you the invites to our daughter’s sixth birthday party. She is super excited about having a handful of girls over to decorate cakes. We ordered plain white aprons from here. I am going to attempt to show you how I added a ruffle. I am sure there are very skilled seamstresses out there who have created beautiful step by step instructions. I chose to hack my way through it so you may want to track them down if you are looking for a more professional approach! ………………………………………. time to get our ruffle on! 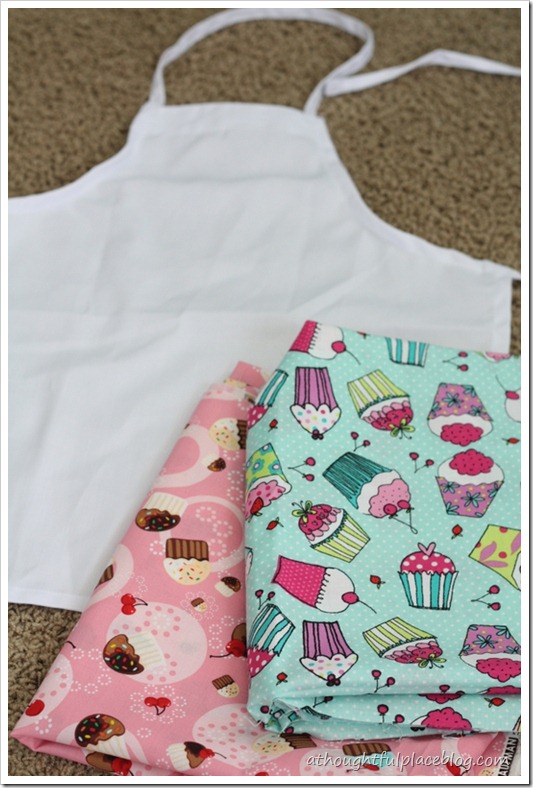 My friend, Candace, found these adorable fabrics for me at JoAnns. They are perfect for this party. Step 1: Cut your fabric length I used the length of the fabric that I had {54”). I folded it over {about six inches} so that the bottom of my ruffle would be a fold rather than an unfinished edge that I would need to hem. Just make sure you have more than double the length of your apron in order to get a full enough ruffle.
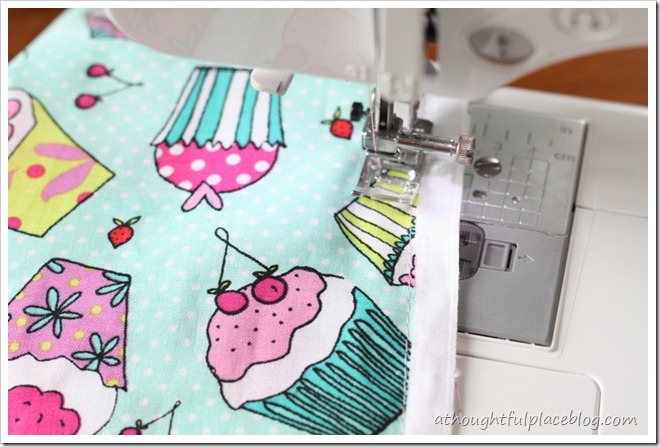
  Step Two: Create two hems the length of the fabric. I set my machine to a wide stich {5 if that means anything to you. . . I really have no clue}. Then I stitched the length of the fabric. Be sure to not go back and forth on either end as you will want to be able to pull the loose threads to gather your fabric. The two hems are about 3/4 “ apart.
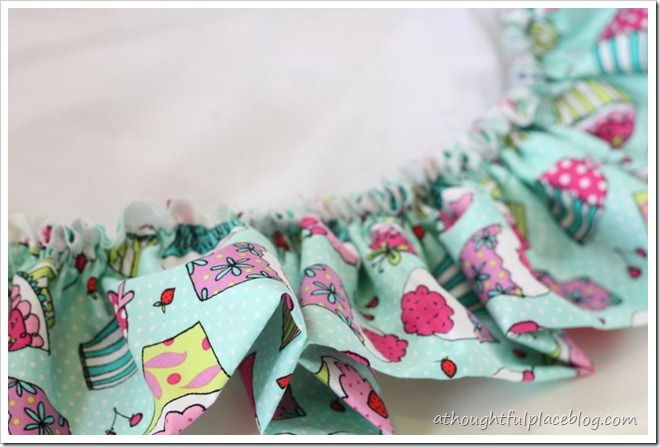
  Step Three: Pull the top two threads to gather your ruffle Choose one side of your fabric and take the two threads and pull gently. You don’t want these to break. Carefully slide the gathering down until your entire piece looks like a ruffle! So fun. I should have finished the top edges prior to hemming them. Now I know for next time. Oops.
  Step Four: Cut & Hem the Apron All of the little bakers attending the party are pretty petite. I chose to cut off a few inches of the apron and hem them. It just seemed too long on my birthday girl. I am so glad I did this.
  Step Five: Attach the Ruffle Next, I pinned the ruffle to the front of the apron about two inches from the bottom. I wrapped the ruffle around each end of the apron as you can see in the photo. Then I stitched right over it to attach it to the apron. Lastly, I turned the two sides of the green ruffle over and hemmed them.
 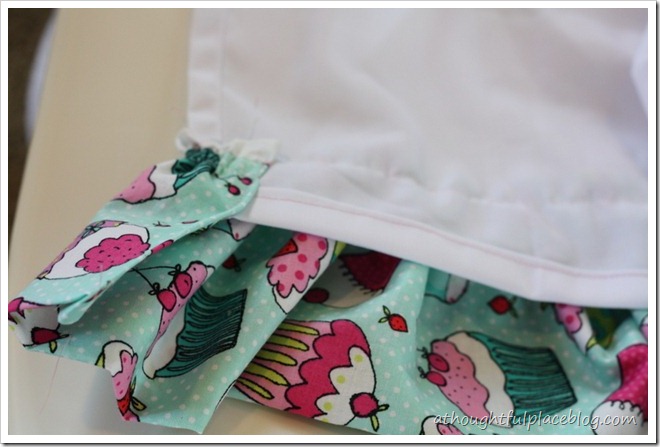 You can see in the shot below how I hemmed the side of the ruffle so it will be a finished edge.
 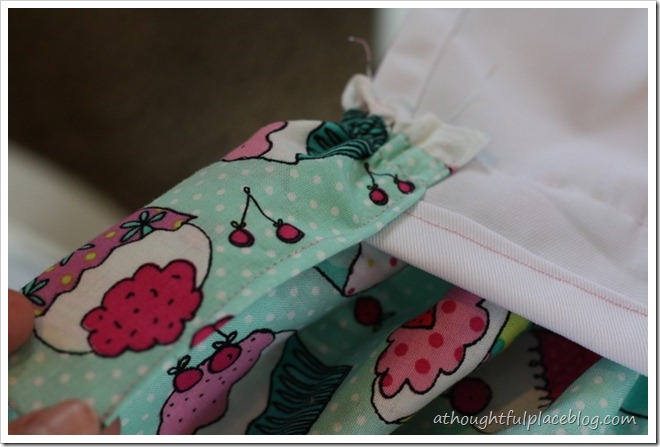 …………………………………………… a little bit of ruffle!
 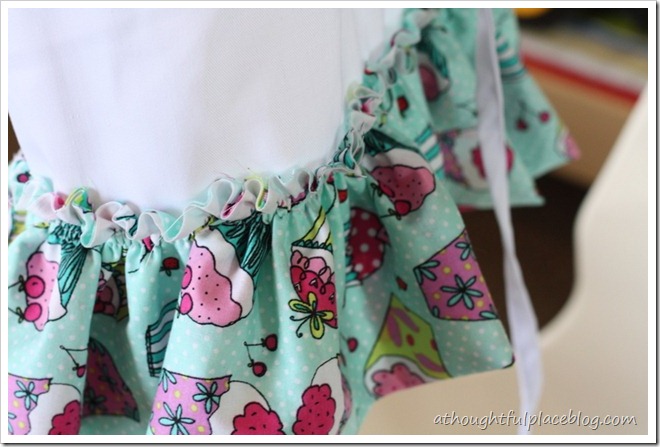 One down, four to go! I will make two more with the green and a couple with the pink.
 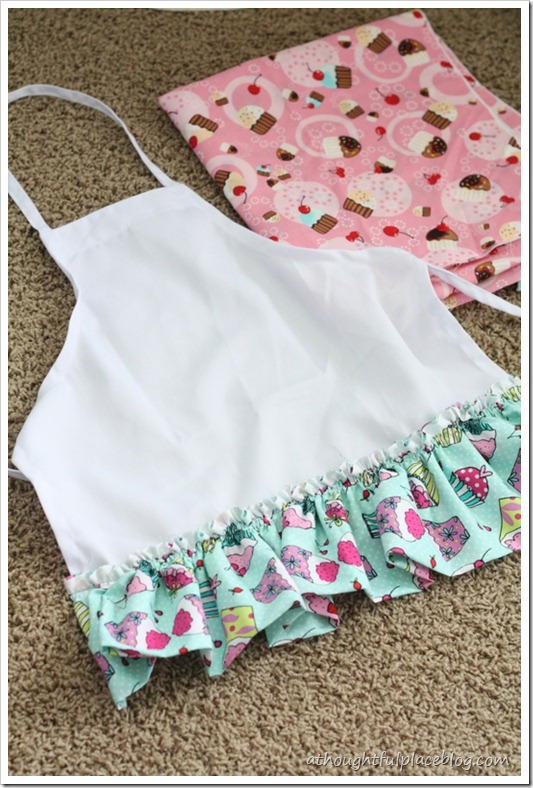 And my little model! I haven’t decided if I will iron on a little somethin’ somethin’ at the top. Most likely yes, but then I run the chance of scorching the aprons like I have done in the past. My track record is not so great! Wish me luck.
 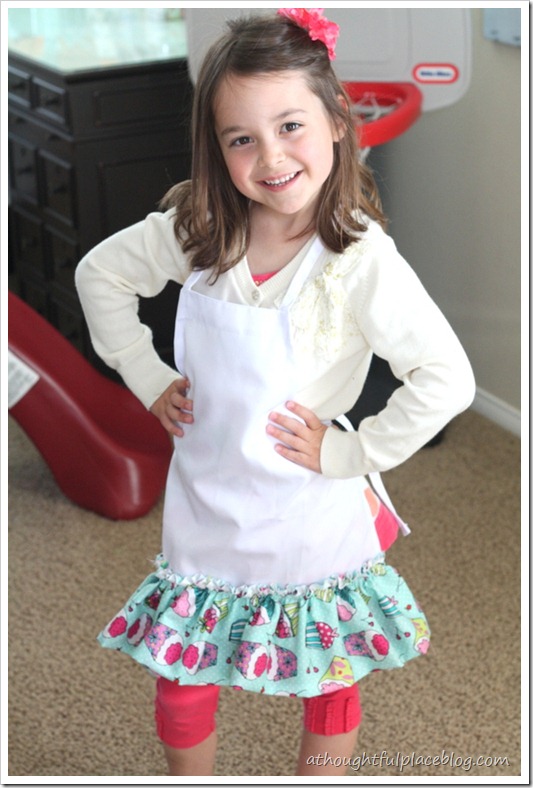 I really wanted to post about this to show you that if I can pull this off, so can you. I have never sewn a ruffle in my life and although these aren’t professional enough to be ending up on Etsy. . . they sure will get the job done for our little Bake Shoppe Party. Here’s to adding some ruffles to your life!
Those are just adorable.=) I'm a fairly new follower and love your blog! Thanks for all the inspiration!=)
they are precious..have the top part monogrammed!!
Simply adorable! Your model is pretty adorable herself. Now I'm ready to add ruffles to something!
Super cute! If you decide to add something to the top, such as an iron on, be sure to place another somewhat heavier weight fabric between the iron and apron. It'll help prevent the scorch marks.
So sweet.
Absolutely adorable! Maybe you could sew on a pocket made out of the other material (i.e., green ruffle gets pink pocket)?
So precious!! How do we feel about an adult version of that…perhaps with a burlap ruffle…and maybe some burlap and lace ribbon around the edges or a pocket?!? Crafting time!!
Cheers!
~ Jillian
http://www.hersplitends.com
These are so cute! I think a monogram of their name would be precious too! I want to have a baking party!!!
oh the girls are going to love it! so adorable!
You did a fabulous job and she looks adorable in it.
Absolutely adorable! The aprons are pretty cute too 😉
I am so impressed! I have to learn to sew…..very cute.
Super cute! That little ruffle gives the apron just the right amount of flair!
Truly adorable….my little girl would love this.
The ruffle is so so cute! Great touch!
Oh my gosh. TOO cute. The print is perfect too! 🙂
What a cute detail! I love ruffles. And Riley, you my dear are precious xo
stop!!! that is just too cute for words! i'm in awe of your talents yet again!
Those are too cute! And speaking of cute, how precious is your daughter?! Love her sweet pose.
That is the cutest ruffled apron ever! You did q beautiful job, Courtney. And, what a darling model! OK, now I want to be 6 and be invited to her fun party!
BEYOND precious! You just signed yourself up to teach me a few things when I get my new sewing machine : ) Seriously, love this project!!
How cute! and your model is most adorable! Please do another post if you do add something to the top, maybe iron on cupcake appliques?
Cindy Sue
You are such the homemaker!! The apron is adorable and so is your little girl. I wish I could make the time to sew something!!
Look at her…SO CUTE!!! That apron is ridiculous..so stinking cute! I can't wait to see her party and the fun updates to her room!!
So Cute!! I like the idea of a monogram or applique added to the top. A matching potholder for each child would also be fun. Thanks for sharing. Certainly a must do for the grandchildren.
These are so adorable! What size apron did you order? Small or Medium?