To say that our son’s room has taken a while to complete is a gross understatement. But the good news is that with taking our time, things are coming together just as we had hoped. Today I am sharing with you some DIY canvas art prints I made for his room. He requested “light blue” artwork so with that we were off and running. Here is what we came up with: 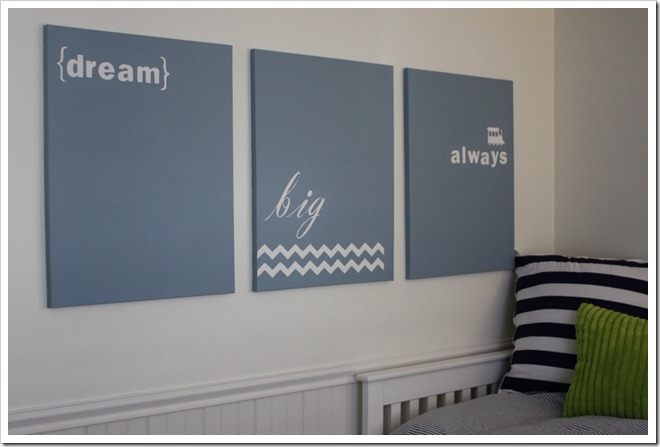 I love the way they turned out and it the whole wall was done for under $40. Not bad! I bought canvases when they were buy one get one free and used a 40% off coupon for the third. The paint color is Windsurf by Behr and it might just be my new favorite color. I would paint an entire room with it. It’s extremely soothing in real life and has a slightly gray undertone.
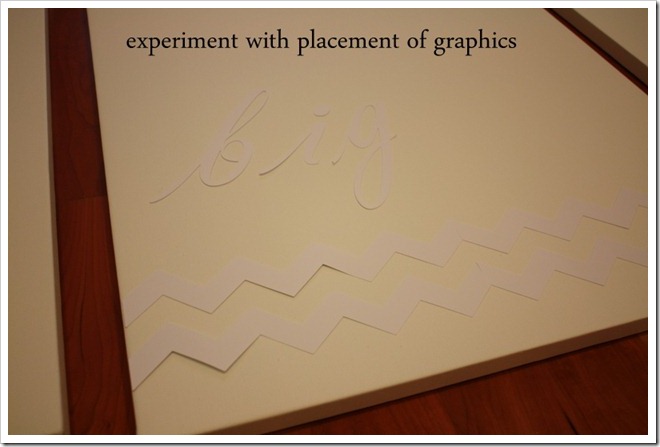
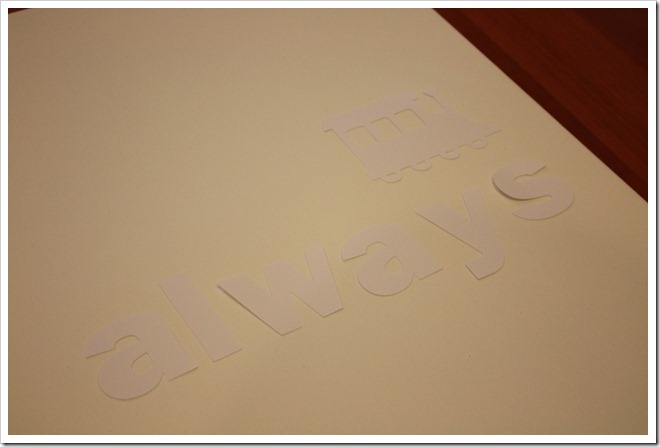
 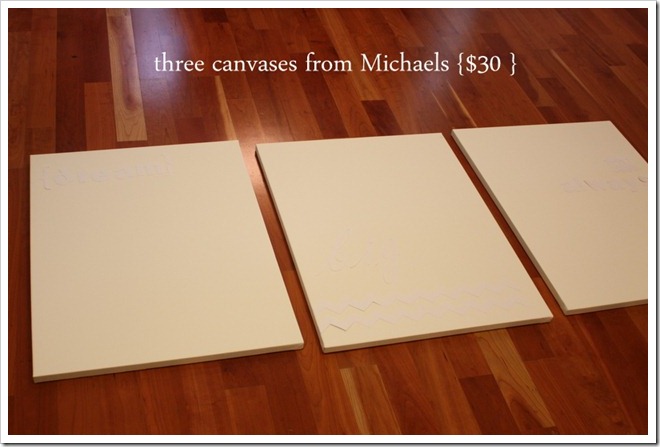 I used my silhouette machine to cut out the letters, chevron strips, and train. However, you could also use a stencil to trace and cut or stickers from a craft store. There are so many options. I then put them on my kitchen floor and played around with the placement until I was happy with it.
  A light coat of spray adhesive was all they needed to stick to the canvas
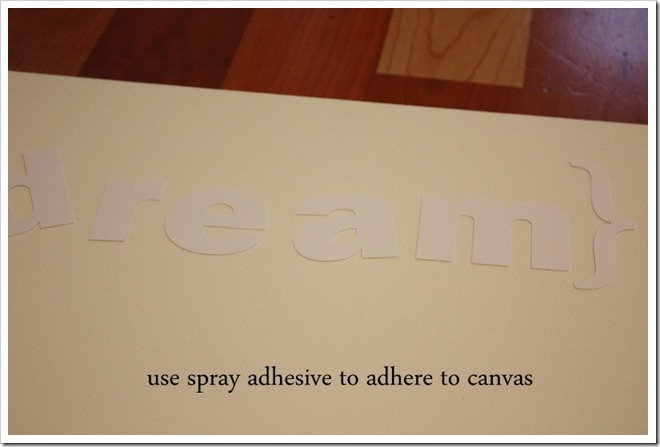
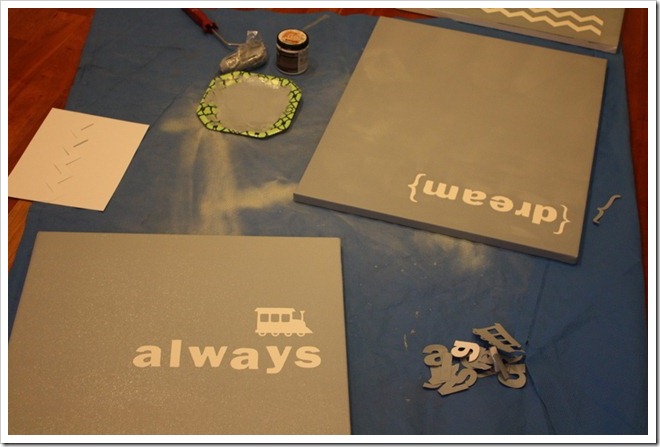
 I used a foam roller {my favorite} to roll the canvases. I was very careful not to go over the letters too many times. I ended up rolling each canvas twice. While still wet, I removed the letters and graphics.
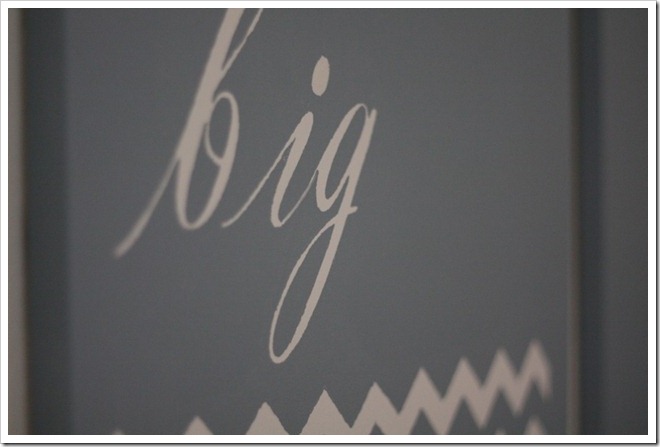
  The lines are not super super crisp, but I actually really appreciate the look of the imperfect edges. Somehow it gives it a more vintage feel. The only thing I touched up was the word ‘”big” in a couple of spots. I used a tiny brush and some white paint left over from his walls.
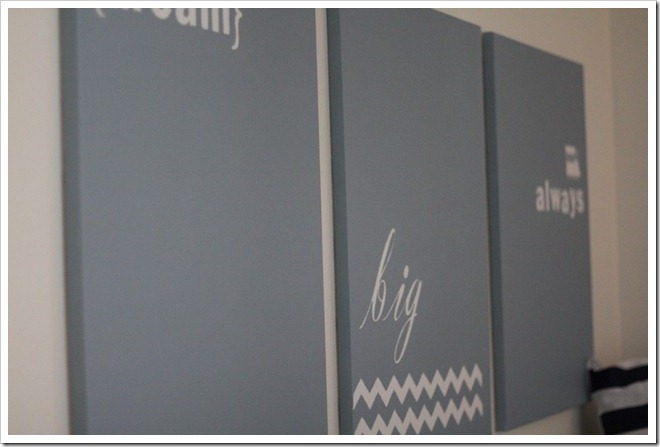
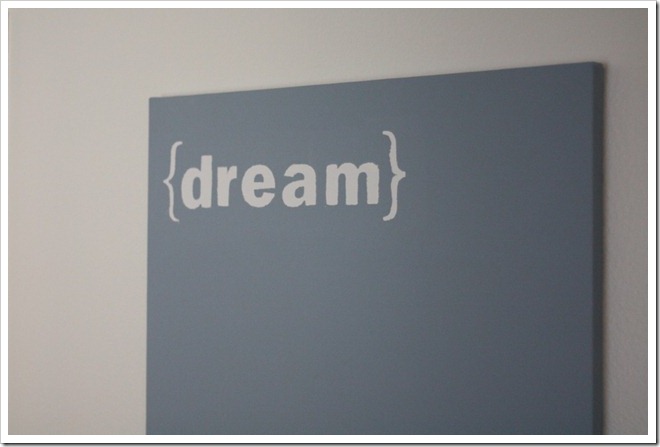
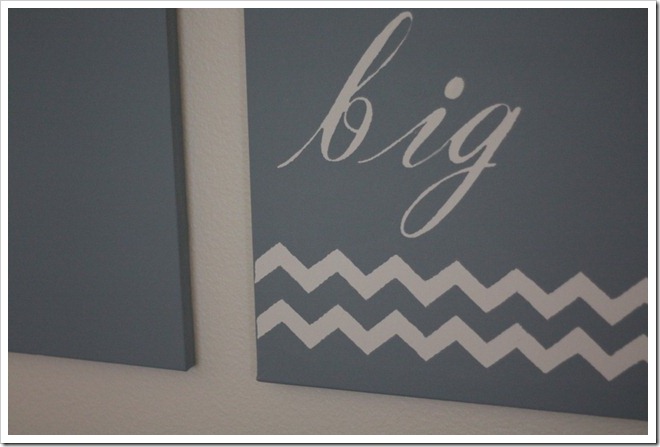
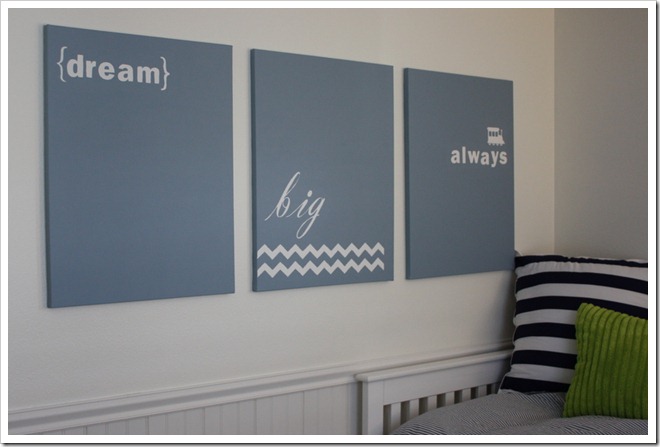 And with that, we are just about finished. I have one last project and then can reveal the room in its entirety. Thanks for sticking with me. If you are new to the blog, you can catch up on more of the bedroom progress gallery wall dresser bed closet ………………………………………………… Sharing the artwork with My Uncommon Slice of Suburbia The Shabby Nest Just A Girl
Wonderful idea. A very nice DIY.
http://www.thegirlieblog.com
love this!
I love it Courtney! Such a unique way to add art to your son's room! Beautiful job!
Fantastic idea! The room is going to be fab! Lucky little boy!
Simply adorable. Love the message too!
So adorable! I'm sure he loves it. I can't wait to see the whole room come together, I love it!
I love these! So much bang for the buck!! If I hadn't already asked for a nice new camera for Christmas I'd be asking for a silhouette machine. Is there such a thing as a New Years present?
love it!!!
The simplicity of these are just perfect! I'm a huge fan of DIY…oh yeah, and my wallet agrees. 😉
That gray/blue color is just about what I have in my boys' room. We love it. My bedroom is a shade lighter, but still with that gray undertone. Very soothing.
I have a few canvases laying around. Oh, the wheels are turning. Thanks for this post! Yours turned out so cute!
Amazing! I love that color blue! 🙂 The room is really coming together. And no big deal if it takes a while to complete the room- it's a more thoughtful, cohesive space when it's finished! Great work!
Holy cow they turned out great! So adorable.
What a quick and inexpensive way to spruce up the room…love how simple they are…and yet they make a huge impact. Great job! Can't wait to link up tomorrow!!!
Those are wonderful! I love that Grady had an opinion on the color of his artwork and a great color! What an inspirational saying for him to wake up to daily. I'm still working on my laundry room…..
So grat that he picked the color-makes it extra special!! I love that you used one word for each canvas and added little details around the words. I had not heard of adhesive spray when I did my kitchen canvases and so wish I would have. I will be using that next time for sure 🙂
xoxo
So perfect for a boy!
SO cute!! What a great project!!
Love this idea, Court. It's perfect and simple and takes up the whole wall!
Man, that is so cute.
So simple and so creative! Love them!
Thanks for shopping by my blog today too!!
Jen
athomeinthenorthwest.blogspot.com
Wow! Those look fabulous. Great job!
http://joannagoddard.blogspot.com/
What a wonderful, personal piece of art! You really impress me:) That color is gorgeous- it looks very similar to the color I painted the back of our media center.
i love that paint color too!!!
I was able to find the details that I was searching for. I must thank you for the initiatives you have made in writing this article. I am expecting the similar best efforts from you in the future as we
Curtains