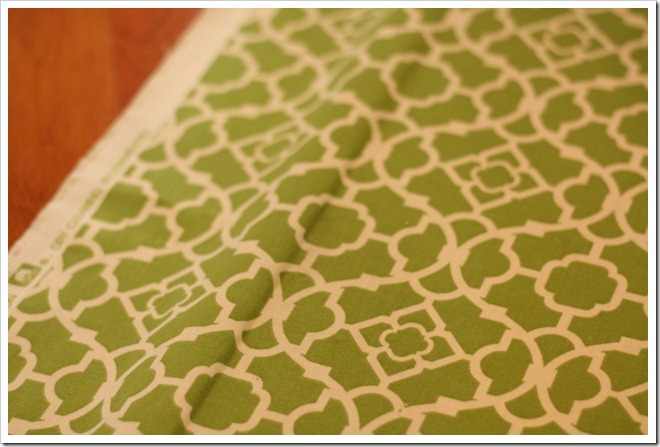
We have always had a bulletin board/memory board near our kitchen. It’s been a place to hang photos, invitations, thank you notes, and other important notices. Until recently, it had been a piece of canvas covered in red fabric. It no longer matched our new décor so it was time for a new one. And this one didn’t cost a dime as my parents had a cork board they were no longer using and I had Waverly fabric in the house. I take zero credit for thinking of how to do this. My friend Emily at Name 5 Things made two boards like this for her office so I followed her tutorial. Thanks, Emily! 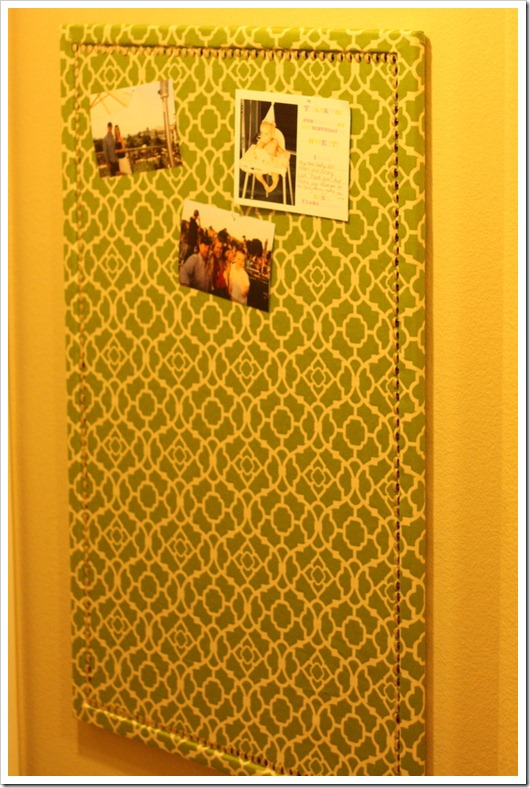 This hangs by our backdoor and is a great spot for reminders as well as special photos that we like to see each day. Following Emily’s tutorial made it really simple. All you need is a cork board fabric, spray adhesive, tacks or nail head trim and a staple gun.
 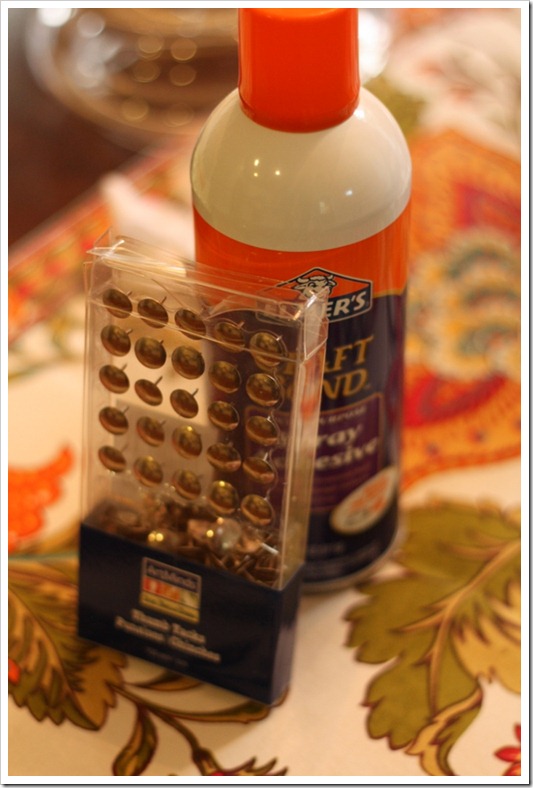 1. Cut Fabric with a four inch allowance on all sides. {Emily reminded me to iron the fabric first!}
 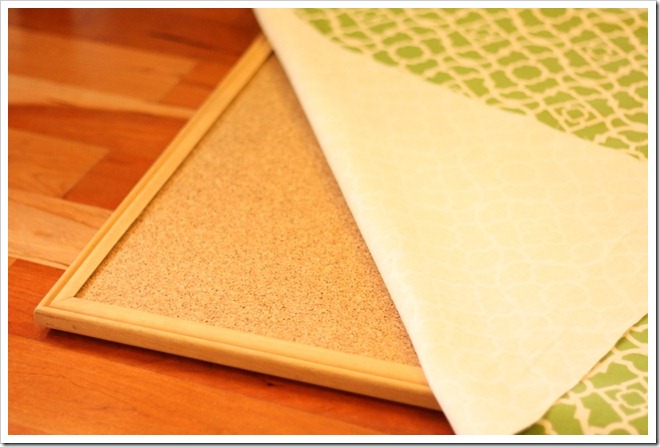 2. Cover edges with tape. Spray the adhesive in the center of the board and work your way out. Be sure to smooth out the fabric.
 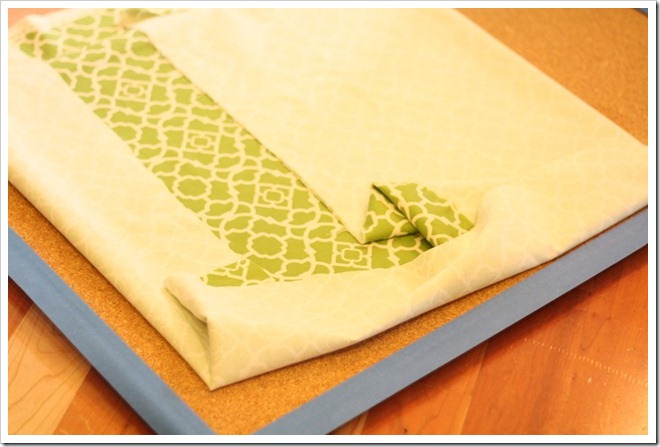 3. Adhere the fabric right up to the frame. Remove tape.
  4. Get busy pushing in the tacks or nail heads! {this really only took 20 minutes. I drew a faint pencil line all around the border so I knew they would be straight}
 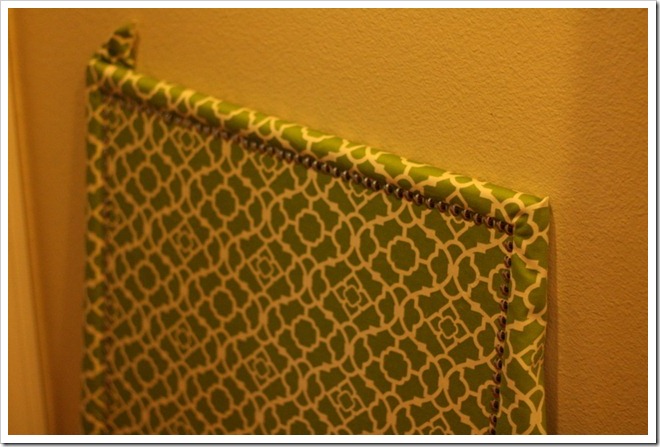 5. Use a staple gun to pull the fabric tight on each corner. {I only used the staple gun for the corners. I used spray adhesive on the back to attach the extra fabric. Since it is not bearing any weight and the nail heads keep the fabric taught, I didn’t think it was necessary}
 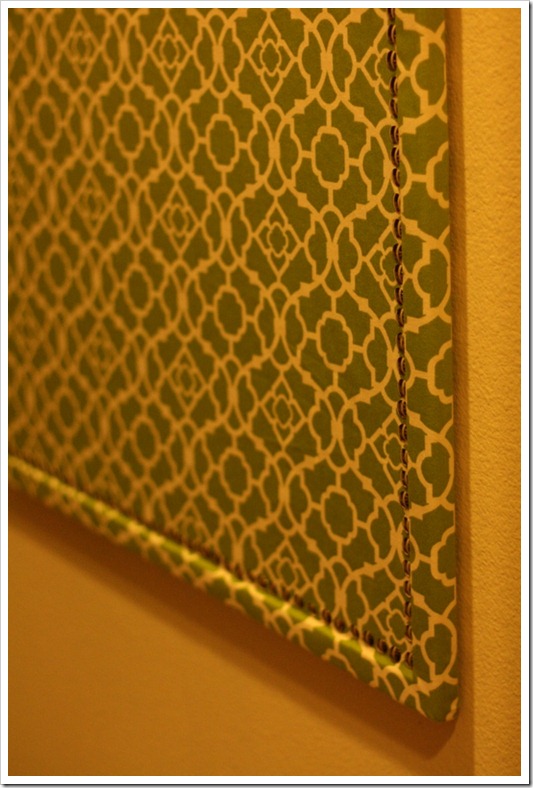 Here is the finished product. The edges are nice and smooth and the tacks give it some extra bling!
 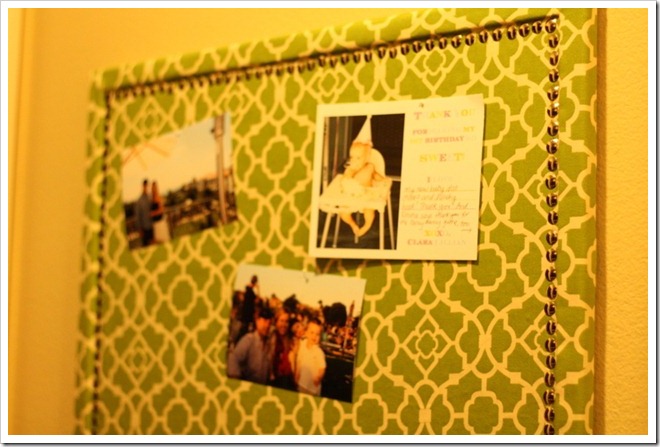 When hanging things I like to use fabric pins {the kind you use for sewing} because they do not leave holes in the fabric like push pins can}. I love how it goes with our more neutral color scheme. I am looking forward to filling it up with Christmas cards from friends and family. It won’t be long! Did you DIY anything this weekend?
I love it!
Love the fabric, of course! (wink, wink) Turned out so cute! I love easy projects with a lot of impact.
I made a similar board using a magnetic whiteboard. Just glued the fabric on top, smoothing it out and leaving the wood frame showing. Then, finished off the edges with a thin, coordinating rope trim. (Does that make sense?) the fabric is a light cotton print, so magnets still work on top of it. 🙂
No. No projects for myself this wknd, but did finish some customer curtains. Does that count? 😉 Lol.
My sister made one with the same fabric! It looks great!
I love your new fabric and thanks for the tip about using pins. That makes perfect sense.
what is the purpose of adding and then removing the tape on the wooden frame? thanks!
I love the fabric. It turned out great. Great idea about the pins……no projects for me this weekend, but might need to tackle this one. This will be perfect for christmas cards.
Looks great! Are little man's socks still sticky? ; )
I love the detail added with the tacks – looks great!
Love that fabric!! Looks great! 🙂
Love this! I made one a few months ago for our kitchen to hang the little things that seem to pile on the counter. I might try using the pins, I love the touch it adds!
http://simplisticlivinggirl.blogspot.com/
Jenn
Love this – simple and so pretty with the tacks. That fabric is beautiful – it's one of my favorite prints!
That turned out so chic! Love the trim detail, so so much!
xoxo,
Jen
What a simple yet beautiful change! Covering bulletin boards is my fave. Yours looks great!
Love this!! Great project!
Look great, C! I worked on a few projects, but didn't actually finish anything! 🙂 ps — I used gold or silver thumbtacks for projects like yours…I'm to cheap to buy nailhead unless it's for furniture!
Your board turned out great! Love that fabric! And thanks for the shout out, friend! 🙂 You are super smart to use fabric pins because I totally have holes in my fabric from the regular ol' push pins.
Why add tape and remove? I am clueless :))
Melissa
It looks great! This seems like a great updated version of the standard cork board.
Take care,
Lori
Sorry to be vague about the tape. . you just don't want the edges to be sticky and glued down so that you can pull the fabric from behind as much as you need to. You also don't want the ridges on the frame to be pronounced. Hope that makes sense!
Ohmigosh, I JUST did this! Way to by psychic! Looks fantastic!
This looks great, Courtney! Love the fabric!
Such a fabulous DIY project. Oh how tacks really spice a piece up 🙂 I added them around the outside of a canvas, and it adds wonderful texture. Can't wait to try!
This is cute. Great way to use extra fabric.
how much fabric is needed to cover a standard size bulletin board? I think mine appears to be the same size as yours!
Good question. Just measure the length and add three inches top and bottom. Keeping in mind that one yard will be 36" so you might be able to get away with one yard if it is no more than 30". Hope that helps.
I love it what’s adhesive I can I use ribbon for outline