Welcome to 2017!!!! Can you believe we are kicking off a brand new year? I have to say that I have never started out the year under the weather like this year but at least the kids are home all week so we can just relax and enjoy. Also super pumped to share the very first home project of the year. Since moving in to our new home, we have been trying to live for a few months and fall into routines so that we can see what we really need to function well. Today I am sharing custom bulletin boards I made and the thought process behind needing these for each child.
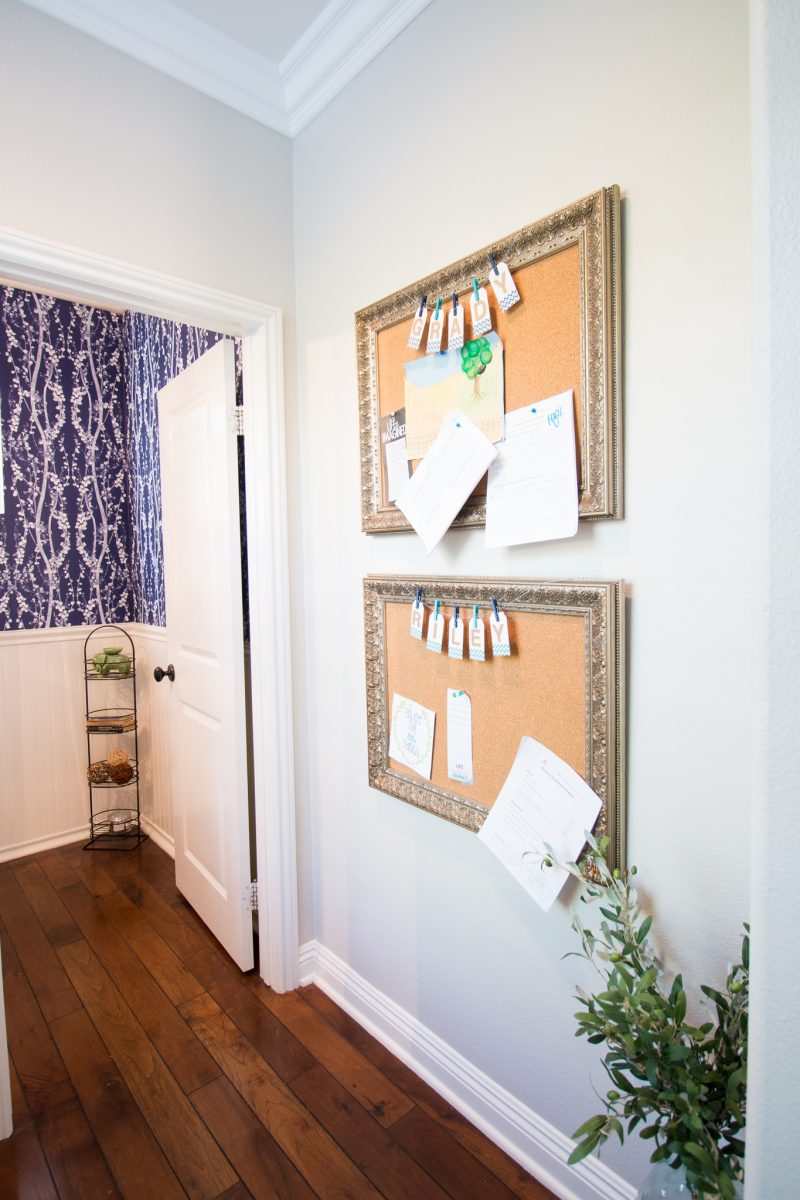
Ta-da! I think I am overly excited because this seriously solves a dilemma for us. First and foremost, when we moved in we immediately hung a bulletin board we had in our previous home here. It’s been great for pinning important papers and keeping track of some things but as the school year went on, it quickly became apparent that this entire area needed to be much more tailored towards our children. They are getting older, school responsibilities are growing and we are trying to teach them life long skills along the way. One of those skills is taking charge of their own weekly to-dos. You’ll see how that unfolds with this below. We also needed a dedicated spot for the children to hang some of their successes as well as their important (please don’t lose this) papers.
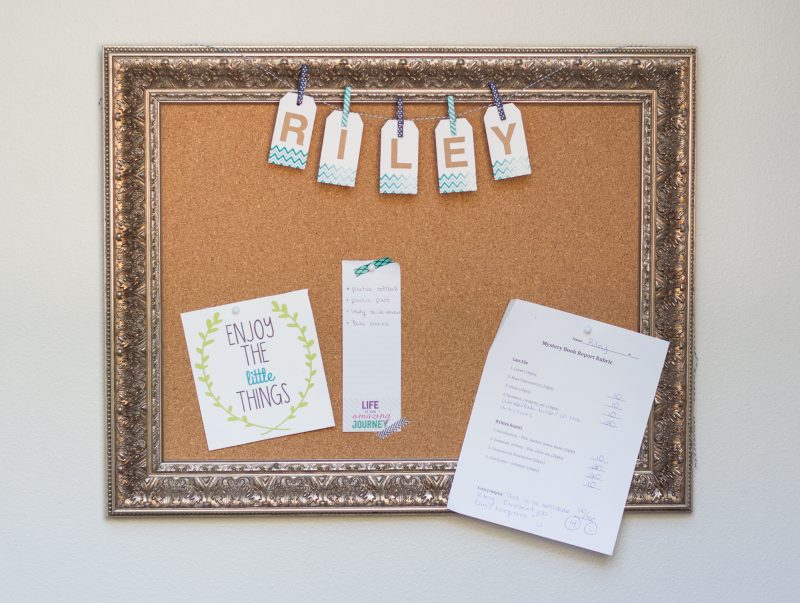
This spot in our home is right near the powder room. Translation: all of our guests see it. Not that it needs to be beautiful, but it’s certainly a spot that everyone sees and so we wanted to make it as visually appealing as possible and give the children a really nice place to organize themselves. Michaels sells ready-made bulletin boards which would work for this, too! You could even trim them in ribbon or paint the frame to jazz them up. I chose to use empty frames and built them myself.
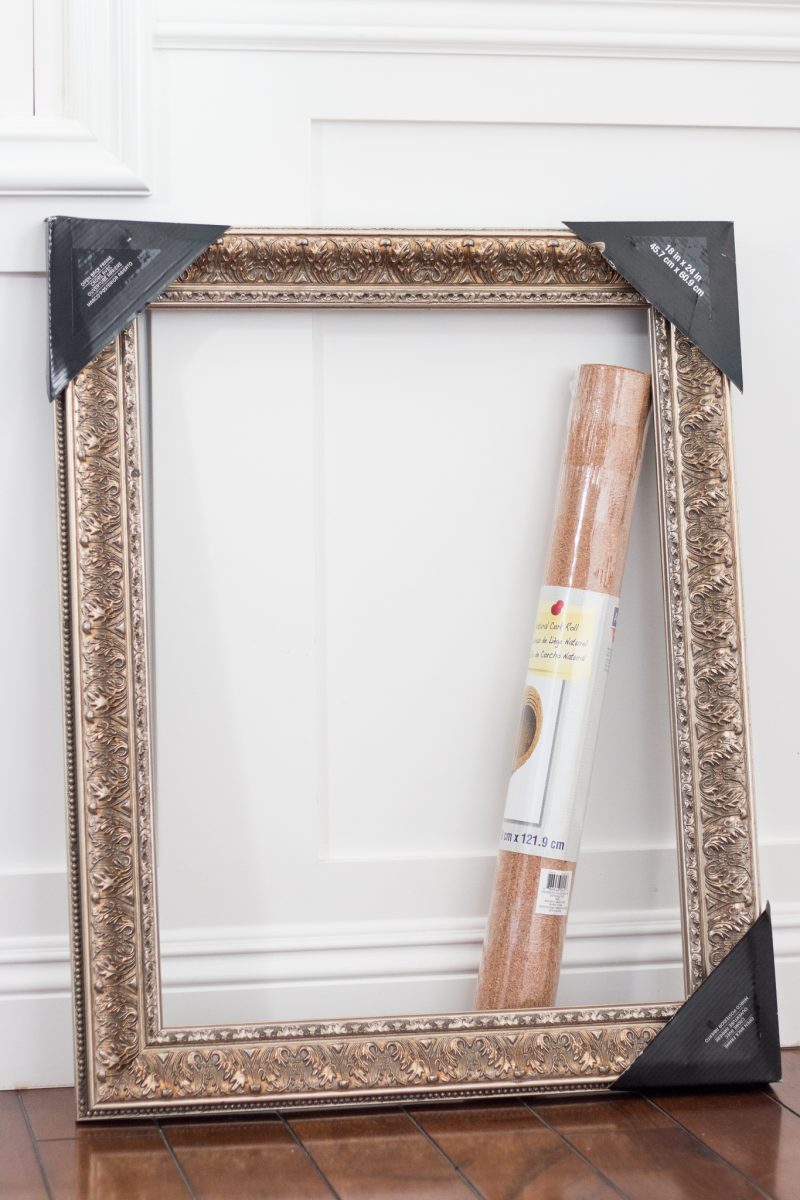
I fell in love with these frames. They were something like $80 but marked down to $24 at my Michaels. Knowing we would use these bulletin boards for years I was completely on board. I also picked up two cork rolls. This is actually quite simple to make but I would recommend doing it with one other person. There are a couple of times where an extra set of hands was really helpful.
DIY DIRECTIONS
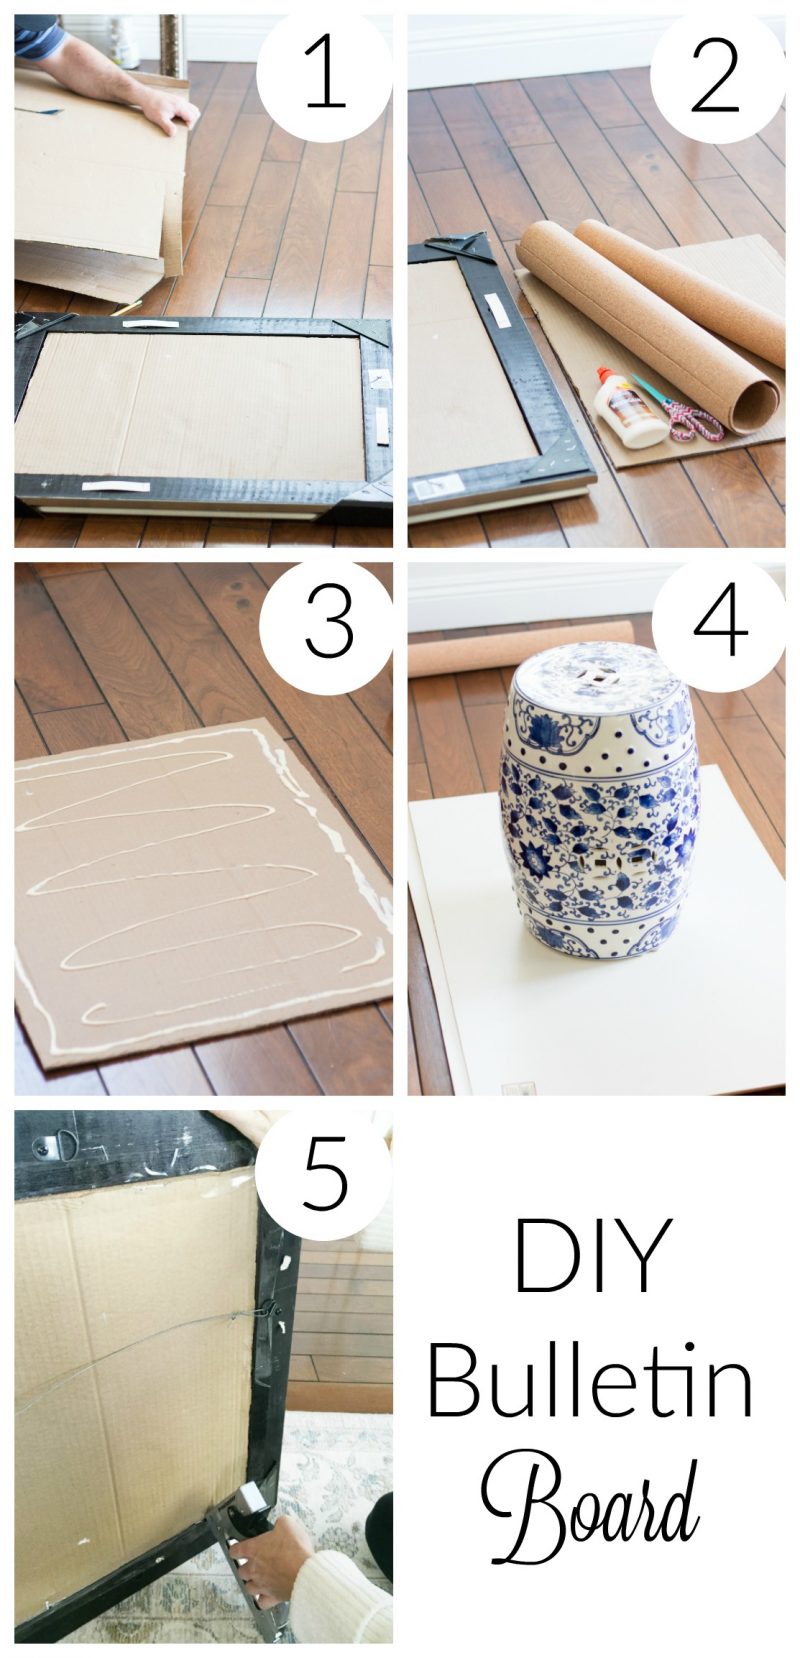
STEP ONE: You want to achieve what you see in the first photo.
STEP TWO: All you need to do is measure the opening and cute one piece of cardboard and two pieces of cork. I used two pieces of cork because it is very thin and one layer would not hold a push-pin. Be careful when cutting the cork. It tends to be brittle so be gentle with it. It also tends to roll on you so if someone can hold it down while you cut, that is great.
STEP THREE: Apply a generous amount of wood glue to the cardboard. Carefully place the first layer of cork down and smooth it out.
STEP FOUR: Place something heavy on top. Wait one hour. Repeat the process for the second layer. Wait two hours.
STEP FIVE: Use a staple gun to attach this to the frame. The tape was just to keep it in place.
THE FUN DETAILS
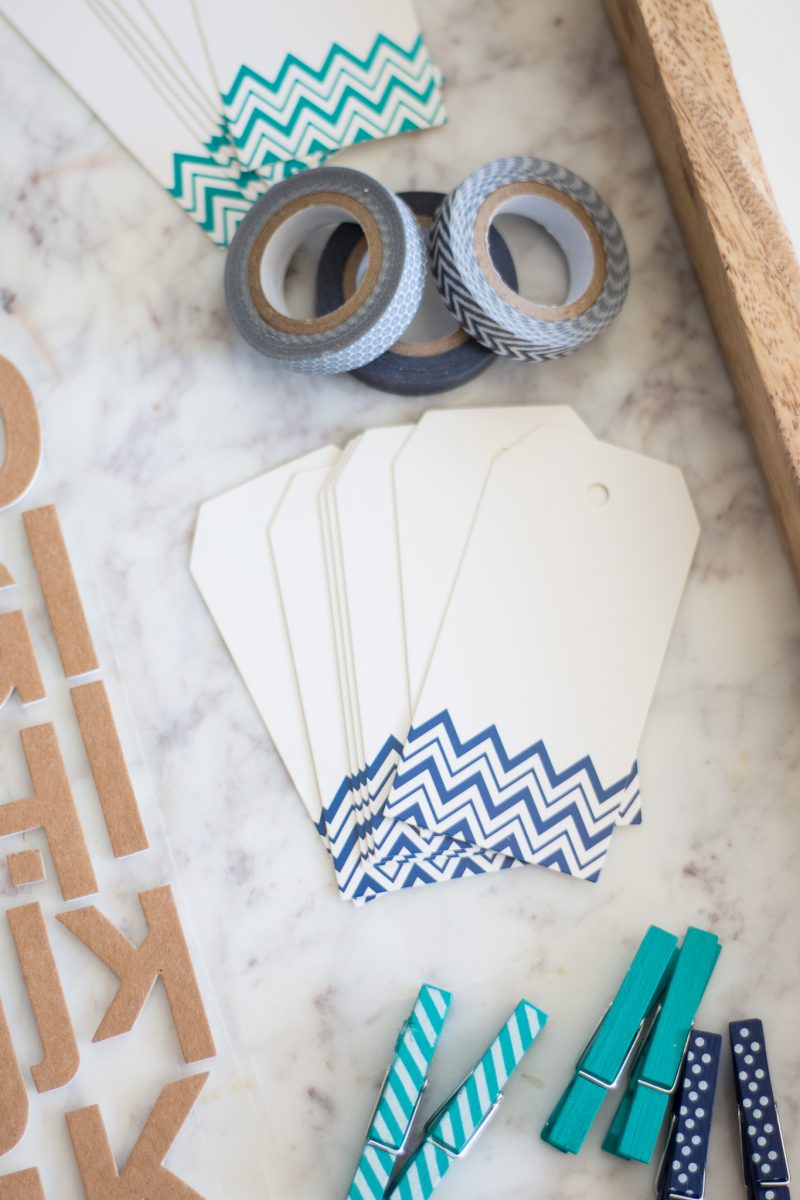
Then go crazy making it cute for each child or yourself! This is the fun part. I LOVE the selection of cute finds at Michaels for clothespins and stickers and could spend all day browsing. The colors chosen are the kids’ favorites and coordinate with the rest of this area. If you are going to have this in an area of the house that is quite visible, keeping a color scheme in mind can keep it from becoming too distracting. After all, the end game is to keep the children organized so visually it should work with the rest of the house.
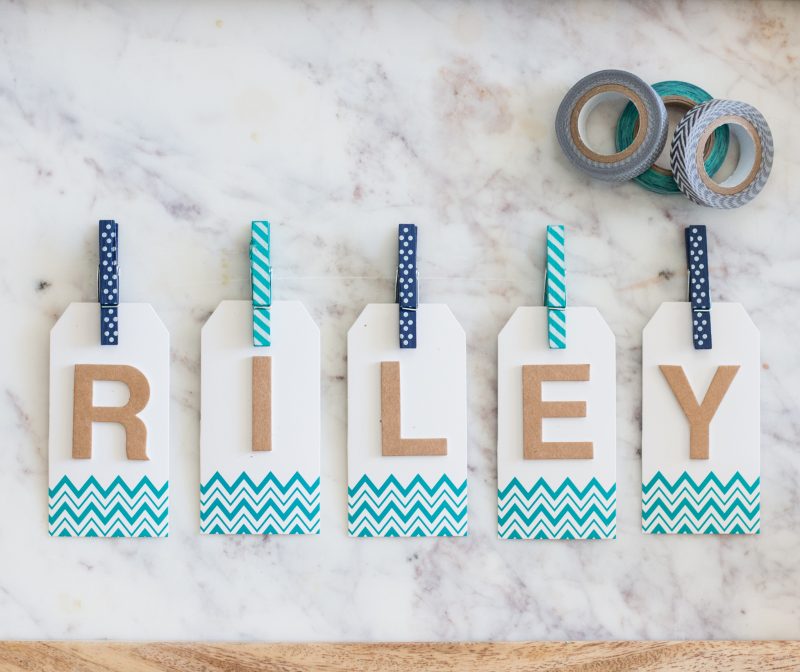
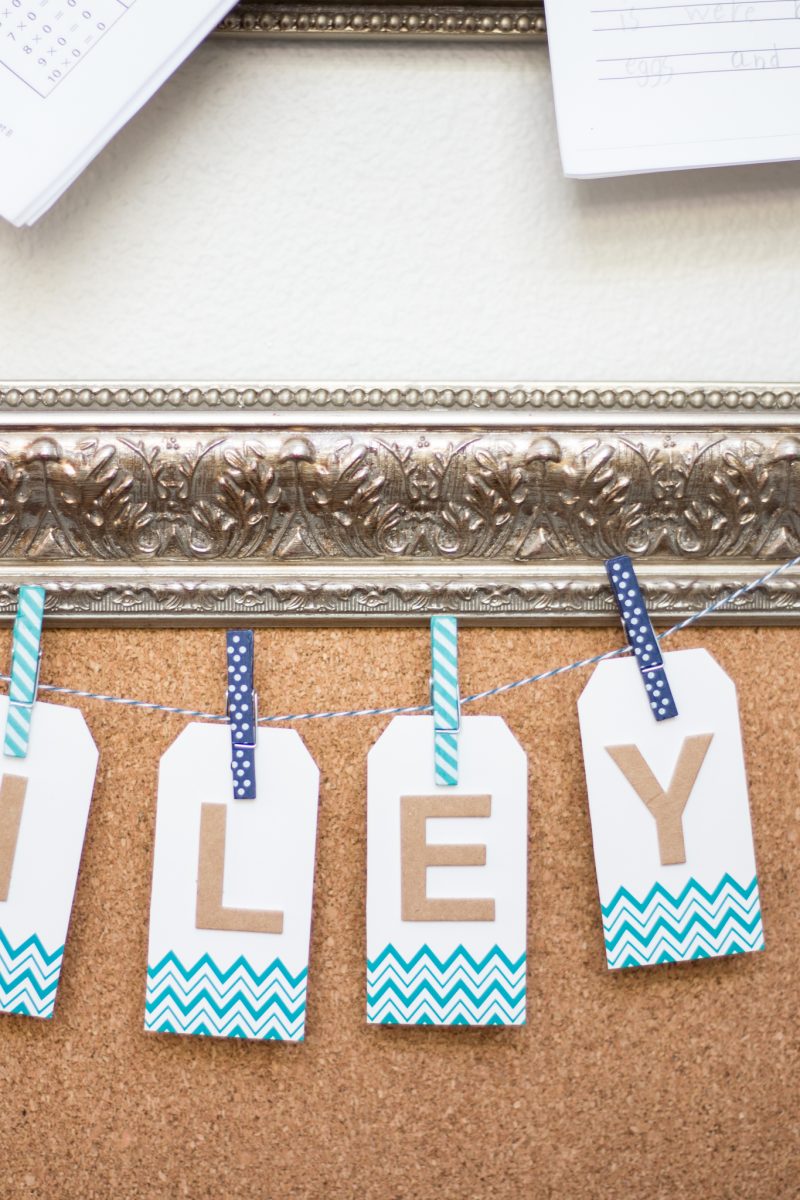
Keep in mind, these frames came without a back. Had they come with a back you could remove the glass and substitute out a piece of cardboard. You don’t want any push pins breaking glass!
CUSTOM BULLETIN BOARDS
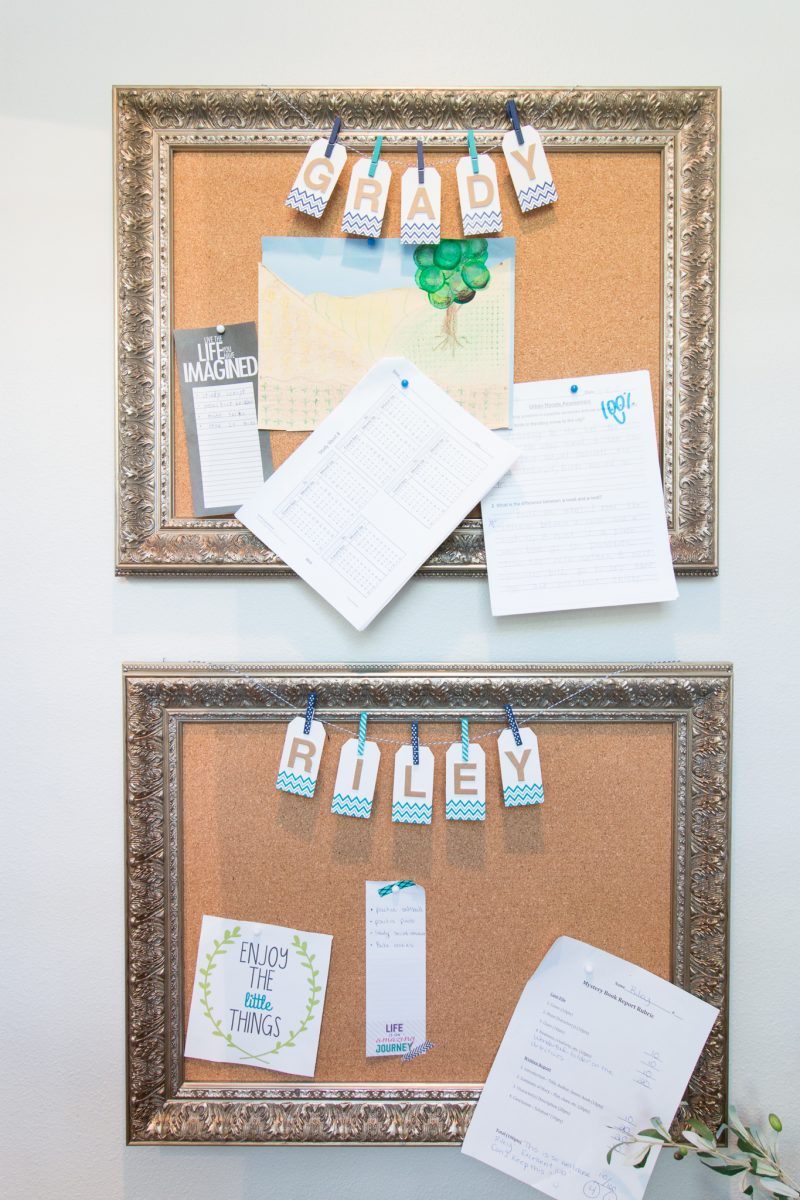
THE GRAND PLAN
Now each child has a special spot all for themselves.
What do we plan to hang here?
- Forms that mom needs to fill out.
- Study guides for that week’s tests.
- Successes or proud moments
- A weekly to-do list
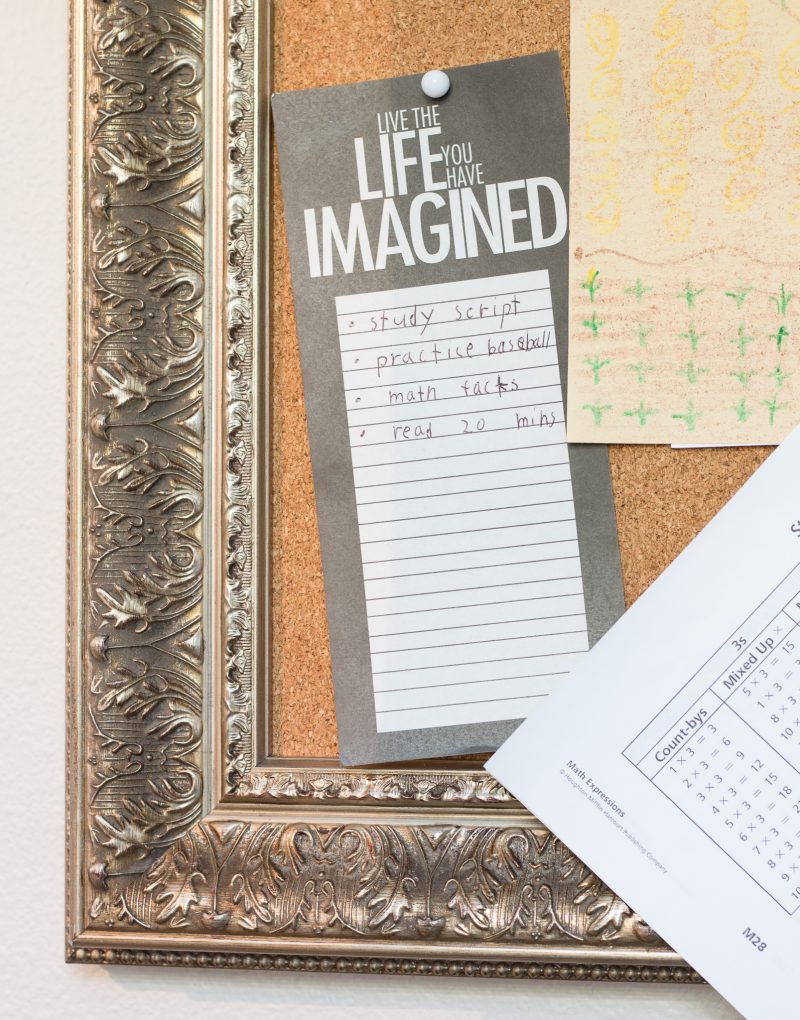
RESPONSIBILITY & ACCOUNTABILITY
I am really trying to take a lot of the responsiblity off of myself and place it back on the kiddos. We want them to be aware of what they need to accomplish during a week, write it down, and have a place to visually see it. Not to mention this helps us all when they say they have nothing to do. Umm. . . how about those math facts. We plan to write the to-do list when they come home from school on Mondays. Each week they can replace it with their updated list. Keep in mind these are the over arching weekly to-dos ( their nightly homework assignments are written in their planners).
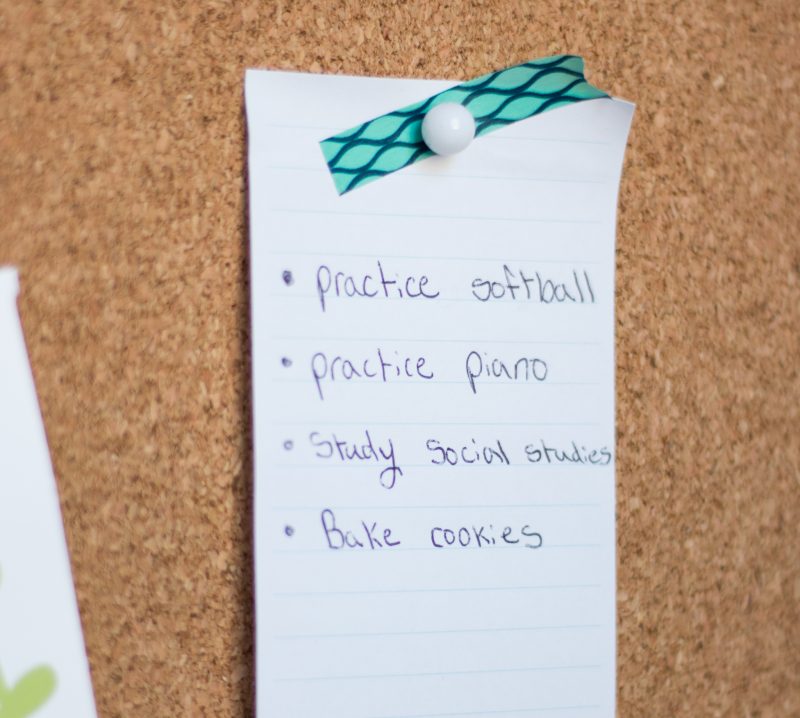
There is something about seeing their writing that gets me every time. I love it.
SEEING THIS IN CONTEXT
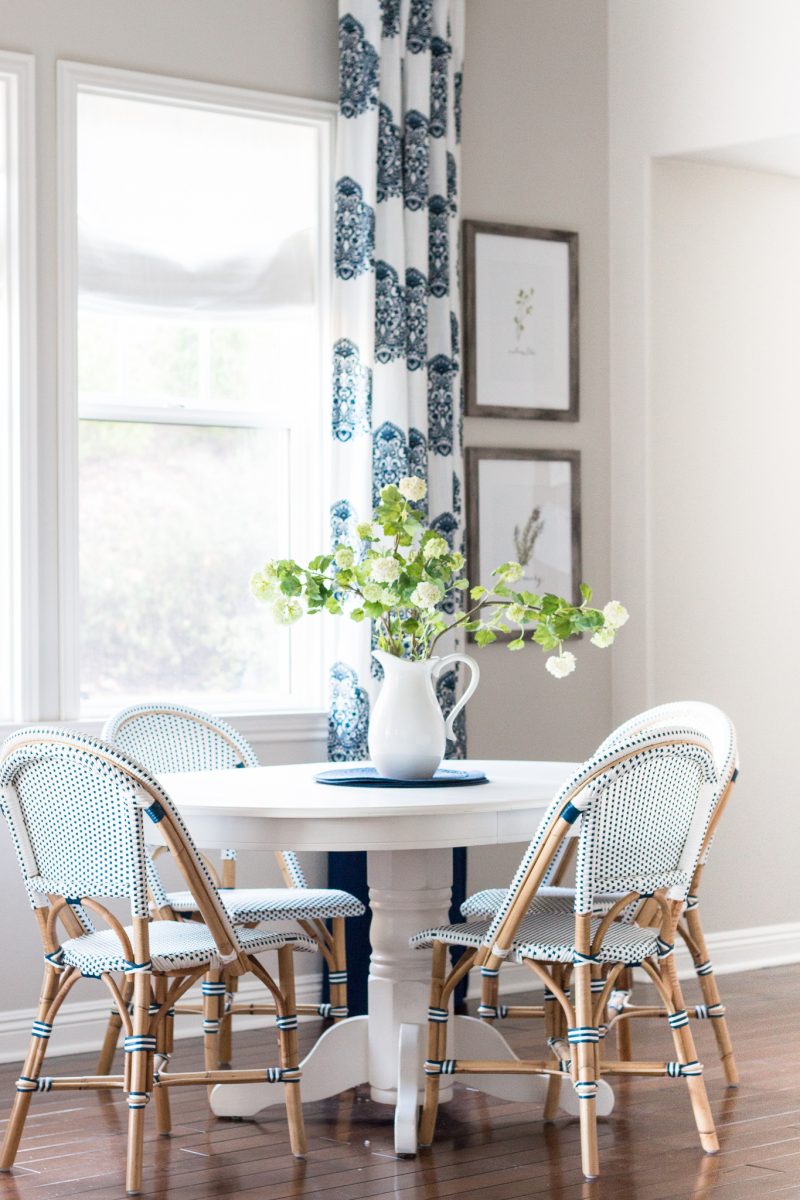
Just so you can get a feel for where this area is I included this shot of our breakfast nook. If you were to walk through the right side of the photo it’s a little hallway leading to our powder room. It’s a tough area to photograph but hopefully you get a sense for how this is right off of our kitchen area.
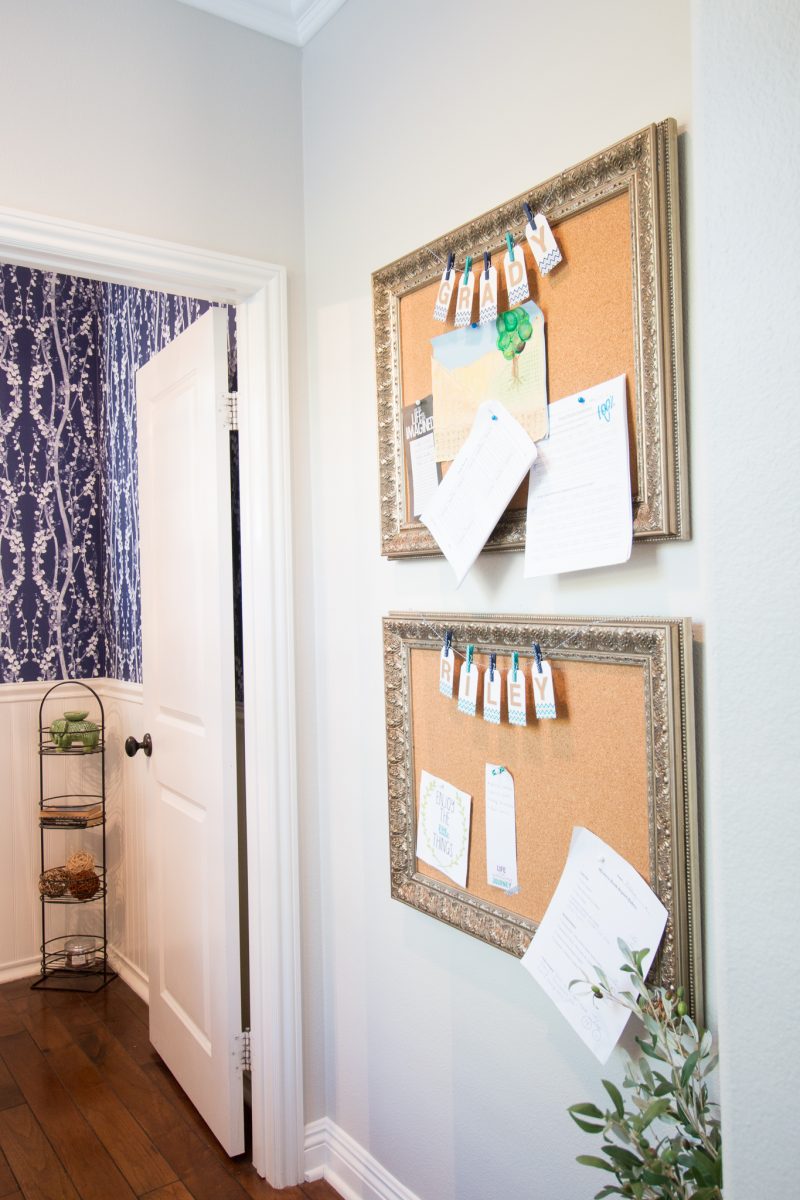
I’m so excited to finally have both of these made and hanging. It’s been on our to-do list since moving in. I just really like being able to have a separate board for each child. I’ll keep you posted on how our Monday to-do list making goes as well. Hoping this becomes a welcome habit in the house
I’ll be sharing more of our powder room reveal soon! As you can see we went bold which is always fun to do in a small space. To see more of my Michaels Makers projects you can go here.
Looking for more organization inspiration? Make sure you visit Michaels’ blog, The Glue String, to see the rest of the Michaels Makers’ organization project ideas. Whether it’s planning the family schedule, cleaning out your pantry or getting the kiddos ready to head back to school, Michaels has so many awesome things to help you get organized this year.
Love this idea and totally stealing it for when my daughter gets older. Question–where are your gorgeous navy and white curtains from in the breakfast nook?
Thanks, Melissa! The kids are excited so hoping they help everyone over here! Those were a lucky HomeGoods find. I added blue to the bottom to lengthen them for the space. Happy New Year to you and your family.
Love the wallpaper in the powder room – would love to do something similar in mine!
Thanks, Sue! I am excited to show more of that room. Tricky to photograph! Have a great start to the week.
Love this! Especially with your fab breakfast nook!!
Thanks, Sarah. Bit by bit it’s coming together. Wishing you guys a really wonderful New Year.
Beautiful and functional. Love it. And dying over that wallpaper in the powder room. Seeing all your pretty blue and white is making me want to bring more of it back into our home. We went more neutral several years ago and added a lot of chocolate brown (mainly in cabinetry and the fireplace mantle). While I do love the contrast it adds, I am ready to brighten things up a bit. Might just start with a few accessories.
Hope this doesn’t come up twice. Commented and then it said it was a duplicate and then disappeared. Beautiful and functional. Love it! And, I love the wallpaper in the powder room too. All your blue and white is making me want to bring it back into our home. I had it for many years, but then like most things tired of it. We went more neutral with tans, chocolate browns and greens. However, I would like to lighten things up a bit. Debating on painting our entertainment center and mantle surround back white, but feel it might get lost in the room (we have 20 foot ceilings and a lot of white trim already). However, the colors limit what accessories we can use. My favorite thing to change up.
Thanks for the helpful post. Your home is beautiful and I got caught up looking at your year in review posts again, you have a way of inspiring! I had a question about your drapes and rods in your formal living room. Do you mind sharing the sources for those?
Oh I love this idea! I have been trying to come up with a way to display my 15 month old’s art now that she’s starting to bring home 1 or 2 things each month from day care! I think this is perfect!
Oooh the border is so pretty! I love bulletins. So fun to customize! Thanks for sharing!
#TurnItUpTuesday
These are so pretty. What a great way to help keep kids organized. Thanks for sharing at Over the Moon.
I love how fancy your boards turned out. When my kids were small we did something similar. We had limited space and 3 kids so we ended up with 1 big board divided into 3 but the principle was the same. It does help for them each to have a space. All their letters from school went up and as they got older I’d have a copy of their timetables so I could keep track of what days what kit or equipment was needed (for gentle reminders!)
Having just the one place where all that stuff is really did work well.
I’m just a little sad that ours wasn’t as pretty as yours!
What a cool way to keep their art work and forms all in one spot and easily accessible. So cool!
You should link this up at #bloggerspotlight too!!
http://www.raisingfairiesandknights.com/blogger-spotlight-46/
My kids love bulletin boards too! Love the frames you used and the name banner with tags and clips! Thanks for sharing with Funtastic Friday!