So excited to share our latest DIY. We built this coat tree, or costume tree, as we like to call in just about an hour. I have been eyeing these for months and new that one in the new family playroom would be perfect. I have seen them in the cute stores but I wasn’t willing to pay over $100 for a coat tree. I knew we could make one and that it would be relatively simple. This is one of my favorite new items in our playroom. This has hours of fun written all over it. All of the details are below! 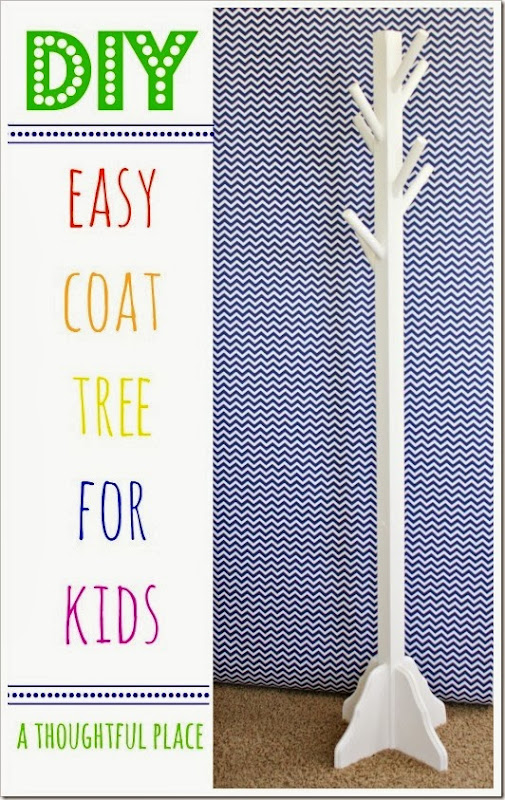
 We really just wanted to keep the coat tree simple and have a great place for the children to hang their costumes. The price point of $15 was great and by making it ourselves we could adjust the height to be just right for our two.
 wooden dowels cut into six inch sections {8-10} 1 2” x 2” 4 wooden shelf brackets
 wood glue total price = $15 {maybe have this on hand, but we did not need to use it} 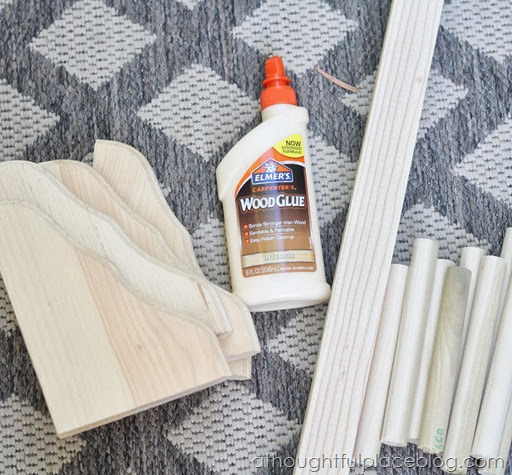 So I have to be totally honest about how all of these supplies came about. Although we have been wanting to do this project for a while, we had no intention of doing it this weekend but found ourselves in a HomeDepot aisle staring at supplies for a laundry room project. My kiddos were getting antsy so I handed them wooden dowels and suggested they use them as rhythm sticks {if they could play softly}. Great musical instrument on the fly, by the way! While looking at those
 rhythm sticks dowels a light bulb went off and I realized this entire aisle could hook us up with a coat rack. So I grabbed one long dowel to be cut into sections. We found a 2 x 2 in the same aisle and used the kiddos to see how tall we wanted it to be. We also grabbed four shelf brackets that we would use as the base. Done! It was off to have the dowels cut into 6 inch sections. We also had the 2 x 2 cut to 54”. This will vary based on the height of your children or grandchildren. 
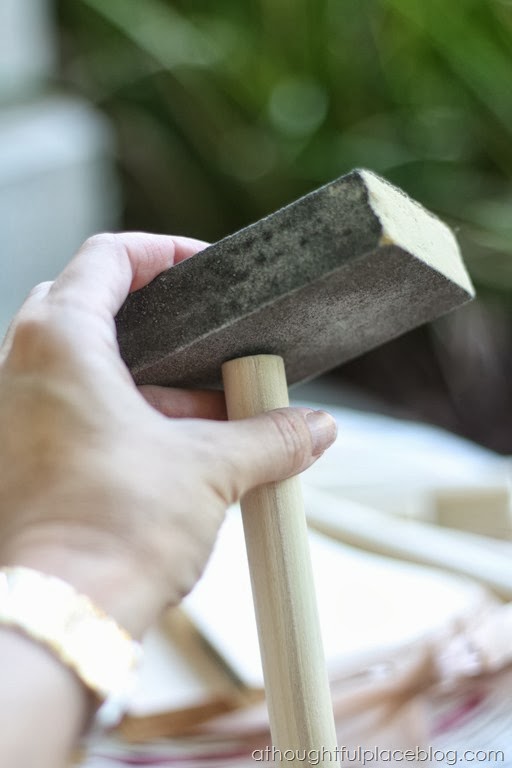
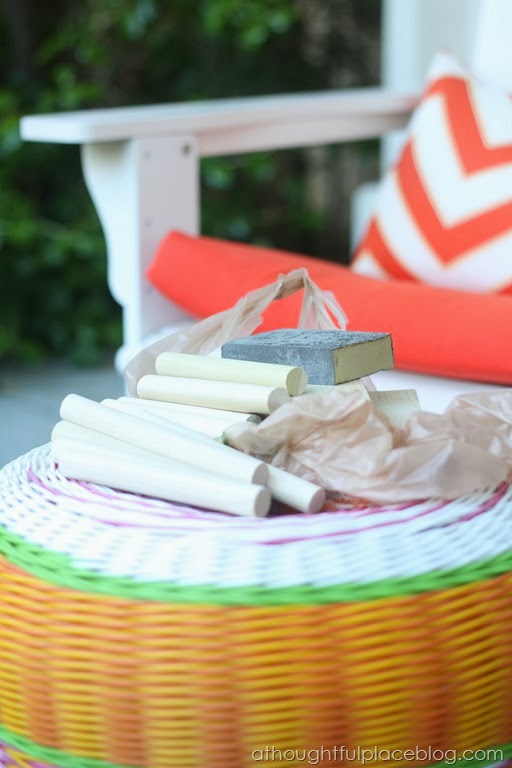 Step 1: Sand everything! It was a beautiful day so we took everything on the front porch. I sanded all of the dowels and the 2 x 2. You don’t want any rough edges for little ones and I tried to round the edges as much as possible. I also sanded the edges of the shelf brackets {they were crazy rough}.
  Step 2: This was a major team effort! While I sanded, my sweet hubby began drilling holes for the base. His tip is to drill all of the holes prior to putting the brackets on. It gets a bit tricky!!
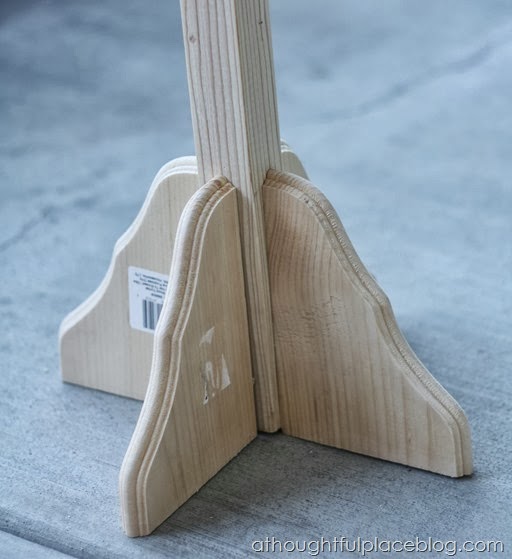
 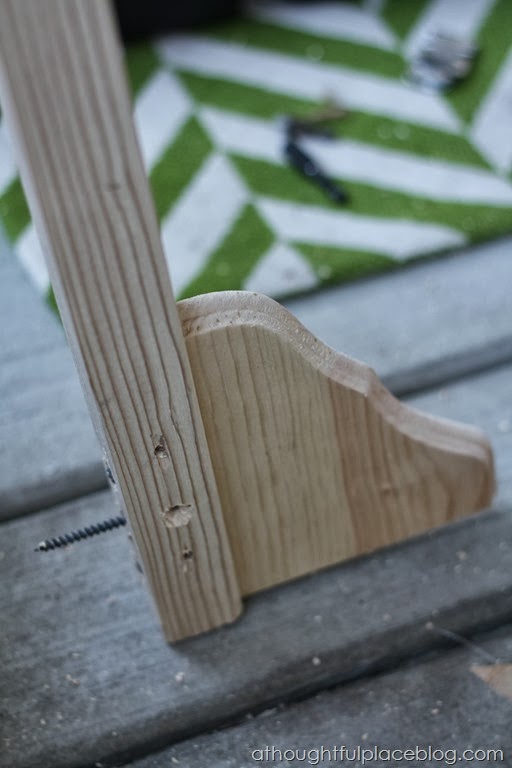 His biggest trick is to put a screw through the 2 x 2 before attaching the bracket to the other side. So you see above, he put a screw through, then attached the bracket on the right side. Then he took the left side bracket and wound it around the screw until it was flush with the wood. He did the same for the other side.
 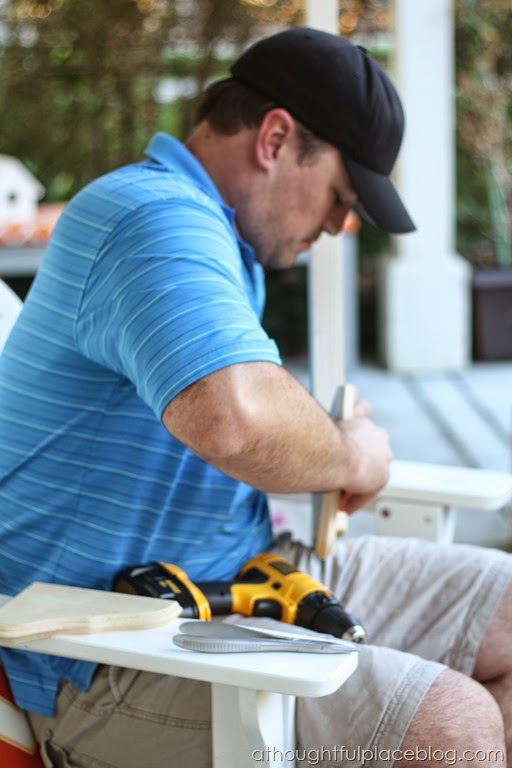 This man rocks. We had a great time sitting outside and working on this. It really only took us one hour from start to finish {not including the painting}. After he wound the brackets around the screws, he used a nail gun and shot one nail through the top to secure each bracket.
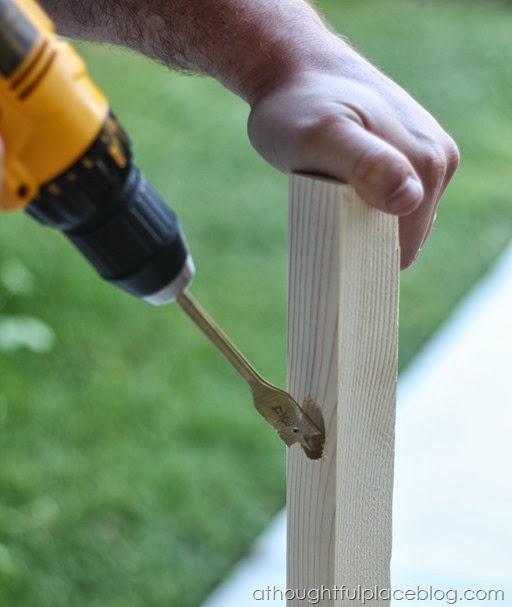
  Step 3: Once the base is secure, you are ready to drill holes for your dowels. He used a 3/4” drill bit. At an angle, the holes are perfect for the coat tree hooks.
  Step 4: Insert each dowel. We thought we would use wood glue here but they fit so snugly that we were able to skip that. Just remember to stagger your holes for each dowel as you rotate around the tree.
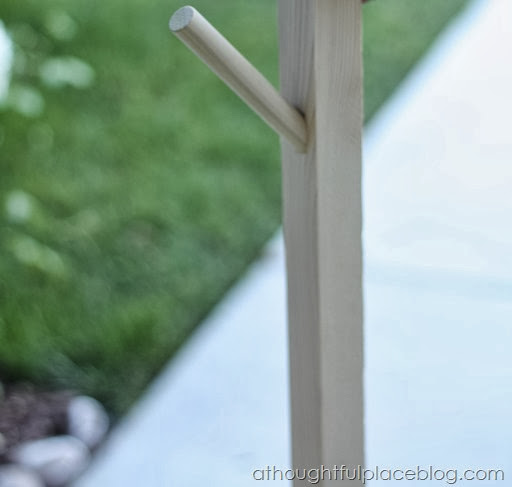
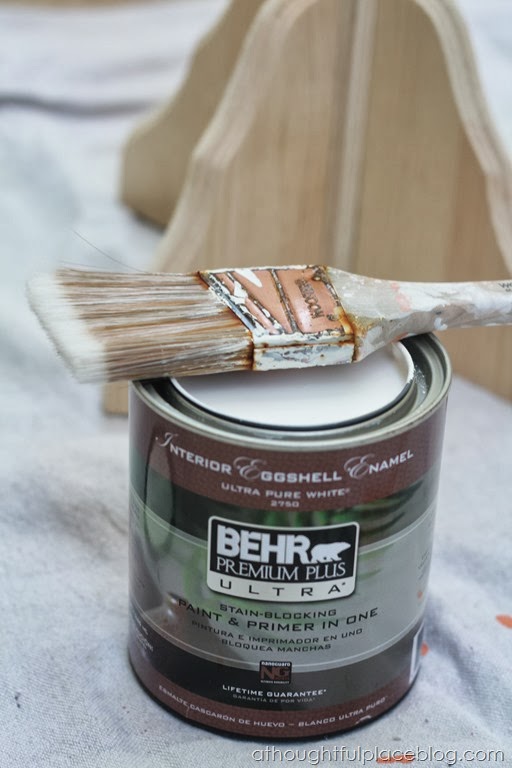
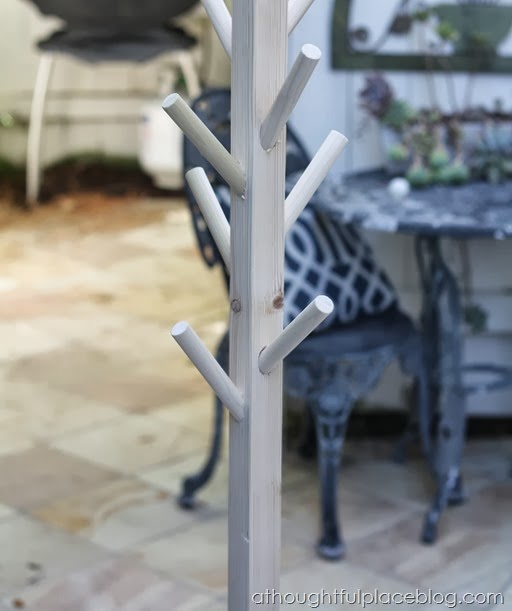 Step 5: All that is left is painting the new coat tree. I used Clear Moon by Behr. It took two coats. It takes very little paint so even a sample size would have worked! Save yourself some money!
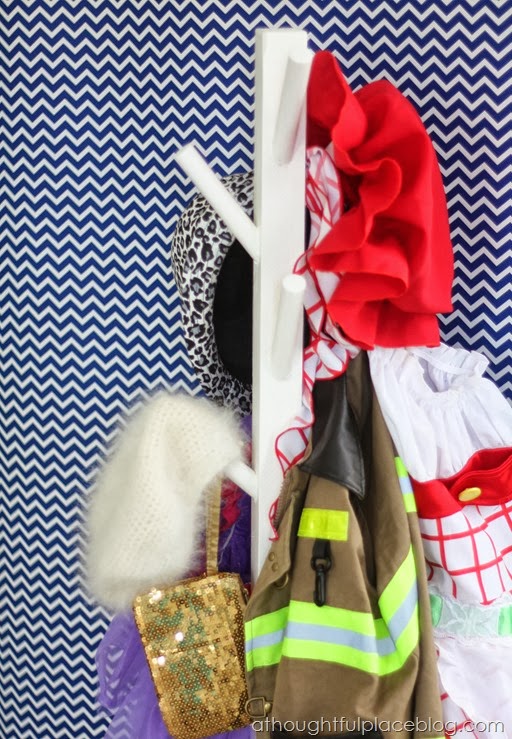
  And after two coats of paint and dry time, we have a brand new costume tree for the kiddos’ playroom! They love it and have been changing their outfits all weekend! I knew that if they were visible they would use them so much more. They love to put on shows, play musical instruments and dress up. While the princess wear is long gone, my daughter loves to funk it up and the crazier the better! I am all about encouraging this type of play so this was a fun DIY to tackle.
  …
… 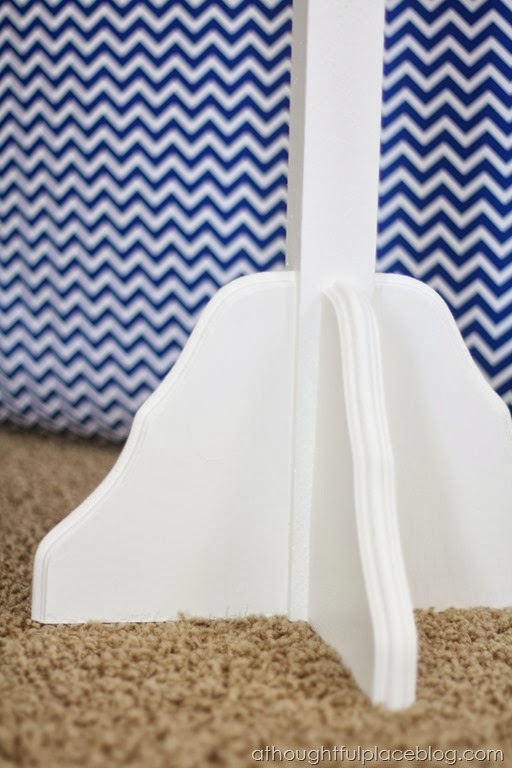
 This really was super simple. It didn’t take much more than an hour to build. The only thing we might change is to have larger brackets at the base. While it seems stable and has not fallen over, I can see where a larger base might be wise. Overall, I am so crazy excited to have the coat tree I have been lusting after and all for only $15. That is a heck of a lot better than most that run $100 or more.
 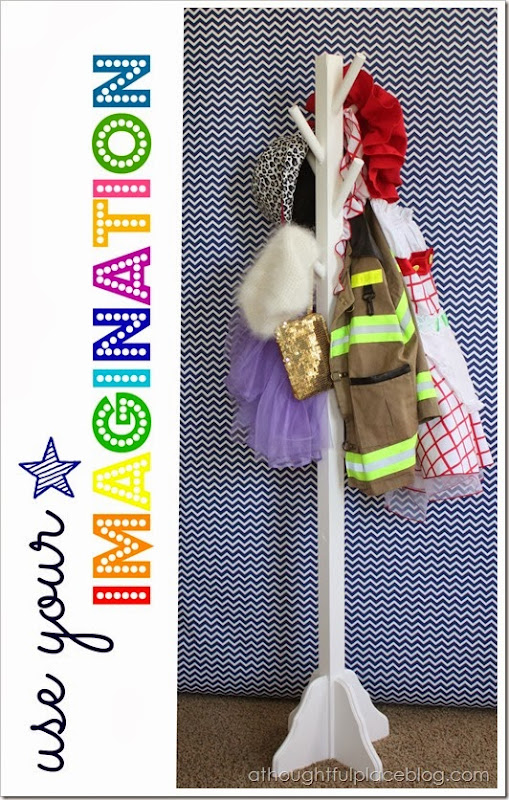 What’s even more fun about having this in the playroom is how they will be able to share it with their friends. I can’t wait to see them dress up and be silly. They are only this young and carefree for so long! To see more progress on our family playroom feel free to hop over here. Have a great day. **Dress Up Tip: Don’t forget to shop the after Halloween clearance sales to pick up fun dress up items for next to nothing!
I love this….could totally do this for my two little girls in their playroom!!! It looks awesome!!
~Stephanie @loveolympiajune
I hope you do! Really so simple to put together. Thanks for the nice compliment.
This is awesome!! Great job!
Thanks so much. The kids are loving it.
Such a great project!
Thanks, my friend.
A fun project and love that you and hubby worked on it together! It brings back memories of spending hours with my sister dressing up when we were little. Special times with lots of giggles!!
Yes! That is what we love hearing . . all of the laughter and seeing the crazy outfits they come up with!
Courtney, I love this! So adorable and a great, easy DIY 🙂
Love this! How cute and easy and I bet the kids love it! What a great addition to the playroom 🙂