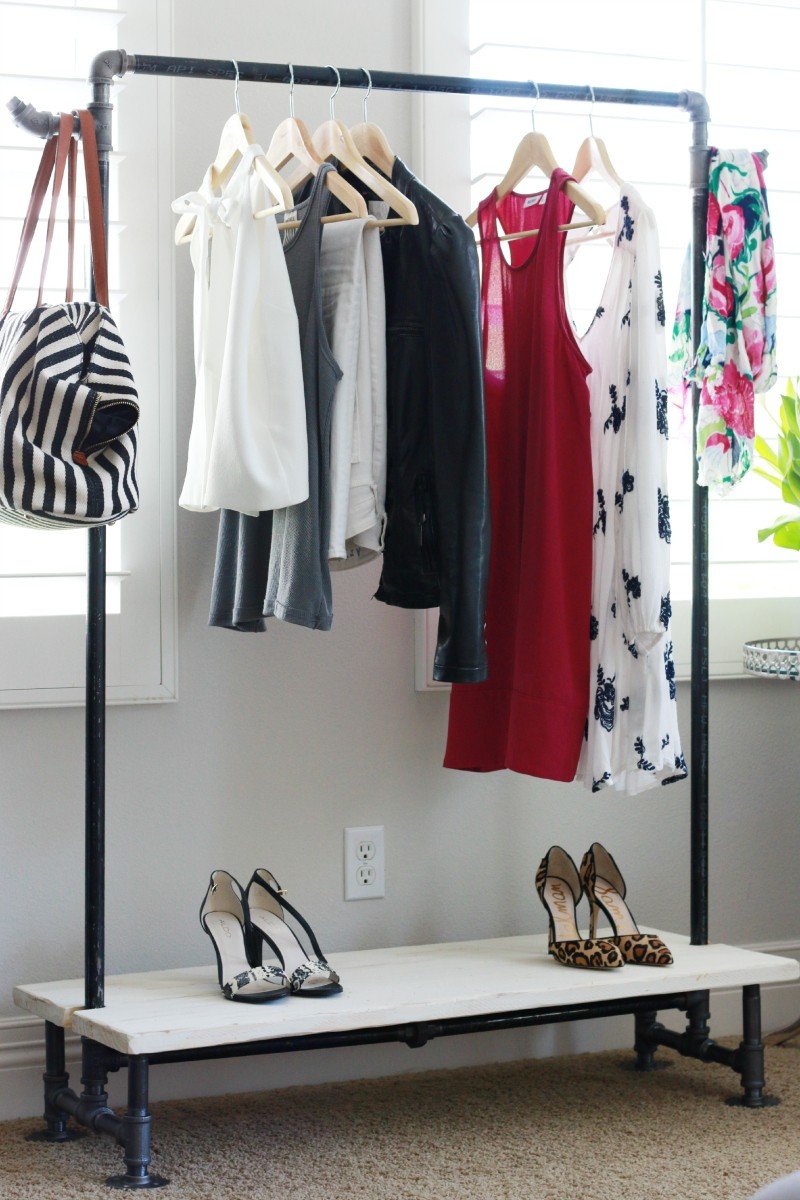
How is it Monday already? This weekend flew by so quickly. Thank you for all of the kind comments about the Saturday Shopping post and the black dress. Speaking of dresses, I am sharing the DIY garment rack my husband surprised me with while I was away for the weekend. He totally blew me away. I walked into our room and he had built the entire thing {and styled it with my daughter} as a huge surprise. I only mentioned having one once but you must know the back story!
So you may or may not know that I am a planner {no shock there}! So if we are headed out for a date night or if we are traveling, I start dragging pieces from my closet out to our room. Now keep in mind, we have a very small cozy closet and there is no extra room for planning purposes. So what normally happens is that our reading corner and chair become piled high with outfits. You should have seen it before our trip to Bora Bora. I was so happy to get on that plane and have a clean room again. So my very thoughtful husband realized that yes, this would come in handy all the time.
I am most excited that we can use this in our makeshift guest room when we have visitors. Our guest space does not have a closet so this will be perfect.
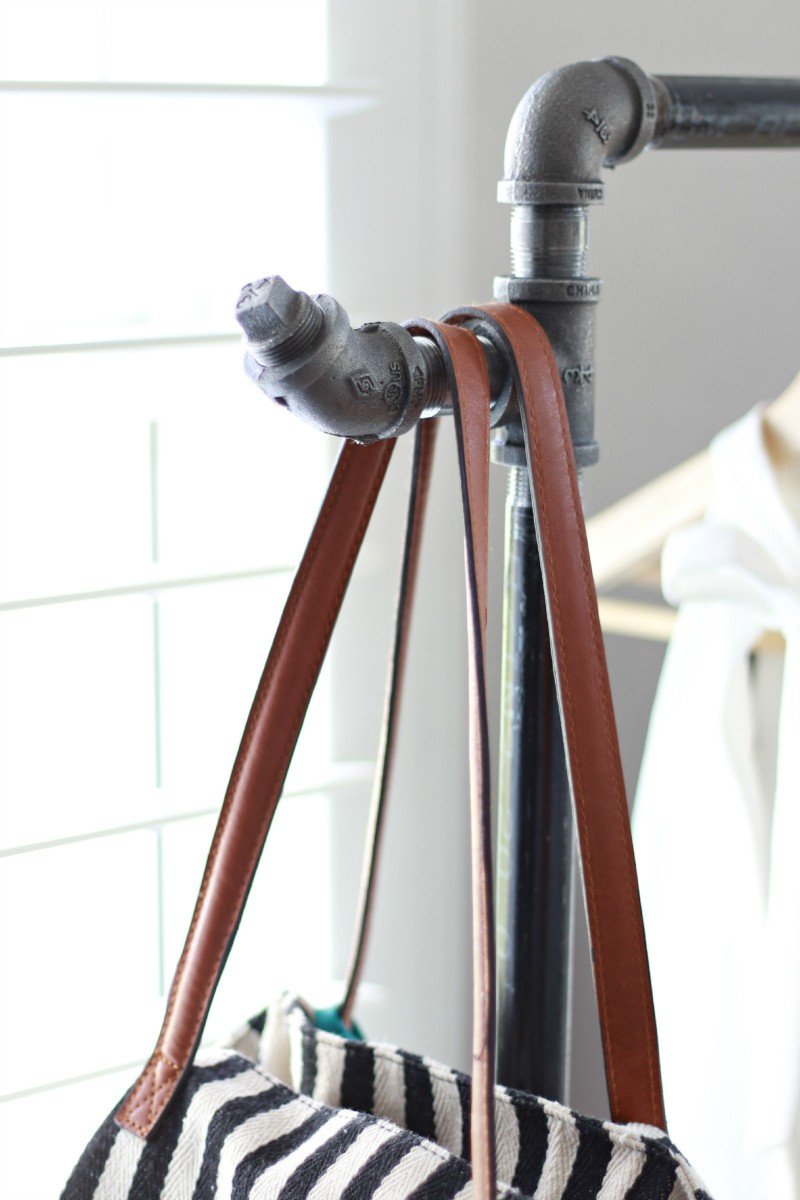
I love that the design he used has hooks on each side for handbags, scarves, hats, or jewelry. So now let’s talk about the design. My husband is a researcher, that’s for sure. So of course he turned to blogs {love it} to get the DIY instructions. He tells me he searched high and low and this was the one that he loved. This blog deserves all the design credit so hop on over to see the step by step.
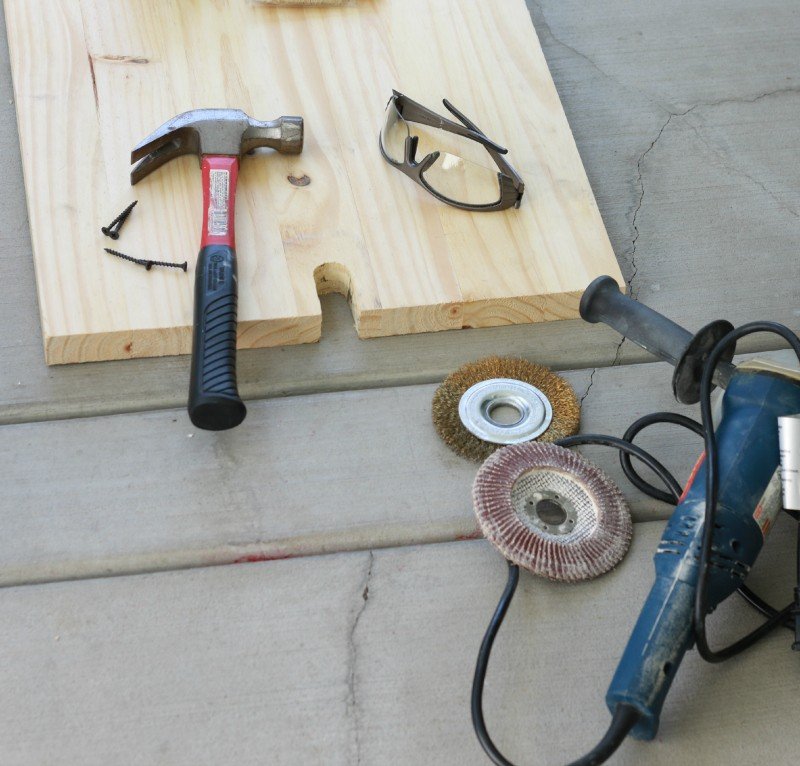
It was super sweet though because when I got home, he wanted me to choose how I wanted the bottom piece of wood. He didn’t know if I would want it stained dark or kept light. We did know it would look great beat up a bit so Ryan went to town with the hammer and the angle grinder. Using the angle grinder is an awesome awesome tip. It’s hard to tell in the photos, but it allowed him to round the edges as well as make them all a bit uneven. This made it look like a piece of salvaged wood.
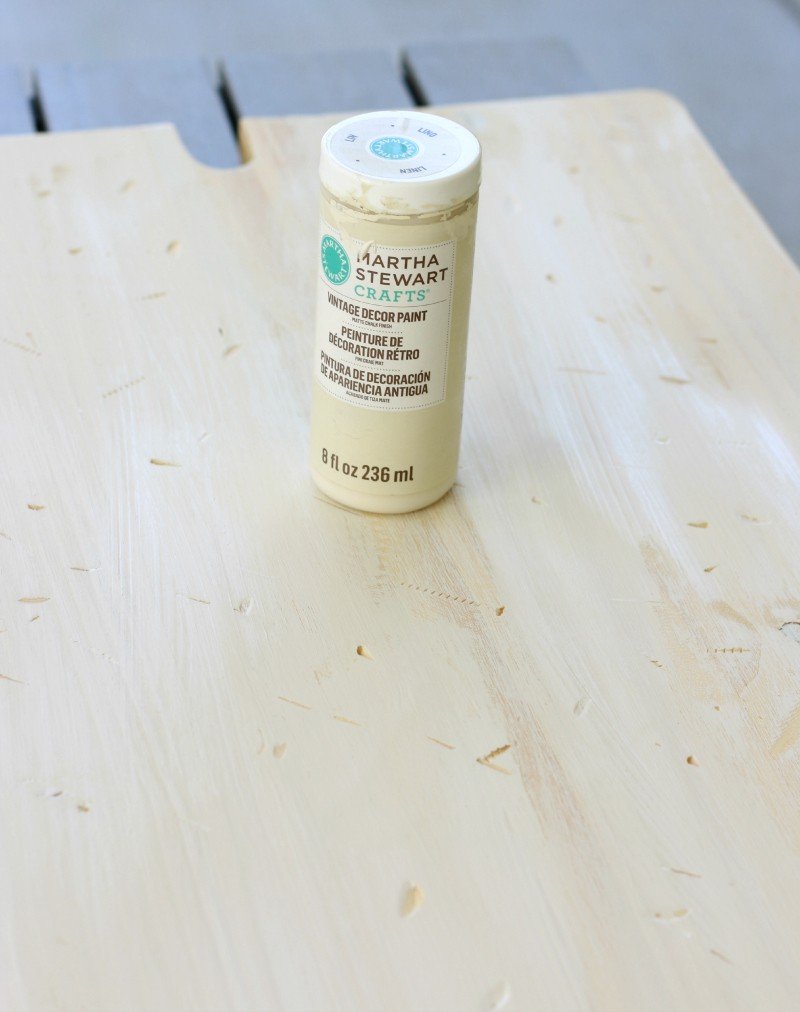
After going back and forth on staining or painting, we decided that the tried and true vintage decor paint would give the wood a nice aged look and be a great contrast with the dark pipes. I used a really really light coat of paint and chose not to cover the wood in some spots. That allowed a bit of the grain to come through. I really just wanted to keep it nice and light {works best with our room and the adjacent rug we have}.
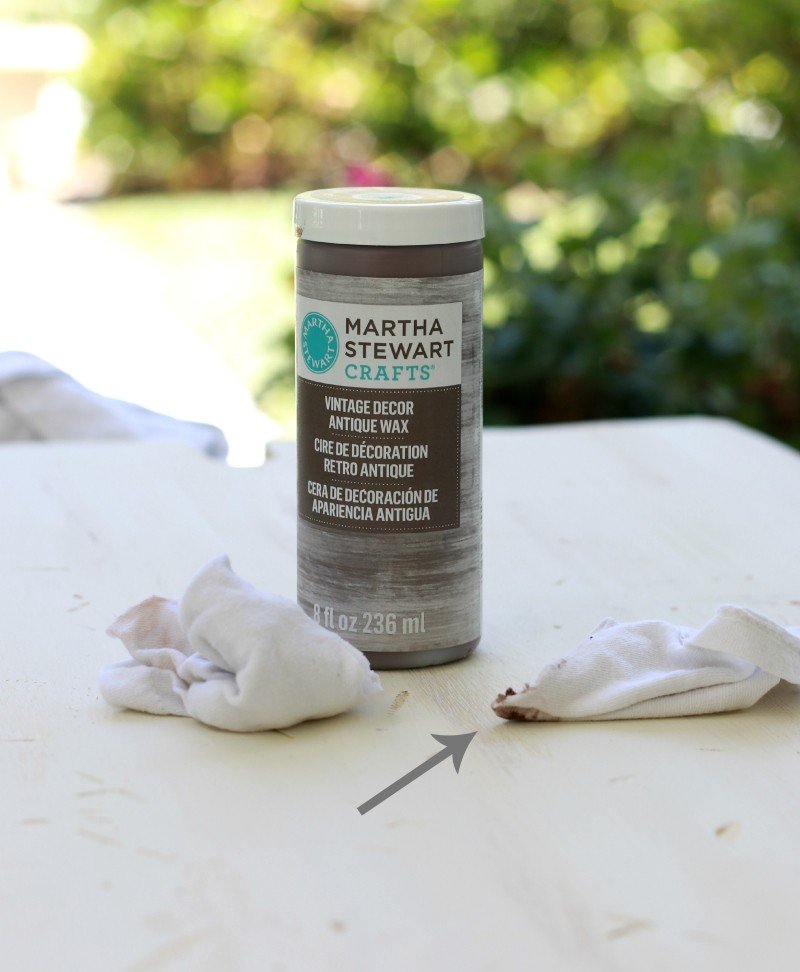
This next step takes a bit of practice. When you add the wax {this gives it more of an aged feel} stick to using it on the edges and just a few spots on top of the board. I like to cut up old t-shirts to use as rags and that is what I did for this. I put a dab {and I mean crazy tiny dab} on the tip of the cloth and barely touch it to the wood. It works great on the edges. After you wipe a bit on, take another clean cloth and rub it until you get your desired look. If you have never used the wax practice on a piece of wood. It can go on too thick and turn your piece brown.
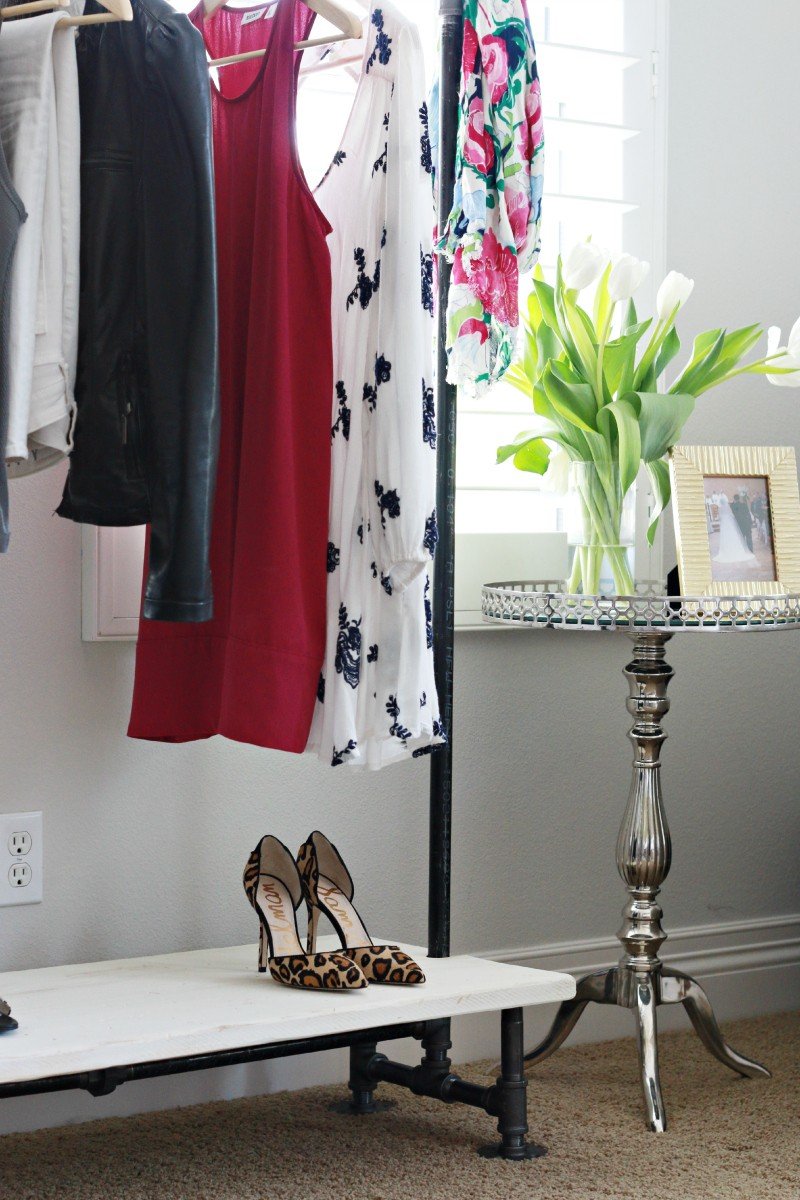
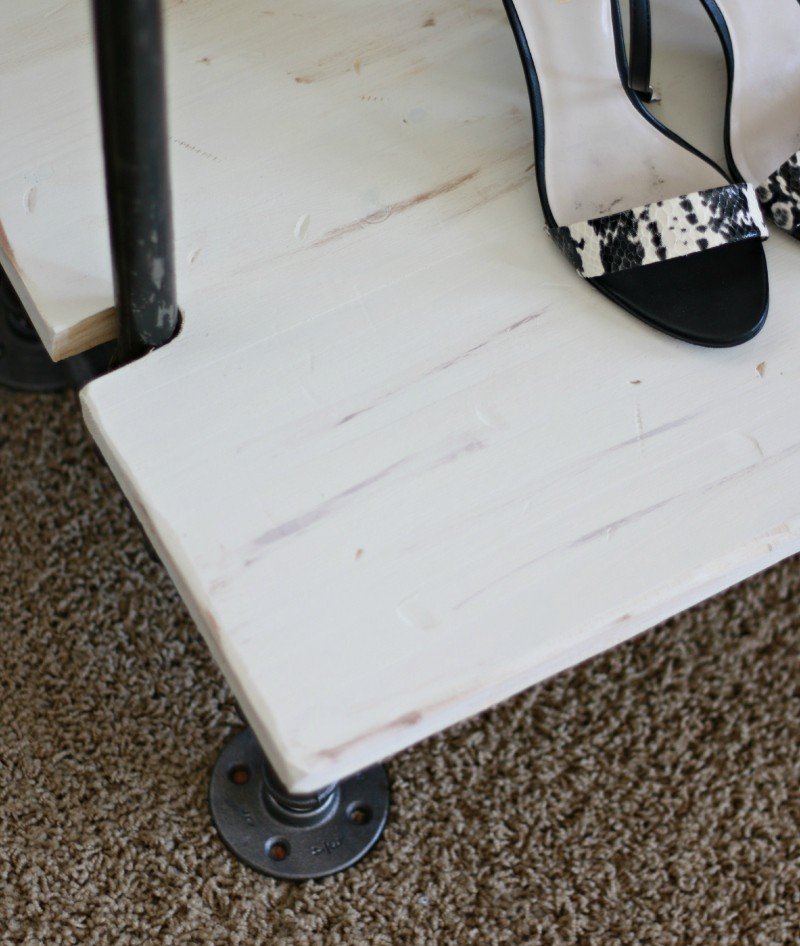
This shot lets you see a bit of the distressing. It really is hard to capture in photos as it is very subtle. In person it is quite lovely.
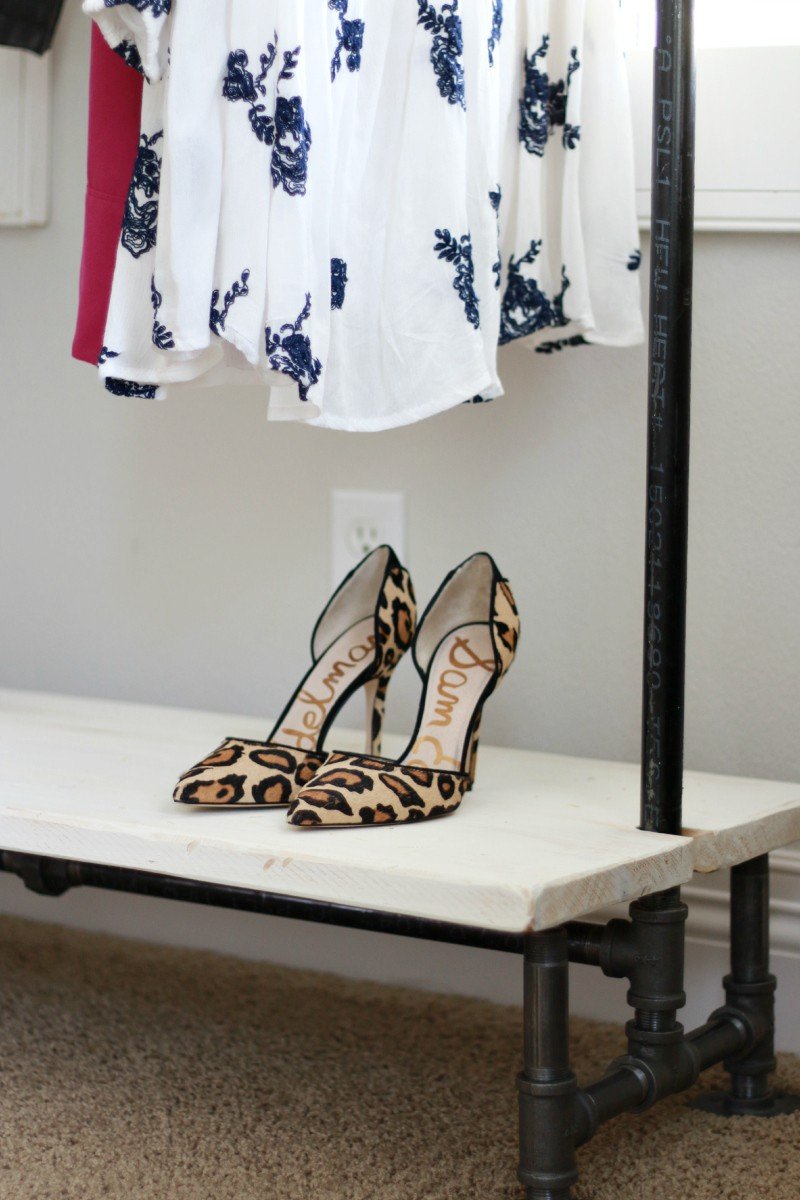
Part of why my husband chose this design is because of the base. It really is a cool industrial look with the pipes and the wood.
And Saturday Shopping posts will be so much easier to style now that I have a fun place to hang everything. Bottom line, I am ready to go on vacation just so I can plan and pack without destroying our bedroom! It’s a very good thing. And to my amazing husband, I can’t thank you enough. This was the biggest surprise ever and I loved putting the finishing touches on it with you.
What’s On the Rack
Enjoy your day! I am off to plan more of my husband’s birthday. We are in full celebration season over here with all of our birthdays falling one right after the other. For the record, does anyone else think men are hard to buy for? If you have any good ideas or tricks up your sleeve please let me know.
Don’t forget Mother’s Day is just around the corner. If you missed my gift guide you can get caught up here.


What a thoughtful surprise! That is so sweet. It looks great, too. I am sure you will get a lot of use out of it. I could see using one to plan my weekly work outfits. I may need to give my hubby a few hints – ha ha!
Hope you have a wonderful week!
“The Busy Brunette”
http://thebusybrunette.blogspot.com/
Oh, I love it. I do think I will use it constantly. Maybe he was just tired of our messy room. Ha!
Have a great week. xo
I love this! Such a great addition to a closet!
Her Heartland Soul
http://herheartlandsoul.com
Thank you, Erin. The boy did well. Hope you’re off to a great Monday so far.
That Ryan is a real keeper…always so thoughtful! Love these racks..I’ve been trying to find a reason and place for one…I think you just convinced me! Looks great!
Wow, I love this! I think I could convince my husband to make one of these if he thought it would keep me from piling clothes on the chair. Worth a shot!
Hi Courtney, I am interested in making a garment rack like yours. I clinked on the DIY instructions and the link to the original blog source and it looks like the blog was removed. Did your husband happen to print out the instructions? I love the look of this and it will be perfect for my daughter’s new apartment in Philly. Any info you can give me would be much appreciated!! I love your blog and have been a long time follower!!
Thank you!
Kim Zech
Hi Courtney, love this DIY. Would you mind re sharing the link to the instructions? The link mentioned in your post is broken.