Today I am sharing with you one of my favorite client projects and details on how to make a padded headboard. This is part of the beach house I have been working on. This project is near and dear to my heart as it was a surprise for the client’s daughter and it took some serious blood, sweat, and tears to pull it off! The end result is a custom faux leather headboard {made for less than $100} and a plethora of soft pillows! …  My client wanted to surprise her teenage daughter with a new space. Her daughter found the image below and told her mom she would love her room to look like that. So I took on the challenge and re-created the look in under one week. I wanted to mimic the look but incorporate her love of the color lavender as well. I would love to know the original source of the design, so if anyone knows, please email me.
 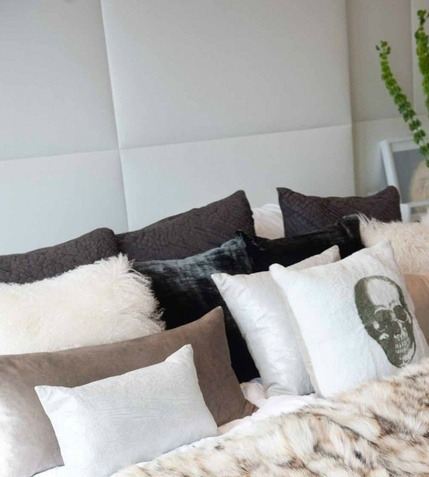 {via tumblr} The major dilemma was that her bed is a queen and is turned sideways more like a daybed. She loves it that way and that meant we needed a headboard that would span roughly 84 inches. Not happening. So it was a DIY in the making! I found white vinyl which gives the appearance of leather at Hobby Lobby. At just $10 a yard. this was off to a great start. For an 84” x 48” headboard I used 2 1/2 yards of fabric. I had maybe three inches left to spare! Step 1: Lay the fabric upside down and mark of six sections. I wanted my panels to be roughly 23” x 27”. Add 2-3 inches to each measurement to allow for the fabric to wrap around your wood. So I marked off rectangles measuring 25” x 29”
 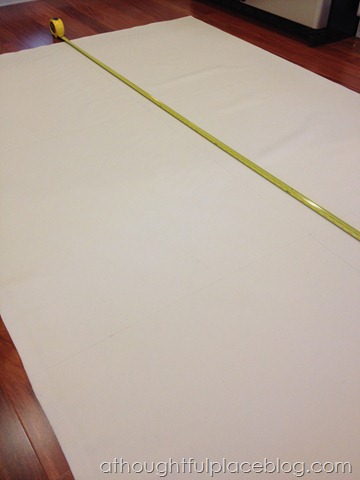 Here is what my panels of faux leather look like once cut.
 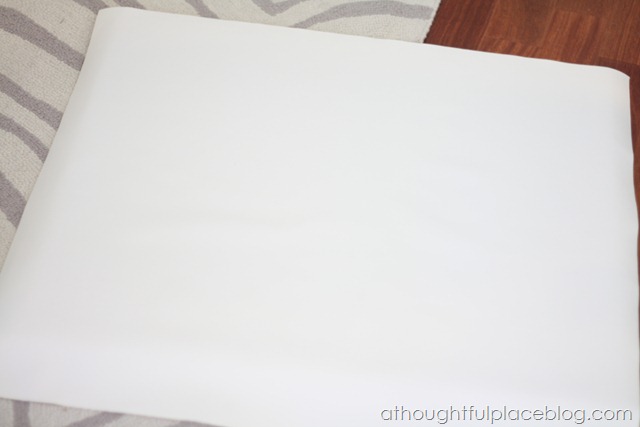 Step 2: I chose to use pieces of MDF as my backing. I did not want them to be too heavy or too thick. They were already the perfect width so Home Depot made one cut on each for me.
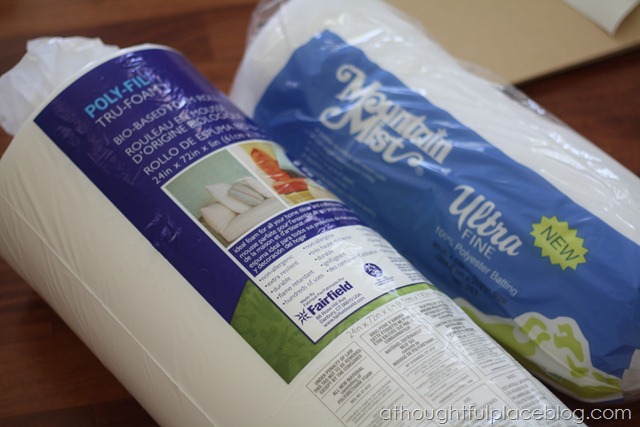
 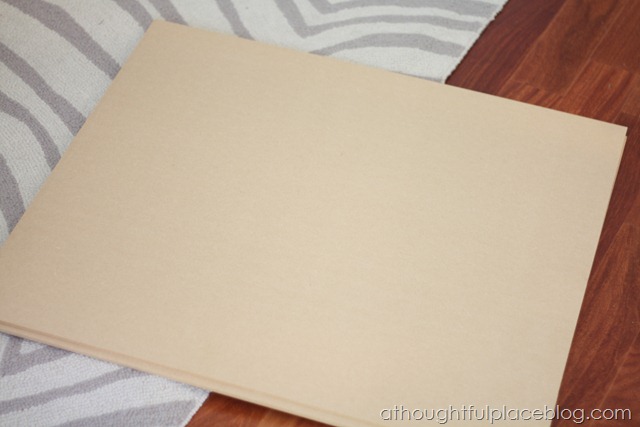 The other supplies necessary: I” foam, batting, and a staple gun.
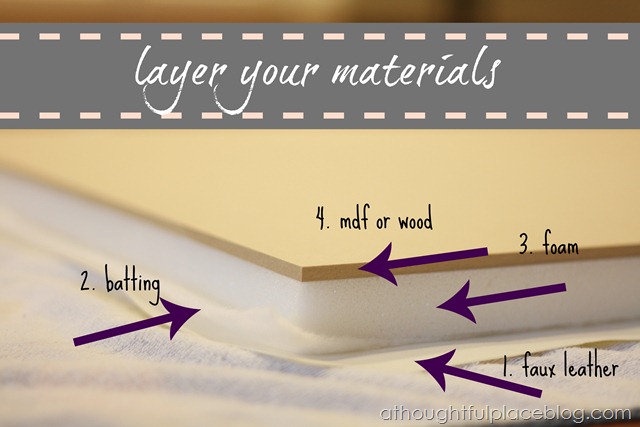
  Step 3: Now it’s time to lay all of your layers down on the floor. Start by placing the vinyl on the floor {right side down} and then layering with batting, foam, and wood.
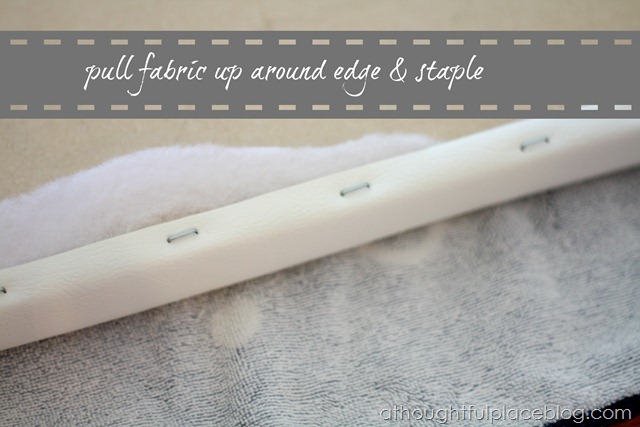
  Step 4: This really takes two people. Fold up the fabric onto the back and staple all the way around. I tried buying an electric staple fun to make things easier, but it did not work well at all. It was back to the hand held horribly painful manual staple gun. Oh, well! I always do one side and then the opposite side first. Then work your way to the other two sides. When it comes to the corners, I fold them like I am wrapping a gift so they stay as flush with the panel as possible. And truly my hubby gets the credit for these being stapled! He sort of rocks.
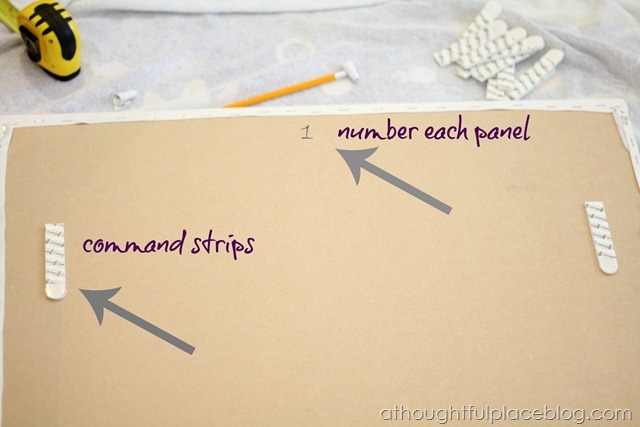
  Step 5: Once you have created all of the panels, practice lining them up next to one another. Due to variation in edges a bit, play around with them to find the best fit for all six panels. Once you do that, number them on the back so you know which panel goes where on the wall.
 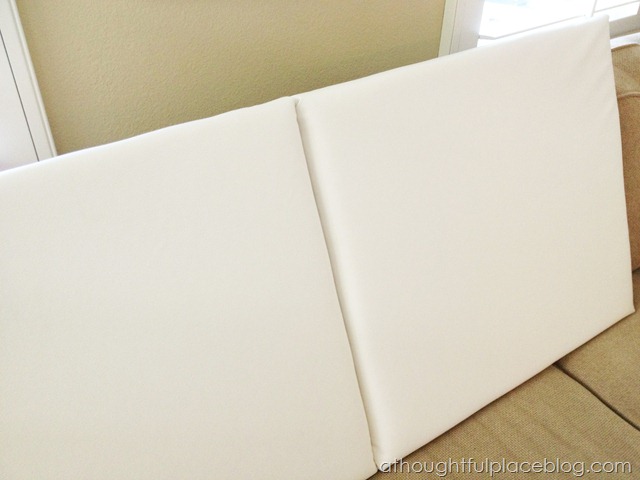 Step 6: Once the panels are complete, you can trim any extra batting that may be on the edges. You will want the panels to be as flat as possible on the back. This way, you can use the Velcro strips to adhere each one to the wall. By creating six different panels, I was able to avoid having one large heavy piece to transport and hang. The strips hold up to 16lbs. Each panel was well under two pounds so the weight is no issue. I also love that the walls are free and clear of any holes or damage.
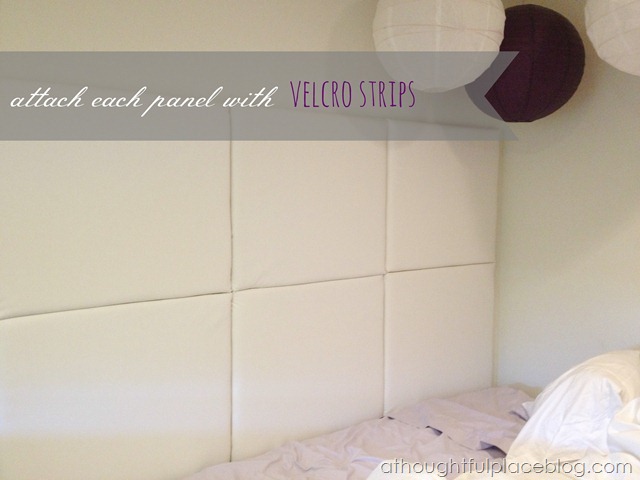
  Over the weekend, I was able to sneak over to the beach house for the installation of the room. My client’s daughter was away for the night so the surprise was in full swing! I made sure to measure exactly where I wanted my first panel with how it aligned with the edge of the mattress. Once I knew where to place the first one {I began with the bottom left and worked my way across the first row}, I held it in place with a level on top to be sure it was straight. Then I marked the wall with a pencil so I could take it down and peel off the strips. They really all went up so easily and fit nice and snug next to one another. If you are thinking I did the happy dance, I sure did. It’s always a moment for me when I see an idea actually put into practice and it works!
  The fun part was putting all of the finishing touches on the bed. The pillows are a fun mix of textures and soft colors.
 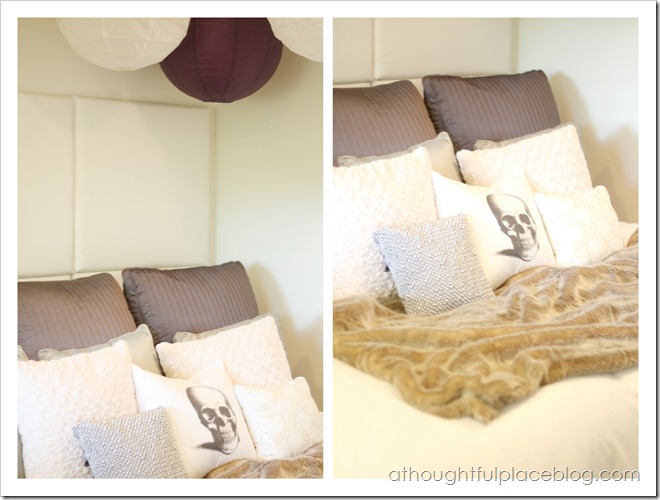 Another great thing about building this type of headboard is that it takes up very little space in the room. The panels are only about two inches thick and by going vertically with them, it really creates a dramatic look in this small space.
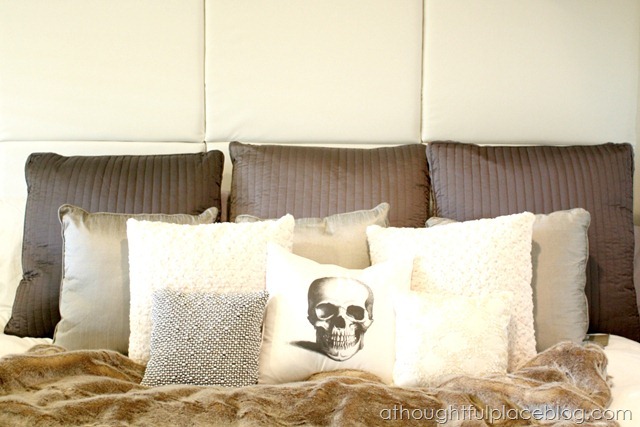
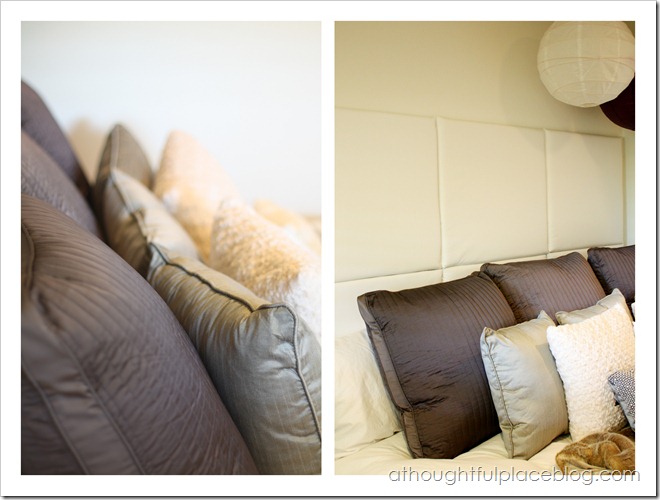 …………………….chic teen room …
 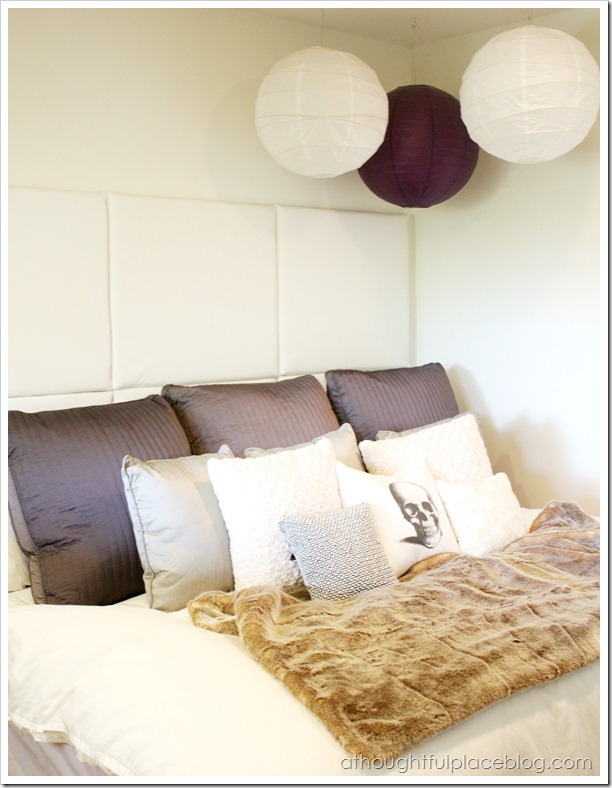 There was nothing better than receiving the photos yesterday of my client’s daughter seeing her room for the first time. So cute to see her totally shocked. She wasted not time snuggling up in her cool new bedroom. It was truly a pleasure to re-create this space for such a sweet girl.
Super cool! And super creative of you to pull off the custom look yourself. It came out great! Was this the frustrating staple gun project??
This turned out so awesome! I love this custom paneled headboard!
Wow! Well done friend!
What a fabulous surprise and creative idea for a day bed! I used your clever Home Depot lighting idea for a teen room in my post today. Keep those unique ideas coming, girl! 🙂
Well done girl!! That turned out awesome! loving all the pillows too!
I LOVE that you used command hooks to hand these. I use them everywhere.
That looks so great!! And how fun that you were able to surprise her! I remember I did that for Jackson several years ago with his room…still chokes me up to remember his face! Good to know the command strips how them up no problem…I think I'll try them on my latest project for his room. xo
Wow – this looks great! I would have never guessed you used command hooks to hold these.
This looks great, Courtney! One question…since you stuck the command strips straight to the wall, how would you remove them since the pull-tabs are hidden behind the panels? Or did you use the velcro ones so they'd be easily removable? I'm assuming if you tried to pull it straight off the wall, that would damage the surface. Any tips would be helpful, since this is a problem I've run into in the past!
That is totally amazing…and nothing better than a teen getting a surprise like that from a parent! So sweet and thoughtful, and that headboard turned out totally amazing! Bravo, girl!
Such a great idea Courtney. I have been looking for inexpensive ideas for our room and looks looks great. I am going to show Dave tonight.
I love that idea, Courtney. Thank you for sharing…..I need to make a new headboard for my son, maybe I will do this!
SO cute, love the touch of the skull cushion! 🙂
Madebygirl.blogspot.com
MadeByGirl.com
Looks great! I am very inspired to finally finsish little Miss Kaitlyn's room! We'll see…..
So cool! And now you've got people thinking of all the ways they could do that in their homes with different fabrics:)
What a fun room! Lucky girl! Awesome DIY…I'll have to keep this one in mind for the future! 😉 Thanks for sharing this with us, Courtney!
~Abby =)
You make this look so easy and do-able! Definitely going to keep this in mind.
Oh how chic, what a treat for a lucky girl! Janell
I love this! It's absolutely adorable! I actually posted about the headboard that me and my husband just made on my blog today!
ok this room looks fierce and luxurious!! I've been wanting a headboard for so long! Bookmarking this!
I was just looking for a good idea for the headboard of my bed. Your idea is adorable and
your blog is really nice and full of ideas.
ciao
Nicole
Wow! excellent I love this marvelous headboard. I have king size bed but didn't buy a headboard. I like your idea and want to make a headboard myself. Thanks for sharing this wonderful post.
Excellently written article, if only all bloggers offered the same content as you, the internet would be a much better place. Please keep it up!
Upholstery