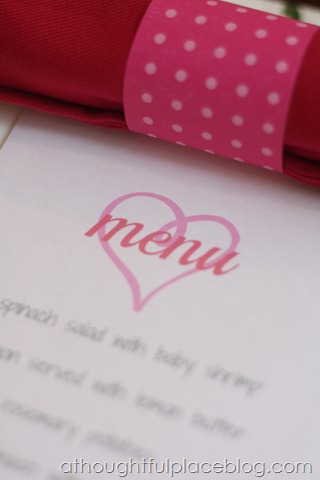
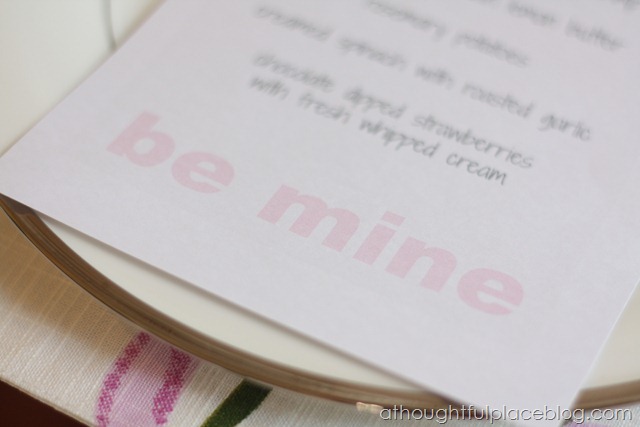
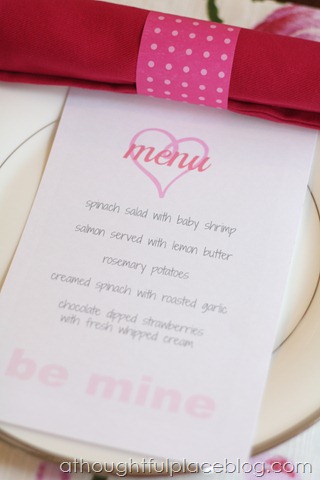
After the holidays, I showed you a menu I made for our Christmas dinner. It was fun to have one at each place setting and just added a personal feel to the table. Today I am attempting to do a tutorial for these menus. I wish I could jump through the screen and just show you. That is how I learn best! But since I can not do that, I tried really hard to map out each and every step for you below. Here is a look at the menu I created for a February tablescape. ……………………..make a menu 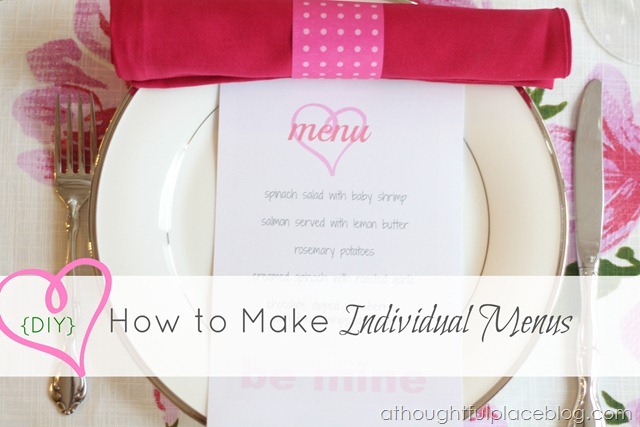 …
… 
 …
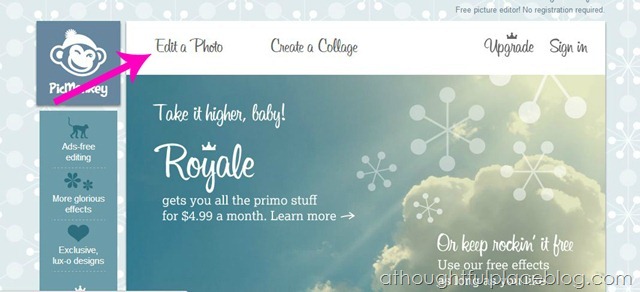
…  …………………………..the tutorial I use PicMonkey to make my photos. You can go here to use the editing program {it is free to use with options to upgrade which I have not needed to do yet}. Once you are on the homepage, you select “Edit a Photo.”
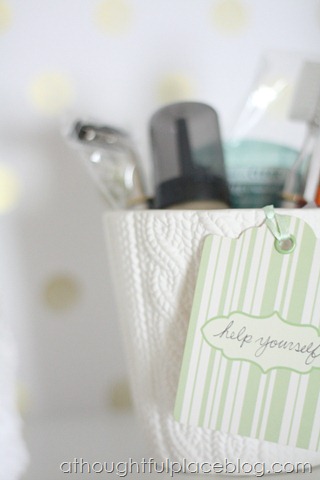
  You will be prompted to choose a photo from you computer. Pick any photo. This part does not matter. You just want to bring in a jpeg as this is the only way to create something new. I chose the one below. Again, it doesn’t matter. Just grab a photo.
  Once you have a photo, go to this part of the screen {on the left} that says “Basic Edits” and click on what I am pointing to. It will take you to the overlay section.
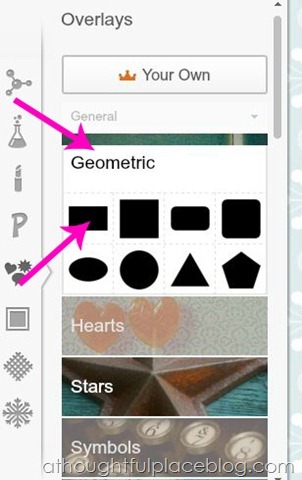
  After clicking on overlays, you will have options. Click the “geometric” option that the pink arrow is pointing to. Once you do that, click on the very first black rectangle. I use this ALL THE TIME!!!!
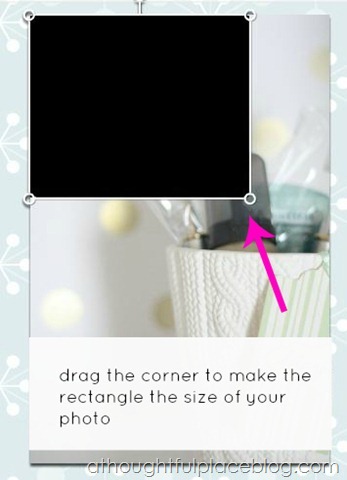
  Once you have the rectangle, just drag it to fit the entire photo. You are essentially trying to cover your photo so you have a blank canvas from which to work! Get it!?
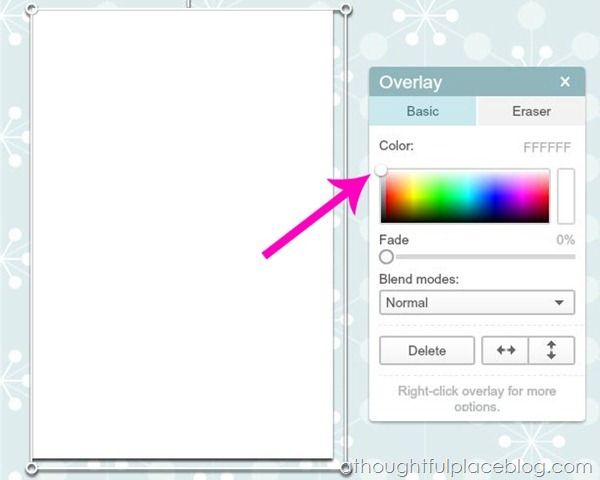
  So I covered my entire photo with the black rectangle. I do not want my menu to be black so now I will look at the “overlay” box of options and choose a different color. If you want bright white, be sure to click all the way in the very top left corner where the pink arrow is pointing. But you can choose any color that fits your project.
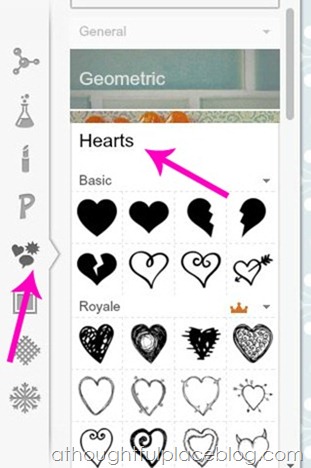
  Now I go back over to the left side of the screen and this time I choose “Hearts” instead of Geometric. This will allow me to choose the heart I want for this menu. Simply click on the heart you like.
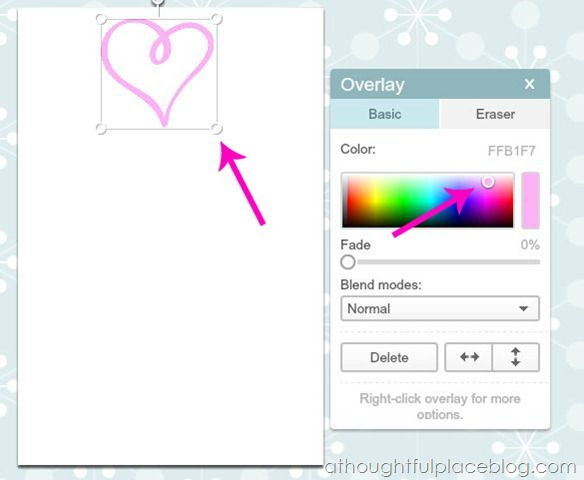
  Anytime you choose an overlay, you can the edit the size, color, etc. as I have shown you with the arrows.
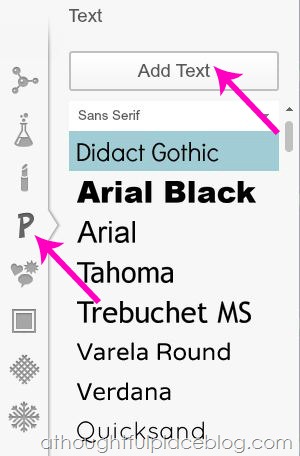
  I am ready to add text so I go back over to the left side of the screen and to write anything, you simply click on the “P” as the arrow points to. Once you click on that “P” you will need to click the “Add Text” box. You will then see a box pop up on your project that you can write in. Of course you can choose any fonts and sizes you want. This program is very easy to customize and edit.
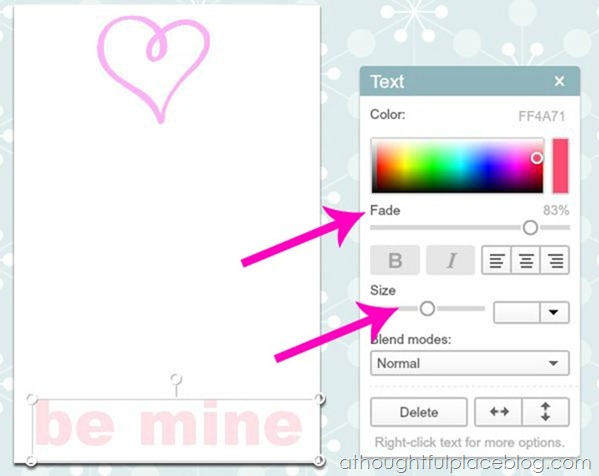
  One of my favorite options is the “fade” tool. It will lighten your words and if you do this over a photo, it will let you see the photo through it. Definitely play around with it. I faded the “Be Mine” until I loved the color.
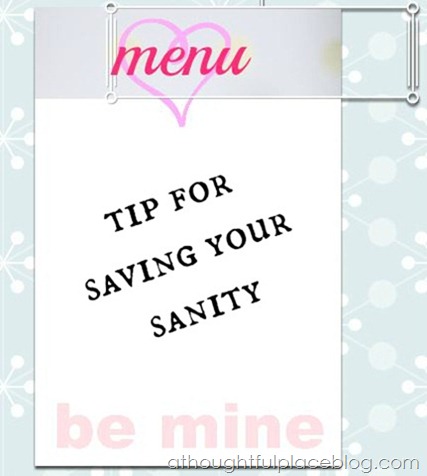
  Continue to “add text” anywhere new that you want to type. This tip is REALLY IMPORTANT!!!!!! Listen up! At times, you will suddenly find that you can not go back to something you wrote. It won’t allow you to click on it. The fastest way to get around this is to click on the white box and drag it out of the way for a moment. I promise this will save you headaches. So below I clicked on the white box and dragged it down so I could edit my “menu” typing. Then when I was happy with it, I just drag the white box right back over it. Hope that saves you frustration if you run into the problem like I have.
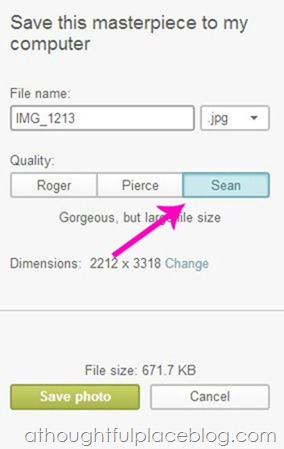
  To type the actual food names for the menu I chose another “add text” and typed away. Nothing to it. You can resize, move, change color, play with fonts, etc. Then you need to save your work at the top of the page. Save it anywhere you want on your computer. I always change my file to “Sean” as you see below. It will be the best quality. And don’t forget to add .jpg after the name of your project or it will not save.
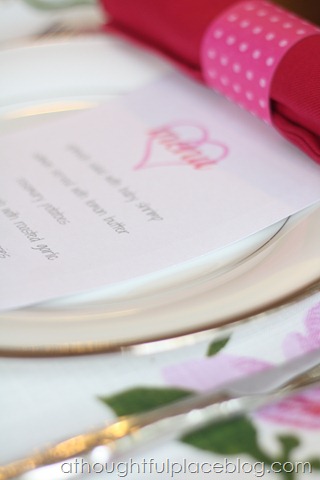
  Once you have saved your photo, you can print it as you would any other photo. I typically open Picasa and print two on a page from there. I use cardstock that I buy in bulk from Target or a local paper supply company. Here is another look at them on the Valentine’s Day table {more on that later}.
 ***If you wanted to make the process faster, you could take a photo of something white and use that as your starting photo. You would then skip the step of having to cover up the photo with a white overlay. Just food for thought. You can see the Christmas menu I made here. The possibilities are endless. If it were a birthday party, you could have the monogram of the birthday guest. Really you can do anything and once you get the hang of using Pic Monkey it is so so easy.
  {click here to see the Christmas dinner menu} I highly recommend playing around with PicMonkey for projects like this. It is so easy to use and once you learn how to cover a photo like I showed you, you can really create any type of document and it is much easier than some publishing programs. You could use this technique to make invitations, thank you cards, valentines, etc. You get the picture! Good luck! Happy Monday to you all. . . and happy entertaining!
I'm so glad to find out that you used picmonkey to make these! It means I can actually do this too! So cute – love the peek at your Valentines table setting.
I love this idea! I was thinking of making my kids Valentine's this year using PicMonkey. This solidifies my plan with this easy tutorial! Thanks for sharing 🙂
Thank you, thank you, thank you! This is so, so helpful..both the menu and the tips on using picmonkey. I did not understand at all how to use the "fade" tool. Thanks so much for explaining. You must have worked really hard to give such detailed tips. The polka dot napkin rings are A-D-O-R-A-B-L-E. Have a wonderful day!
Anna
Brilliant! I am so happy to know how to do this! Never thought to bring in a photo that I would then cover – girl you smart!
So cute! I love this! xo Kristin
Love this idea! Could you post the recipes?
Yeah that meal looks scrumptious. I'm inviting myself over (again)! : ) Great tutorial!
Thank you for this! I didn't realize you used PicMonkey for your menu!
Thanks for the tutorial. I am hoping sometime in the near future to host a soup and salad lunch for some girlfriends.
I've been using picmonkey for stuff too — but i just create a blank jpg first. I was considering doing a label tutorial, but am still trying to figure out sizing. Pixels get tricky for me.
Love your menus!!!
They look beautiful. Thanks for sharing
I can't wait to have a dabble – the only trouble is I'm not too keen on the cooking part 🙂
xXx
These menus came out great! I've used PicMonkey before and this is a great tutorial for getting real use from all of the features on it 🙂
These are so cute! Thanks so much for the step by step, I am clueless when it comes to photo editing, but you make it sound easy! Have a great week!
This is so helpful, thanks so much! Liz
It's a great tutorial Courtney…easy to follow! Thank you. I will be giving it a try. I'm hoping to have a Valentine's Day dinner with a couple other couples. Your menus are so pretty. I also love the peek of your beautiful placemats.
very pretty! love pic monkey too 🙂
Adorable. Thanks for the tutorial! It looks great! I just might give it a try. Never tried pic monkey–but I have heard great things!
Hi Courtney! Thanks so much for sharing the PicMonkey love!! I wanted to give you a hint that I think will save you all that frustration you mentioned about clicking on the text. Way back at the start, after you add the big white rectangle to get your blank canvas, click the merge button in the top toolbar (the one that looks like a stack of paper with an arrow). That will "flatten" the rectangle onto your photo so it's no longer selectable. Voila! Sanity restored! Smiling monkey! 🙂 Hope that helps! We love those menus too… can't wait to see what you do with our upcoming Valentines theme effects. Cheers! Brenda (PicMonkey team)
Thank you Courtney! I can't wait to play around with PicMonkey 🙂
The diy individual menu tutorial described by you is excellent. The information given by you is very good
florist