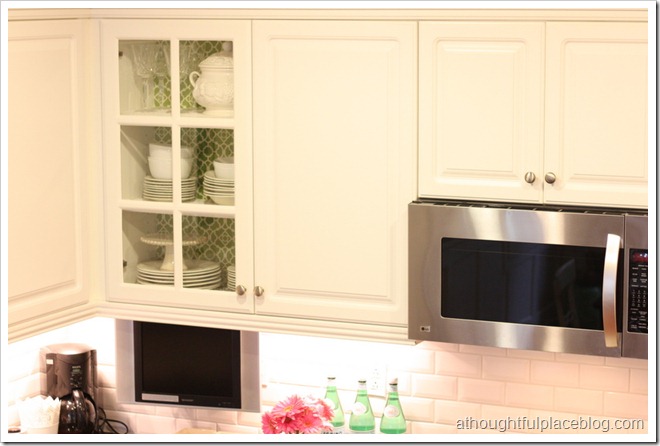
A while back I lined my kitchen cabinets with Waverly Lovely Latice fabric. It was a really easy process that changed the whole look of the room. I have received so many emails asking how I did it so I wanted to show you today. Whether you are lining a bookcase, cabinet, or built-in, you could use the same simple method. 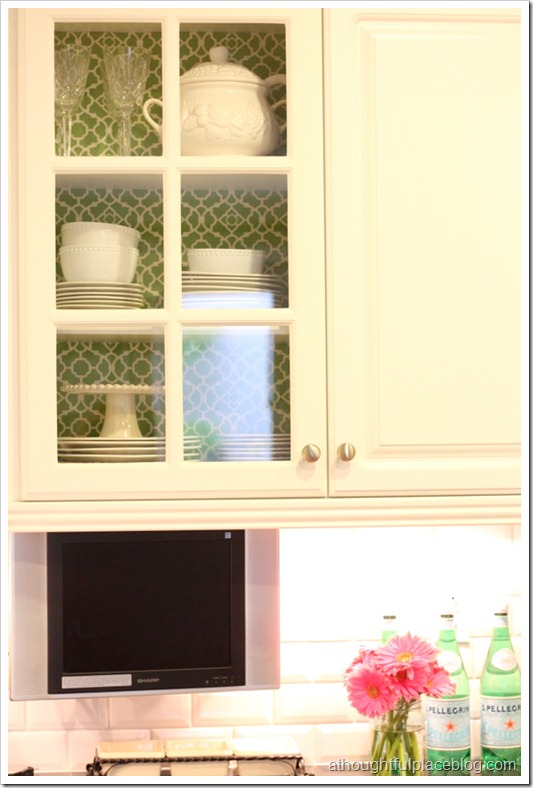
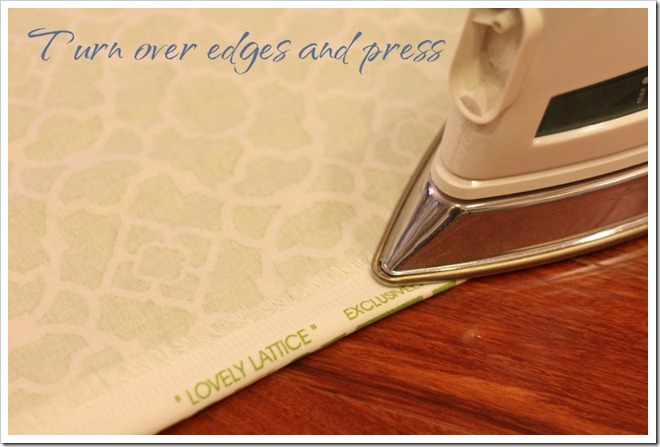
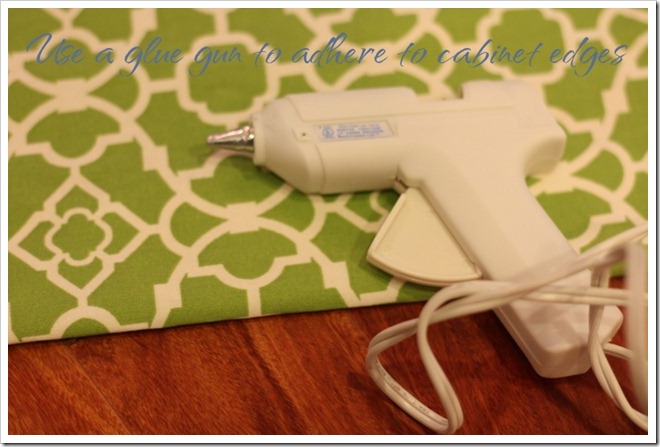
 I am sure there are a million ways to do this all over blog land, but I chose to use fuse tape and the glue gun {thanks to my brilliant sister}. After you have selected a fabric: 1. Measure the space. Add one inch to each measurement and cut your fabric. 2. Turn over the fabric an inch on all sides and press with an iron. {And no, I do not iron on my wood floor but did stage the photo on the wood floor since I did not snap a photo the first time around!}
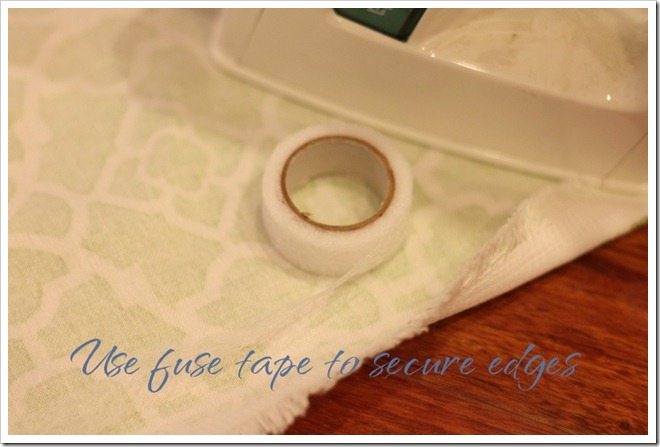
  3. Place fuse tape under the fold and press. This will give you a nice finished edge all the way around.
  4. Once you have emptied the cabinet and removed the shelves, you can use the glue gun to adhere the panels to the back of your cabinet. The nice thing is that it won’t be permanent so you can change fabric or remove when you need to.
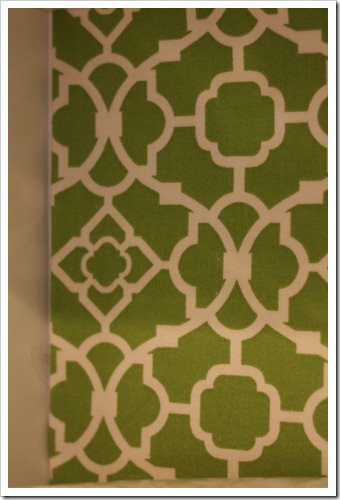
  Here is a look at the finished edges against the cabinet. Don’t worry if it does not go exactly to the end. You will never see that once the shelves are back and the cabinets are loaded!
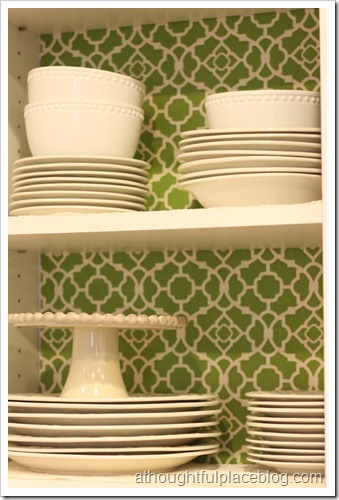
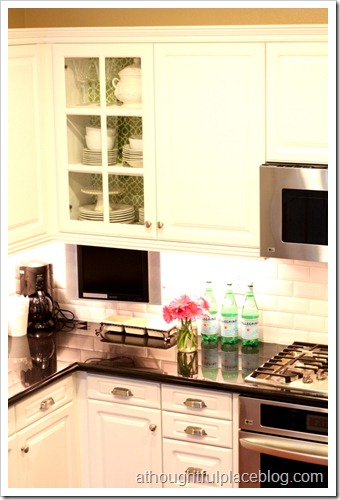
  We keep our everyday white dishes in one of the glass cabinets and our drinking glasses in the other.
 I also used this fabric on my bulletin board by our back door. You can see the DIY tutorial here. ……………….. And I am back from my adventures to Austin. Went with a dear college friend of mine and had an absolute blast. Once I recover and get my energy back I will do a recap of the trip! Hope you are all off to a great week so far.
Great tutorial Courtney – they look beautiful! Glad you had fun on your trip!!
Thanks for this Courtney! It really is fabulous!
i love the pop of color it adds! thanks for the tutorial! hope you enjoyed your weekend away. 🙂
I love how your fabric adds so much personality to the space! Such a great idea – thanks for the simple tutorial.
I love what you did, it looks awesome, and green is my favorite color.
Thanks for the great tutorial Courtney! I'm thinking about doing this in our pantry – I actually have that same wrapping paper from the dollar section at Target that you have. Did you use a glue gun on that, too?
I didn't know you were going to Austin – that's where I'm from! I would have had so many recommendations for you! Hope you had a great time!
Love how this totally freshens up the space and modernizes it!!
So pretty and simple. Love it!
The green is great! I covered my bulletin board in a similar pattern, too!
Ooh I love…the pop of color is just wonderful to brighten things up!
Just came across your blog. I love all the patterns you use in your projects. They are so pretty!
Looks great! I love that fabric against your white cabinets! I lined my glass cabinets too, but my cutting is always so bad i add a strip of ribbon trim along the edges. It covers my hack job!
Love the look. And what a great fabric!
It's beautiful! Wish I had a place to do the same. Wonder how fabric would look on a desk or dresser with a glass top over it?
Welcome back, you jet setter, you! (c: This is such a fantastically simple way to brighten up any ol' cabinet…I had no idea that it could be so simple…and not permanent either…also *very* important (c:
I love your cabinets lined in the green Waverly fabric. Very crsip and fresh looking! Glad you had a nice weekend. I bet is was fun to get away for a few days and also good to get back home, too, to your family. Did you enjoy Austin?
Your cabinets look great and what a big difference a little fabric makes! I can't believe you were in Austin — so fun!
That IS an easy way to do it! I did this in the back of my bookcases by wrapping the fabric around foam board and hot glueing the edges.
I always chuckle when I see this fabric on your blog…it's the same as our living room/playroom curtains and chair cushions. 🙂 (Until I get my new chevron ones made…eventually. I still love the fabric, though….just want a cohesive look with my studio which is adjacent to that room.)
Glad you had a nice trip. It's nice to get away every now and then!
Amazing, love this!! I have thought about doing this with my family room built-ins, around foam core so I can just insert them and take them out. We'll see, maybe another year?!?! 🙂 Janell
LOVE this! My everyday dishes look very similar to yours (Pottery Barn?) and I've been planning on painting the wall behind them to make them pop but I never thought to use fabric…. Thank you for the inspiration. New follower and I'm really enjoying your blog!
I love the fabric you used! And it looks so good!
I have always loved your lined cabinets and the fresh pop of color they add. Thanks for sharing how you did this Courtney!
I need to do this somewhere in my house… or in my new house… such a great project with a high impact! Your white dishes look incredible against the pop of kelly green!
I love the lattice fabric! Thanks for sharing the tutorial.