So here it is! You all have been so sweet about the striped drapes and I know many of you asked for a tutorial. So for those of you who are up for tackling these . . . let’s do it! Please don’t let the crazy amount of photos scare you. It is really not at all difficult. I just wanted to be sure nothing was left out!  The hardest part of this project was figuring out how to do it. I was so afraid of messing up so the first panel was a bit time consuming and the second one flew. Hopefully, with these tips both will be manageable for you. 1. Choose your fabric. I think choosing fabrics with some weight to them makes the project much easier. And fabrics that do not wrinkle much are an added bonus since you will be handling these a great deal. I chose cream and tan for the stripes and an off white for the lining. All are 54” fabrics from JoAnn’s. I allowed three yards of cream and the lining for each panel {so 6 yards of cream and 6 yards of lining) I bought 3 yards of the tan to make the stripes. I used the full width of both the tan and the cream so no cutting is involved on the sides. The salvaged edges will be hidden when they are lined.
  2. Measuring the Stripes: I used a T-square to makes sure the top of my tan fabric was straight. DO NOT begin marking off stripes until knowing your fabric is perfectly straight. Once you know that it is, or have trimmed it to be straight, you can begin marking off your stripes. I wanted my finished stripes to be 11” each. Because of that I marked off every 12” {there would be 1/2” inch seam allowance on the top and bottom of each stripe}. You will get all of the stripes you need for both panels marked off here.
 3. Connect The Dots: As you measure every 12’’ place a dot along the side of the fabric. I did this on both sides of the tan fabric. Then I found a piece of scrap wood {that I knew was straight} and was 54” long. I used it as a straight edge to connect my dots on either side to make very straight lines. Mark off the amount of stripes you need for both panels!
 This view just shows you the entire piece and the straight edge I used to make perfectly straight lines.
  4. Cut out the Stripes: Trust your pencil line. If you use a straight edge to draw the lines, then all you have to do is cut very carefully. The more care you take in each step, the straighter your stripes will be. Hint: use good quality scissors.
  5. Plan Out the Panel: I then unrolled my three yards of cream fabric. I allowed for a two inch seam allowance at the top. I placed my stripes on just to be sure it had the right look. I was happy with it so I then began to mark every 11” for where my stripe would be sewn. IMPORTANT: the first stripe was placed 13” inches from the top since I would have a two each seam allowance when I lined my curtain. After that, I marked off every 11”. I used the same technique in marking a dot on either side of the cream panel.
  6. Fold and Iron to Prepare to sew: Here is where you really have to pay careful attention and be meticulous. It’s not hard! Just be precise. You need to take each tan stripe to the ironing board and fold under 1/2” along the top and the bottom. This is important as you want the end result to be exactly 11”. I didn’t trust myself on this, so I came up with a super cool trick!!! HINT: I put a piece of drop cloth over my ironing board. I then used a straight edge and drew two perfectly straight lines. They are exactly 1/2 “ apart from each other.
 This made the process so much easier. I placed the stripe even with the top line and the folded it down to the bottom line and pressed. I knew I had a perfect 1/2” seam allowance and it would keep my stripe straight.
  7. Pin after you Press: As soon as you press the edge, use straight pins to hold it in place. You don’t want to take the chance of it moving. You will repeat this for the top and bottom of each stripe. Turn on some good music and it flies. This helps as well:
 8. Pin One Stripe: Now you are ready to go back to the cream panel and pin on one stripe. Remember you already marked your dots every 11”. Just be sure you have the stripe connecting the dots so they are lined up evenly. ONLY pin one edge at a time. You don’t want room for error. This is a bit tedious but worth it. I over pinned as I didn’t want to take the chance of anything shifting. {below you see a stripe after I had sewn one edge}. Pin one edge, go sew it on then come back and pin the other edge. That way you can smooth out the fabric each time.
  10. Sew the Stripe: My top stitch is very close to the edge. I think it looks best that way.
  HINT: Roll up the fabric to reduce wrinkles as you are sewing. {thank you to my dear friend Meghan who shared her machine with me as mine broke the night before . . . hubby thought he could fix it! Oh, boy!} 11. Repeat Pinning & Stitching: After stitching one edge, come back and pin the other edge. Always take time to smooth out the fabric as you are working. Repeat this process for as many stripes as you have. It takes some time, but is not hard.
  12. Happy Dance: Once your stripes on sewn on your first panel, you do a serious happy dance!!!! Hardest part is over!!! It was late at night for me . . . and no one was around to snap a photo of my happy dance! 13. Trim the Excess: Just trim any excess material . . . you will make the edges beautiful when you line them later.
  14. Make a Carbon Copy! If your drapes are going to hang on either side of a window, this may not be as crucial for you. Because mine were going to open and close across a set of French doors it was imperative that mine line up. I unrolled the other three yards of cream fabric and placed the finished panel on top of it. I lined them up perfectly and then marked where each stripe should be.
  15. Repeat Steps 8-13 since you already cut your stripes and ironed the seam allowance, all you need to do is place them, pin them, and sew. Before you know it you have custom striped panels!
  Keeping it Real: It took me 6-7 hours to do my first panel. DO NOT PANIC. That is because I didn’t know what I was doing. Once I developed the system and had the little tips, it flew. The second panel took me 2-3 hours. I would definitely tackle them again for another space so that should tell you something. UPDATE:I have many emails asking about the light pendant. It can be found here:
 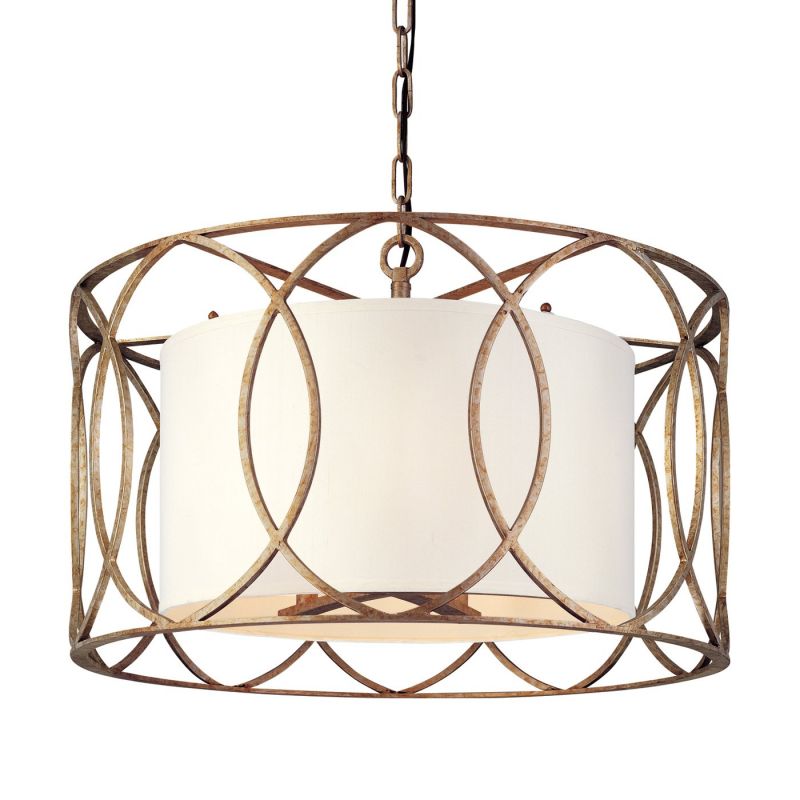 Sausolito Pendant UPDATE #2: I have to admit I was a bad blogger and never did the post on lining the drapes. But I will tell you how I did it! First I cut the lining to match up with my drapery panel. Next I hemmed the drapes and the lining. I wanted my lining a couple of inches shorter than the drapes. Once both were hemmed, I placed them right sides together on the floor. I pinned them along the top and both sides. I simply sewed the two panels together. Once they were together I ironed open all of the seams. Then I turned them right side out and pressed the edges. I know this is not the technical way to line drapes but it worked very well and I am quite happy with how they turned out. Hope that helps for those of you who want to tackle lining your drapes {and I highly recommend it}.
Great tutorial!! You did such a great job!
They look great Courtney!! And, the tutorial is easy to follow. Great tip for keeping the seams consistent!!
Wow, this looks meticulous since straight lines don't often happen for me but I love the curtains enough to try. Wish me luck!
Wow, Great job,and patience! They look amazing:)
This is so helpful! And they are gorgeous! Just gorgeous!
your a trooper, everything takes me so long too!
I love them!! thanks for the tutorial!
Great tutorial and your drapes are stunning. Hugs, Marty
All I have to say is YOU ARE AMAZING!!! The drapes look divine!
wow, this tutorial is great… i can't wait for the lining tutorial! 🙂
Wow girl you have some serious patience!! But it paid off because the end result is amazing!
I was curious how you did this!!! I'm not sure I'm up for this challenge, but man they sure make an awesome impact in your dining room for not a lot of money!
Paula
Great tutorial! Love the Starbucks pic. Everything's easier with coffee 🙂
I am amazed at your skills and patience, Courtney! They look so so great. The thought of sewing overwhelms me. Maybe because I have NO idea what I'm doing!
Wow! You are so beyond me…seriously, I would give up. I think your drapes look amazing and I really think you rock for doing this.
you lost me at 'pin and sew' — but yours are awesome!!
ps — how'd you get the boo-boo on your pointer finger?
pps — glad the drop cloths came in handy for something!
Wow. Thanks so much. I can't wait to try this.
Ah-mazing!! Thanks for the tutorial I will definitely be attempting this.
They look beautiful – thanks for the great tutorial!
So thriled you shared your tip with the drop cloth and pencil marks on the ironing board. I'm so going to do this from now on!
a.) the photo of your little bandaged finger… too funny. A battle wound.
b.) your ironing tip rocks
c.) can we pay you to make these for us 😉 ? ? ?
Perfect stripes! Great idea to mark on the ironing board! Random, but I'm wondering what kind of coffee you were drinking?!
Great job!!! I love them:):)
Glad for the tutorial and will bookmark it … though, any chance you're taking orders? 🙂
Lovely! I've searched for striped fabric unsuccessfully! I never thought of just making my own. They turned out great.
You are crazy insanely talented with the sewing machine! Awesome job!
Oh boo, I was hoping they were no sew, I have no idea how to use a sewing machine and I am IN LOVE with your panels! 🙂 Hmmm… thinking cap is on!
Thanks so much for sharing! You are amazing!
xoxo,
Jen
YOU ARE AWESOME!! I have been on a quest for striped drapes and like you, can't find the perfect fabric anywhere. I was going to try painting the stripes, but thought they might turn out too stiff. I actually even wrote a blog post about my quest for striped drapes…
http://www.3meadowlakecottage.com/2011/02/drop-cloth-drapes-gone-bad-and-quest.html
Anyways, THANK YOU so much for this tutorial!
~Erin
Thanks for such a great tutorial. You actually inspired me to do something similar with the window coverings in my office!
This is great! THanks for the tutorial! I am definitely going to do this to my curtains.
They're gorgeous, Courtney! Great job!
Great tutorial and even better drapes. I'm glad I'm not the only person who isn't happy to settle for whatever they can buy instore or online!
OMG! These look gorgeous but the work and the patience! You're amazing! Good for you! 🙂
Now I just have to wait when my mother visits and show her your tutorial! 😉
I absolutely love this!
Gorgeous drapes! Way to go on the do-it-yourself! I see some of you out there that love the idea of doing this project but are afraid of the big bad sewing machine 🙂
Have no fear, I have your solution! If you're still on the search for horizontal striped panels, I actually make and offer them in my online shop at marthaandash.com in a TON of mix and match colors.
Or you can be linked directly to the item at the following link:
http://www.etsy.com/listing/67911483/96-pick-your-colors-striped-drapery
Long live horizontal stripes! 🙂
Ash
Soooo… what is the fabric? You mentioned what characteristics to look for, but not what you ended up with. Thanks!
I'm obsessing over these now! Thanks for the tutorial – I'm on my way to joanns!
Looks GREAT!! Thank you for sharing
Have a God Filled Day]
Shirley
Your drapes turned out so great!! They are beautiful!!!!!
xoxoxox
Jen
Hi Courtney! I've been adoring your beautiful drapes for a while now, and I'm really thinking about trying to make them following your tutorial. I just started a blog recently, and I added a link to your tutorial for the drapes as I mentioned them and you. I hope you are okay with that! 🙂 I didn't add the picture as I wanted to get your permission first. Love your blog and all of your wonderful ideas. Thanks for sharing them!!
Tara
These are amazing and I am going to start this project tomorrow! I can't find the post about the lining? Have you done it yet? Thanks!
Thank you for this tutorial. I made some!!! 4 panels for my front living room. I love them but boy oh boy they were tons of work!!!! The finished result has been well worth it! I wish I knew how to send you a pic so you could be so proud of me. Mine are navy and white and I am in love with them! Thanks again!
Courtney! You are amazingly talented. Thank you so much for such a thorough tutorial. I already have some white IKEA curtain panels, so I am heading out this weekend to find some gray fabric for my stripes. Two questions. Why exactly did you line them? Also, you said to use a fabric with some weight. I'm thinking this probably means a home dec fabric that would be just about right for making a tote bag? Thanks so much for the inspiration!
I realize this is an older post but I have a couple of questions…first, what kind of fabric was it that you used? and second, where is the post about the lining?
Thank you– they are amazing. Great job!!
The diy striped drapes has been shred on the post here. Useful post
Wallcoverings
Hello!! Love this tutorial. What kind of fabric did you use? I want to make black and white stripes but I'm unsure which fabric to use
Thanks!!
I love your tutorial and the tip for measuring with the drop cloth. I am dying to make lime green and white striped curtains for my living room but have been stuck because I could not figure out how to sew it together. What did you use for the lining?
Thanks again for the great tutorial. Now I just need 7 hours or so to set aside:)
Nicole @ HoldtheOffice.com
Love your curtains!!! And thank you for providing inspiration for me to just make some for my self after spending WAY too much time looking some. They took a while, which you prepared us for, but I had help and they look beautiful! Check them out here!
I know this is an old post but WOW! I found this tutorial on Pinterest and LOVE how your curtains turned out. I cannot afford the striped curtains at PB but these look just like them and are the exact color I was wanting! My mother in-law bought me a nice sewing machine that has never been opened but this has got me inspired to tackle the manual 😉 I also have found the perfect color scheme for my sons nursery through your dining room. Now to find that awesome lime green color on your plant stool…Any idea what color that is??
Hi Courtney! I love these drapes, and I am going to try to tackle this project! You have inspired me 🙂 I did wonder what kind of fabric you purchased at JoAnns. Thanks a ton!
Natalie
I love these curtains! You have inspired me to make my own. What kind of fabric did you purchase from JoAnns for the cream and tan stripes? Also it looks like you sewed the tan stripes right onto the cream fabric is that correct? Thanks so much! – Natalie