I have always been drawn to handmade Halloween costumes. And that doesn’t mean that I like to spend a ton of time or money on them. I just love the creativity involved and think it’s really fun to create something unique. Last year, we made our son a cheeseburger costume and he loved every second of helping to create it. This year, as part of the Michaels Makers challenge, I created a Fall Fairy costume. It could not be easier and the outcome made me giddy. 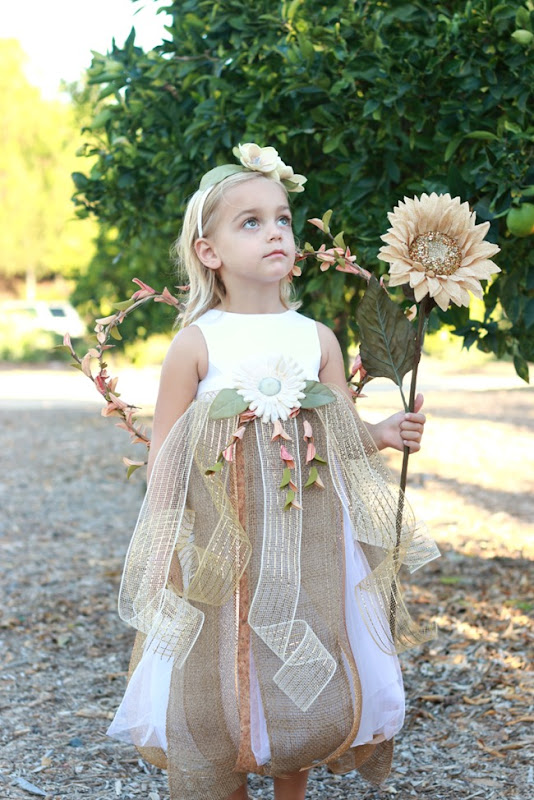 Have you ever seen a cuter Fall Fairy?! The costume takes about an hour to make and requires no special skills other than using a glue gun! My kind of project.
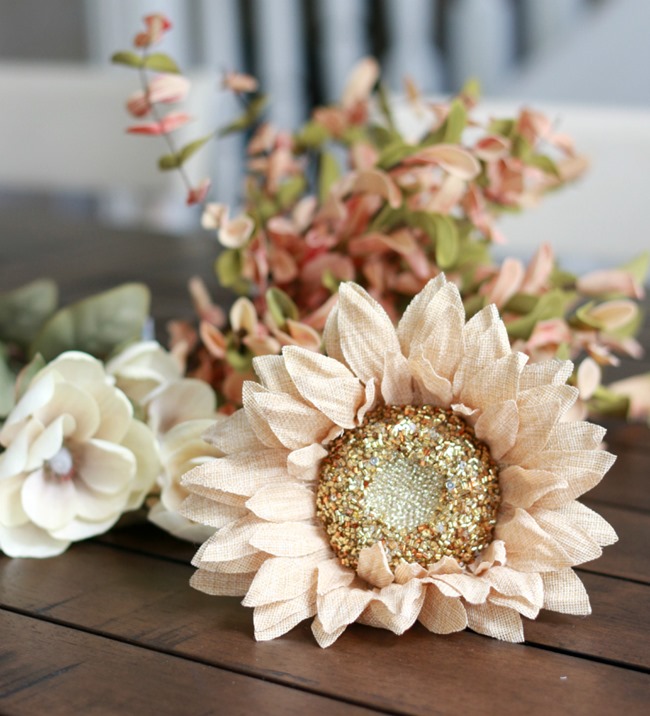
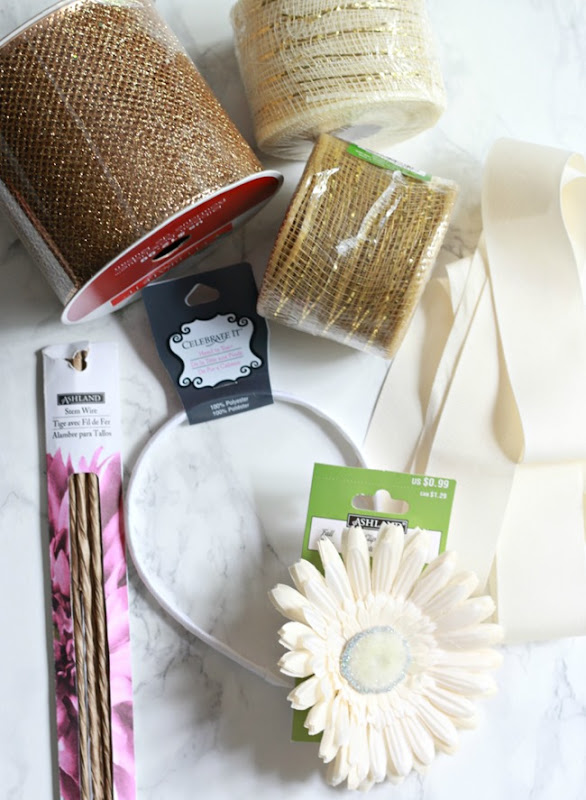 Supplies: 1 long stem sunflower for fairy wand, artificial flowers of your choice, 1 headband, 1 clip on flower, Ashland stem wire, ribbons of your choice, 1 length of grosgrain ribbon, glue gun, scissors, burlap ribbon, and a white or off white dress of any kind.
 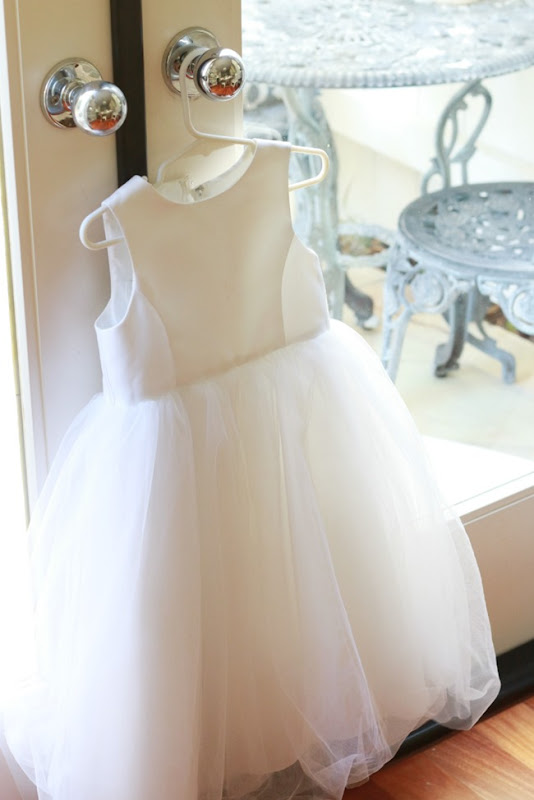 If your child was ever a flower girl, you most definitely recognize this dress. We have had it for years. But here’s the thing. You don’t need a fancy dress. Any dress that is mostly white will do. You could reuse an old Easter dress or search the dress up clothes. Even a tank top and leggings would work! And a little helpful hint: check used clothing stores for gently used flower girl dresses. Can’t find a dress: use a white tank top and tights/leggings.
 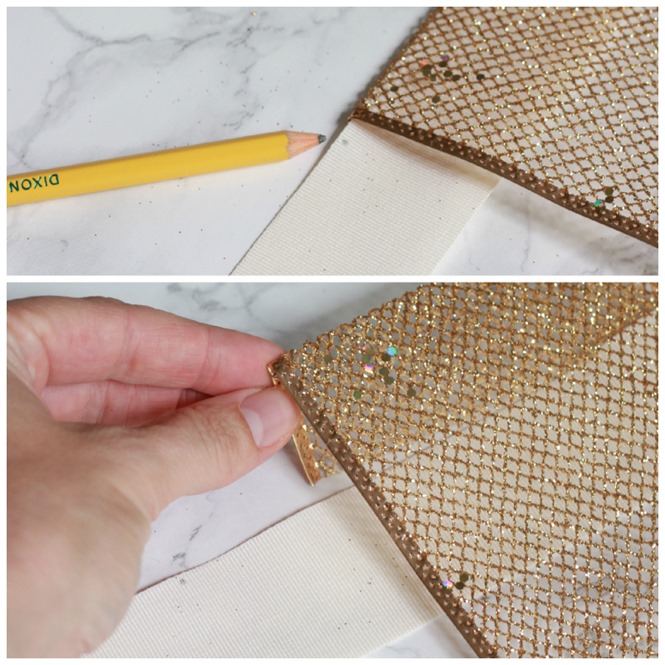 The other GREAT thing about this costume is that you will not in any way hurt the dress or clothes the child is wearing. It’s simply a skirt that gets tied around the bodice of the outfit. Easy and simple. Great if you need to hop in a car, too. When you arrive to your Halloween party, just tie the skirt on! Step One: Tie the grosgrain ribbon around your cutie pie {high waste} and mark with a pencil where you need your ribbons to start and end. Remember that you want a nice long bow in the back, too. Leave the ribbon long. By marking with a pencil, you will know where to begin and end gluing lengths of ribbon.
 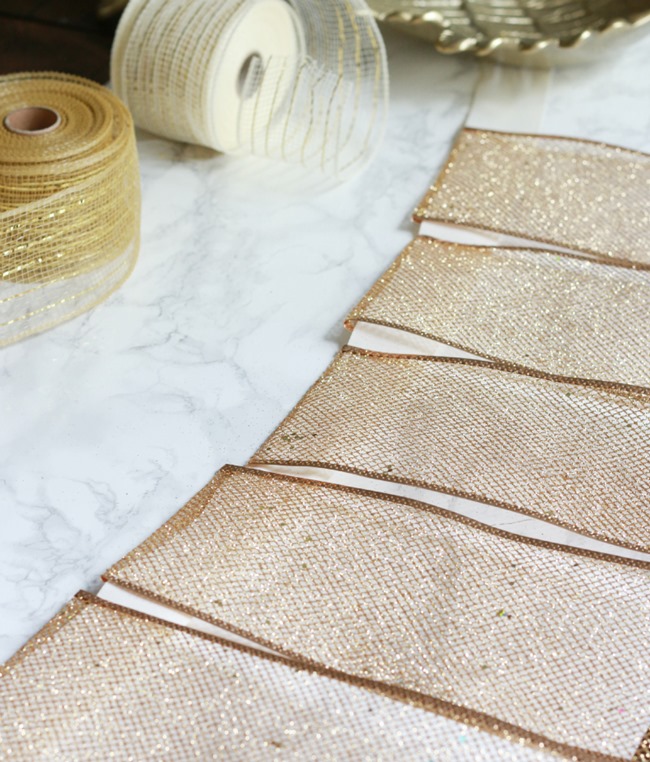 Step Two: Use a very wide, sparkly ribbon for the first layer. Fold about an inch or two over the grosgrain ribbon and glue with a hot glue gun. Be careful! These ribbons are more like netting. . . don’t burn your fingers! Once you have placed your first layer. . .the rest if up to you. Just keep layering pretty ribbons. I cut them all a bit longer than the dress. It just so happened that the gold and cream ribbons I bought were naturally curly. Even better! Looks really feminine and fun. At the last minute I added two lengths of burlap ribbon for the texture. I think it adds a lot.
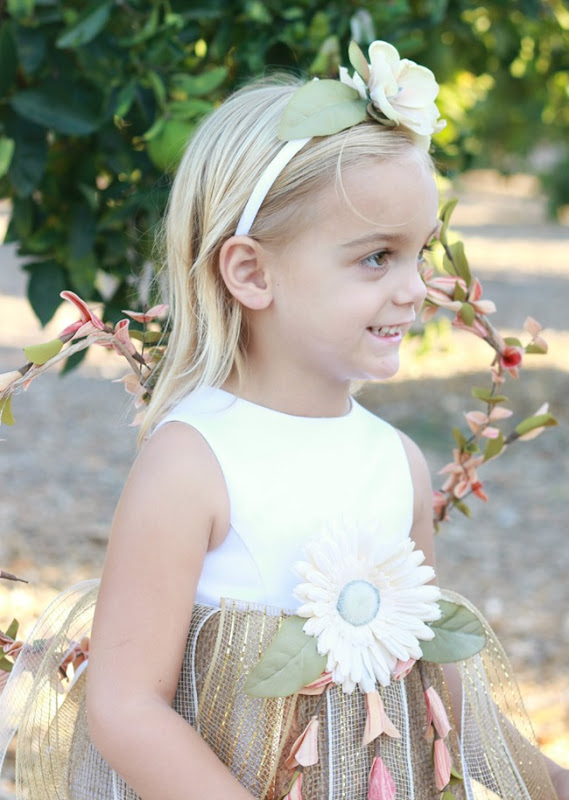
 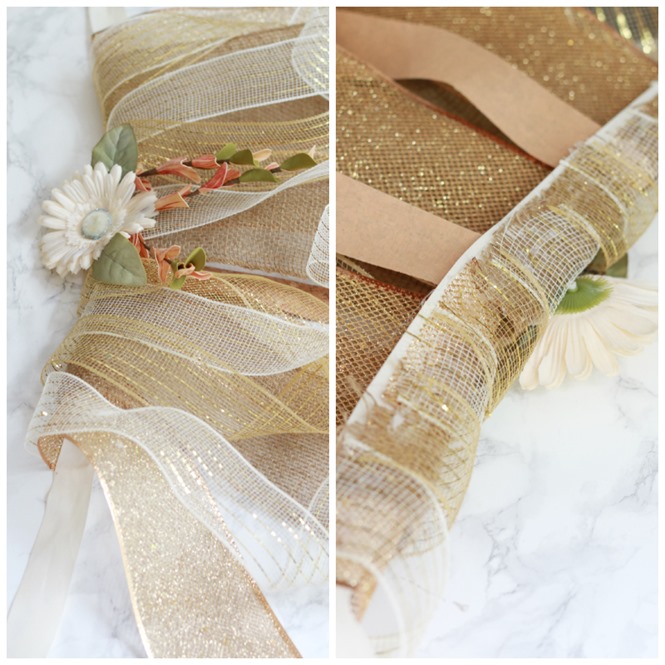 Step Three: Once your happy with the amount of ribbons hanging, simply glue a large flower to the top of the skirt. I also added a few faux stems and leaves to match the wings. Done and done!
 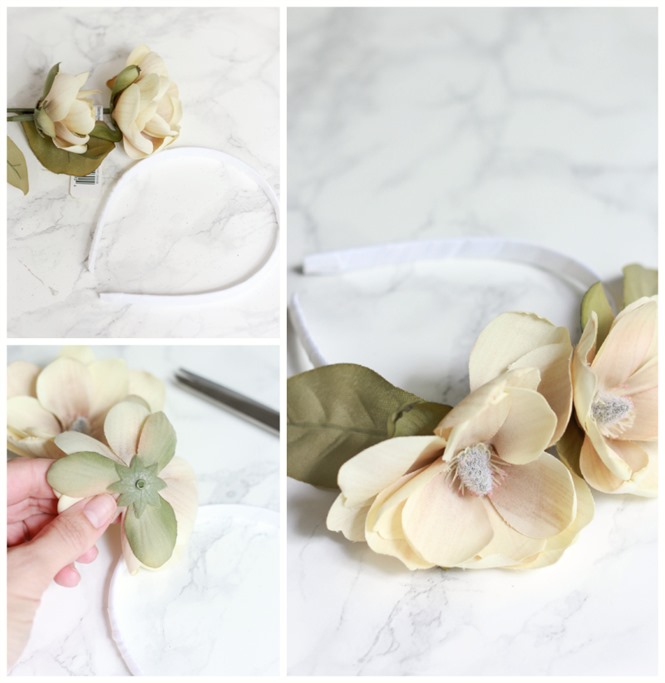 Step Four: To create a pretty headband, remove flowers from their stem and glue! Add a leaf to each side to cover more of the headband. Two minute project!
 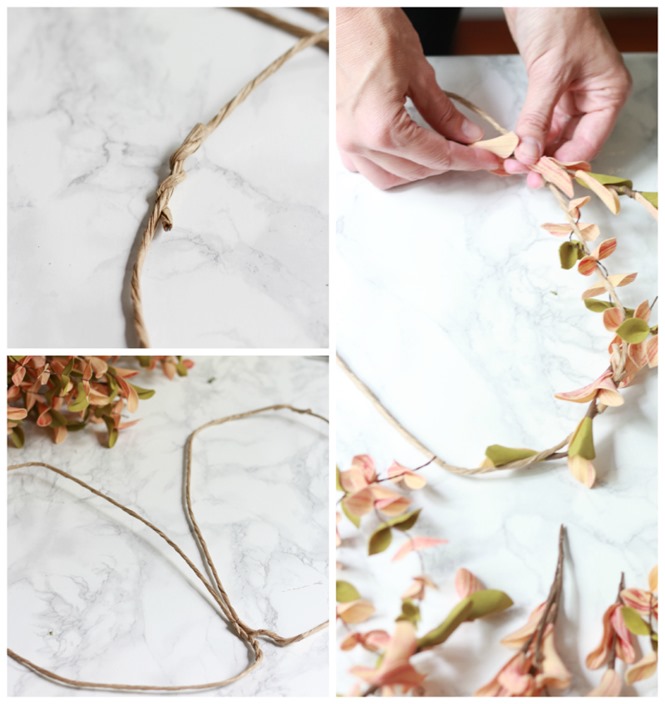 Step Five: Wing time! Also very simply. Use the rafia covered wire that is extremely light and easy to bend. Each wing required to stems.Twist them together at both ends to create a circle and then shape each one like a wing. Next, cut stems from their branch and wrap them around the wings. Use the hot glue gun in a few spots to makes sure they stay. It creates a really pretty light and airy wing.
 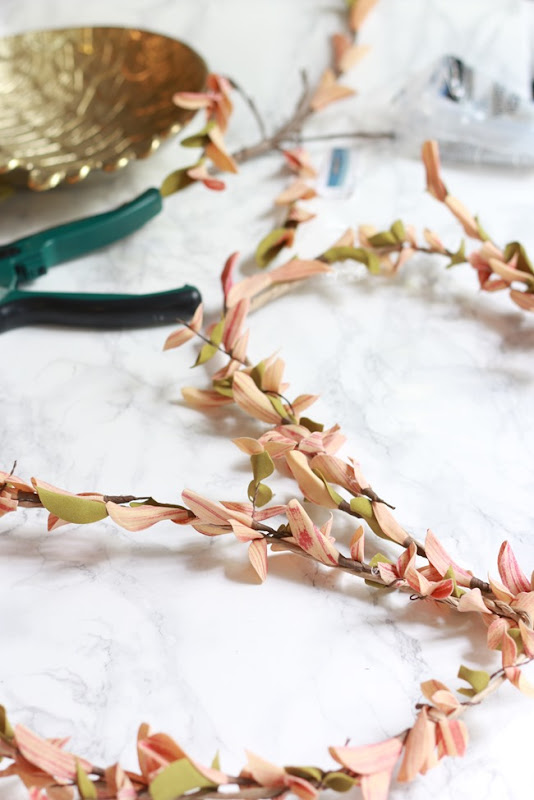 These honestly took about ten minutes and were really easy to make. I love the soft color palette.
 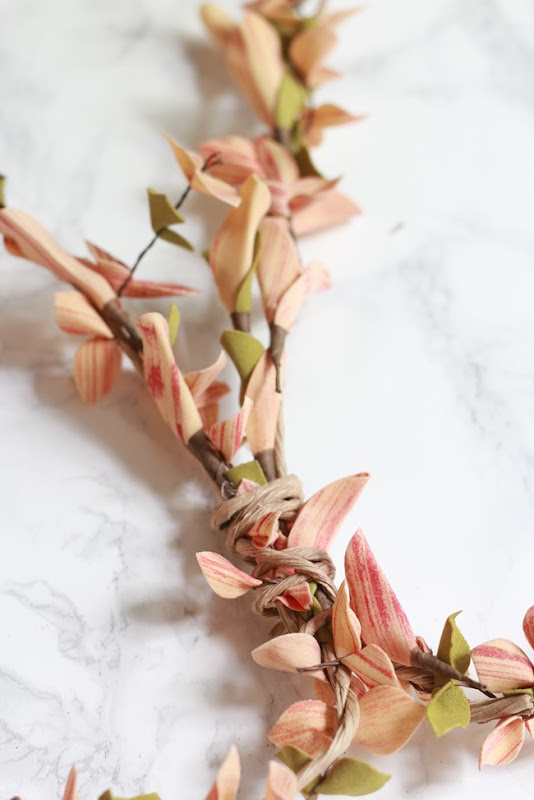 Step Six: Once you have two wings, use one more wire to wrap around and tie the two wings together.
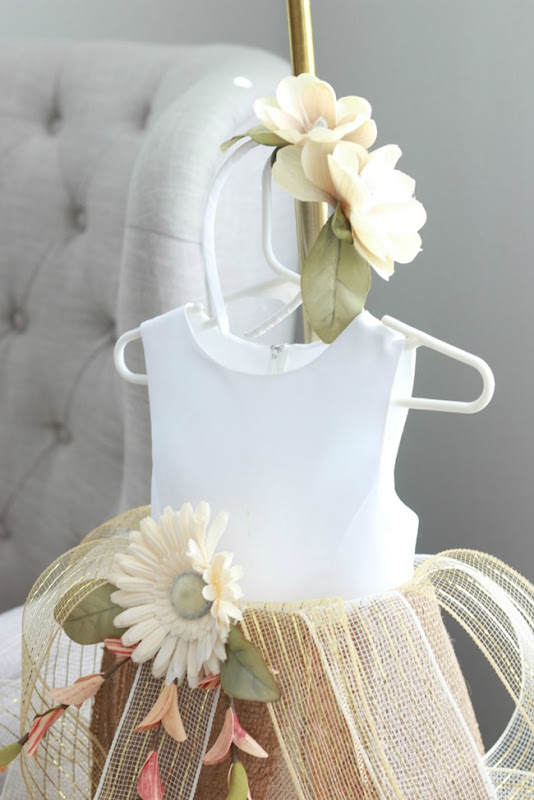
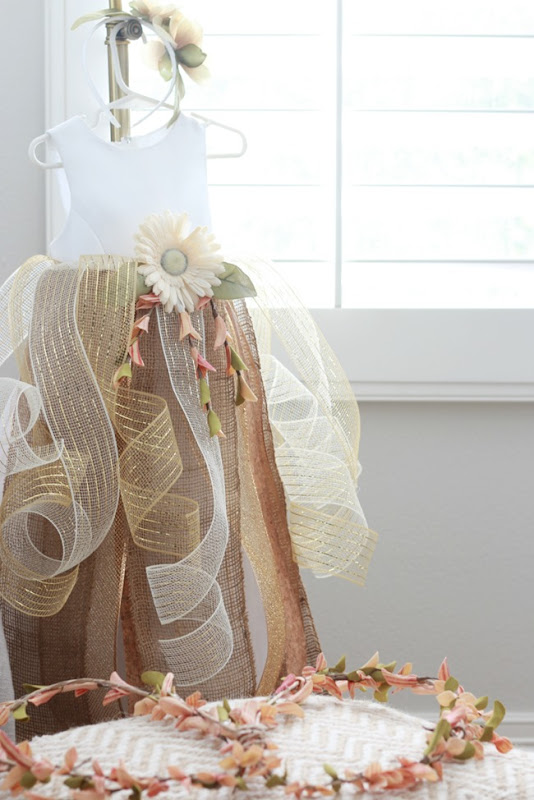 Now you have a headband wings, and darling fairy skirt to tie around any dress or outfit.
 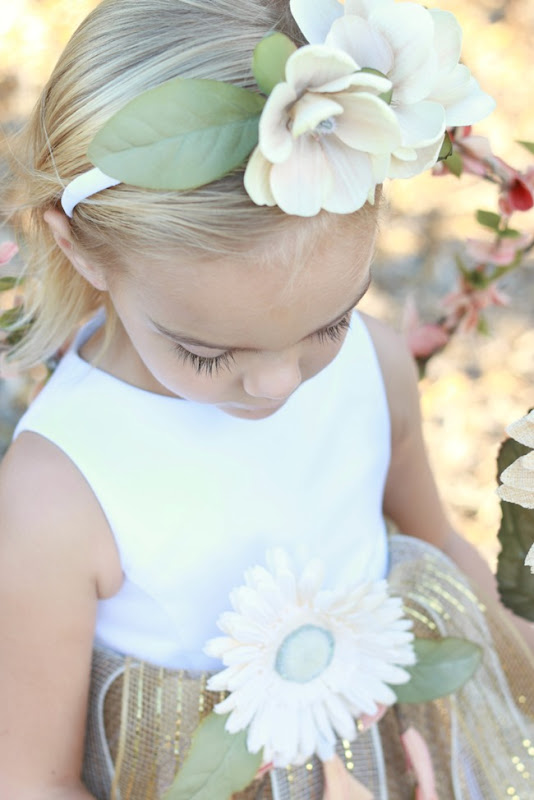 And once your cutie pie puts on this costume it takes on a whole new life of it’s own. My dear friend’s daughter was the perfect model. What an angel. I will let the photos do the talking.
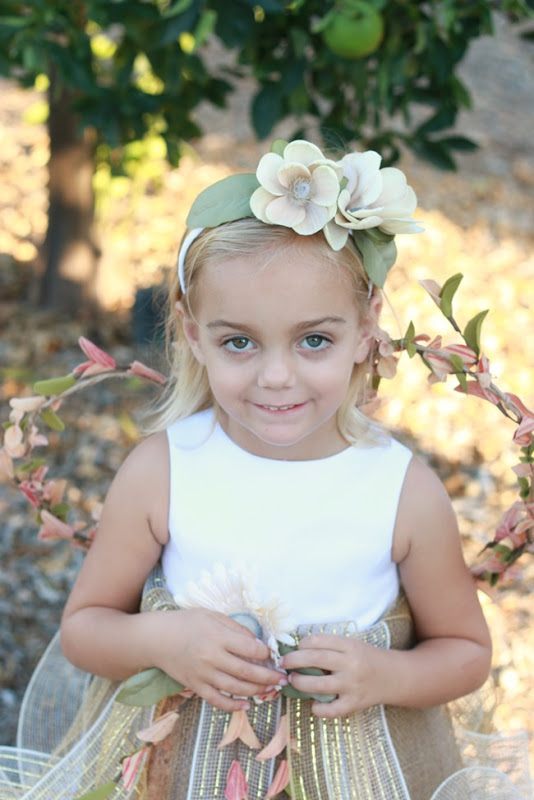
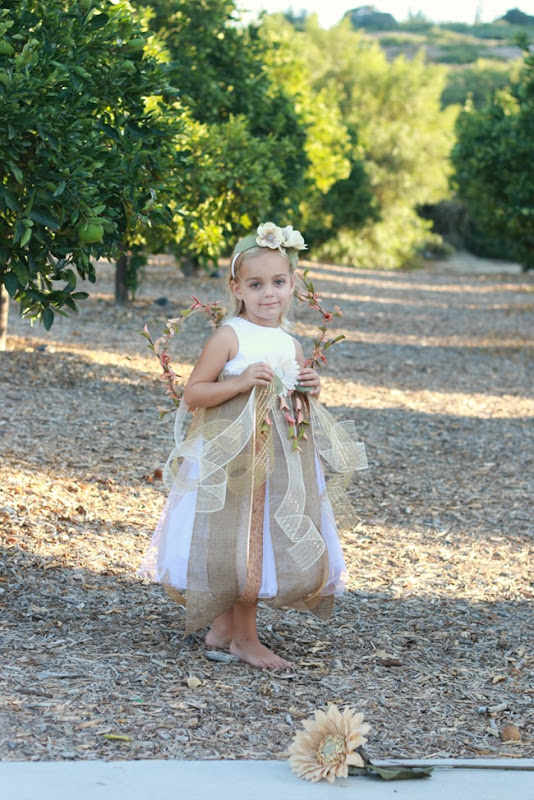
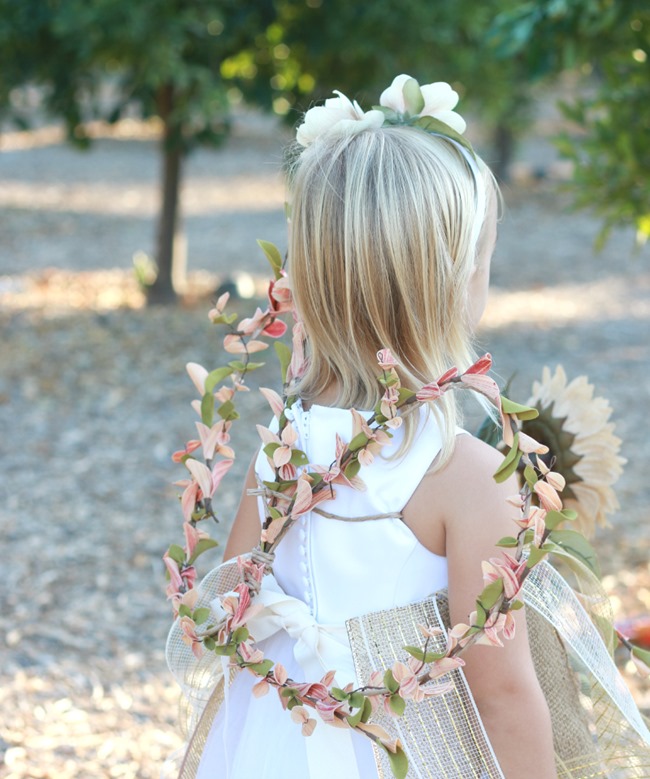 To attach the wings, I slipped one of the stem wires behind the dress and twisted it around the wings. They are so light that it worked really well!
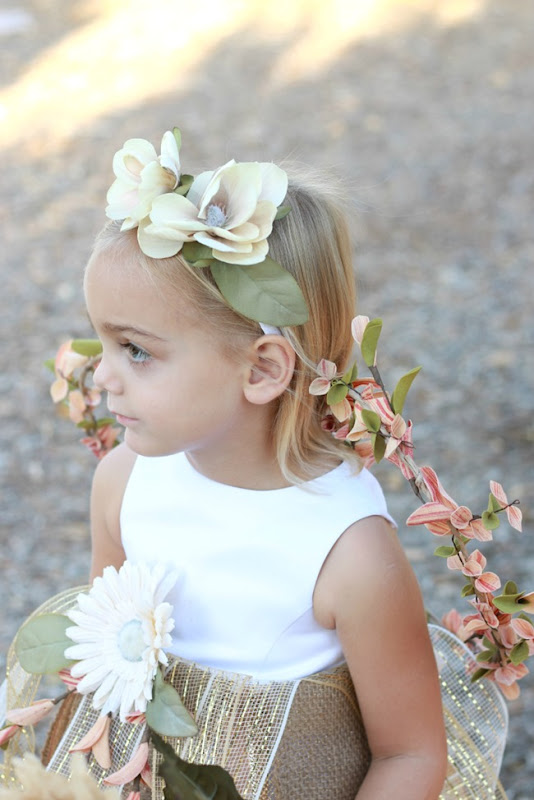
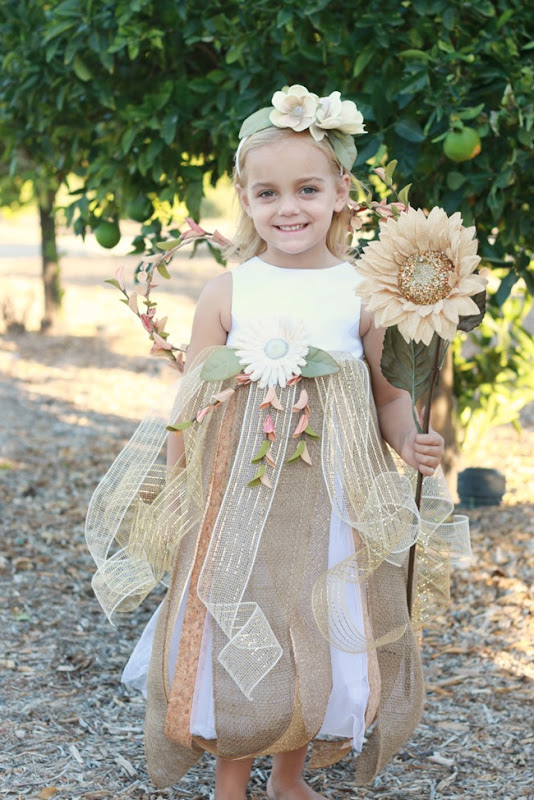
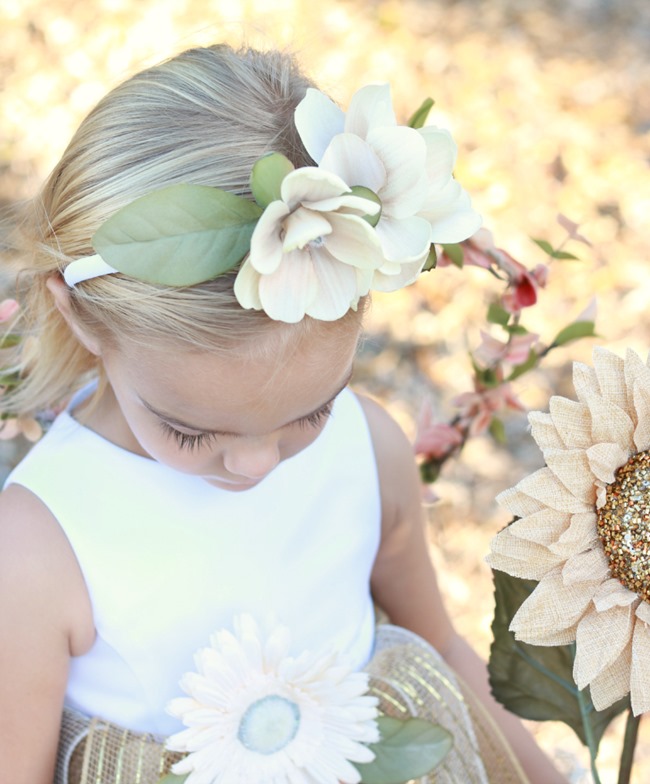
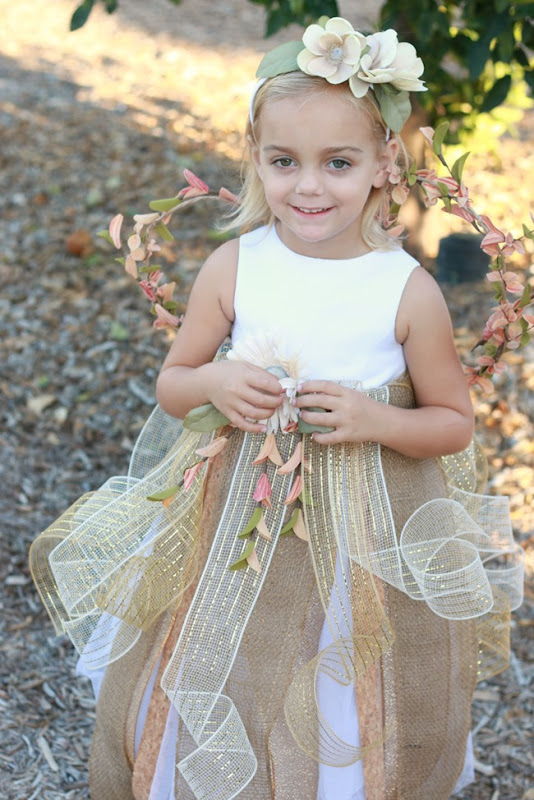 I realize this is heavy on photos, but how was I to choose?! Hoping this inspires you to get creative and with very little time and money create something special for your Halloween sweetheart. This post was created in collaboration with Michaels and the Michaels Makers program.
<!– end InLinkz script —>
Seriously, so cute! She is an adorable little model and that looks like a pretty simple costume to make. Love it!
I LOVE this!! Taylor seems to change her mind daily about what she wants to be for Halloween. It was so much easier last year when I just decided for her 😉 I like that this type of idea can be used for most any costume and I can do it last minute as she changes her mind. Thanks for the darling ideas!!
Very cute, Courtney. But I must say that the cheeseburger last year was my all-time favorite Halloween costume.
And what a HAM wearing ti! 🙂
I love this costume Courtney! You did a beautiful job on it. What a darling model. Is it OK that I want this costume for me? We're never too old to dress up, right!
So precious. Our girls always preferred homemade costumes.
darling! i'll have to keep this in mind for my daughter. 🙂
This is adorable!
Cute! Love that this costume is pretty easy to make. I'm going to be trying my hand at making an Elsa costume for daughter per her request. Homemade costumes are always the best because they're unique and made with love!
Love her costume! So cute!
that is just adorable!!