I am sharing my new fabric lined built in. I was inspired by PInterest to add a bold black & white graphic print. 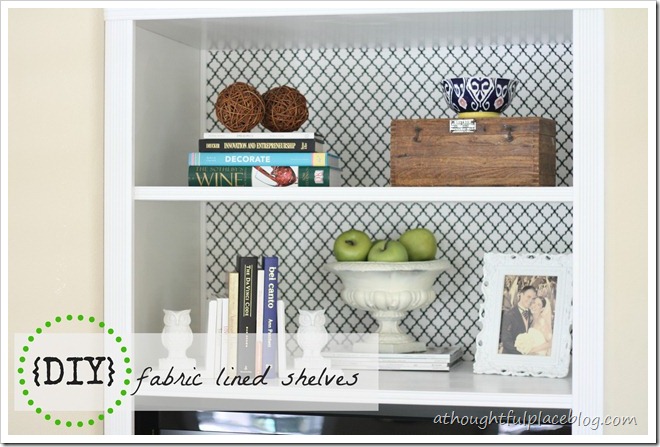 …………………………the before
  ………………….pinterest inspired Diane from in my own style added some serious pretty to her bookcase with this black and white graphic fabric. I knew I wanted to do something similar in my family room.
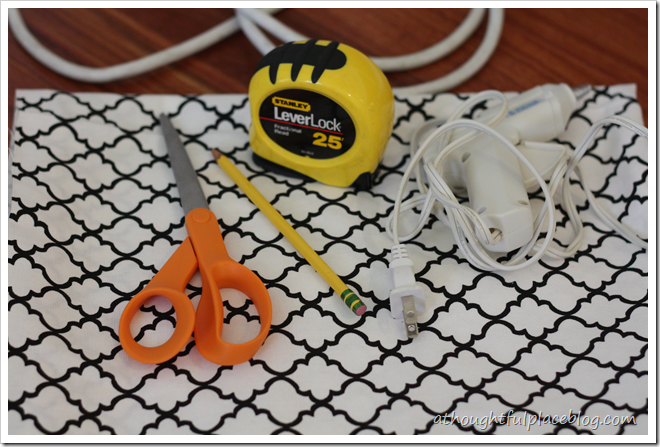
  via pinterest via in my own style I found my fabric at Hobby Lobby. I knew I wanted a smaller scale than Diane used because I only have two shelves and my objects on the shelves are pretty large in scale themselves. All I needed was scissors, a pencil to measure the fabric, a glue gun, and tape measure {oh, and don’t forget an extension cord if working far from an outlet!}.
  My sweet hubby actually made this built in when we first moved to this house. He did an amazing job. He also happened to tuck these pieces of trim in each corner. Lucky for me they popped right out.
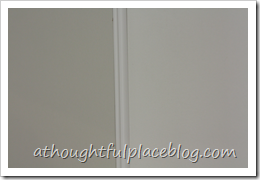
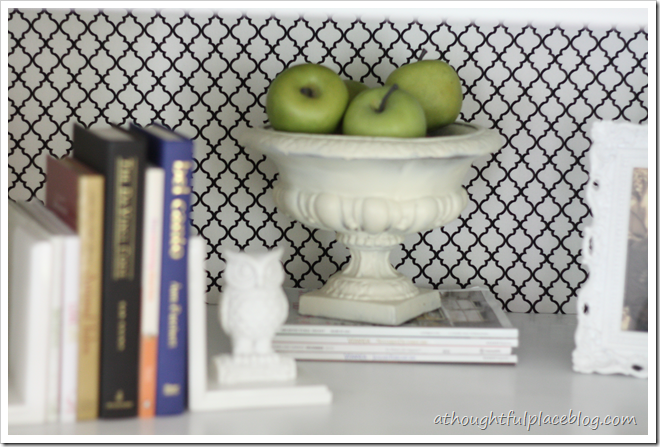
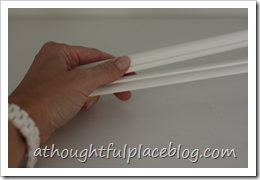 I knew they would be great to pop back over the fabric after gluing it to the back of the built in. I love the glue gun because if I ever change my mind, the fabric and glue can easily come down. Here is a look at how my work space was looking mid-project. You can see the strip of fabric I cut. I made sure it was the exact dimensions of each shelf. The nice thing is that with the graphic print, it was really easy to cut straight lines since they served as a guide.
 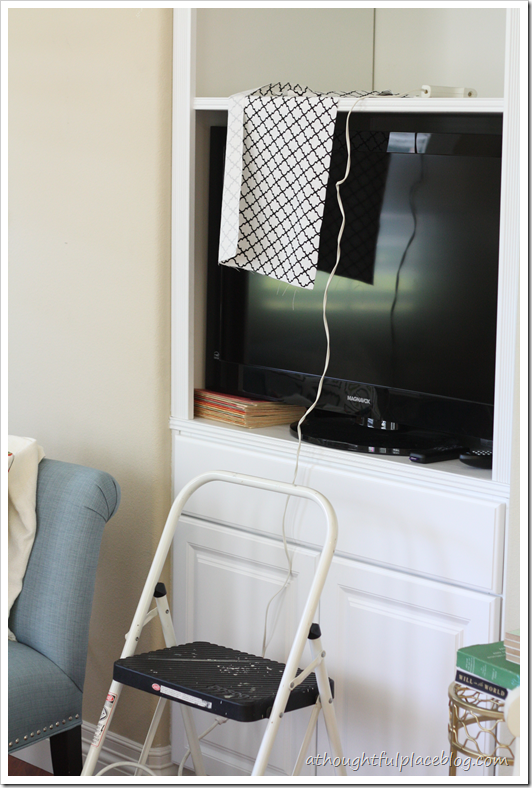 And after gluing the fabric in place, I popped the trim back into place. Easy project for sure.
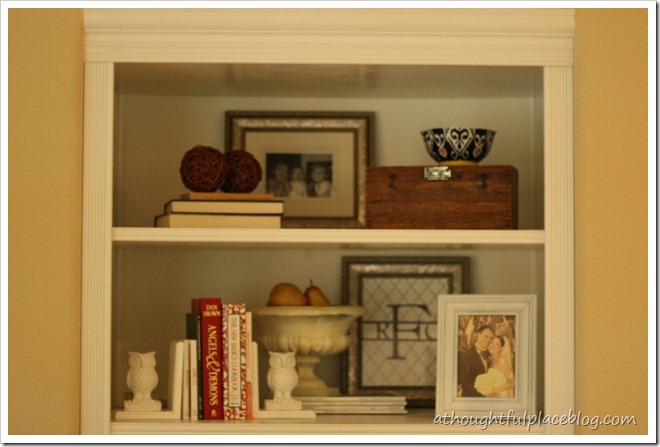
 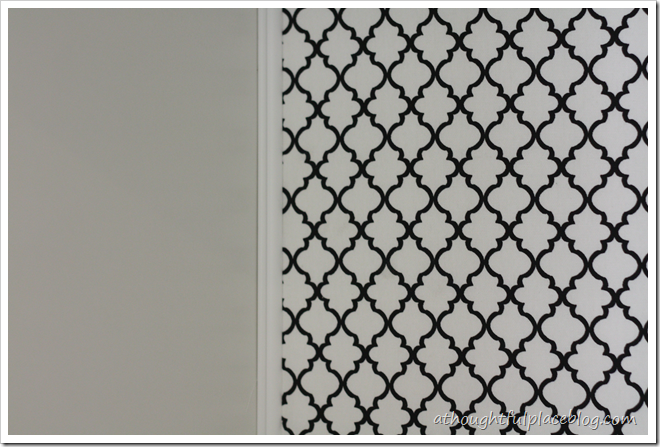 ……………………..before styling
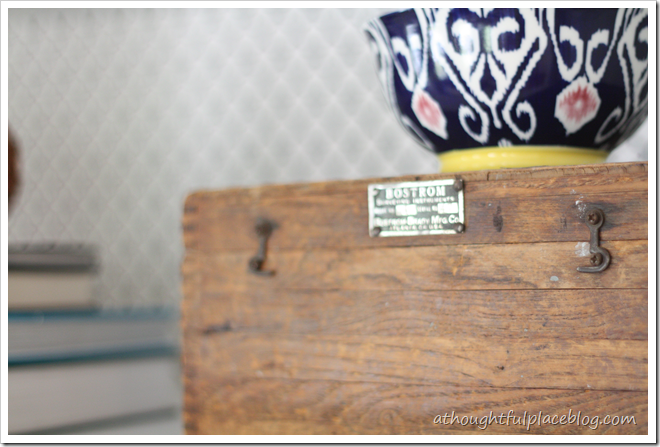
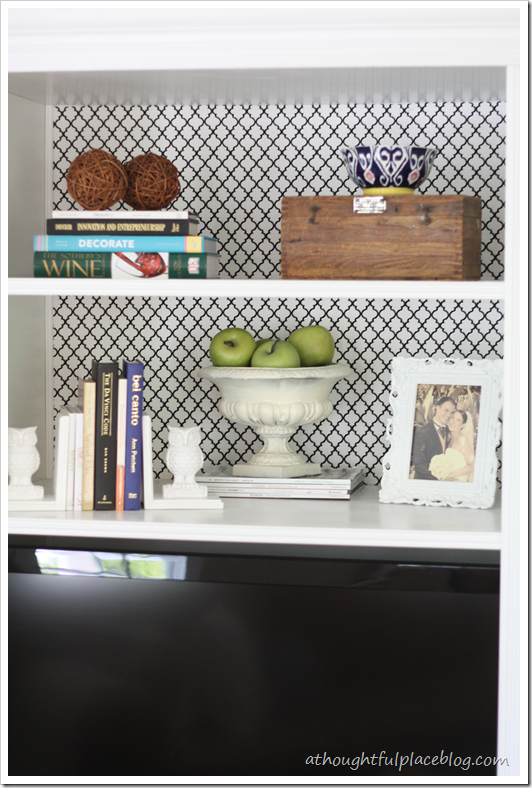
 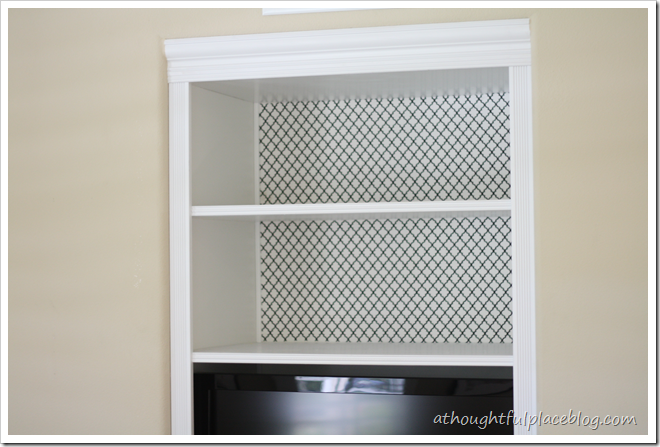 When styling shelves, I like to keep things minimal and clean. My three major tips are as follows: Tip #1: Vary the finishes {use old and new} One of my very favorite possessions is this old surveyor’s box from my grandfather. He was a builder and having this in my home is really so meaningful for us. Hi initials are carved into the top of it. I paired the box with a new, ikat bowl for contrast.
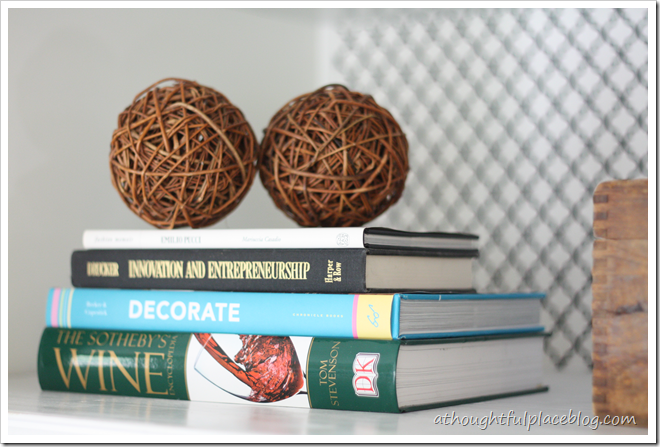
  Tip #2: Use books as art {stack them horizontally} Grab books that are useful or have significance to you and your family members. When stacked they serve as a great platform for other objects. Books always bring warmth and personality to a space.
  Tip #3: Stagger the Heights I like to have different heights on the shelf when styling the space. It helps the eye move around and adds more interest to each shelf. Here the urn { a centerpiece from my dear friend’s wedding over 9 years ago} is resting on a stack of shelter magazines to add height to the space.
 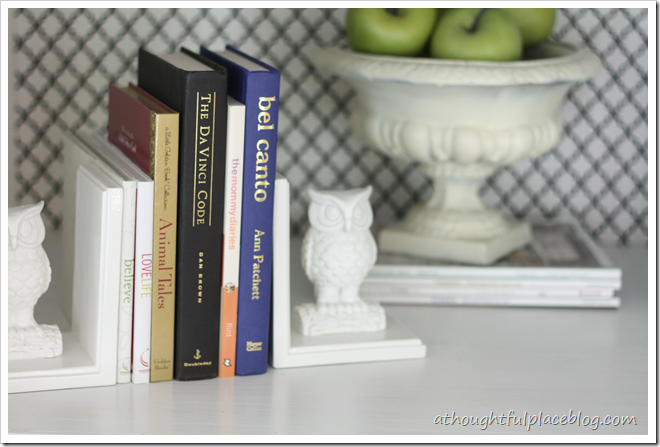 Tip #4: Use What You Love Remember that no matter what, it’s always nice to fill a space with things you love. After all, you will be living with it and looking at it all the time. Be sure they are pieces that you treasure. There is no hiding that we have a big black box in the built in, but at least there are special pieces above to look at!
 And here is a full shot of the room {sorry you can’t see the built in. . . it’s to the right of the blue chair} so you can see how the black and white graphic print feels at home in the space.
 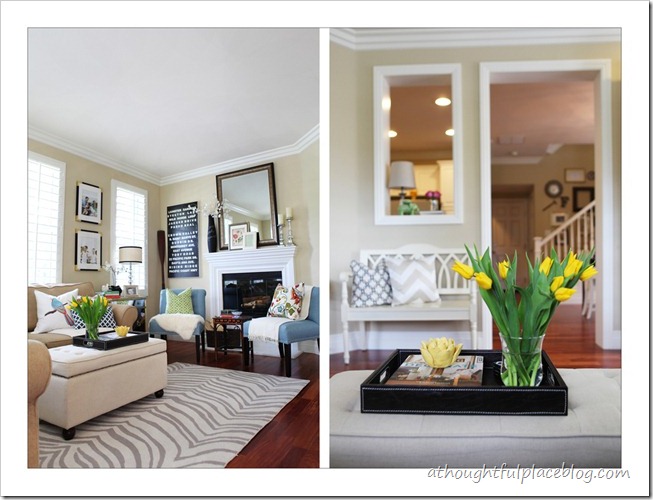 To see details on the living room you can click here. To see fabric lined cabinets in my kitchen click here. Thank you again to Diane for the Pinterest Inspiration. And you can check out a crazy amount of inspiration over at these other blogs:

 Check out Kate, Sherry, Katie, and Michelle today for major inspiration! sharing this post with The Shabby Nest
The fabric is perfect. So smart to use a smaller scale. The styling is prefect.. love the owl book ends!
This looks great! I might just be inspired to add a little fabric to the back of one of my own shelves. You seem to have that innate skill for styling shelves. I think it's trickier than it looks to get a polished look. Thanks for the tips!
They look great, Courtney. I need to add some pizzazz to my bookcases too, one of these days. Add it to the list! 🙂
This looks so great and I think I might try this in the baby's room. Thanks for the idea.
Looks great Courtney! Love that fabric. Great tips!
DUDE!! I was skimming through the linked projects at YHL, and the only one I clicked was these gorgeous lined bookcases…and they were yours!!!! well done friend, they look amazing! And twins…that's the same fabric I used to back my glass kitchen cabinets, but in a different colorway! 😉 xoxo
I love this project! The finished product looks so fantastic and the styling is amazing. Thanks for sharing!
What a great project! I love the fabric you chose. I was thinking about painting the inside of some bookshelves for my office, but I love this idea so much more! I am visiting from YHL Pinterest Challenge. I am pinning this project!
It looks fantastic! Awesome job.
great tips! i love your choice of fabric and decor. well done, lady!
I love this! You know how I feel about black and white – and I love the print you used! I am getting more and more inspired by your posts. Once the kids go back to school in the Fall, I will MAKE time for some changes and hope to implement some even sooner.
Love how it adds that unexpected texture and pattern. Gorgeous.
Love the pattern! it's perfect. And books are my favorite way to style!
I love the way you've styled your shelves – thanks for sharing your tips.
Oh, I love it!! You just can't go wrong with black and white, and you styled it perfectly!! Good girl! 🙂
Thanks for the kind comments, all! It was one of those things that takes no time at all, but makes a difference.
Wow! Everything just stands out so much more! Wishing I had a bookcase to line with fabric…:)
love this! i did something similar with contact paper- makes such a big difference! you can see it here if you're interested 🙂
http://lilsoninc.blogspot.com/2012/07/hutch-before-after.html
<3 this! I have been eyeing this off for a while to do on either the bookshelf or buffet, looks nice and easy.
Pinned! I have an extra yard of fabric that I was wondering what to do with; problem solved!
Jessica
stayathomeista.com
Love the fabric you chose. I might have to try that in our library. Love those owl bookends. I saw a set at Home Goods today, so should have snagged them…hopefully they will be there tomorrow.
Your husband built that?!?! Wow!! The fabric is a perfect choice and I love the sentimental box your grandfather built.
Do you glue the fabric around the edges, or the entire back?
Great question. I only used the glue on all four edges. And I start at the top edge in the middle. That way you can pull it taught down and out as you go. Hope that helps.
Oh I love this project Courtney! Black and white was the perfect addition to your living room. Your styling is right on too!
Wow it looks awesome I love the background.
I LOVE this! We are getting ready to move into our FIRST home, and I have been debating as to paint or 'fabric'-ize the back of our built ins…this is definitely making me want to use fabric! I am your newest follower, hope you'll visit my blog and follow back if you enjoy it!
xoxo,
Brooke
http://www.decorgreat.blogspot.com
I love how the background fabric made such a big impact. I did something similar using decorative contact paper in the opening of my fake fireplace. I love how it filled in the blank space with color and pattern.
Love how you did the fabric-backed bookshelves. The trim keeps everything looking so clean and perfect!
Really like that you used the fabric on built ins. I think I might have to do that with the built ins my hubby did up for us too.
Bernadette from http://www.b3hd.blogspot.com
Love the styled shelves – the fabric is perfect! Visiting from Shabby Nest.
I love the fabric-lined bookshelves. I pinned a picture to my DIY board on Pinterest so that I can refer to your method when I am ready to do ours. I also enjoyed your tips on styling bookshelves. We bought a white wall unit from IKEA and I just grabbed lots of things from around the house (photos, books, items from our travels) and was surprised how easily things came together to add decor to the shelves. Thanks so much for your post 🙂
Yay! Another new blog that I love! Found you through your post at IHeartOrganizing. Love that site, will be fun to see your contributions and follow you here too :).
Bobi
http://westernwarmth.blogspot.com
Love this idea! I have some pretty classic (and huge) built-ins and this would be a great way to bring some color and pattern to the room.
Shared this on my blog today. Thanks so much for the inspiration.
Great re-do! I love the fabric behind the shelves, makes it look that much better! I have a small bookcase that i just decorated it with my new home decor jar because it needed a little something extra, and now I am thinking about doing this idea!!