Can I get an Amen, it’s Friday?! Holy cow it’s been a busy week. Do you feel the same way? To follow up with the Dream Tree Challenge, Michaels asked us to please share our decorating tips and tricks. To be honest, I stress and fret over what to do and once the light bulb finally goes off and I am inspired to do something, I just bury myself in it and plow forward. It just seems to happen that way for me. Having said that, I looked back at this tree and other trees I have created and they all have four things in common so I am sharing that with you today. 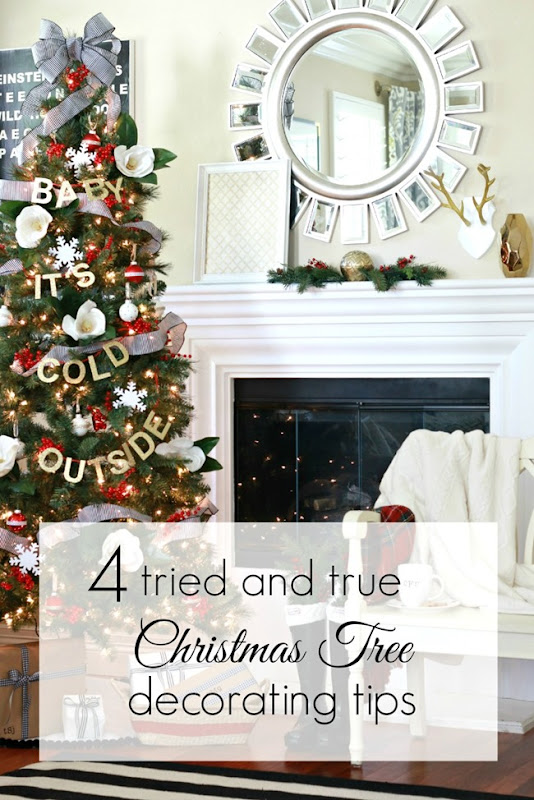
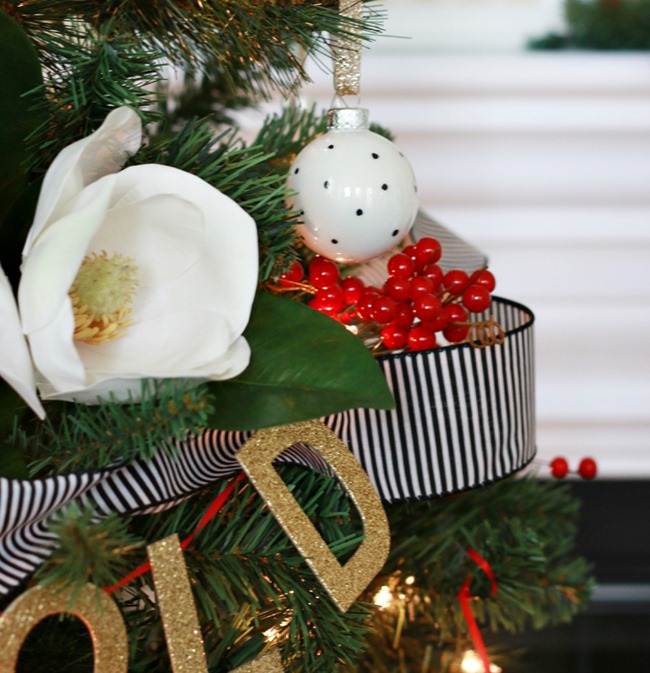
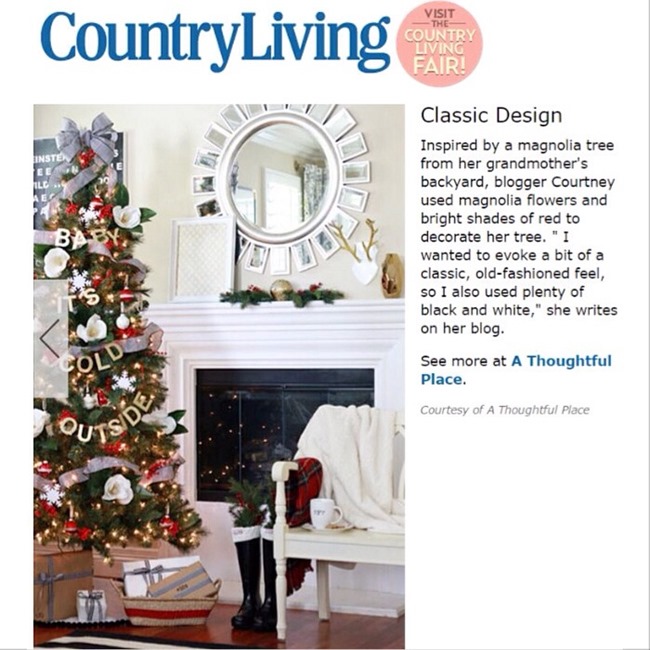
 I truly believe you need an inspiration piece for any design project you tackle. Whether it is a full room design, a vignette, or even a Christmas tree. You need to find that “ah-ha” moment where you become passionate because something you find evokes emotion and interest for you. It is zero fun working on any type of project if you don’t feel inspired. Because I was creating this tree from items found at Michaels, I put on a Christmas scarf to put me in the spirit and strolled around the store {in October mind you}. I stumbled upon these faux magnolia blossoms and knew that they would be my jumping off point. Magnolia trees are special to me and remind me of my childhood and my grandmother. I also wanted to evoke an old fashioned feel and decided to incorporate the song, “Baby It’s Cold Outside.” With inspiration, I could then easily begin to piece together my tree.
 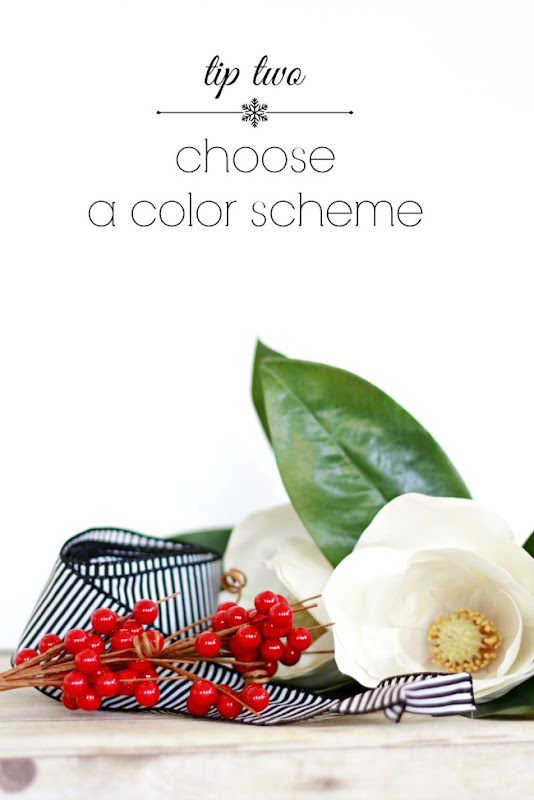 After you have an inspiration piece, you need to nail down your color scheme. This goes for interior spaces as well. I suggest a loose rule of three. If you stick to three colors you avoid seeing something and thinking it will work just because you like it. The trick is to pick your three colors {and therefore items} and keep them close to you. Once I knew I wanted to roll with black and white {harkening back to an old era} I scooped up this striped ribbon. Wanting to incorporate red, I chose the traditional berries to help guide my color scheme. I literally held those three items in my hand and when I looked at something I knew it needed to blend well with what I had already chosen. This helps people like me who tend to love EVERYTHING simmer down and stay focused!
 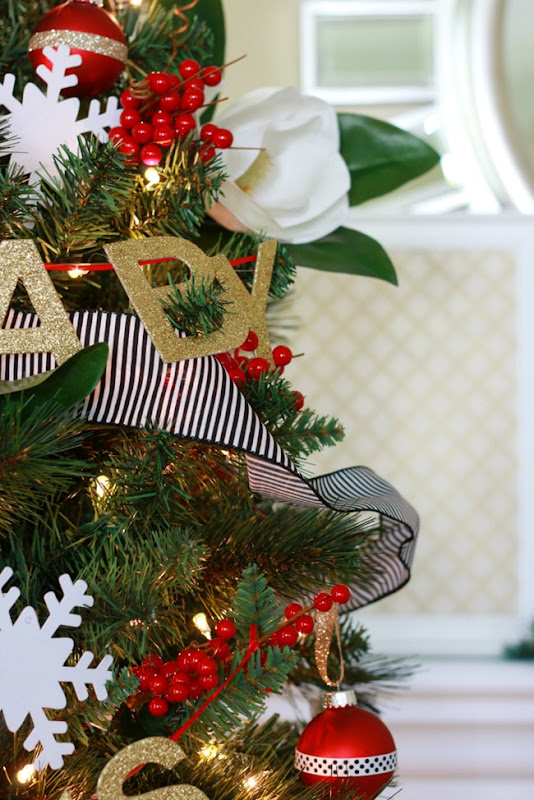 You can see the magnolia blossoms as well as the color scheme at work {red, black and white}.
 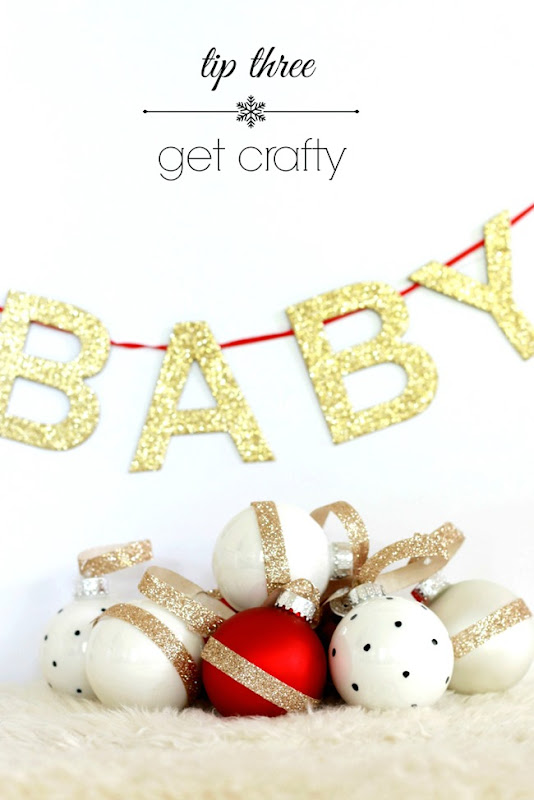 Once you have chosen items that are within your color scheme, don’t be afraid to get crafty! I bought a package of assorted Christmas ornaments and got friendly with my glue gun. The glitter ribbon was on an end cap and was only $1. They carry it year round. I cut some strips and glued them with hot glue. Piece of cake and adds the perfect amount of detail I was looking for. The polka dot bulbs were made with a Sharpie. Yup. A good ole’ black Sharpie pen. I also looped the ribbon around the top and closed it with a dot of hot glue. It looks prettier hanging from the tree than just a green ornament hook. To create the “Baby It’s Cold Outside” banner I bought two packages of the large gold glitter letters {can you believe they just come like this}. All I did was peel the backing off {as it’s too slippery to work with} and used the hot glue gun to adhere red satin ribbon. Piece of cake. I will say that placing the words on the tree takes PATIENCE. For some reason it really took me a lot of time to get them to hang just right. You’ve been warned! I also posted a tutorial about making a super duper easy tree skirt.
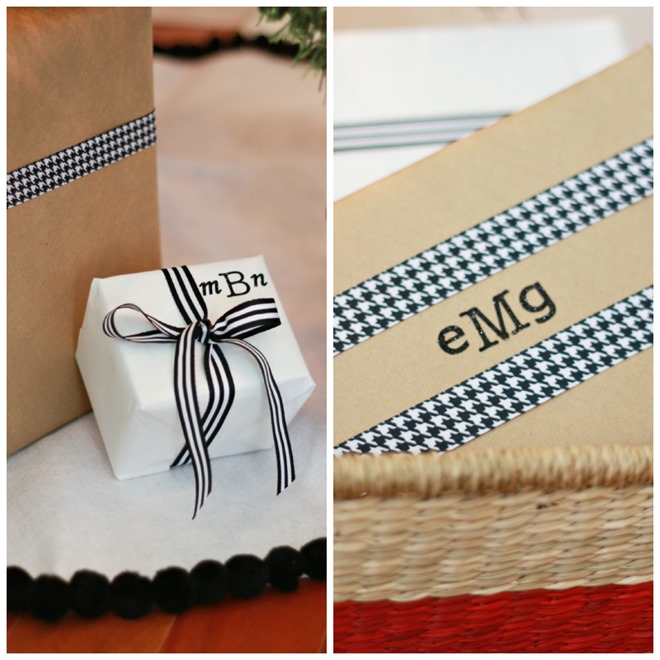
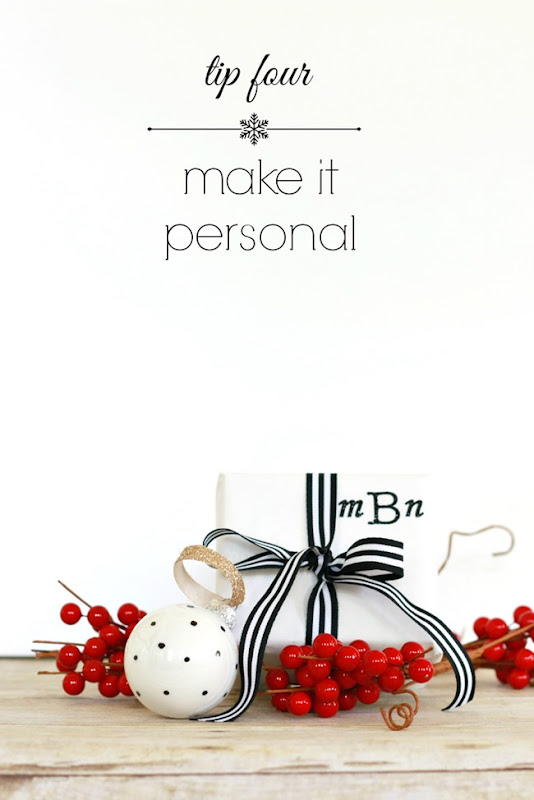 Tip four is my favorite. At the end of the day, what makes a tree or a space feel beautiful are the personal touches. Add photos or think about how to incorporate your family members. This year I was all about the monogram. I think they are classic, simple and really quite useful when labeling your gifts! Michaels sells these alphabet sets in their sticker section. Look for the black glitter set that has various letter sizes. That helps to create more of a monogram feel. And I am always a huge fan of decorating with gifts. If you don’t shop early, than wrap up a few shoe boxes or anything else you can find to create a cute look under the tree. Just don’t wrap the book you are reading like I did. What an idiot. I spent days looking for my book. Hello!!
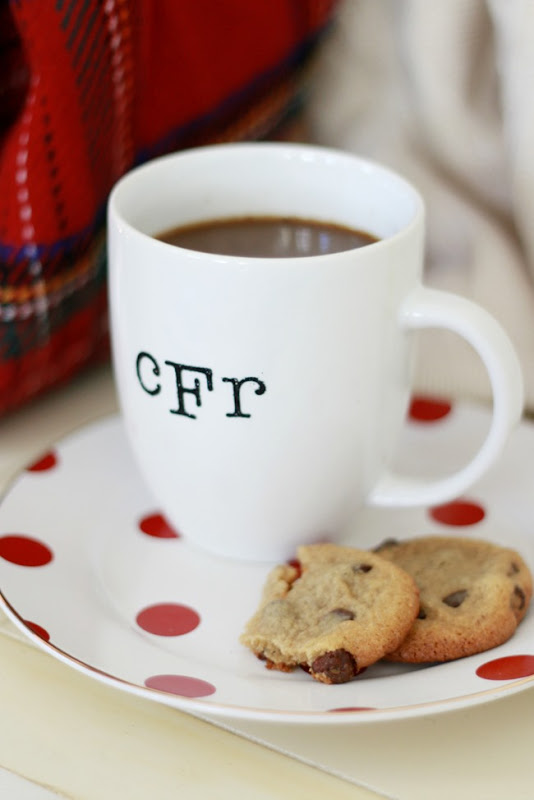 What? Do you think I took the monogram thing too far? How could I not give us some monogrammed mugs. I feel so fancy sipping from these! I hope these tips have helped. And truly. . . they work for Christmas trees, decorating spaces, and almost any design project I tackle. To see the rest of my tree click here. If you haven’t seen the collection of Dream Trees yet, stop by The Glue String to see all 30 – they will blow you away! Lastly, a big thank you to Country Living for featuring my tree alongside some really inspiring bloggers. It was such an honor.
  I also know that most of us stick to a traditional Christmas tree complete with ornaments hung down low by kiddos and mismatched cuties hand crafted by little hands. I love that and as the holiday approaches we too will have that family tree. But it’s fun to dream for a bit and create something that is unique and different. And believe me, if I had a bigger house, this baby would be still up and glowing in another room! Have a great weekend, all!!!! I’ll pop in tomorrow with some Saturday Shopping finds. If you have missed any as of late you can get caught up here.
Great tips, and again – I LOVE that tree! x
Great tips, Courtney. My inspiration this year is tartan ribbon. I've done burgundy and gold the past few years so this year I'm back to red and green and black. What got me going was I just painted my front door black and I've been thinking of using the tartan ribbon on my wreath.
How lovely all of them ad the tips as well. Thank you for sharing Courtney. I did tartan ribbon last year and will again this year, as there they are!
FABBY
I LOVE the letters. Every since you first revealed this, I knew I wanted to do something similar. When I was in Michaels a week ago I could not find the letters anywhere, so I figured you made them! What section are they in?
So pretty!! Such great tips, too. And did you say 'harkening'? 😉 Happy weekend!!!
Courtney, this tree is gorgeou!! Congrats on the feature. What wonderful tips too! You are so smart. Love the gold ribbon to hang the ornaments with and the gold dots with a sharpie?! You crafty lady!!
Such great tips! I'm always a bit stumped decorating the Christmas tree… I have too many ornaments in too many colours and too many options! Great suggestions on how to narrow down your look. Love the mix of black, white, and red.
Baby, It's Cold Outside on your tree is so cute Courtney!
This is one of the prettiest Christmas trees that I've ever seen! It's beautiful and classic. I love that you drew your inspiration from an "old era". Those magnolia blossoms are lovely and what a sentimental touch. I think I have to take inspiration from you and make those polka dot ornaments. Anything polka dot and stripes I love. Beautiful job Courtney! Have a wonderful weekend. xo
Hi, Courtney!
This is a tremendous tree-trimming tutorial, truly! Lol
Thanks for the treat.
Wishing you a beautiful day,
Linda at Beautiful Ideas
I really love the tree. So beautiful and classic. I also love the monograms. I am a sucker for anything monogrammed. I would love to know where you bought that plate with the red polka dots. I must have it!
Love all your tips and your decorating style. I hope you don't mind, but I shared a link to them from my blog today. Using the letter stickers for your packages is brilliant! I have a bunch from scrapbooking.