Today I am sharing my latest Michaels Makers project! I created some very simple gold dipped place cards that will add sparkle to any table. They don’t take long to make and add just a touch of sass and bling. I had seen them done for a wedding a while back as the seating cards. I have always wanted to make them myself. 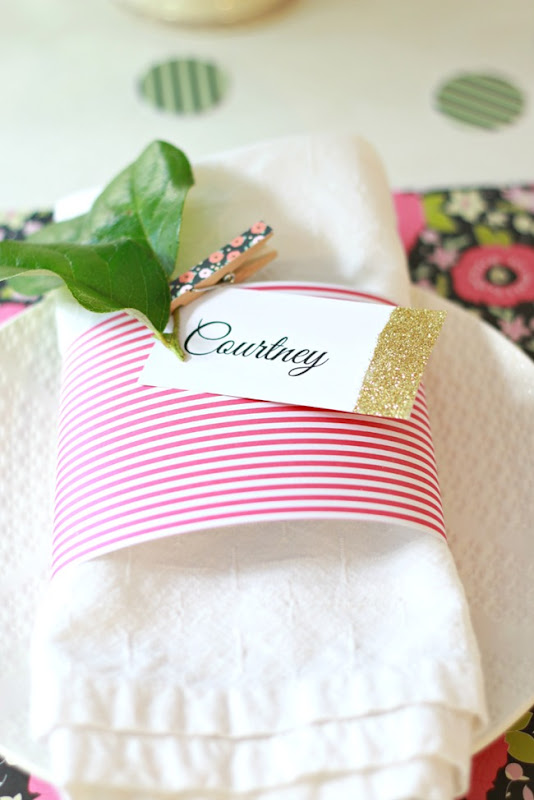 But before I get to that, we were asked to show you our craft room or space. And add a bit of organization to it. Sadly, I am craftroomless {is that a word?}. Most of my supplies are out in the garage in cabinets. I literally grab everything I need every time and setup shop on my dining room table.
 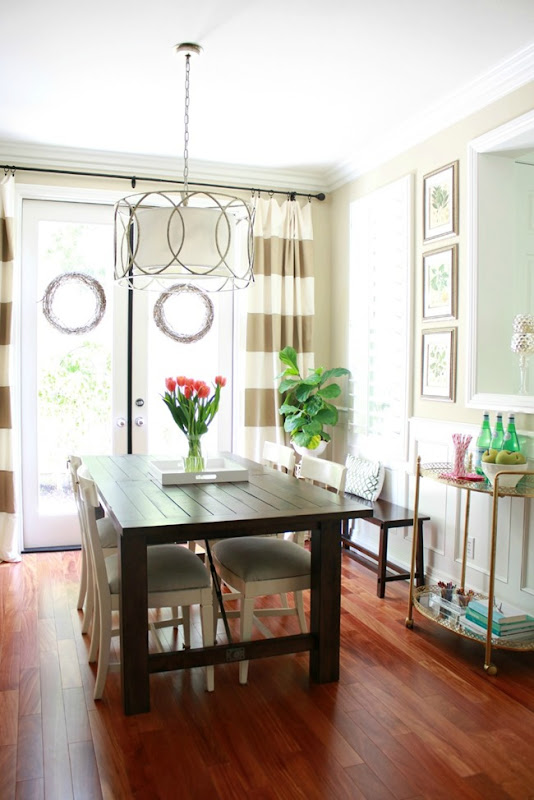 To be honest, I do dream of an amazing craft room/office one day. . . but something tells me I might still be at the table in the heart of the action. Part of why I work in the dining room is because the natural light is so beautiful so I can snap photos and work at the same time. So when Michaels asked me to organize my craft space it was a bit of a challenge. And then the light bulb went off. I needed a cart. I needed something to house my most used craft supplies that I could wheel out of a nearby closet and bring to the table. I love it!
 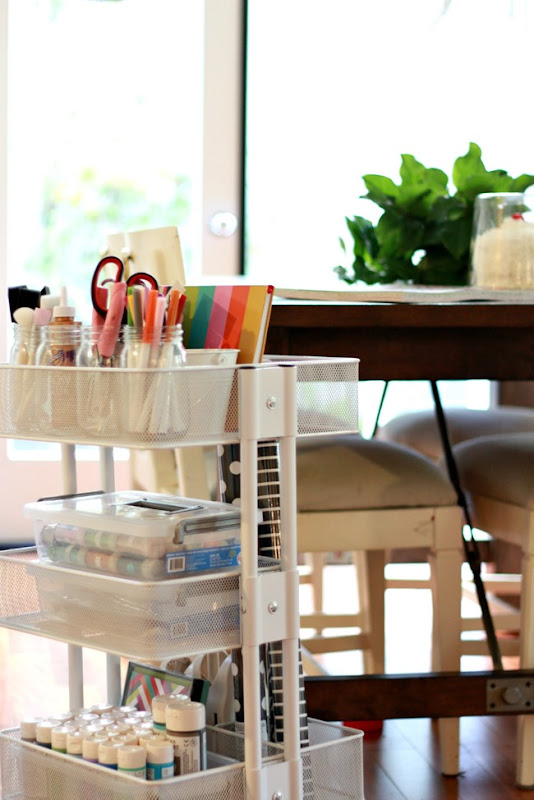 Why haven’t I done this before? I can’t tell you how excited I am and how this has changed my life. It’s originally designed to hold wrapping supplies, but it easily contains my go-to items. It’s like a dream pulling it out of the closet and having it right next to me. Sounds so silly, but it’s true. I was a bit giddy creating the place cards! This cart is only available in store right now and is marked down to $30. Run don’t walk. So let’s take a look at what I use most.
 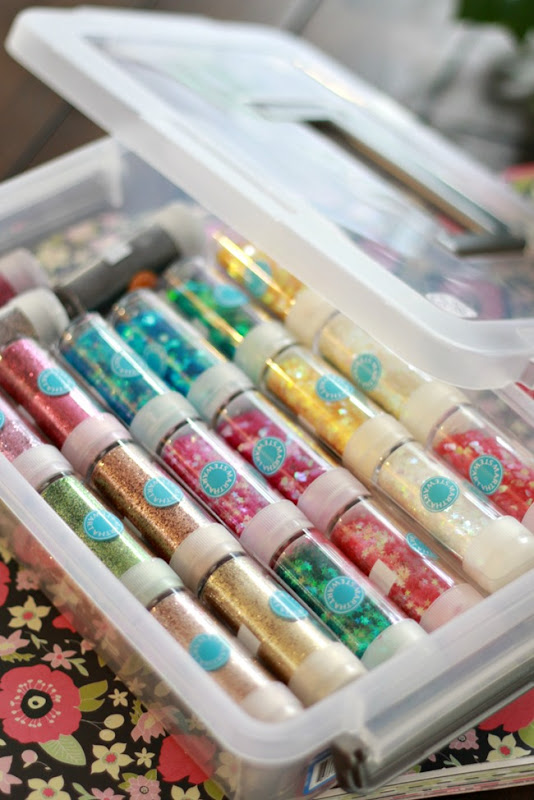 I found stackable plastic boxes with handles so that I can easily take them out and set them on the table. I love having all of my glitter in one spot {and I have a lot of glitter}. My daughter is a huge fan as well and can’t wait to use this new system.
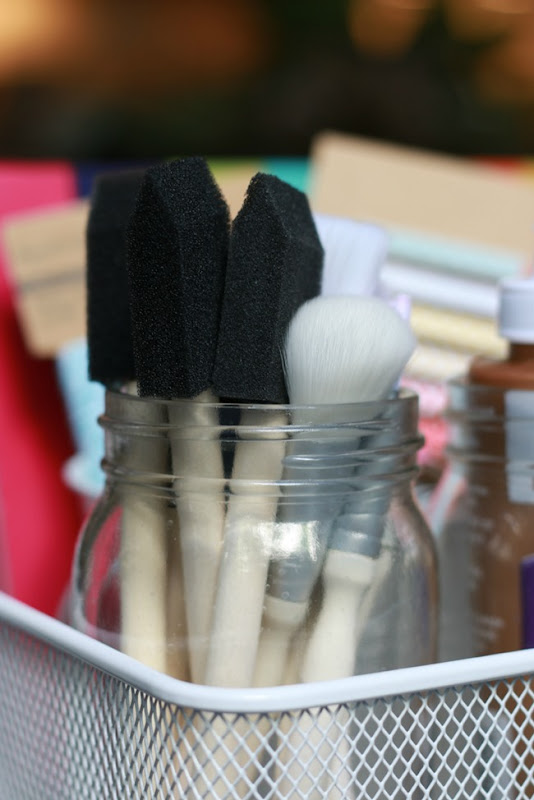
 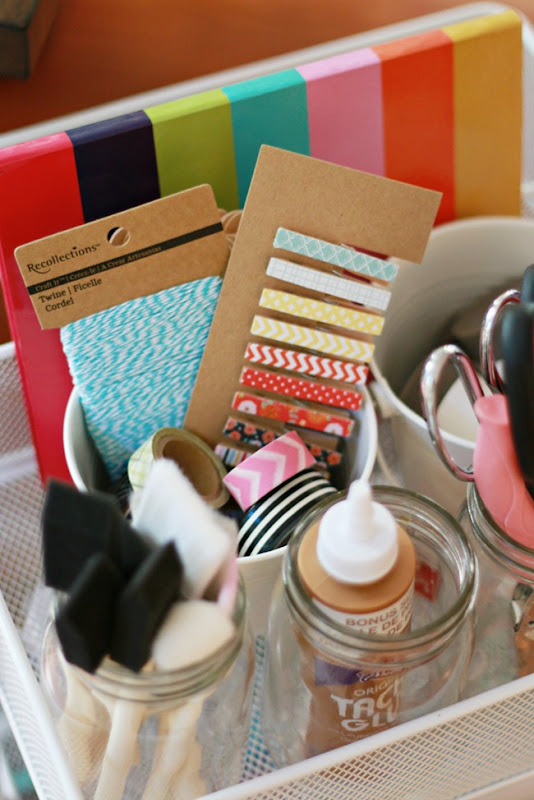 I also believe in using what you have on hand instead of buying all new. So I grabbed mason jars and used those for some go to items like paint brushes, glue, markers and scissors. I used simply white pails {found in the Valentine’s section right now . . a bit wider which I like} to host little things like sponge brushes and twine.
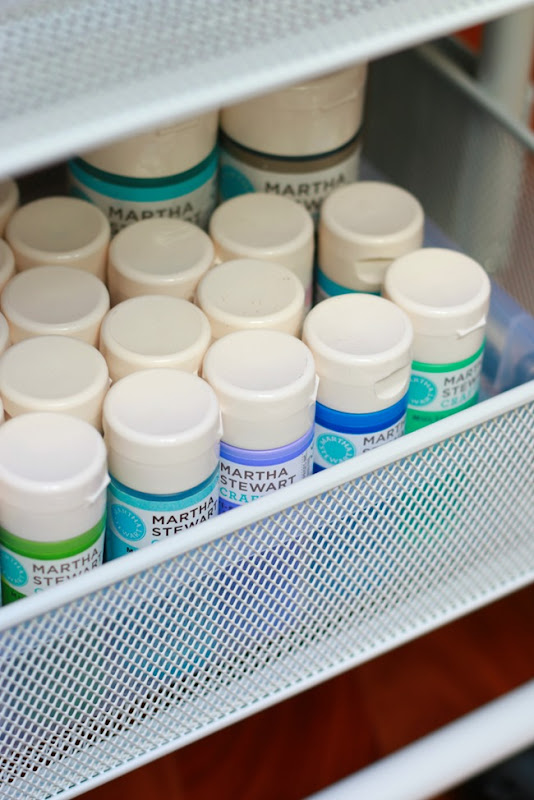 Without question I use my paints ALL THE TIME. Without using a lid, one of the new plastic bins is perfect for containing all of it. It’s so nice to have it all in one spot.
 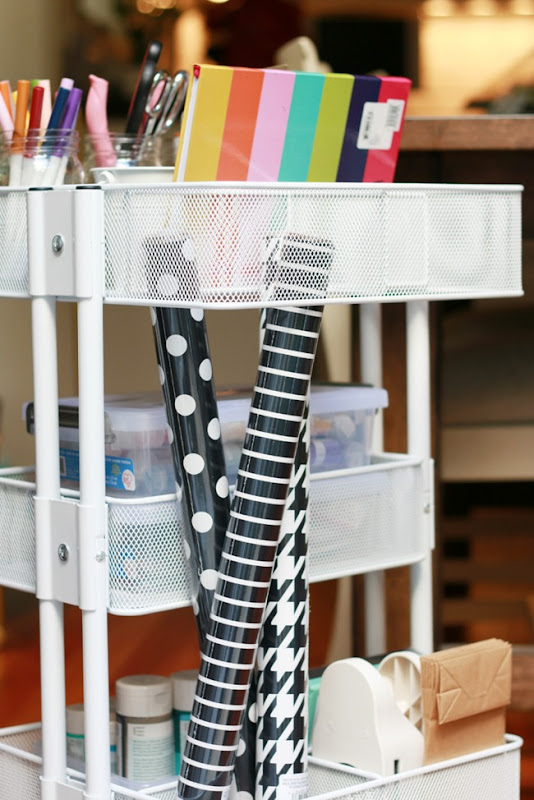 Here is a shot from the other side. I picked up those cute black and white papers at Michaels and have some fun plans for them! I am also able to fit my two favorite circle punches which I use all of the time. Now that I have all of my faves all in one rolling cart, I wanted to make something with those supplies on hand. I have always wanted to tackle the gold dipped place cards so this was my chance. In this New Year I am really focusing on simple and easy ideas. Things that make life more special, but don’t suck the time out of the day. And spending some serious time with gold glitter always makes me happy!
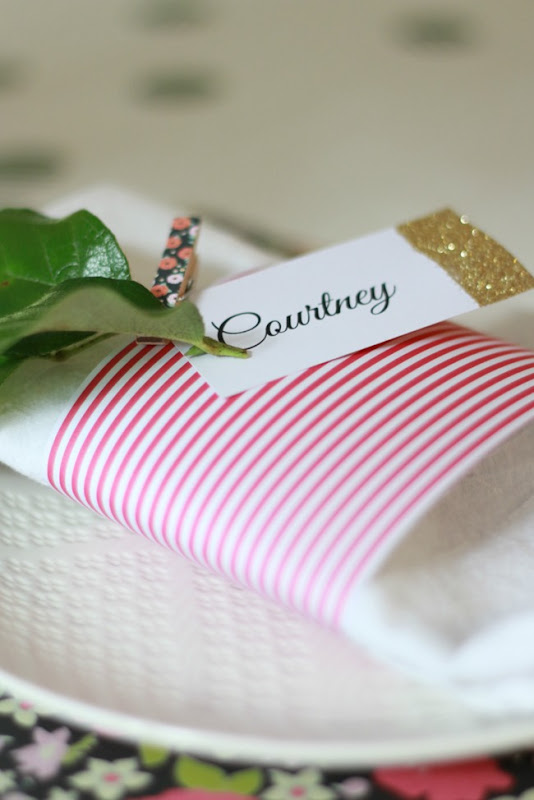
  To begin I used PicMonkey to create the names. I use that because they offer so many great fonts. I just chose the names I wanted and printed them out on cardstock. Super quick and easy.
 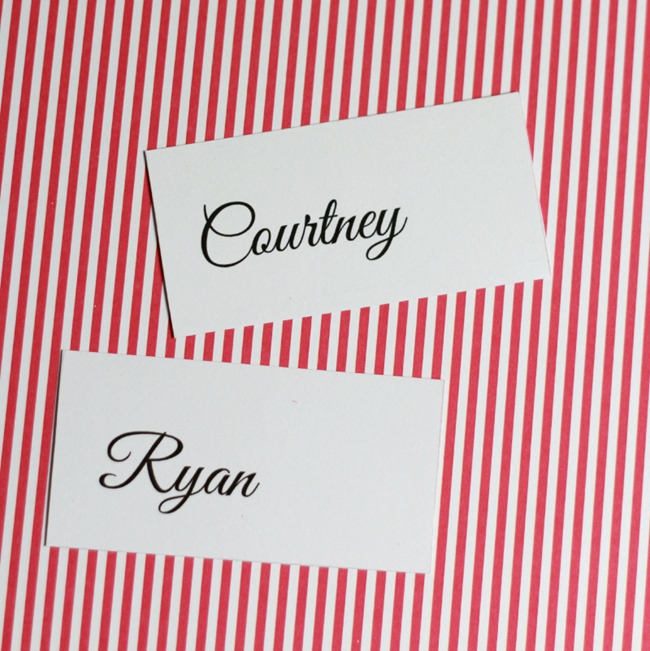 Once printed, cut to size {any size you wish}. Mine are about two by four. Just be sure to leave more space on the right side so you have room to add your strip of glitter.
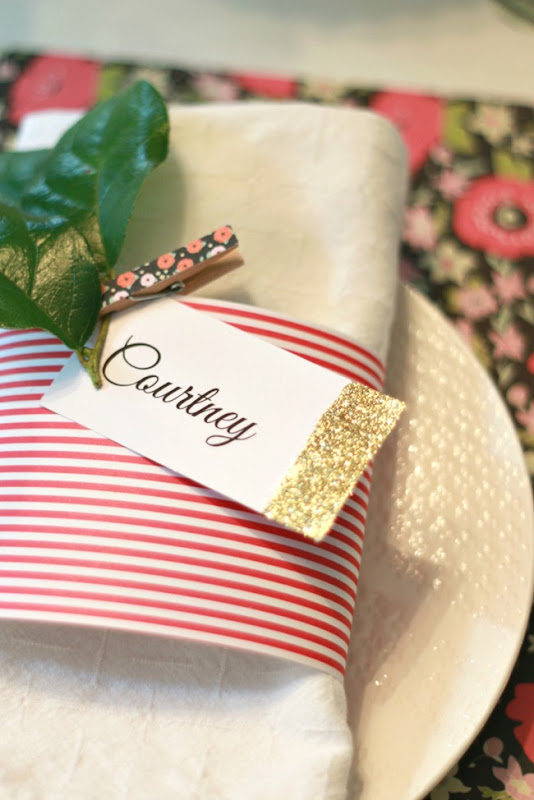
 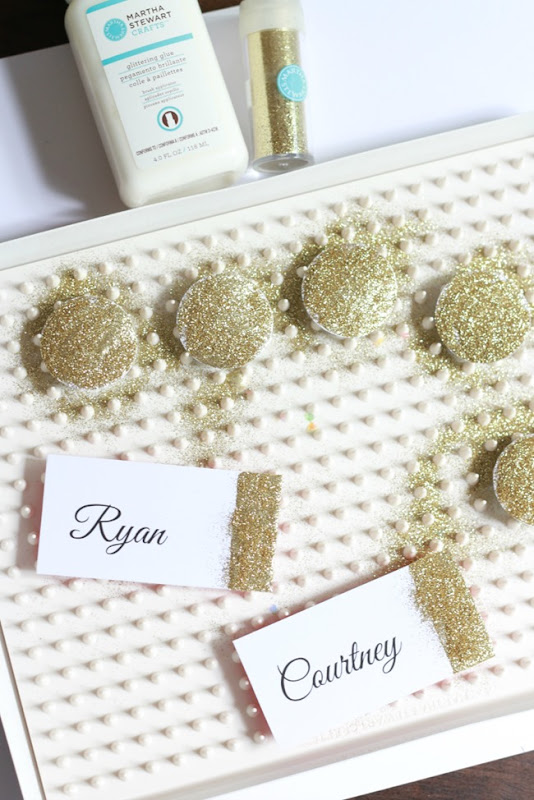 If you don’t have a glitter tray you need one. I am serious. Every time I use it I tell my daughter that whoever invented it is a genius. It saves all of your extra glitter and you can pour it easily back into the tiny little bottle via a small pour hole in the tray. GENIUS. I used half of my gold glitter making these because you need to be generous. But after pouring my extra glitter back into the bottle you can barely tell that I used any at all. Anyway, I digress. Simply paint the ends of the card with glue and sprinkle away. If you have white spots once you tape the extra off, don’t panic. After it sets for about ten minutes, add glue in those white spots and more glitter. Works like a charm. I created gold circles for something up my sleeve for tomorrow’s post! Stay tuned.
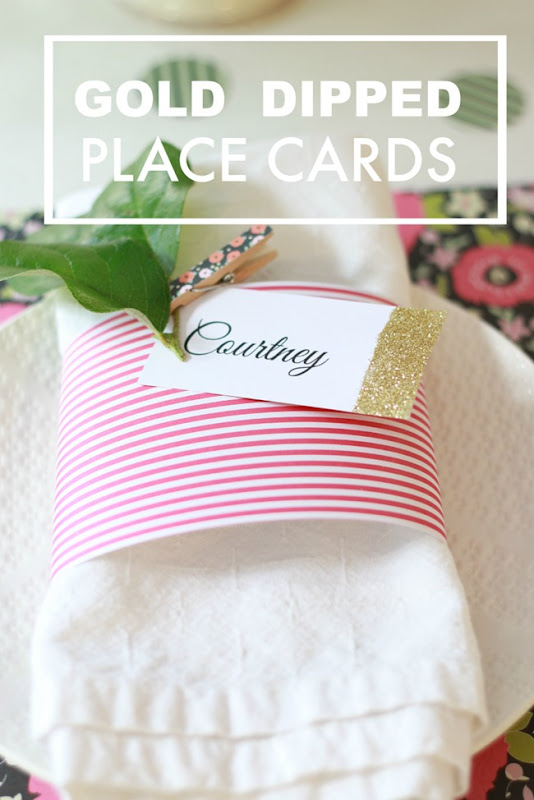
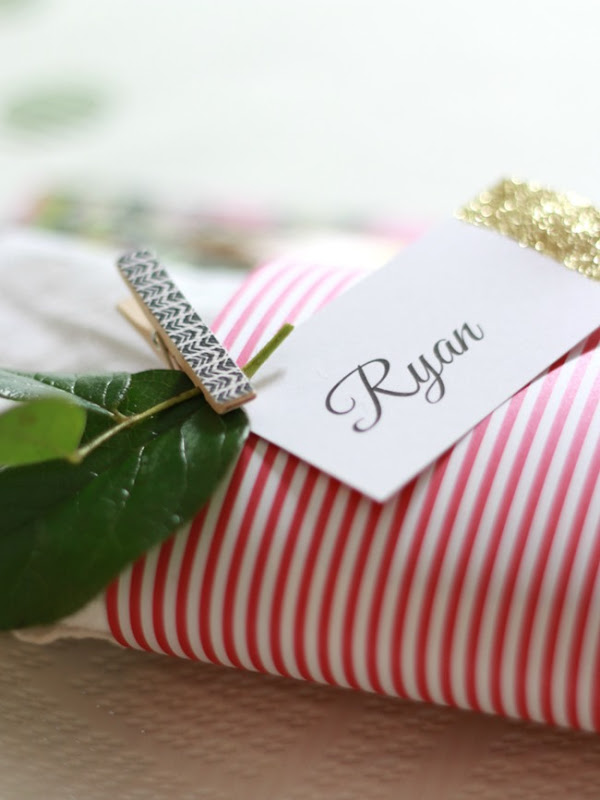
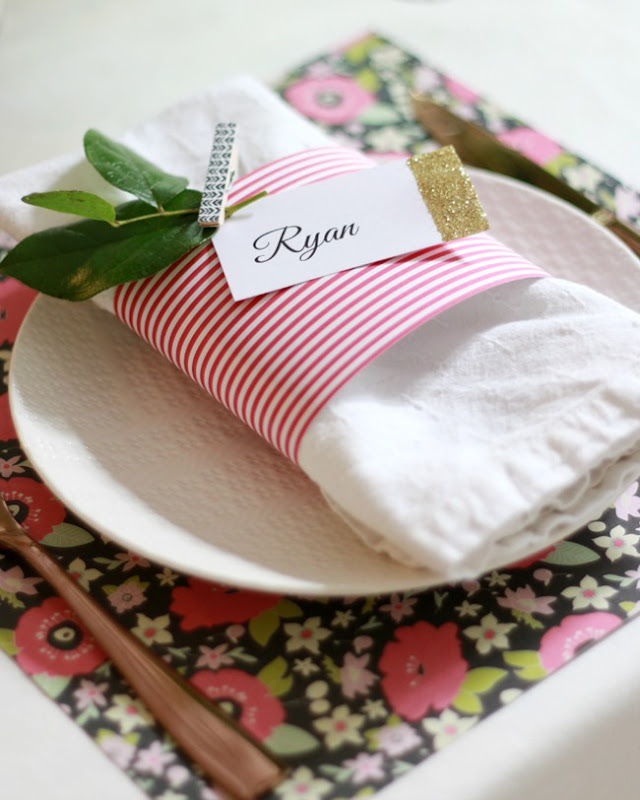 For this place stetting, I simply wrapped the napkin in cute striped scrapbook paper and used mini clothespins. Both were found at Michaels. The fresh lemon leaf gives the setting some life and softens the whole look. I think the gold glitter is romantic and fun. I think I see a Valentine’s Dinner for Two on the horizon!
 I plan on sticking to my craft resolution, “Simplify and Celebrate!” It’s really my motto for the year with all things. What are you working on? Come back tomorrow for part two of this post. I will share the rest of my table with you! Haven’t decided what project you’re going to kick off 2015 with? Stop by Michaels’ blog The Glue String for inspiration from all 30 of the Michaels Makers. And below you’ll find tons of inspiration from this month’s Michaels Makers challenge!

Adorable idea! I love anything that has "bling"! 🙂
I love these Courtney! The gold glitter really adds that extra special touch. I like the peek of your table. So fun! Something about that box of colorful glitter brings a smile to my face,
Were the clothespins already covered in the matching print/paper? Or did you do that extra bit yourself, and if so- how did you get the cut so perfect? Love it!
so in love with these – esp. the gold touch and mini clothespin – so adorable.
i LOVE this!!!