Good morning. As you know, we have been DIYing things for years. We love a good project and have learned more and more skills over the years. Don’t get me wrong, we also love to hire out but when it comes to small renovations we like to tackle them ourselves. Having said that, we are the first to admit that drywall is not our jam. And if we can avoid patching, we will. Today I am sharing a little trick in case you find yourself in a similar situation.
THE BEFORE
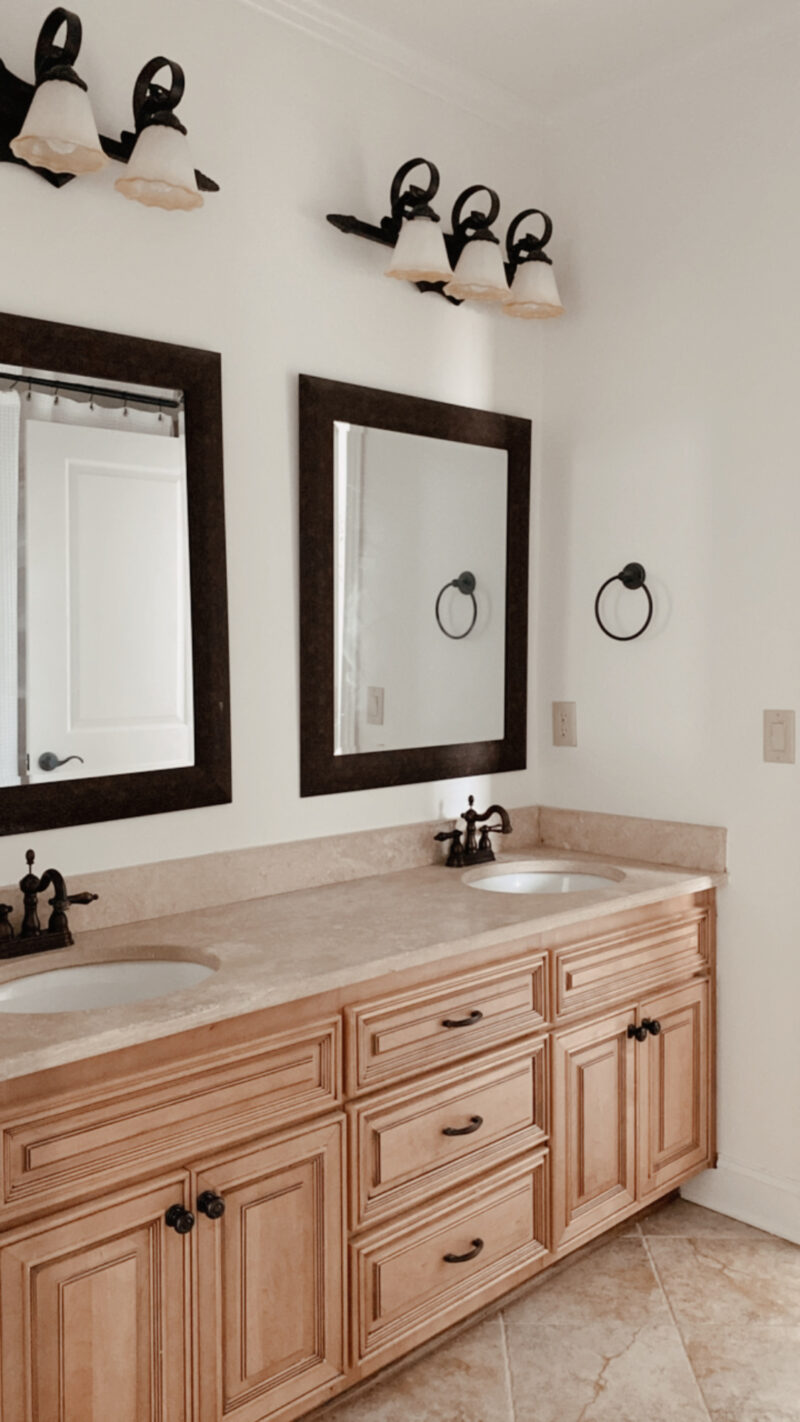
This is my daughter’s bathroom. While it has excellent bones, it isn’t her style and we are wanting to trade the Tuscan feel for something more feminine and current. We are always fans of swapping out lighting. In fact, if you are ever looking at homes, you should ignore the outdated lighting because changing out lights will transform a room. Having said that, swapping lights can come with some unwelcome surprises. When you remove the old light fixture you never know what you’re going to get.
Surprise, Surprise!
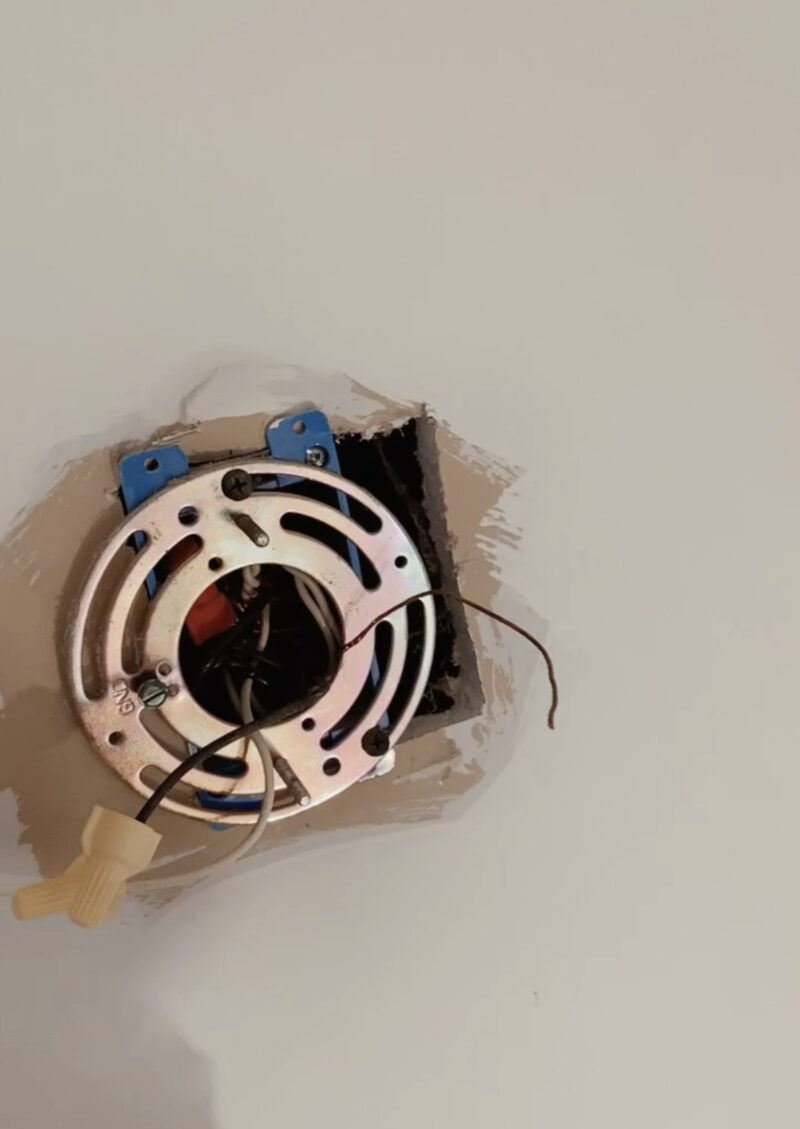
This is a perfectly good example. When we removed the first light, there were no surprises but when we took down this second light (which weighed a ton, by the way) we discovered this huge hole. That huge hole means new drywall because the new light plate would not hide that. If you have the skills, I say go for it. Or if you have a handyman you can call, fixing the drywall is always the number one choice. Or you can get creative and let wallpaper solve your problems.
We’ve swapped out enough lights in this home to know that this was likely going to be the case so I actually designed the room with this in mind. That is why I had the wallpaper ready to go. And I am so thankful that I did.
PEEL AND STICK FOR THE WIN
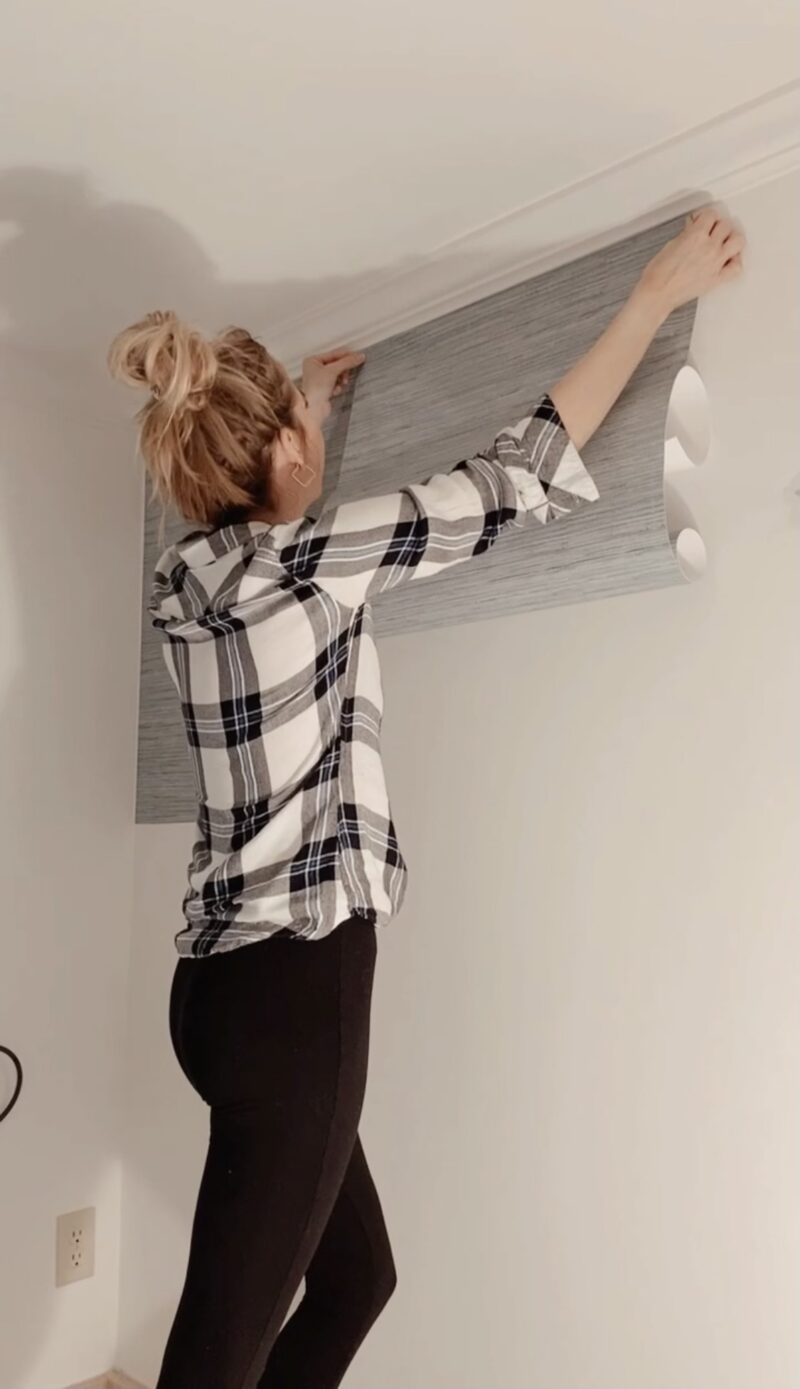
I was very lucky as three rolls were perfect for this spot. In fact three rows across was exactly what we needed. The wallpaper is definitely more of a bold teal green (coastal green) but appears lighter in this photo because the room was so dark without the lights. I needed to lighten the photo for you to see.
*For those asking, this top is similar to mine and on sale.
GOODBYE, DRYWALL HOLE
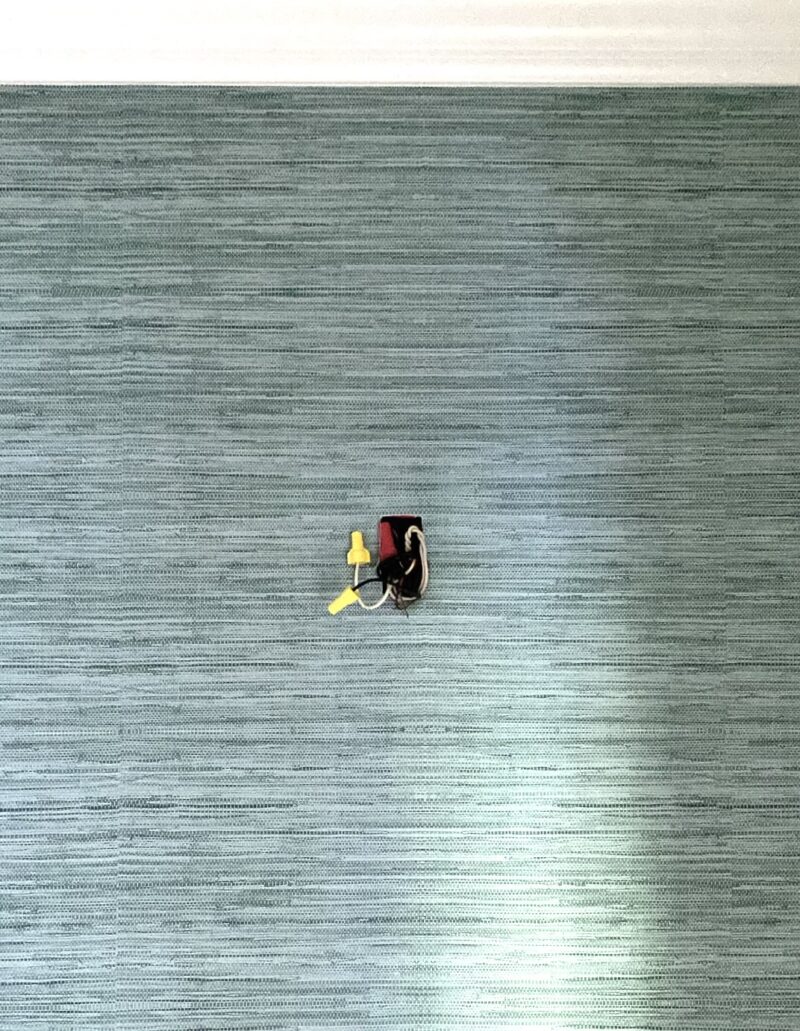
My husband removed the plates before I installed the wallpaper. We wanted the surface to be as flat and smooth as possible. I have used peel and stick before and it can be a huge pain. This was a complete dream to work with. It was so easy to shift and move around. I would absolutely use this wallpaper again.
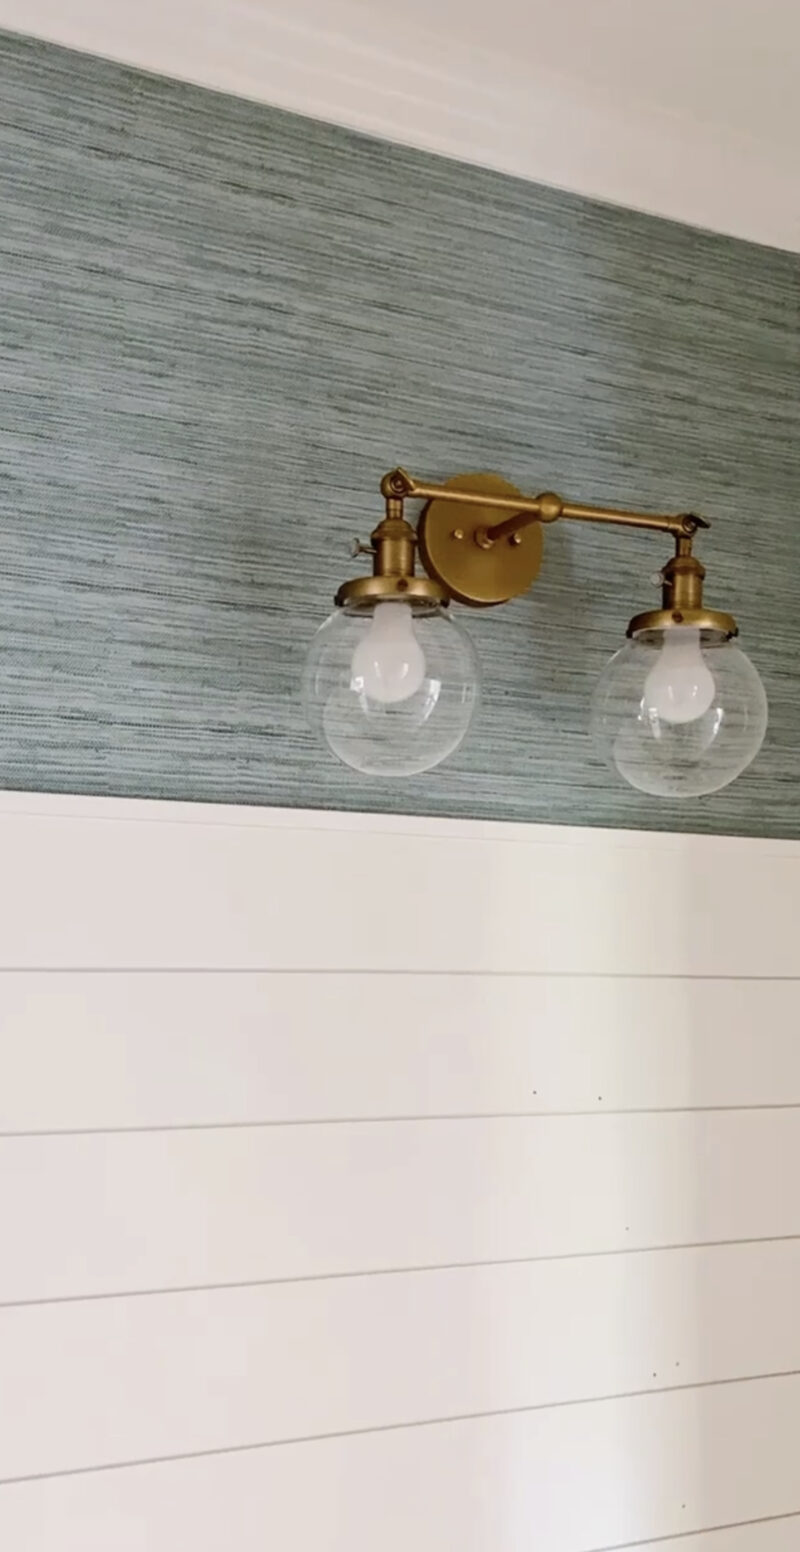
Drywall problem fixed! I like the idea of having a splash of color at the top to coordinate with our daughter’s bedroom. I also like that the bold color draws your eye up and away from the tile floor. The white shiplap was easy to install. We cut it ahead of time, painted it and used the nail gun. We were able to nail it where the mirrors will be hung so that patching is limited. The lights are from here.
A WHOLE NEW LOOK
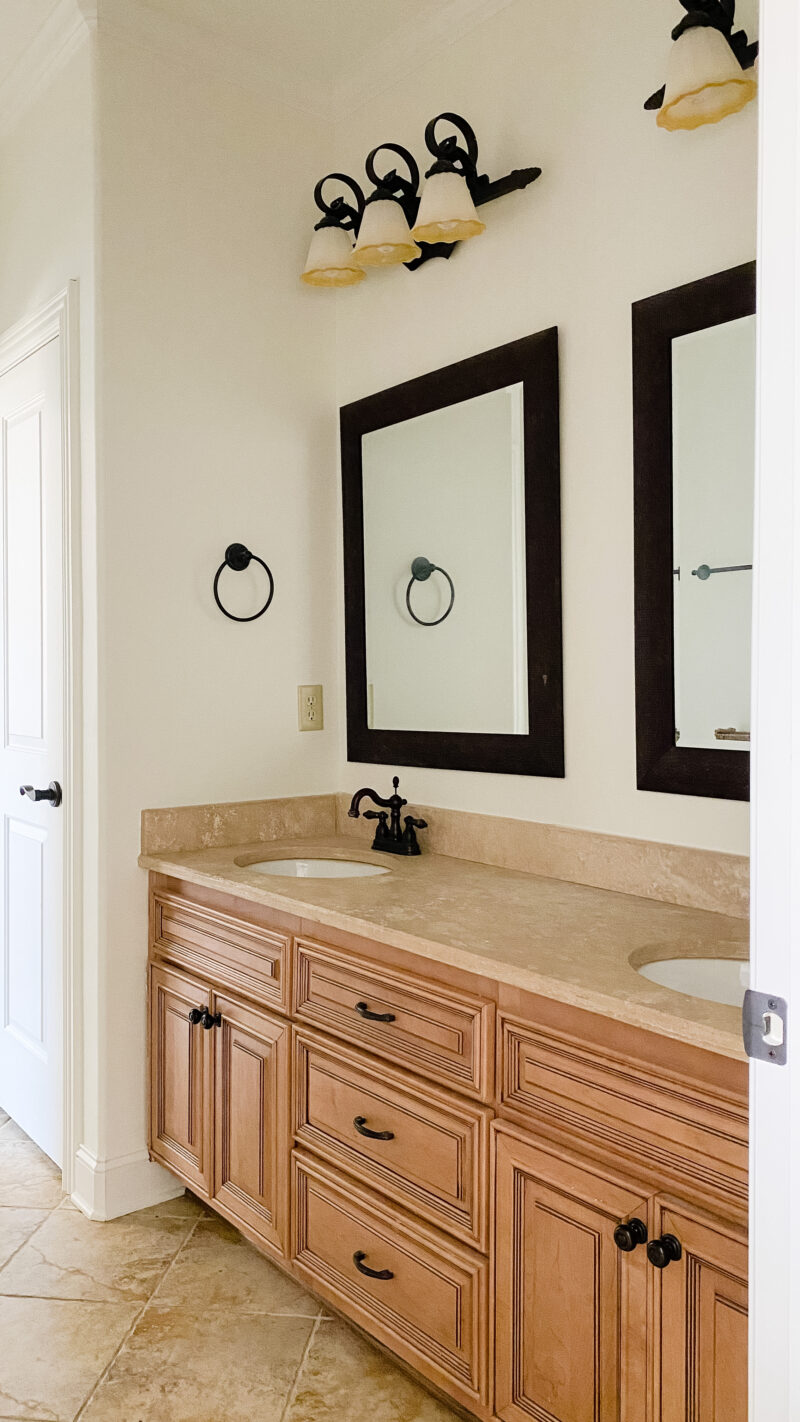
A quick reminder of where we started. The mirrors and lights had so much weight to them (physically and visually).
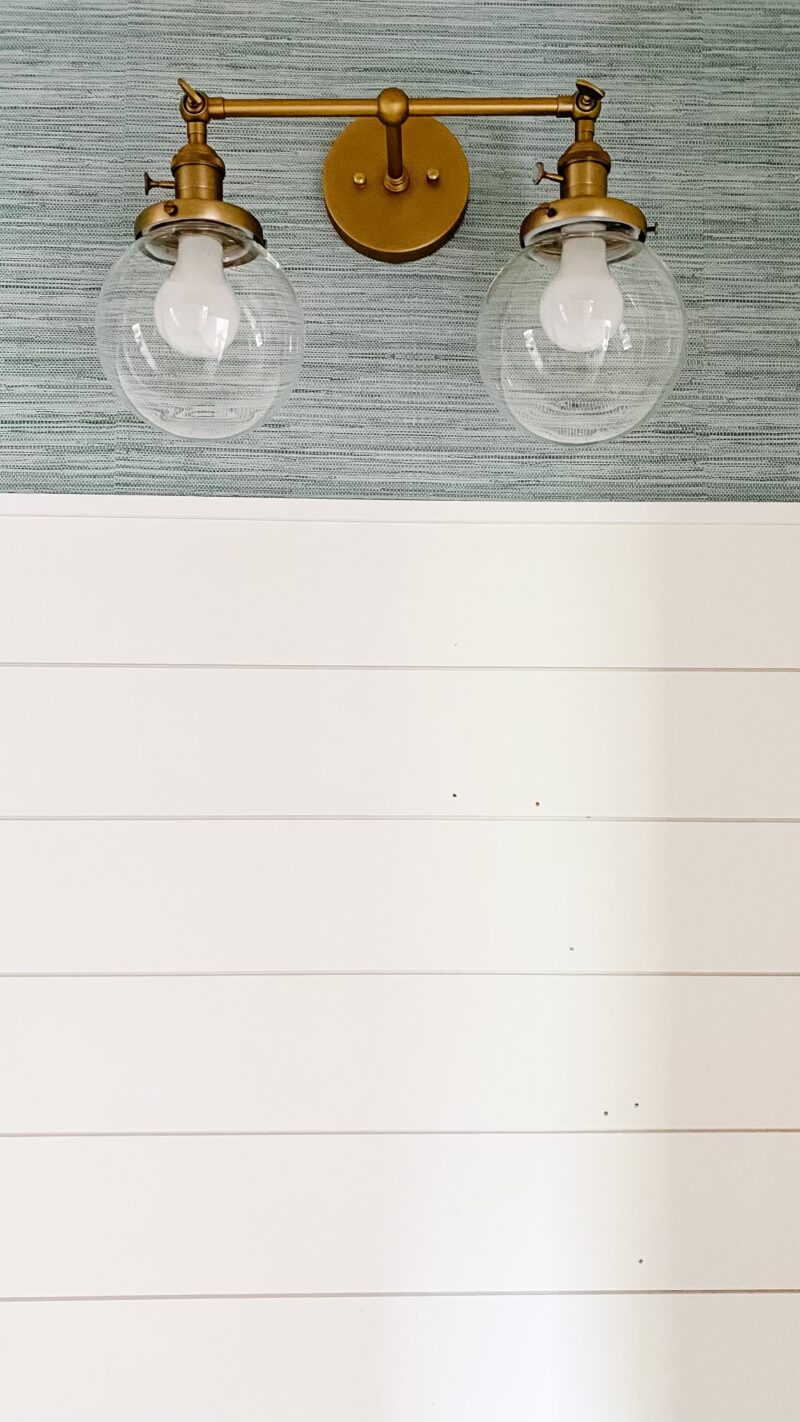
So much lighter and brighter. Something to note: This wallpaper, while called grasscloth, does not have the texture like I thought it would. It is a smooth printed grasscloth. While that was a surprise, it looks darn good in person. And because it is high up you would never know.
I did have questions about how I decided how high to take the shiplap. In planning that out, I worked backwards. I taped off the height of the new mirrors and because I wanted to see shiplap above the mirrors, that helped me make the decision on height.
I hope this little trick is helpful if are planning two swap lights and want to avoid patching the drywall. This project is coming together quickly. Next up I will share the mirrors and what I have planned for the cabinets.
You can check out our simple guest bath makeover in this post.
I can’t wait to see how this evolves! Such a pretty start. Is this peel and stick wallpaper good in a bathroom?