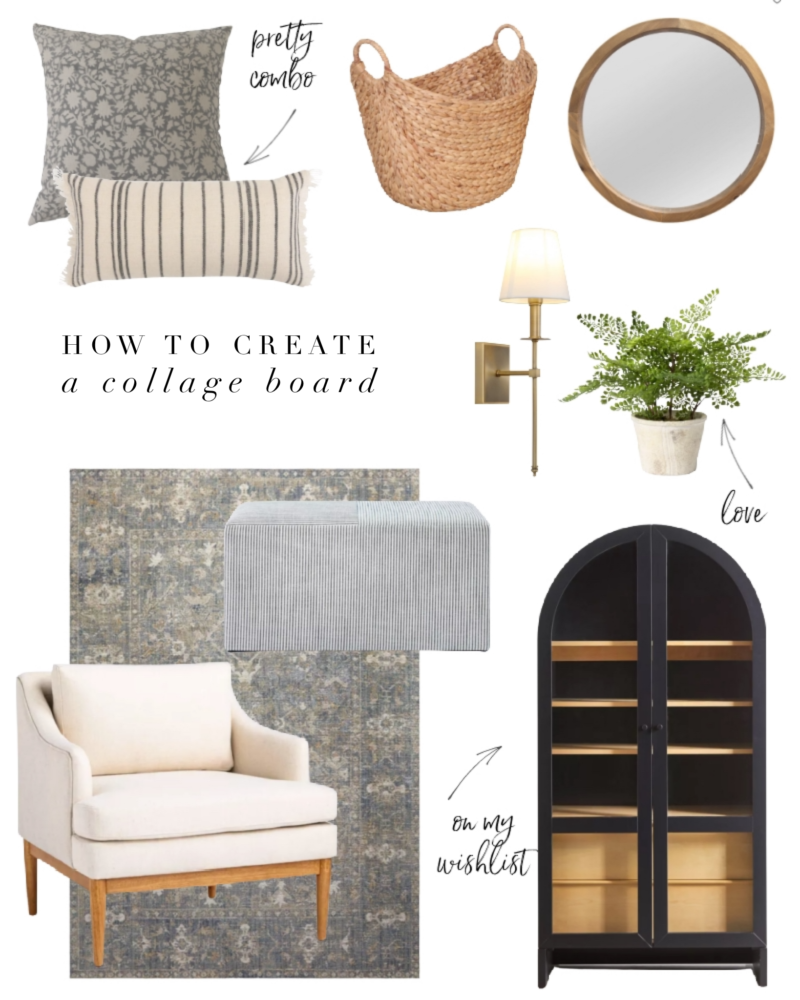
Good morning. One of the questions I am frequently asked is how do I create my collage boards? I make them both for home and fashion finds. To be honest, I keep them very simple and anyone can do it. Having said that, it’s a bit tricky to answer quickly so hopefully this step by step tutorial will be beneficial in case you would like to make them, too. Whenever I am working on a space, a collage board truly helps visualize how a space will ultimately come together.
CREATE A COLLAGE BOARD
PIC MONKEY IS YOUR BEST FRIEND
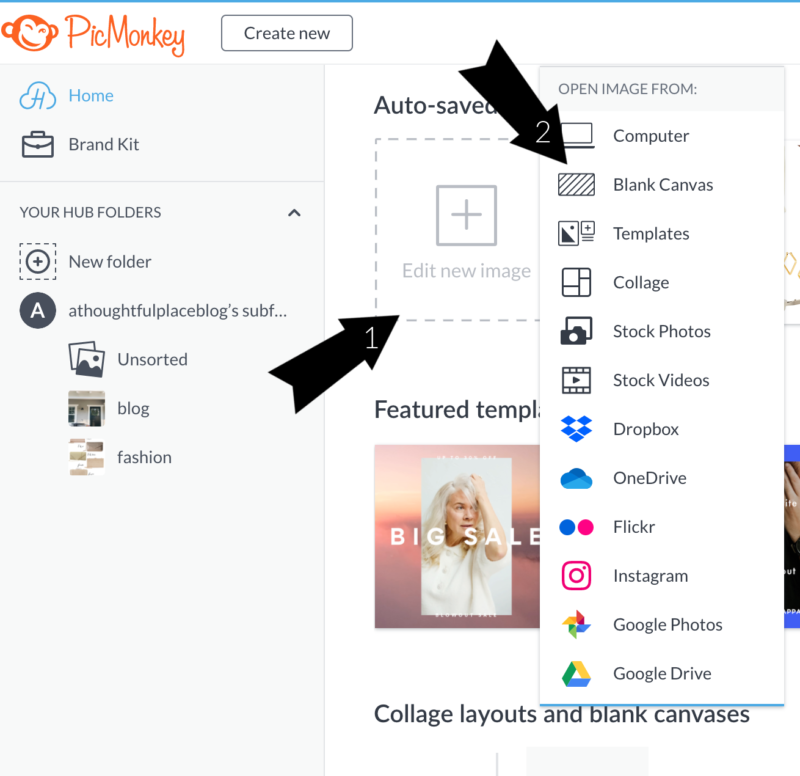
I absolutely love PicMonkey. Of course you can use any graphics program out there, but this tutorial is specific to PicMonkey because it is so simple to use. After you play around for it a bit you will be a pro.
First up, select “edit new image” and then “Blank Canvas.”

Once you choose blank canvas you will be prompted (in the upper right corner) to choose your size. I always select 800 x 1000 because it fits both Instagram and my blog. The size is completely up to you.
UPLOAD IMAGES
Before this process continues, you will want to have taken screen shots of the images you wish to use. On my Mac I press “shift command 4” to take a screen shot of an image.
Once you have those on your computer, select “add image”
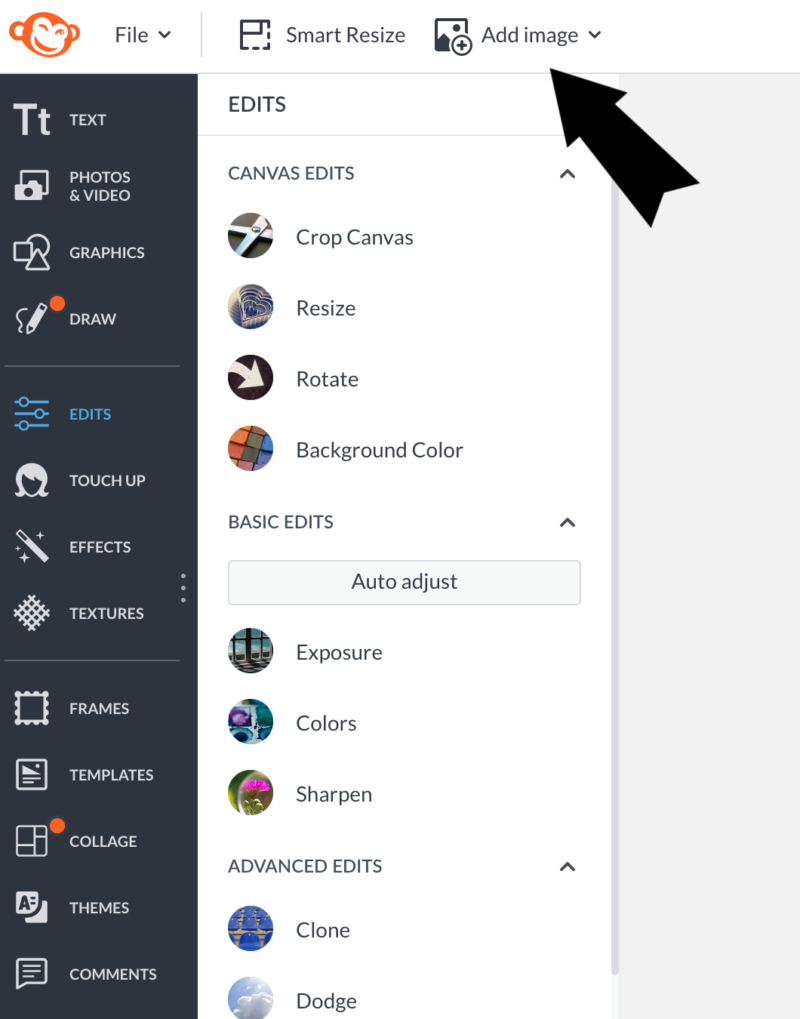
You will be prompted to add images from your computer or anywhere else. Add as many as you think you will use. I always add extra to give myself create room to move things and edit.
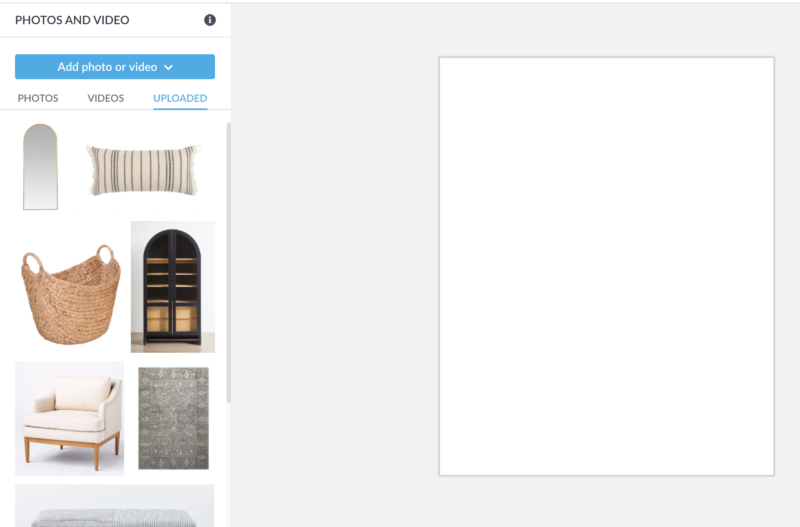
Once you upload the images, you will have a library on the left side to insert into your blank canvas.
REMOVE THE BACKGROUND
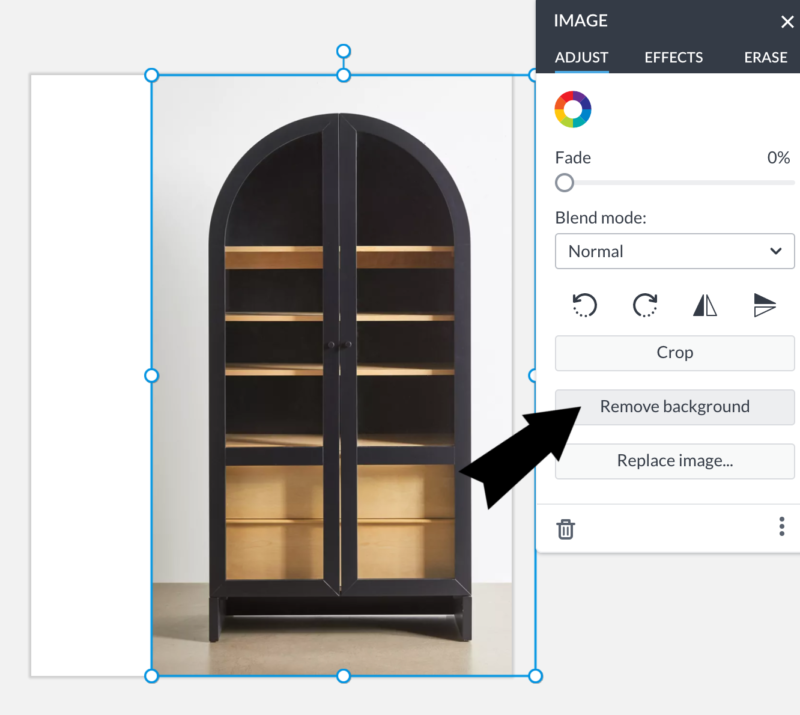
Click on any of your images and they will pop onto your canvas. The best tool ever is “Remove background.” This gives you a clean image and allows you to layer if you would like to.
*I do think this is a feature of the pro membership. I have had this program for years and use it all the time.
RESIZE YOUR IMAGE
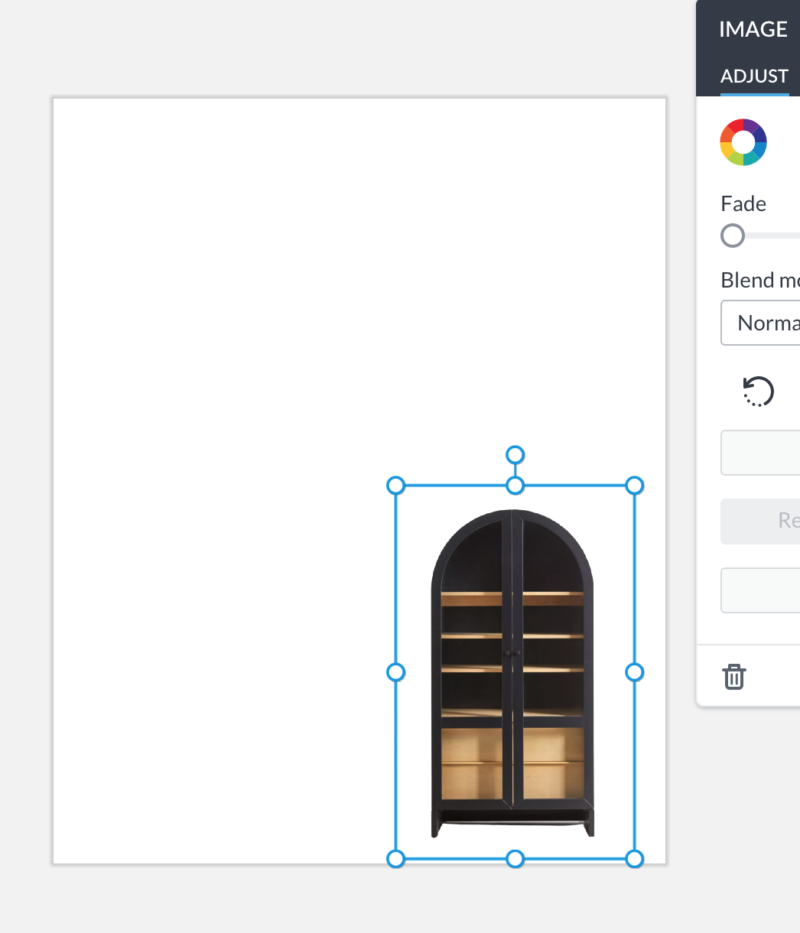
Once you remove the background, then you can resize your image with the blue lines. be sure to use the upper corners and not the middle (that will distort your image).
LAYER IMAGES
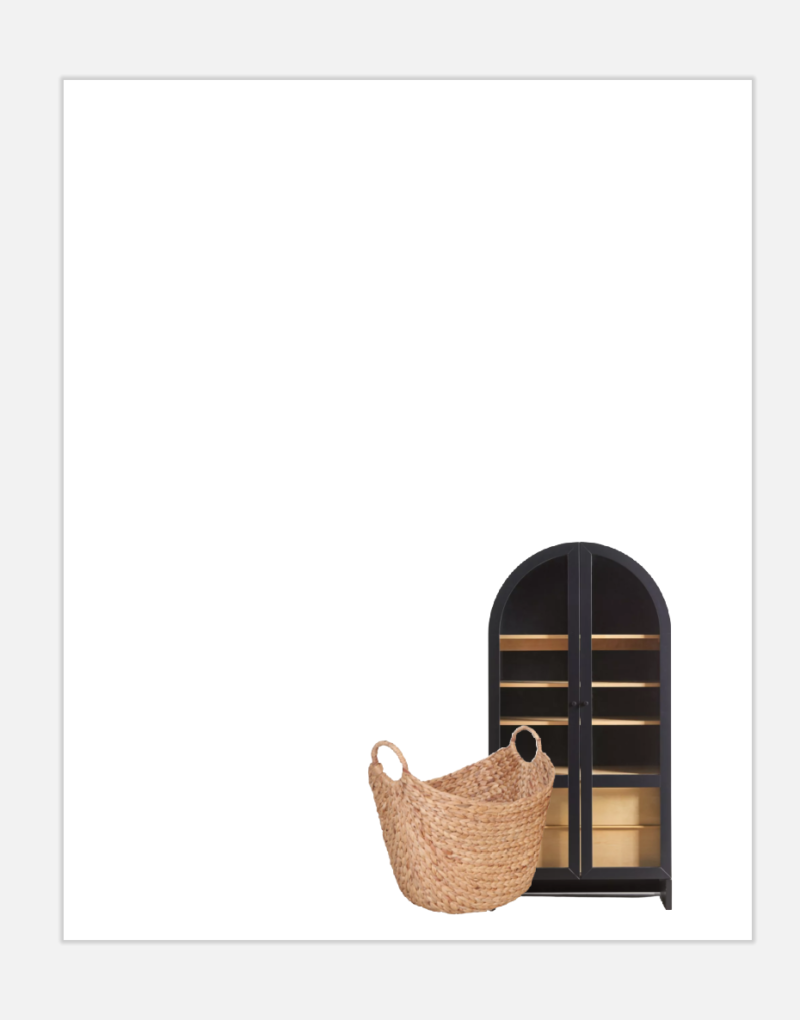
Removing the background allows you to do this. You can layer graphics together which is a nice look.
BRING EVERYTHING IN
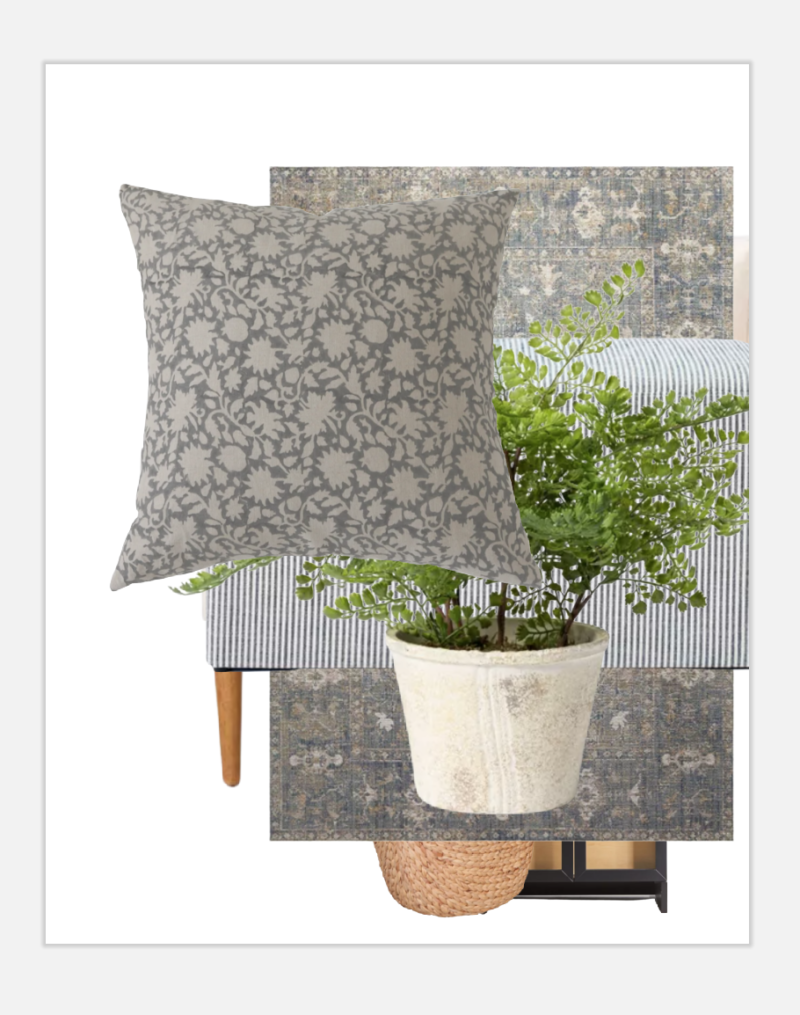
I bring all of the images onto my board and remove the backgrounds as I do that. Then I resize and have fun. It’s totally up to you how you want to lay things out. The nice thing is the PicMonkey has red lines that will pop up and allow you to align your images.
PLAY WITH THE LAYOUT
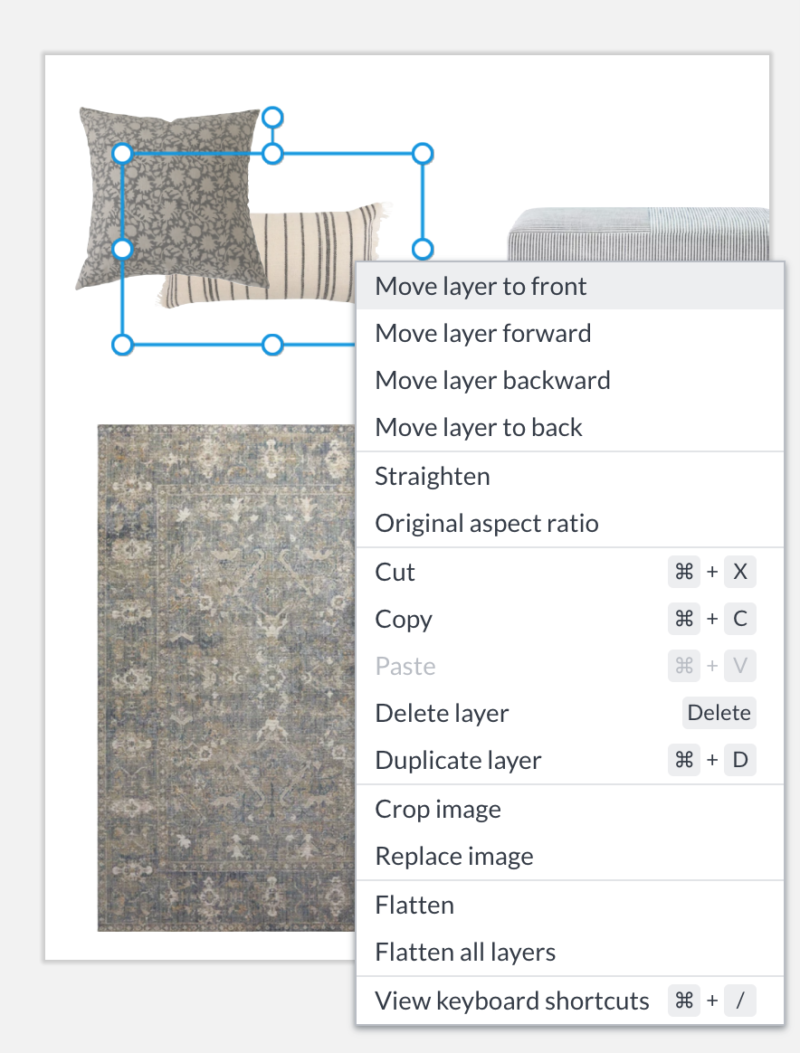
If you want to layer your pieces but the wrong one is in front, simply right click and select “move layer to front”. That’s it.
ADD GRAPHICS & TEXT
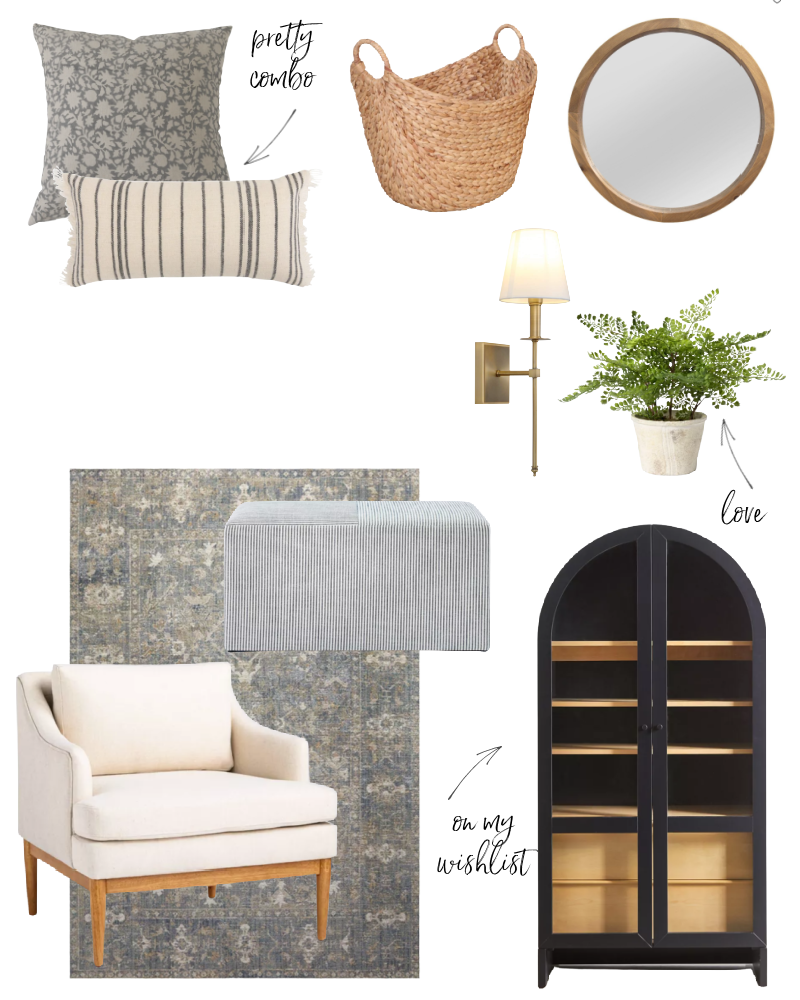
Once you have everything where you want it, add text or graphics. I keep things simple and sometimes just add arrow and a few words. The menu on the left allows you to do all of that.
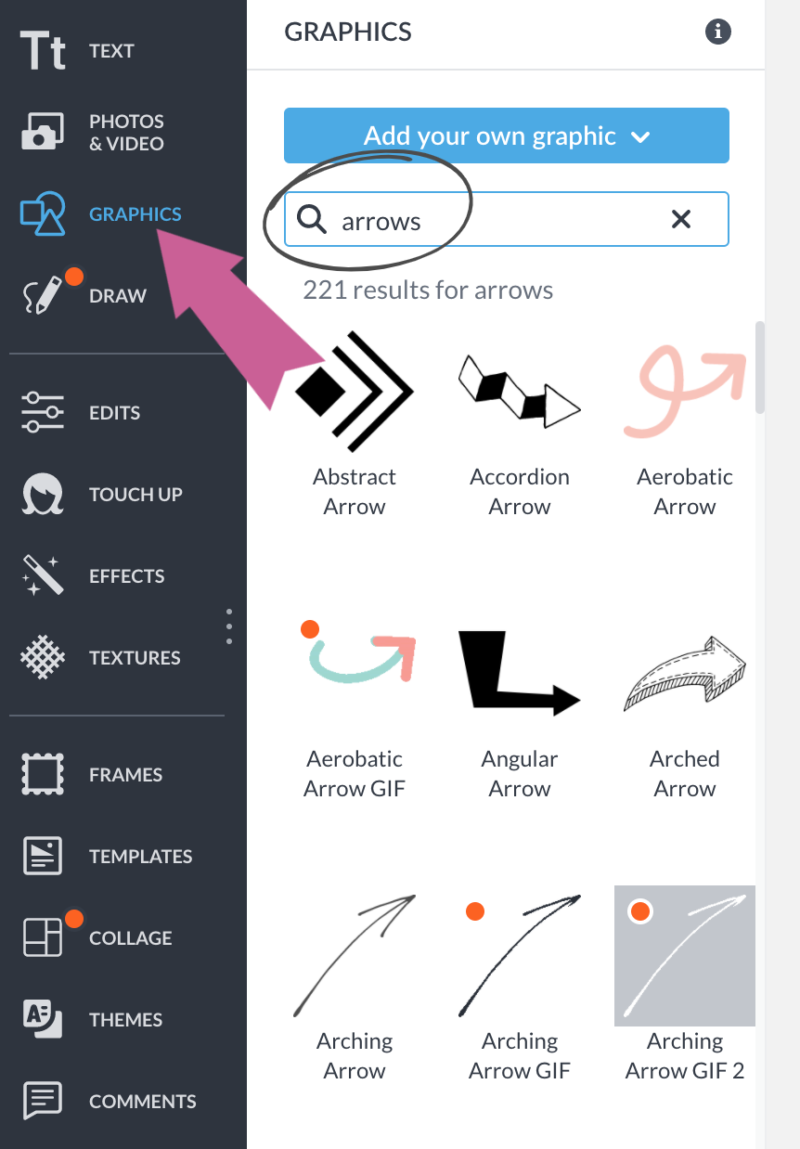
I often get asked about the arrows. For inserting any graphic, just select “graphics” and type something into the box.
You can add a title using the “add text” as well. And that’s it! Just select “download” to name and save your beautiful new collage.
USE THE WORD SWAG APP
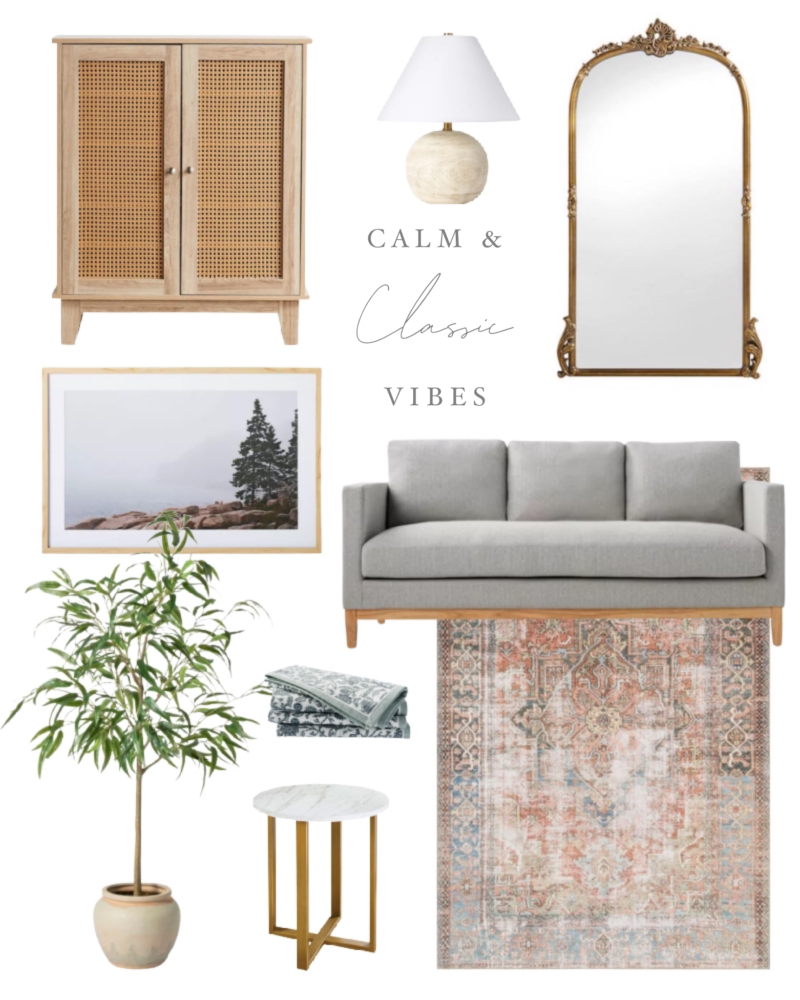
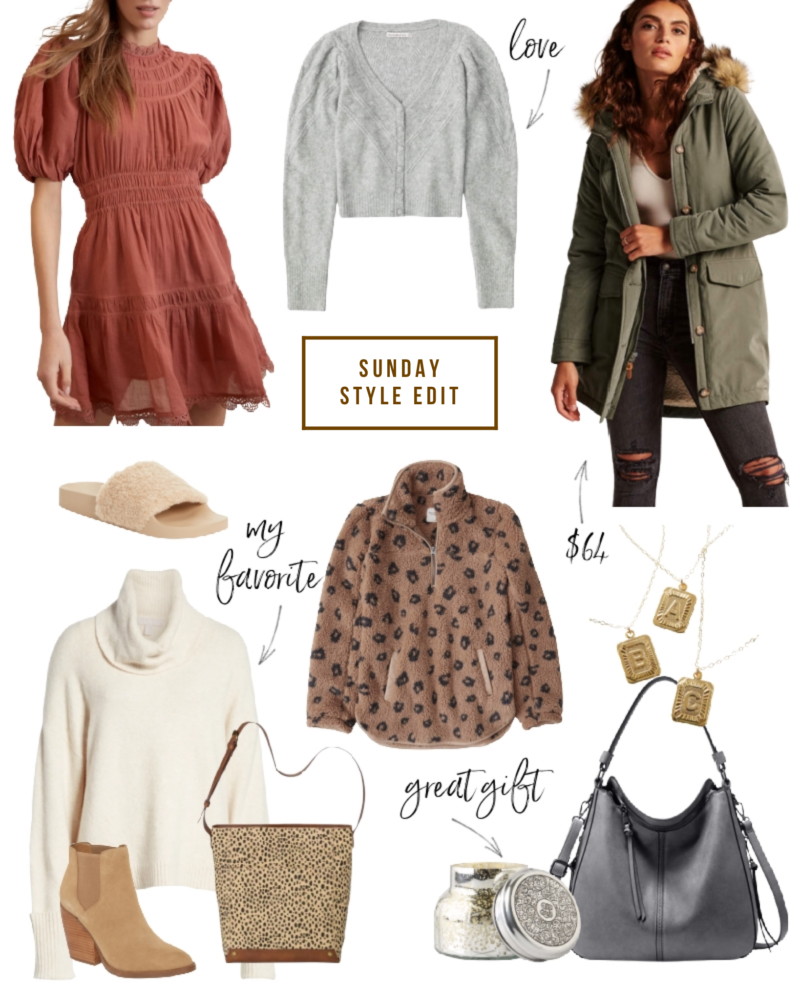
I often download my collage and email it to myself. Once I open it on my phone I use the Word Swag App to add text. They have a great selection of unique fonts and I like how crisp it looks on the phone. Here are a few examples of collages I have recently created.
FASHION STYLE BOARDS
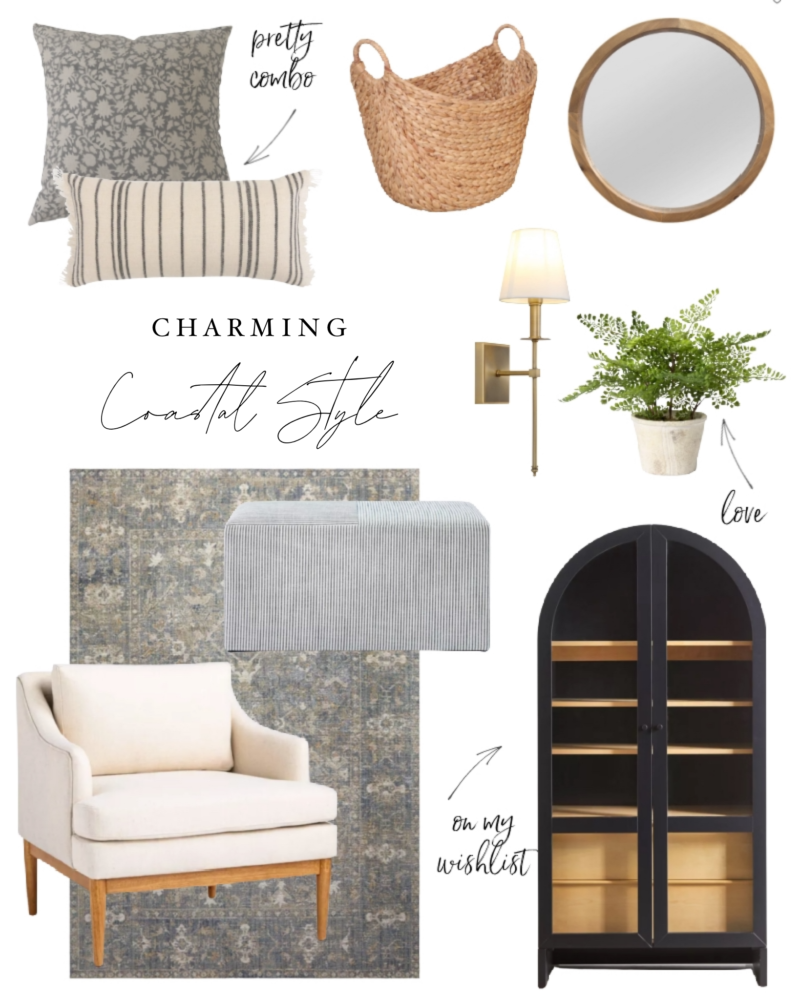
FINISHED DESIGN BOARD
I hope this was helpful. After you play around with the program, I am happy to answer any questions. Let me know how it goes.
Question about the pic monkey app. I’m Trying to follow your steps to creat a board. But When I downloaded the app it says background removal is for pro members only at $13 per month? Is that what you have or are you doing this using the free app on your phone? Thanks
Oh interesting! I do have the pro membership because I use it for work all the time. But that is a relatively new function and I used it for years without background removal so you may want to give it a try. You just want to select photos that products by themselves. I hope that helps.
Thank you for sharing this with us!
You are most welcome.
Thanks so much for all the info—I am going to try this! We are right in the middle of building our home and this will be fun to see how my choices will look!
That is so exciting, Dawn I really hope it helps. What a fun thing to be doing. Envious!
Courts, this is SO helpful!! Thank you for sharing – saving the post for my next collage.
Thank you x
So happy it’s helpful, my friend. It’s a fun creative outlet.