This post is long overdue and I so appreciate your patience. After sharing our son’s room, I had so many questions about how we achieved the faux brick wall. Moreover, you wanted to know how we made the wall look aged. Today I am happy to share our tips and tricks and walk you through what we did to get this look. Other than knowing how to use a couple of power tools, this is a very straightforward DIY project that you can knock out in 2-3 days.
How to Install & Age a Brick Wall
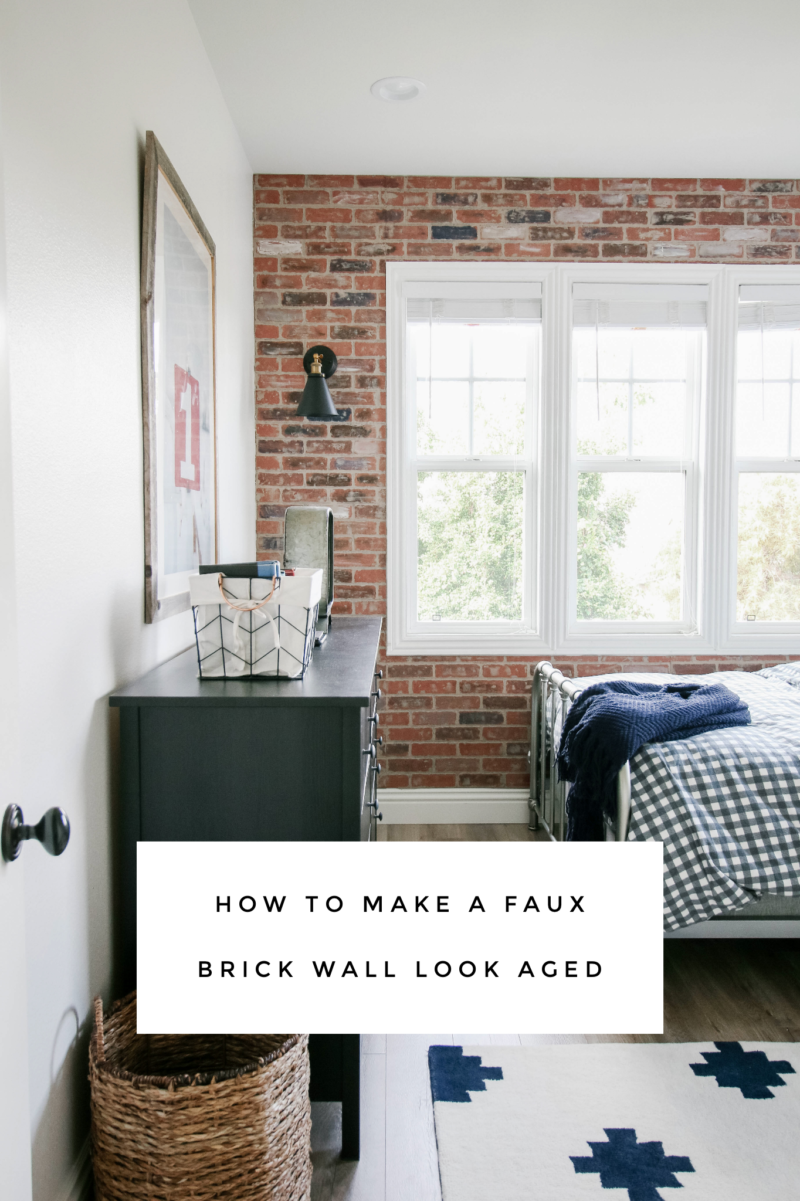
This is one of my favorite rooms in our home. It makes me happy each time I walk by and the crazy thing is that it wasn’t even a room when we bought the home. You may remember that we converted our loft space into this room for our son. By adding a closet and two walls, our upstairs took on a whole new look and we have never looked back.
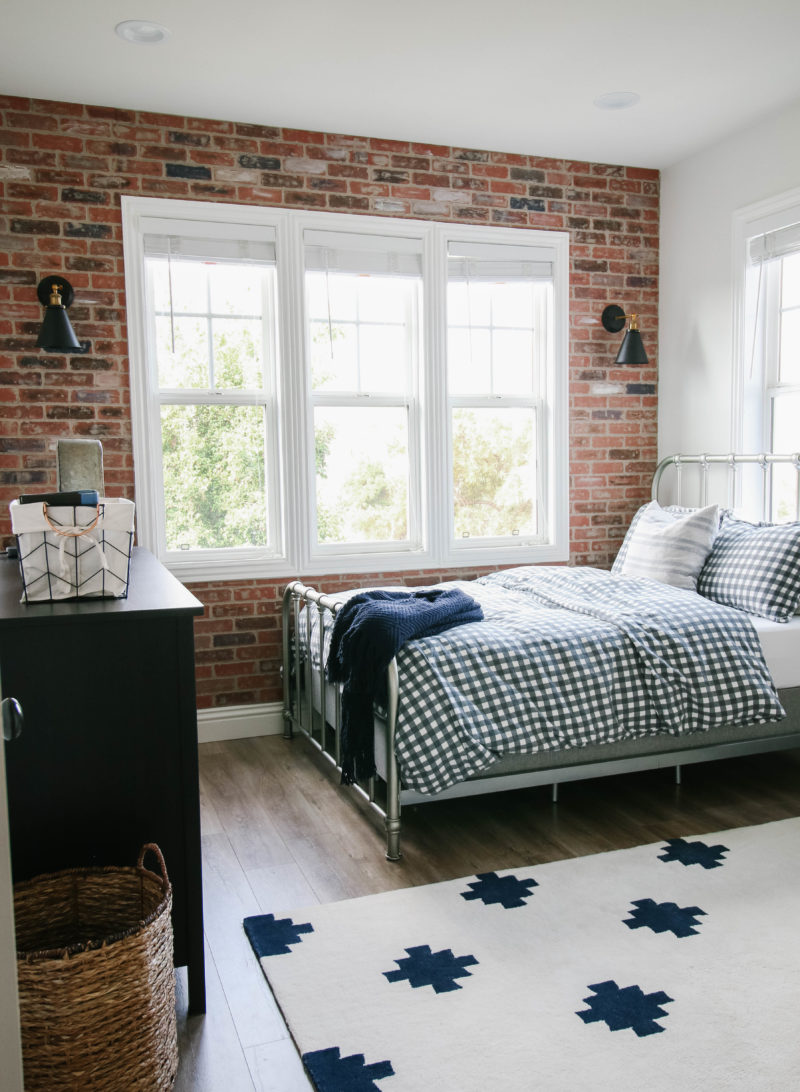
After traveling around the country for sports, my son saw enough cities, restaurants and quaint towns to know he loved the look of age brick. In fact, he would even say that a brick wall in his room would be so cool. When we created this room and had a blank canvas I started looking around at options. We decided we would go for it and the faux brick panels from Home Depot would help us achieve the look.
INSTALLATION SUPPLIES
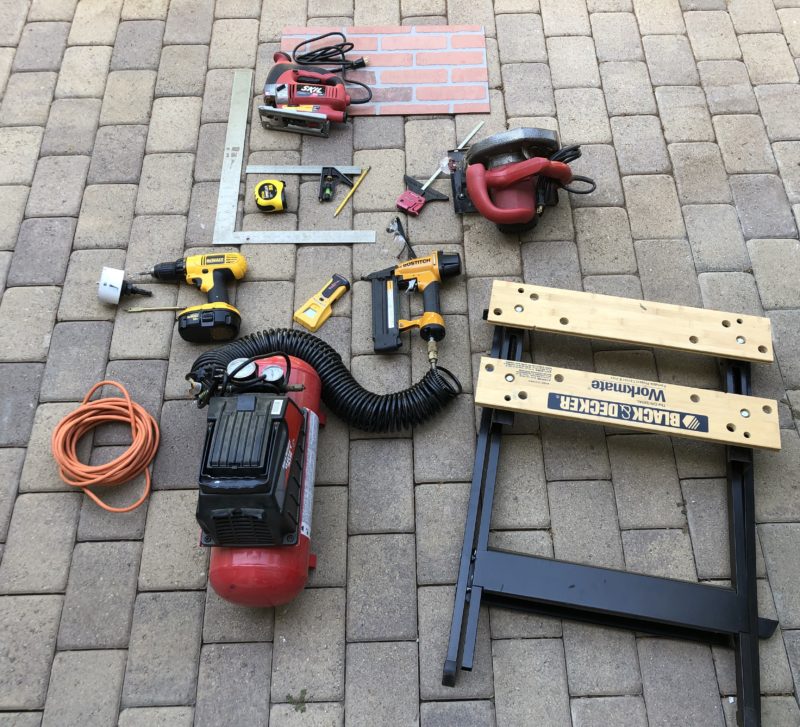
- brick panels
- drill
- hole saw
- circular saw with guide
- nail gun
- compressor
- square
- tape measure
- stud finder
- jig saw
- eye protection
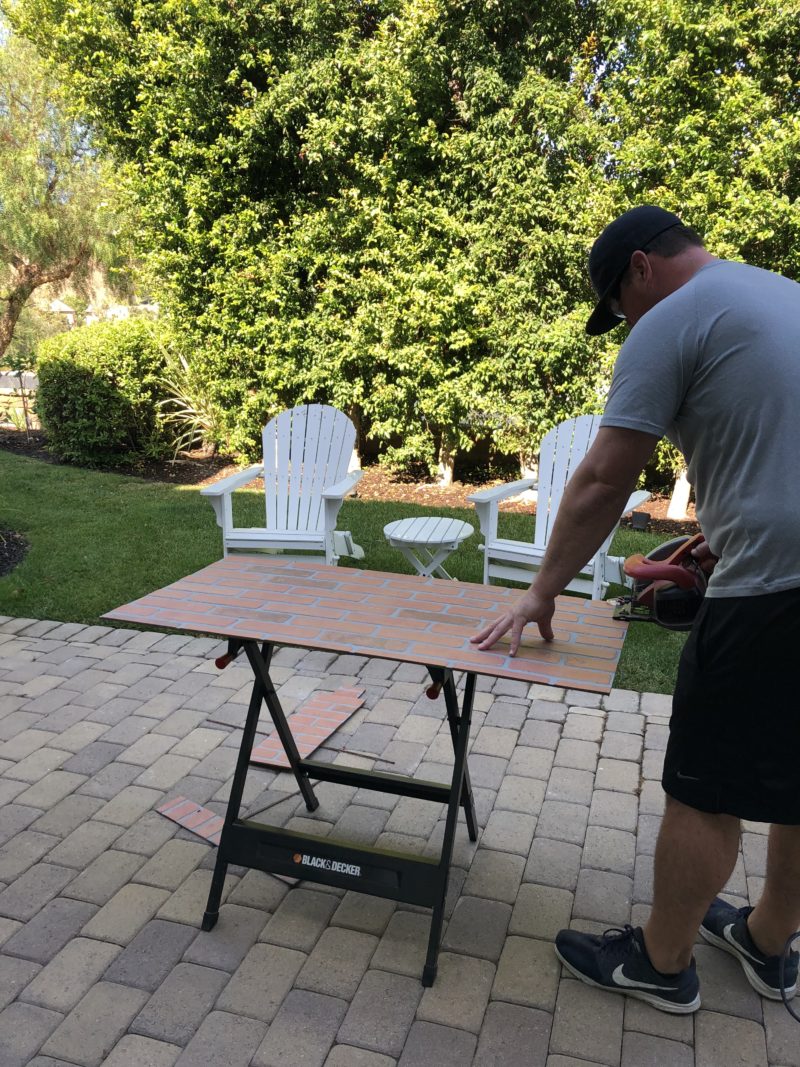
If you are doing a large blank wall, you will most likely have far less cuts than we did. Because of the windows, it was definitely a bit of a puzzle. Just remember that when you make your cuts, you are wanting to line up the brick pattern with the adjacent piece. We spent a good amount of time holding up panels and carefully marking them prior to cutting.
INSTALLING THE PANELS
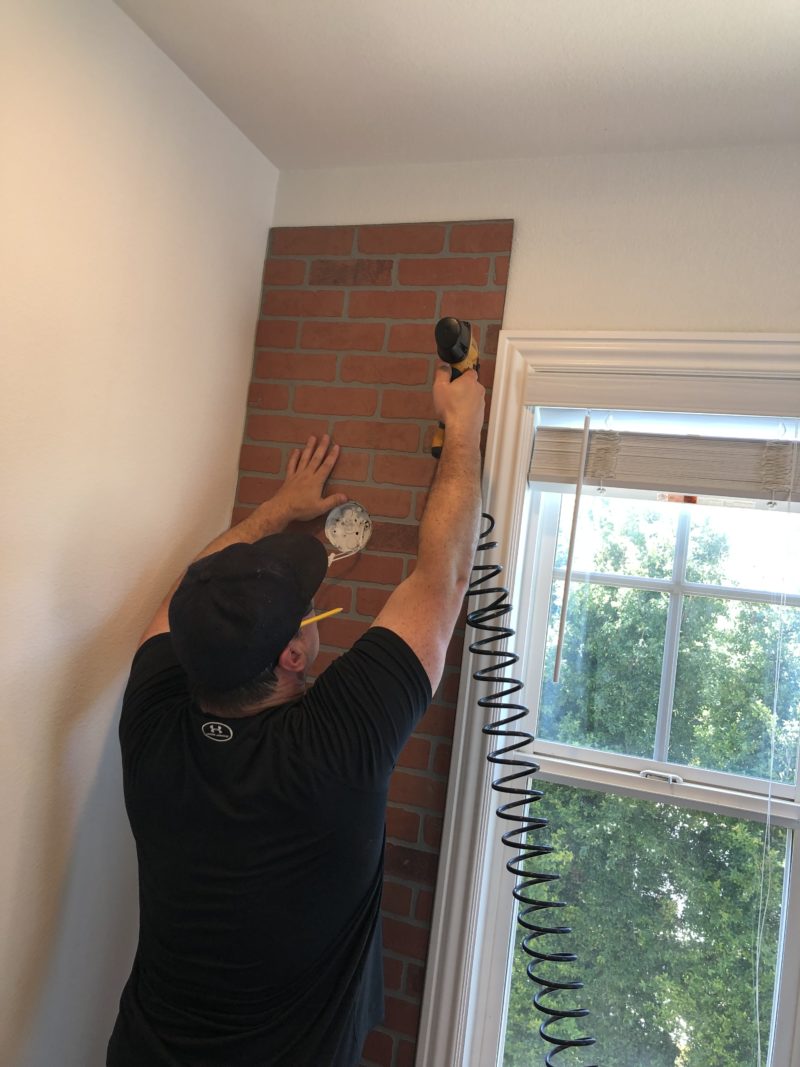
My husband used the nail gun to install the panels. If you are installing the panels as they come ( and not cutting them down) you may want to consider using some glue prior to attaching them to the wall.
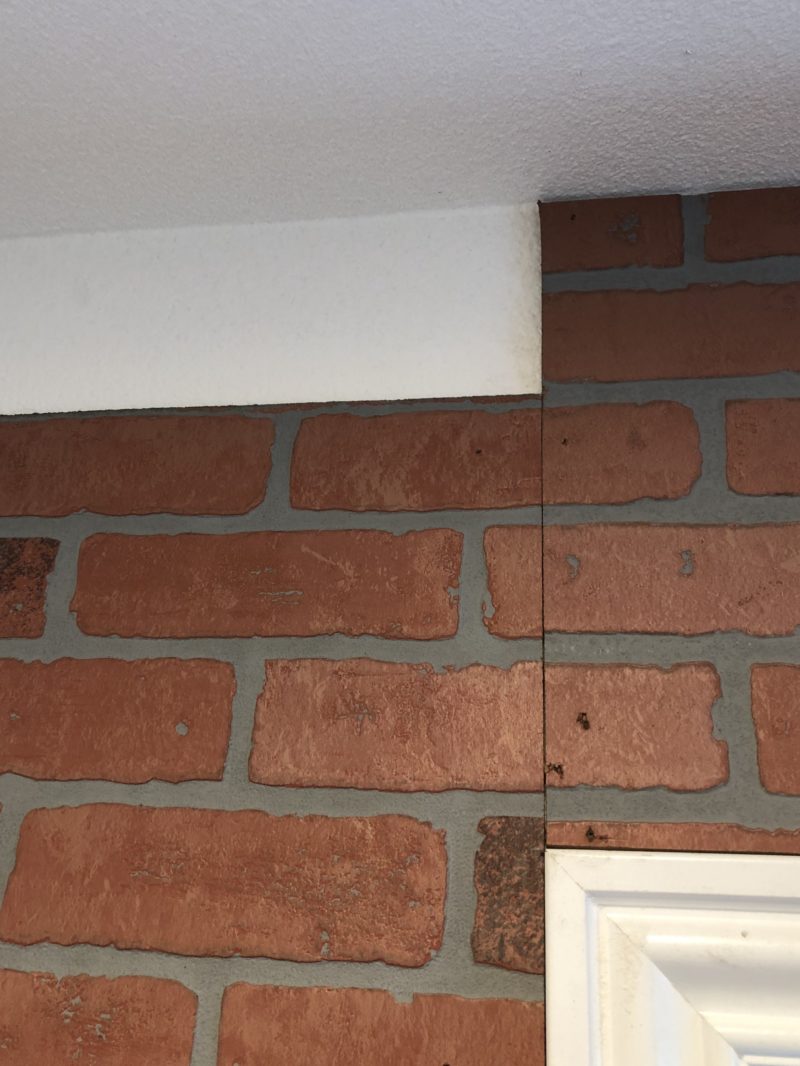
Here is a good example of matching the pattern. Often it won’t be perfect because you are not lining up the same bricks, but you need to get the scale right. The seams are the biggest challenge. For our aged wall, spackle and paint helped disguise those seams very well. We know where they are can can still pick them out, but if you just look at the wall in its entirety, they definitely fade away.
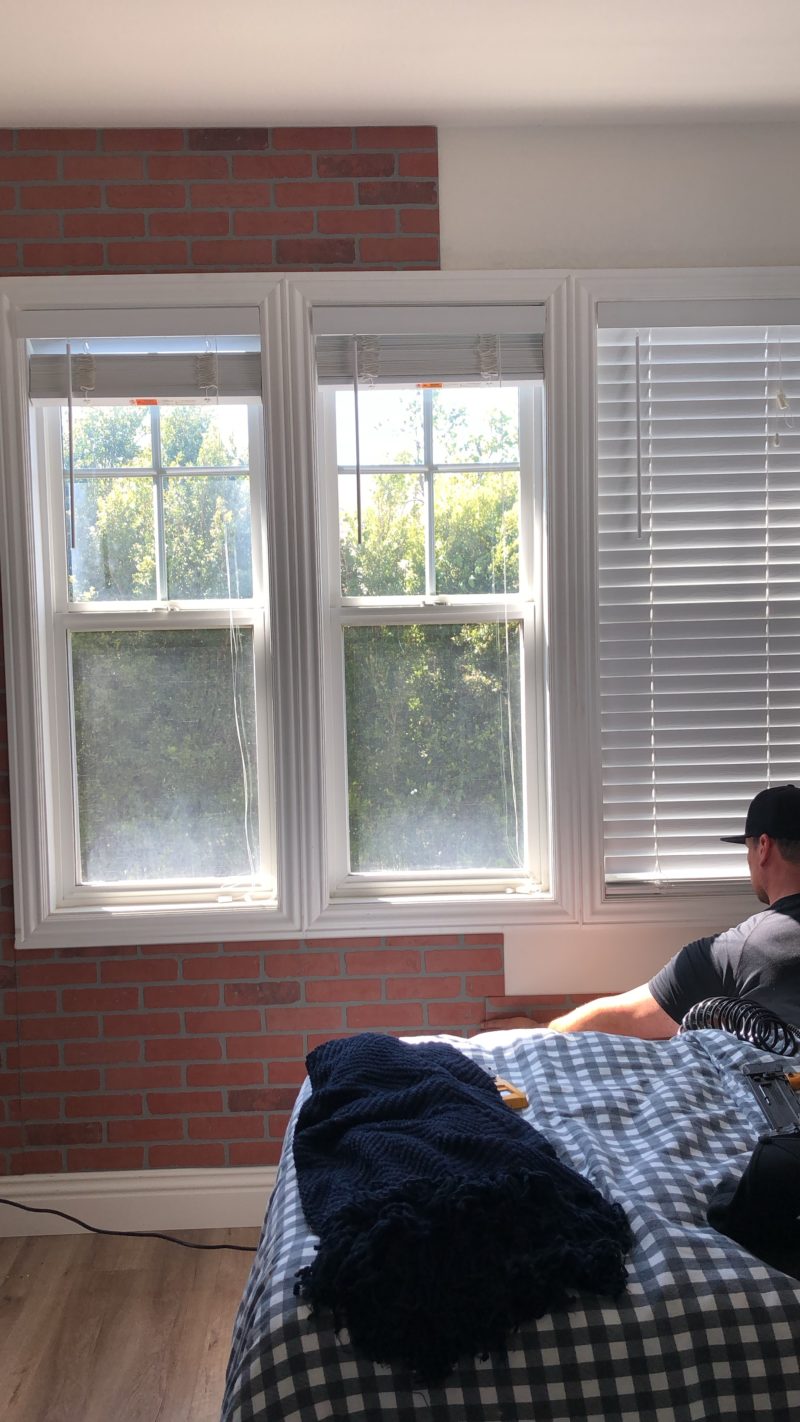
Planning, cutting, and installing the wall only took half of a day. It really was so quick. Just be patient as it is much like putting together a puzzle and you want to be sure you take your time.
The panels and bricks already have some discoloration and texture. But my son really wanted it to look like the wall had been around for years. More character and more grit so to speak. Applying spackle was the way to go to give it a more realistic look. In fact that is a great look on its own. Many people even whitewash it first. You really can achieve any look you want if you just take the time. I wanted to take it one step further and paint the bricks first.
PAINT AND SPACKLE SUPPLIES
- various paint colors (blue, black, white)
- one sponge (cut into pieces)
- foil wrapped pan
- paper towels
- container of spackle
- metal putty knife
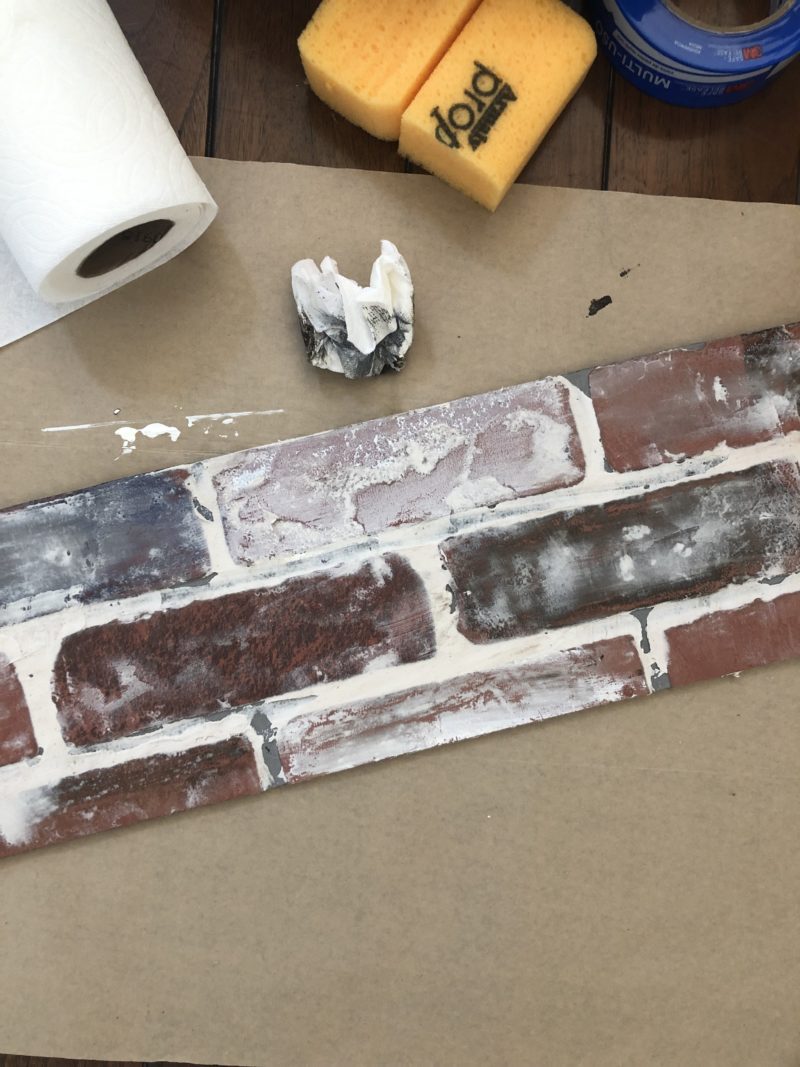
No matter what you decide to do, practice first!!!! That is so important. I used a scrap piece of brick to add paint and spackle. It helped me learn the technique that worked best for the look I was going for. While I like the aged look of this, the spackle was too white for us. We wanted it to look less bright and a bit more dingy. That was easily fixed by adding a bit of black paint to my tub of spackle, which you will see below. There is no right or wrong way to do this and I encourage you to find play around until you get the look you’re after. We even drove around neighborhoods looking at brick walls to see which would look best in his room.
ADD PAINT TO THE BRICKS
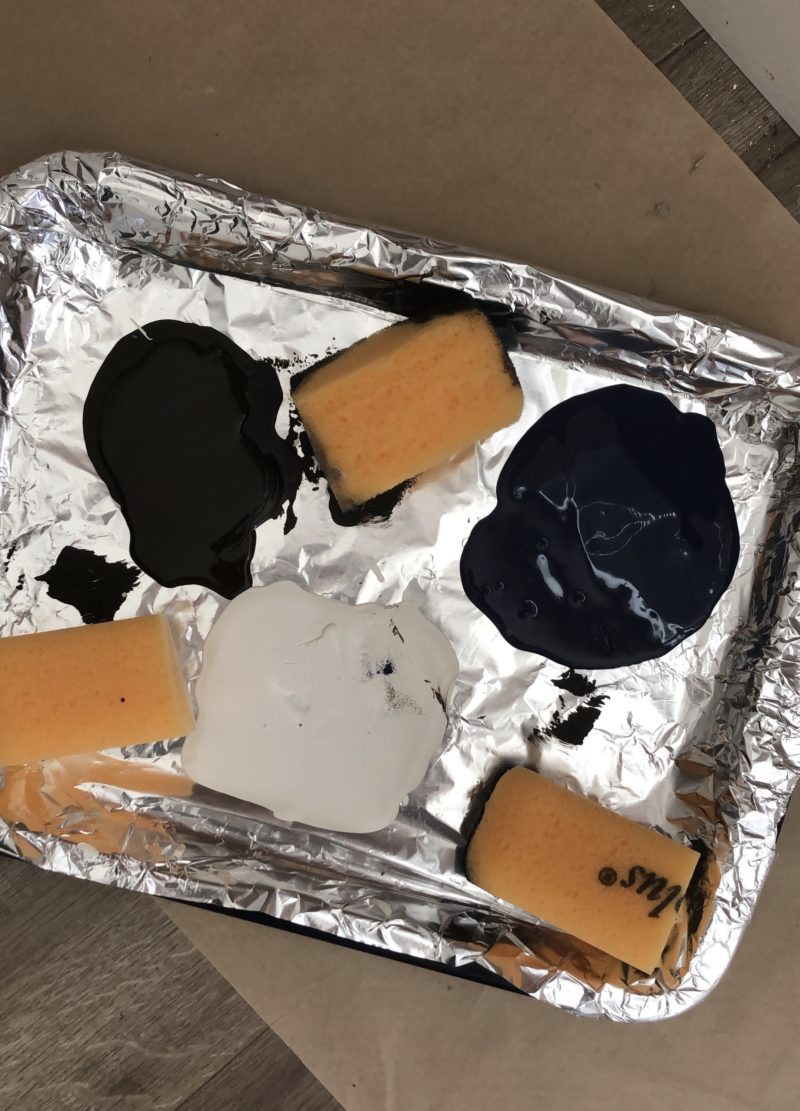
I wan’t fancy with this at all In fact, I shopped our home for craft paint and paint leftover from previous projects. I went with white, navy and black but you really can use any colors you want. Covering a baking sheet with foil worked well. A sponge cut in thirds also worked well for applying the paint to all of the bricks.
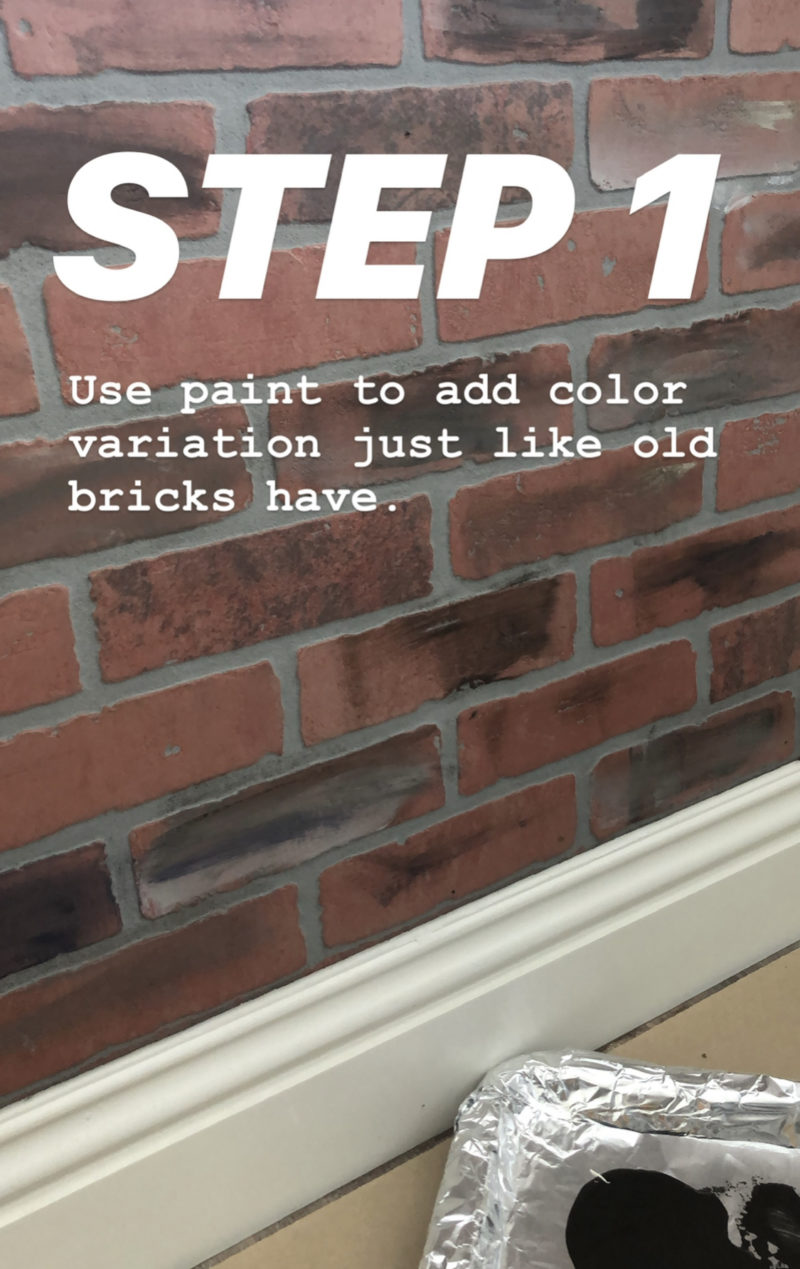
There is absolutely no right or wrong way to do this. Crank up the music and have fun. I actually loved this part of the project. Don’t worry about keeping each sponge for a specific color. You can mix and blend all you want. Adding a bit of paint to a brick and then using the sponge to wipe it worked well. The whole idea is to make each brick look slightly different so there are no rules. The spackle will transform the bricks from looking like a paint project to an aged brick wall.
WORK IN THE SPACKLE
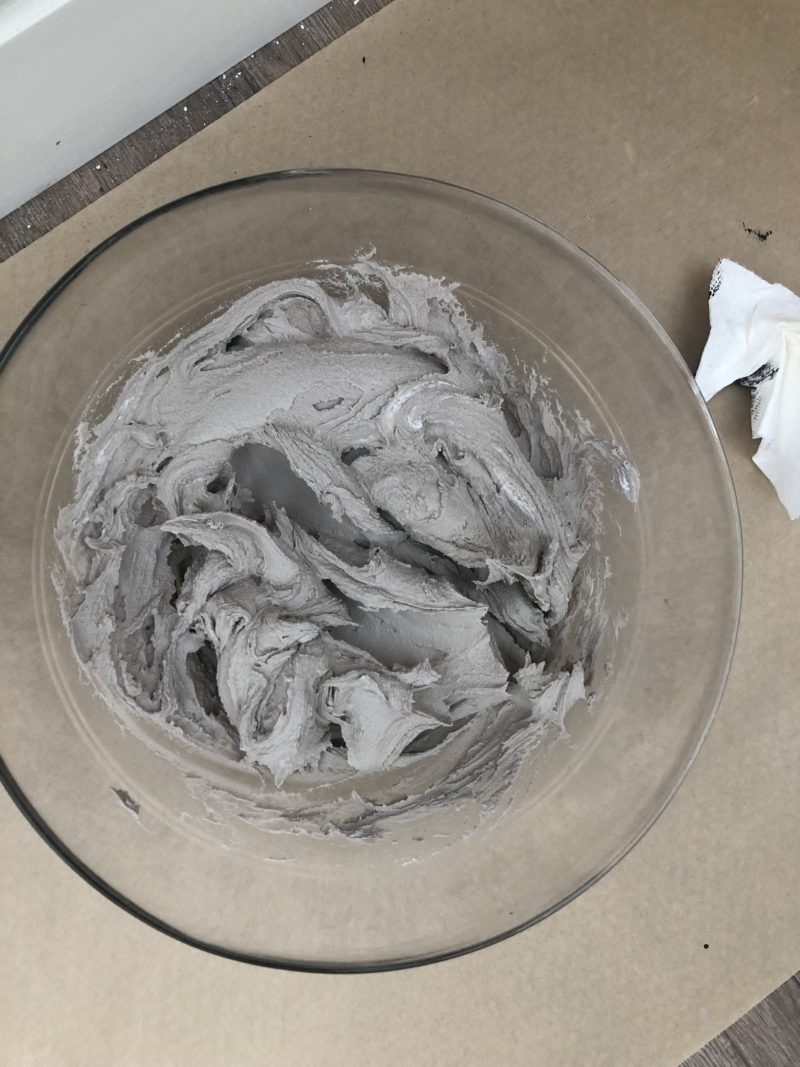
My spackle looks gray because I added black paint to it. It dries differently than it goes on so be sure you test that, too. Ours dried more on the khaki side which is what we were going for.
This two minute video should help you see just how we achieved this look.
When you add it to the wall, you want to be patient and use the putty knife to spread it over the bricks and in between them. You can scrape away the excess. It’s up to you how much you want to be on the wall. As you scrape away the spackle, it will build up on the backside of your putty knife. You can use that for your next section. A little bit of spackle actually goes a long way. I would start in a section that may be covered by furniture when it’s all said and done. Like with any DIY it takes a minute to get into a rhythm and see what works. That will give you a bit of grace as you practice.
THE FINISHED PRODUCT
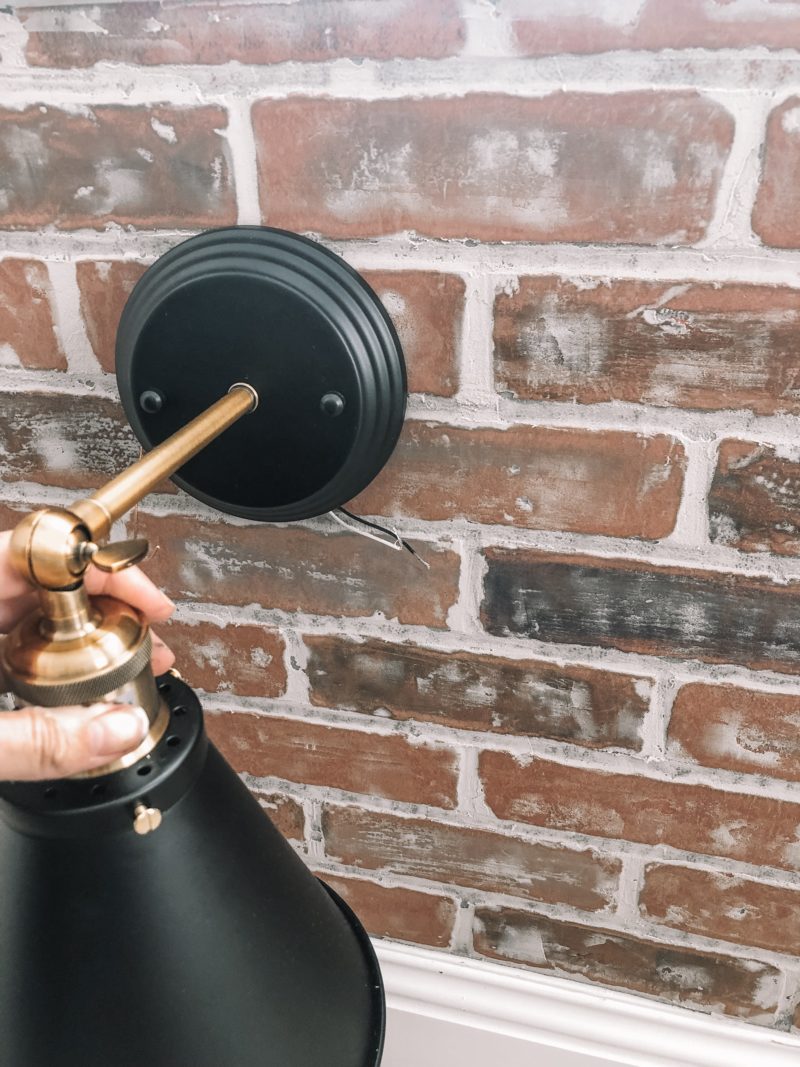
After I completely a section, I held up the light to see how it would look. This gives you a good idea of how the panels looks close up after this treatment. Quite a big difference from where they started.
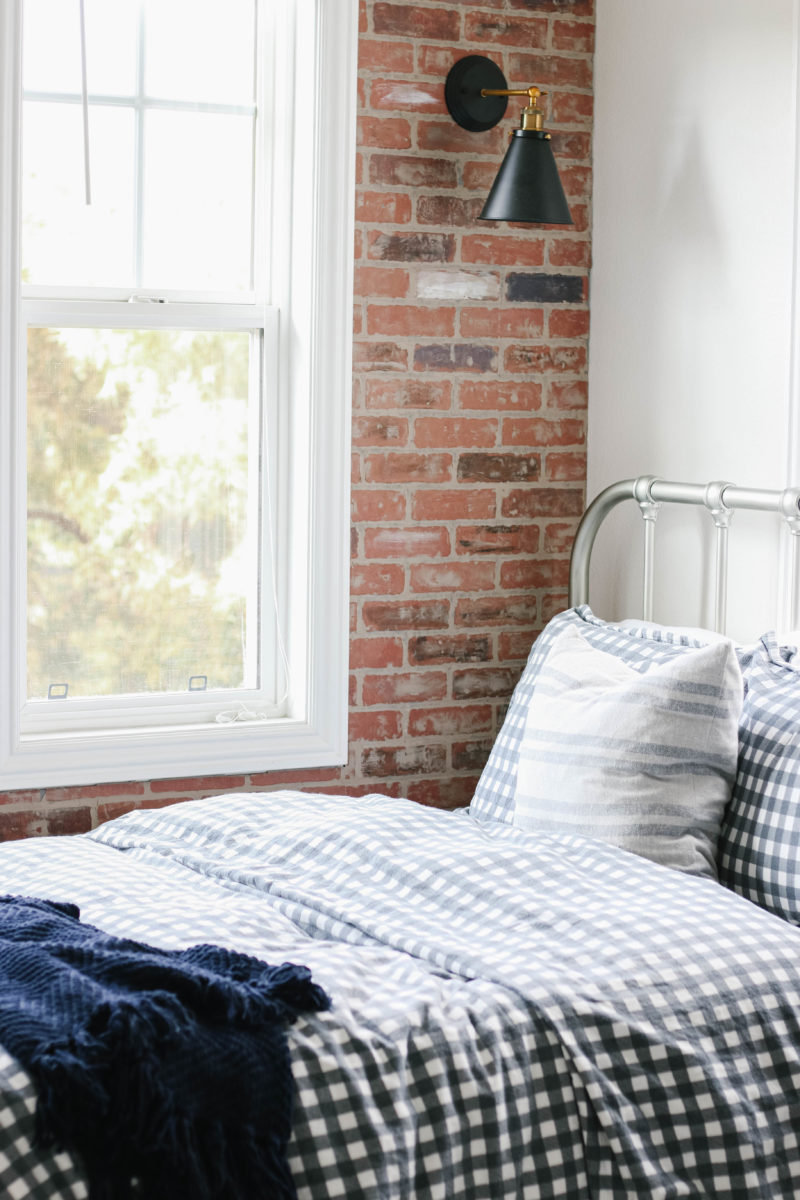
While you can definitely paint and spackle in one day, I chose to split it up. This feature wall took us three days to complete.
OUR SON’S ROOM
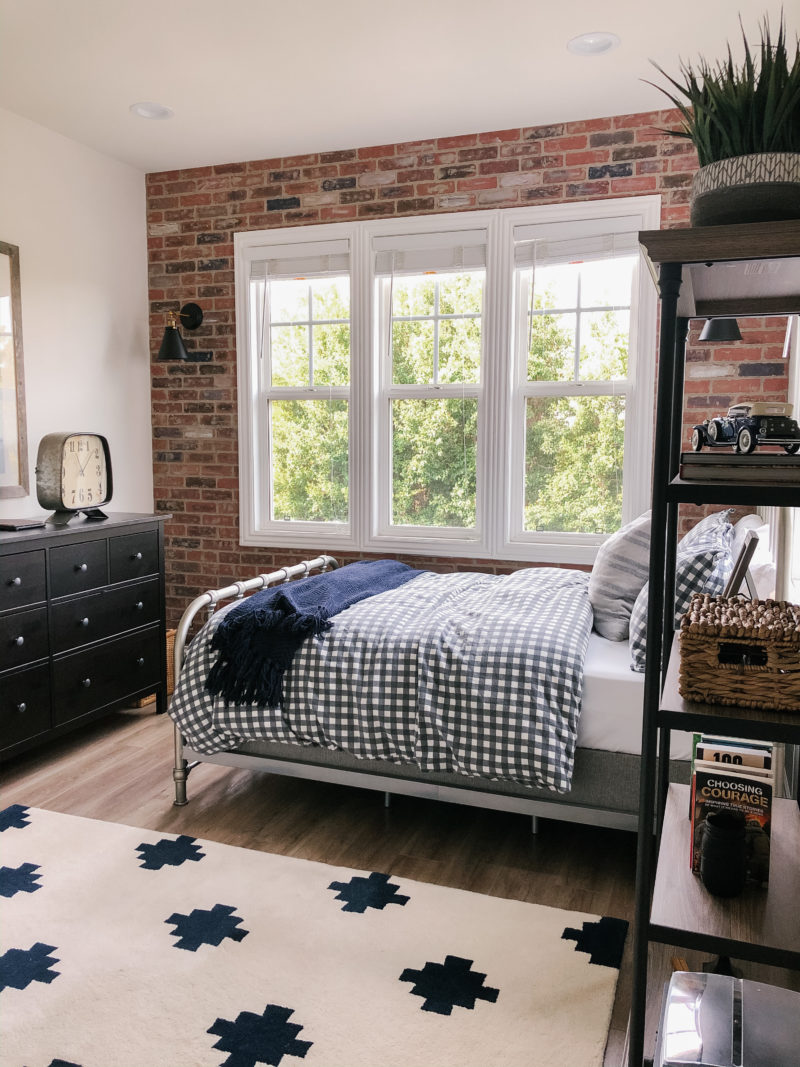
Please let me know if you have any questions. Happy to answer them in the comments below. We love the way the room turned out. You can see the full room reveal and source list here.
Can’t wait to see the real deal!
Yes!!! He will love showing you.
Courtney, this is amazing! You made the bricks look so realistic. I loved seeing the process. Great job!!
Thank you very much, Amber. That means a lot. He really is enjoying the space which makes it that much more fun.
This looks incredible! The whole room is great! Thanks for sharing!
Thank you, Shirley. I hope you are having a really good week.
That looks amazing!! Great job! You are so talented!
So kind. Thank you, Meagan. It was a fun project.
This is one of my favorite projects you have done. I think we are going to do it for our son as well. You did such a good job aging the brick, it looks 100% real!
It looks great! So you didn’t have to remove and reinstall the baseboards? It the panel thin enough that you can just add it to the wall on top of the baseboards?
Doesn’t the paint bleed through the spackle?