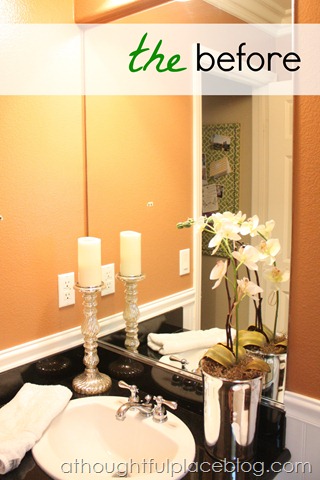
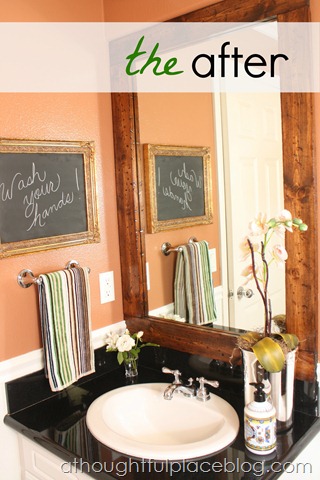
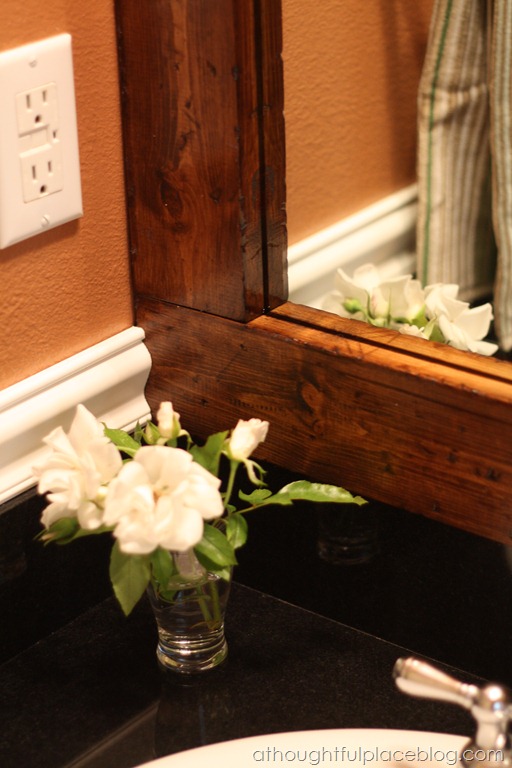
As promised, I put together a DIY post on how to distress wood and frame a mirror. It was surprisingly simple and no power tools were used in the process! So if you are intimidated at all, do not be. It’s really quite simple and makes a huge difference. If you missed the before and after post on our powder room you can check it out here. 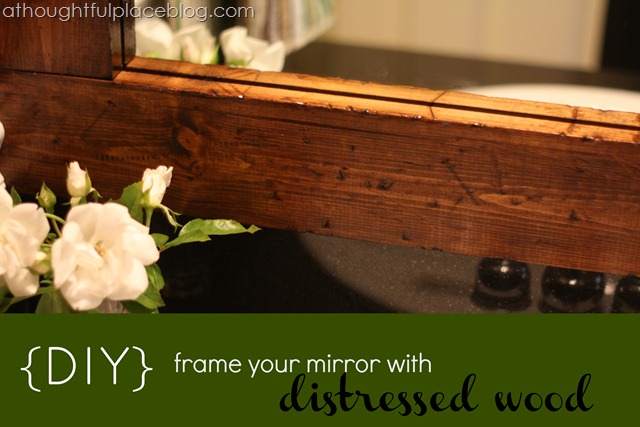 Here is a reminder of how the bathroom looked before and then after the new frame. We are thrilled with the new look. It is a rich and warm addition to the room.
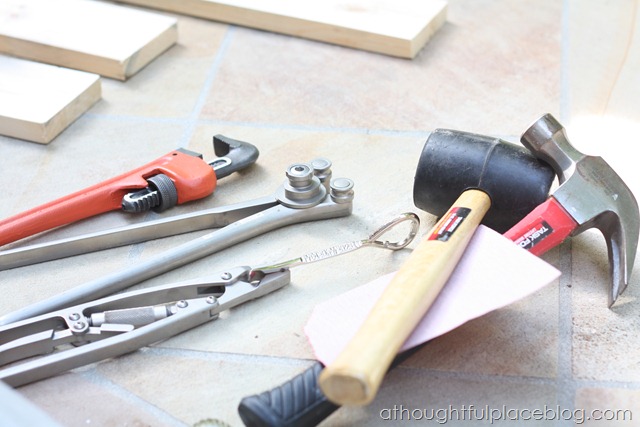
 In order to get the look of distressed wood I used pine wood planks, any tools I could find, stain, and a few rags.
  Although we have the tools to cut wood, I chose to measure the bathroom space and have Home Depot cut the wood for me. Our in laws were in town and I knew my hubby would very much appreciate me keeping this project pretty low key. I measured very carefully and had them cute the four pieces. Once they were cut I measured them to be sure. I didn’t want to get home and find out I had incorrect sizes. Sure enough, two of them were too long so I had them cut again. Super glad I double checked.
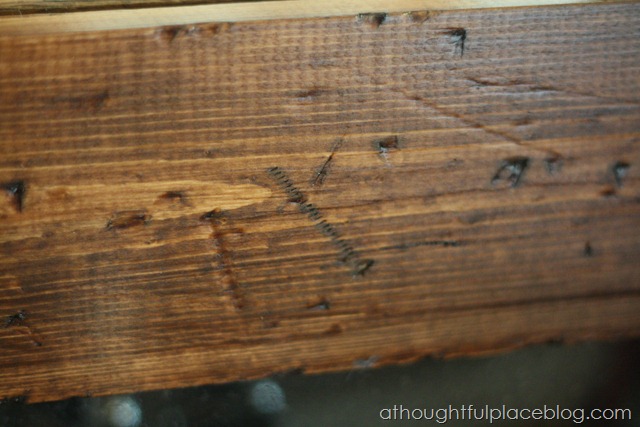
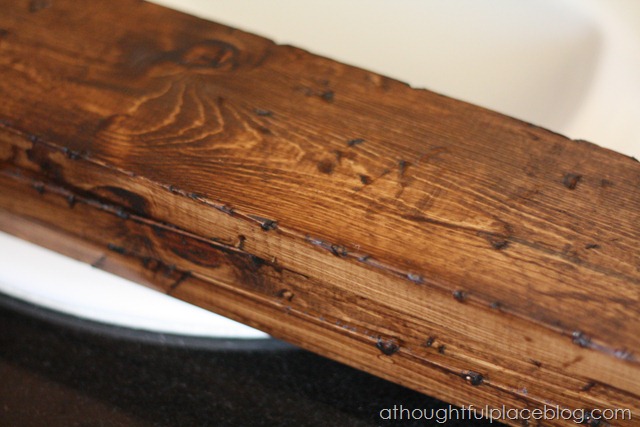
  I must apologize to my neighbors. I am really hoping they were not home when I was beating the heck out of this wood. Let’s just say it is not a quiet project. I don’t suggest doing it once the kids have gone to bed! They will be up in no time. My favorite tool to beat up the wood was actually the handle of a screwdriver. Holding the silver end, I was able to make fantastic marks on the edges and of the wood which really helped to attain the distressed look.
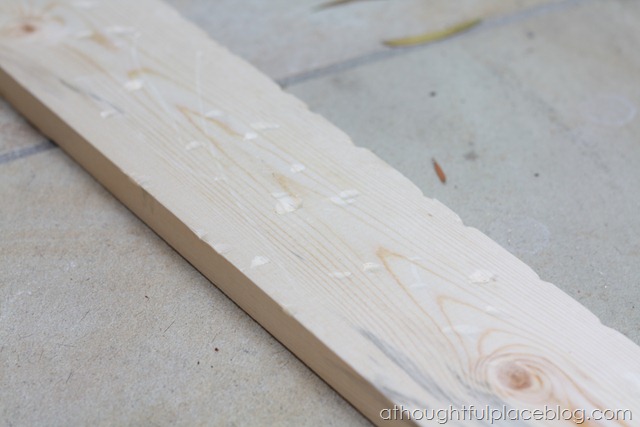
  I also took Cassie’s advice from her shelf project and hammered some nails into the wood. The marks those made were a great look once the wood was stained. The only other thing I did was lightly sand the edges all the way around the wood just to remove the harsh angles.
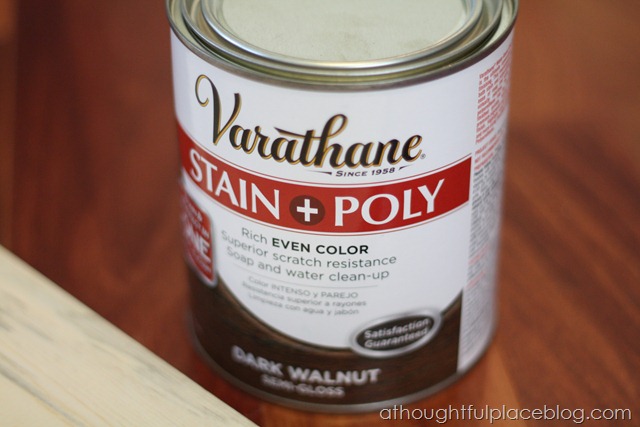
  I chose this because it is stain and poly in one product. To be that equals love. I chose Dark Walnut and hoped for the best!
  This is how the marks began to look once the staining began. If you are worried your wood does not look distressed enough, it really comes to life once the stain sets in. I used a good four or five coats of stain to get the dark color I wanted. It was an evening of patience. My family went out to dinner and I cranked up the music and poured a glass of wine. A little bit of shelter magazine reading in between coats never hurt anyone!
 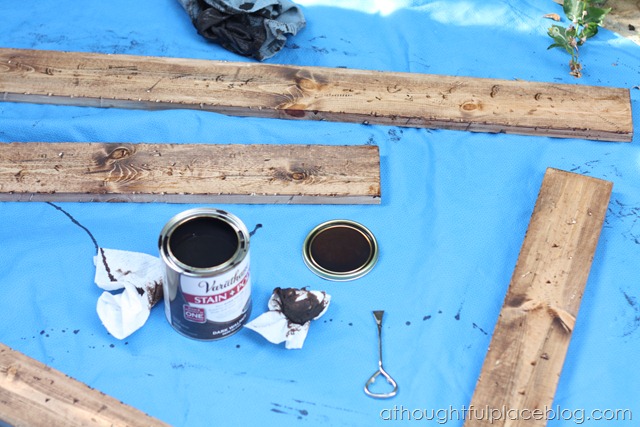 Here are the pieces once they were dry and ready to go. I kept the cuts 90 degrees because I wanted the top and bottom pieces to extend all the way across the mirror.
  Unfortunately, there are no photos of me adhering the wood to the mirror. . . hard to snap photos and press at the same time. However, there was absolutely nothing fancy about it. I used Power Grab and it made the wood stick like https://athoughtfulplaceblog.com/2012/09/how-to-frame-bathroom-mirror-distressed.htmlmagic. Also, if you have the silver track like we do at the bottom, don’t let the deter you. It did not make a bit of difference. The only thing we ran into was that our white existing molding needed to be removed and cut shorter so that it would fit right up against the new wood frame. Careful measuring and all was fine!
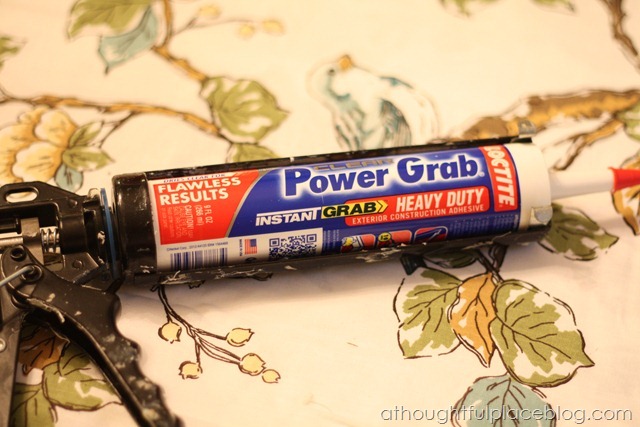
 I literally just applied it in a zig zag {I mean chevron } motion across the back of the wood and stuck it to the mirror. I held it for about five seconds and then applied the next piece of wood.
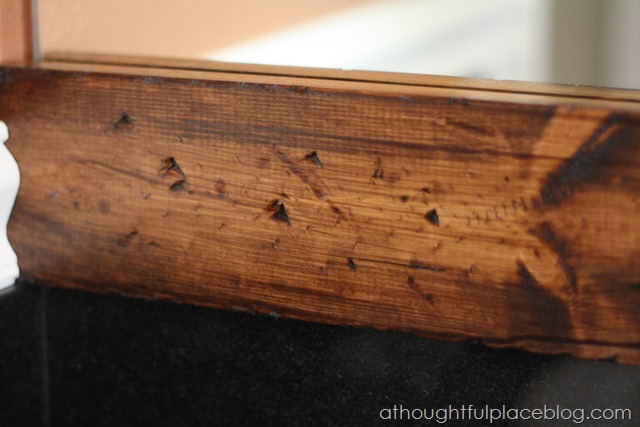
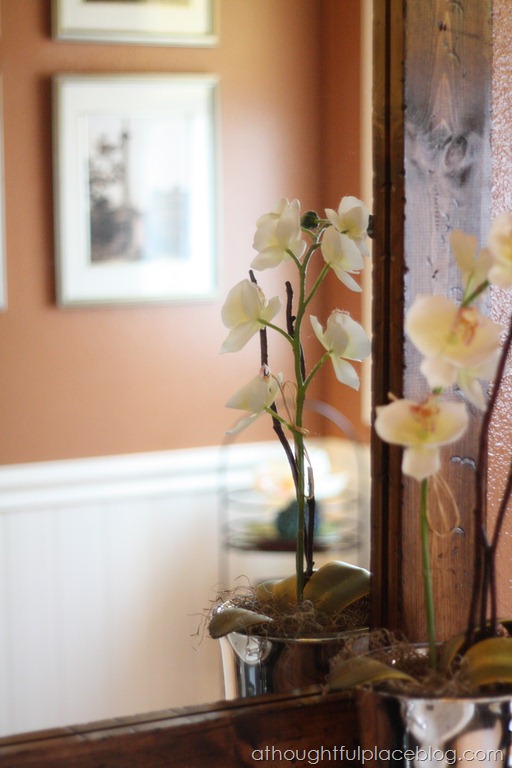 If you are contemplating this project, I say go for it. It was very quick. I bought the wood, distressed it, and stained the wood in one night. The next day I adhered it to the mirror in our bathroom. {see the full bathroom reveal here} ……
  In other news, in case you missed me saying so, a thoughtful place might be the last hold out. I finally jumped on the pinterest train and I am not getting off any time soon. It sort of rocks. And yes, it is a time sucker. Just what I needed. Oh, and you don’t need a personal invitation anymore {that was a bit silly}. In case you are not familiar, it’s sort of an online bulletin board where you can keep photos you stumble upon. I am just getting rolling over there so not too sure you want to join me yet but if you do, you can find me here! Sharing with Home Stories A 2 Z
Wow– MUCH better! It's amazing what one change can do for an entire space! I also loved how you distressed the wood on your own, I bet that was fun 🙂 Thanks for sharing!
abodelove.com
Thanks so much! It was actually a blast distressing it. Looking to do it again soon!
wow – cant believe you did all that! you did a better job than our carpenter – amazing! thanks for the tutorial!
So glad to see this. Looks fantastic! This is the exact project I want to do in my kids' bathroom. I love being to learn from someone who already has gone through it, so thanks;)!! Plus, you had me at no power tools or cutting on my part and a little distressing with wine and a magazine. all good to me!
I absolutely love this look. Doing it for sure!!
Just amazing!
It looks amazing! Where did you find the Varthane? I have been looking everywhere around here for it and cannot find it!
Hi Ann! I found it at Home Depot. Hope that helps.
That helps! Will check there again. Thanks for the reply.
So glad to know about the varathane. I looked at in for my project, but wasn't sure. Really, really like the outcome!
Very cool, this will be my next project!
Oh I really love this! Hoping I can convince the hubs to let me do this in our guest bath the add some charm 🙂
Beautiful! I also really love your hand towel bar. Where is it from? I have only seen long ones for regular size towels or the circle shaped ones!
It really looks nice Courtney. I did not know about this particular Varathane. Love that it's stain and poly in one!
I love this project! And good to know that glue stuff worked well. I can't stop thinking of things to distress and stain…love the look. thanks for the linky love!
Love this, I want to frame the mirrors in our bathroom. As I was reading I thought, I want to pin this. Hope you add the "pin it" button to your blog.
It's amazing how much better a framed mirror looks! I love that you distressed the wood before you stained it.
That looks great. I have wanted to do this in two bathrooms. You made it look easy. I like easy! You've been pinned!
Love this idea! So I have been wanting to do this for a while now and I have been researching and watching “how to” videos but I’ve been so anxious about the edges matching up, caulking, painting, and all that stuff…. This is so much more up my alley! Great idea! This DIY {but not too complicated} mommy is motivated!
I am going to try this today! What size wood did you use for this project?
Thanks!!
Courtney — had to tell you that I did this project in my kids’ bathroom and it turned out so great! Was surprised by how easy it was since I’m not the best DIY-er (my husband was a little nervous when he saw me whacking the wood in the garage, haha. I even gave my 2-year-old a wood plank to “stain” with wash-off paint and he was in heaven). My friend liked it so much she did her kids’ mirror too! I know this is an old post of yours but the idea is awesome. I have sent the link around to several friends looking to spruce up a bathroom.