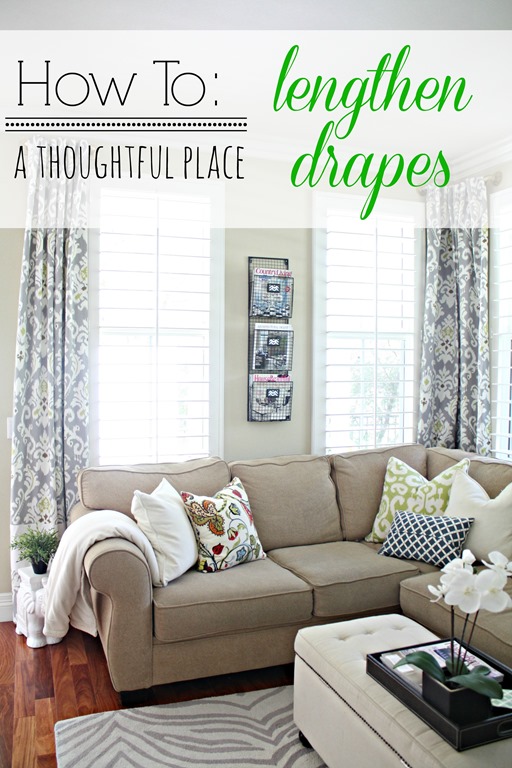
Today I want to give you the step by step instructions on how to lengthen drapes when they are too short. This method works if you stumble upon store bought drapes that are not in the desired length or if you want to add a custom detail to them. That happened to me after falling in love with 84 inch drapes. …
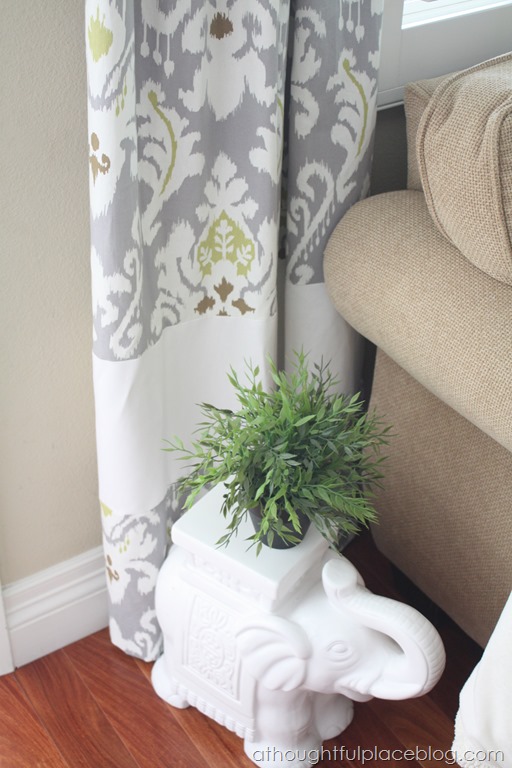
So I stumbled upon these drapes at HomeGoods. You can read more about that here. But they were 84 inches in length. Boo. I knew I wanted to use them and the print was exactly what I was looking for so I decided I would lengthen them. Here is the deal, though. I didn’t want to just add white panels to the bottom as it could appear that they were indeed too short an needed lengthening. So I decided to add a white panel plus a strip of the ikat fabric so that they would appear more intentional and deliberate. At least that is what I was going for! I purchased two sets of panels {4 panels in total} but only planned to use three due to the way the windows are situated in this room. That left me with one extra panel to play with.
If you are attempting to lengthen your drapes, I highly recommend buying one extra panel. You will need this to add a strip to the bottom of each drapery panel. This is not required, but I think it makes them look more custom and I will explain why in the detailed directions below. For my extra accent fabric, I went with a white medium weight denim. This had a nice texture that matched my drapes. You want the feel and weight of the two fabrics to match as much as possible.
- drapery panels {one for each window + one to lengthen the drapes}
- detail fabric {1/2 yard per panel} Look for one that matches the weight and texture of the store bought panel.
- thread
- sewing machine
- scissors
- ironing board
- straight pins
- measuring tape
Step 1: Measure your wall. You want to hang your drapes two inches below your ceiling or crown molding line. This measurement will tell you how long your drapes need to be. Add 1/2 inch for the drapes to go over the rod {or subtract if you are hanging them from rod clips}. After measuring, my drapes need to be 102.5 inches long.
Step 2: Length of necessary drapery panel – the length of the panel you bought = the additional fabric needed My total drapery length should be 102.5 inches. My panels were 84 inches and I cut off a 3 inch seam. So I was missing 21.5 inches of fabric. I chose to add more ikat fabric from an extra panel to each because I felt a strip of white fabric 21.5 inches wide was too much. I didn’t like how it looked when I held it up. This is up to you. So I planned on adding 10 inches of white to each panel and an additional 12 inches of the gray ikat fabric to each. {this is .5 inches more than I need but I don’t want them to be too short!}.
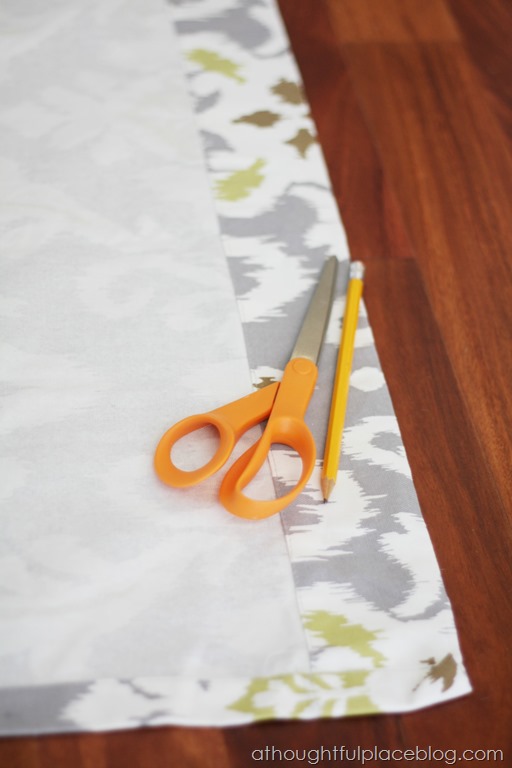
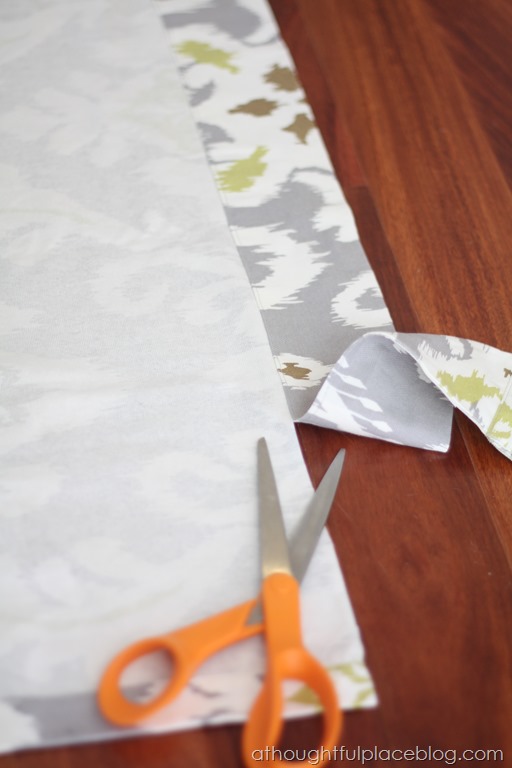
Step 3: Cut the existing hem off of the drapery panel. This cut 3 inches off so my drapes are now technically only 81”. Keep that in mind as you will need to add that amount of fabric back!!! I know that I need to add 21.5 inches of fabric in some way!
 …
… 
Step 4: Smooth our your accent fabric and measure the strips you need to cut. Remember this will be sewn to two pieces of the drapes so you need to allow for 1/4 inch seam allowance on both the top and bottom. I want my finished white stripe to be 10 inches so I will cut white strips that are 10 + .25 + .25 = 10.5 inches. {are you with me?!}
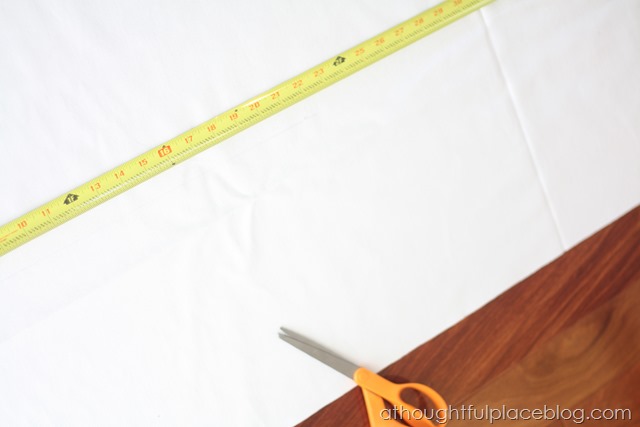
Step 5: Set the white panels aside. Now cut your extra drapery fabric from the extra panel you bought. I want my finished additional gray fabric to be 12 inches. But I need to add .25 inches for the top seam allowance and I will add 3.5 inches to hem them. That means I cut the panel to be 15.75 inches.
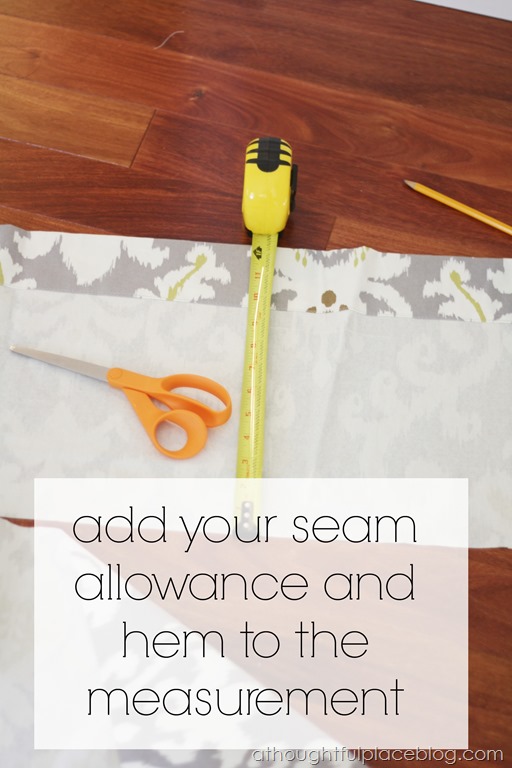
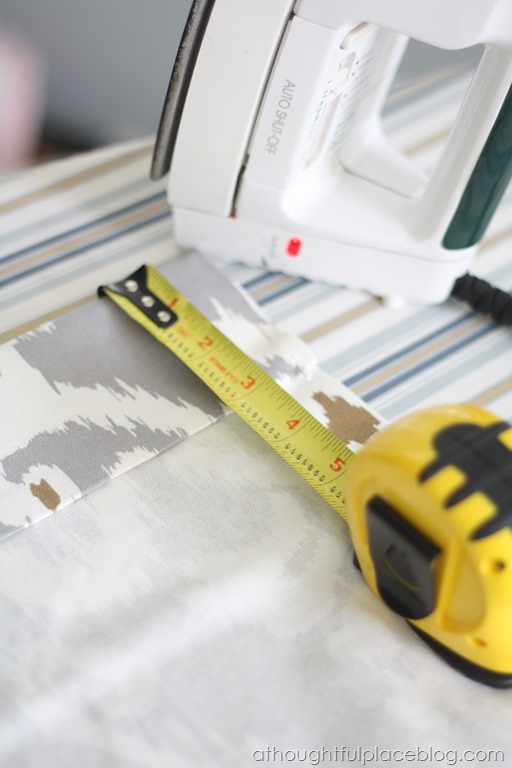
Step 6: Hem the extra drapery fabric. I want a 3 inch hem, but will first fold the fabric over .5 inches and press. After you have pressed that, fold it again three inches and press with a hot iron.
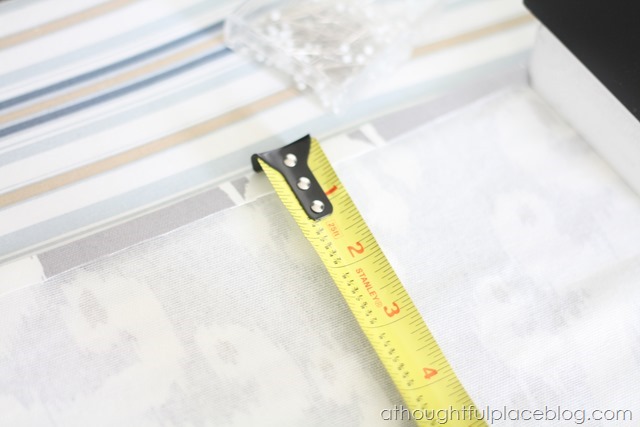
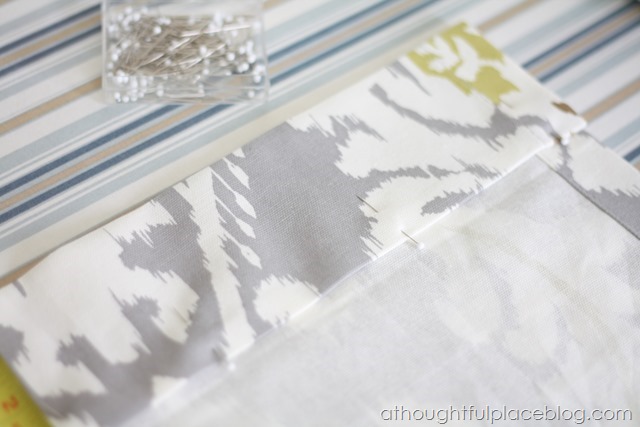
Step 7: After pressing, pin the hem so it stays in place before you sew it. Always measure as you press to be sure you are creating a straight hem.
 …
… 
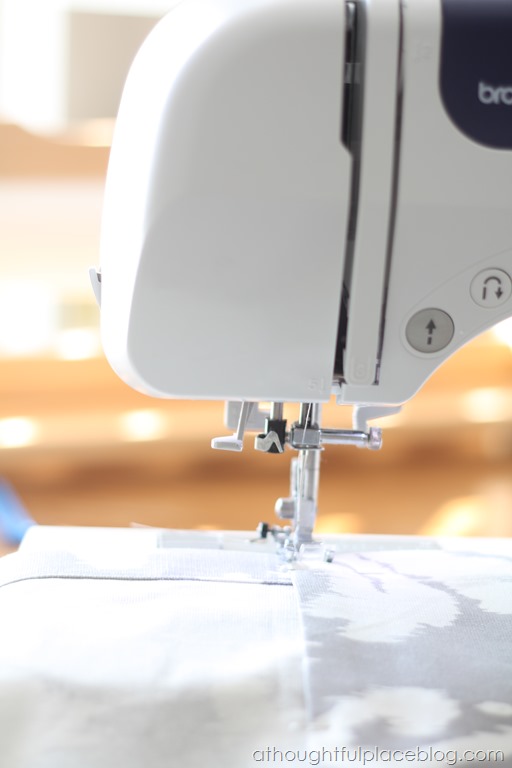
Step 8: Now that you have hemmed your patterned fabric, you can pin that new section to the white panel. Remember to pin right sides together along the top edges. You will also need to hem your white panel. I waited until they were pinned together to fold over and pin the hem. That way they will meet up perfectly along the edge of the drapery panel. I hemmed them and then sewed right sides together of the gray and white fabric.
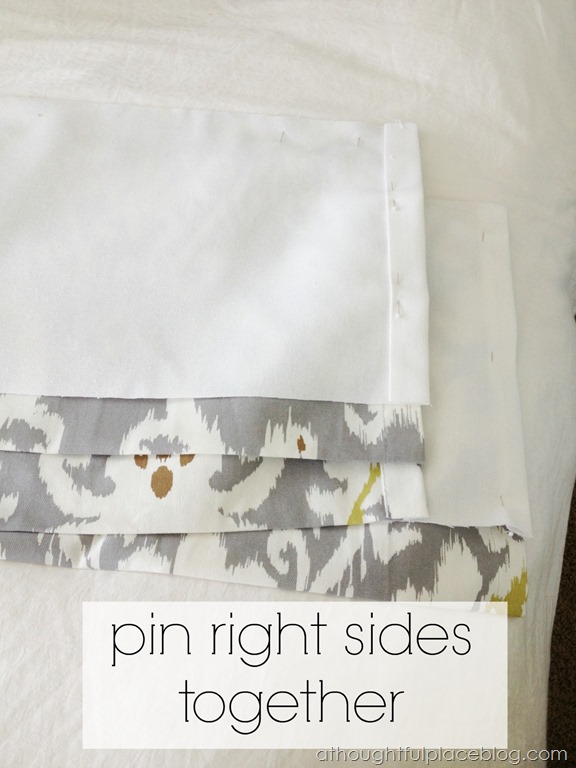
Step 9: Once you have sewn these two panels together, iron open the seam. You are virtually done! All that is left is
Step 10: Match this new panel up with your 81” drape and sew right sides together! Done!
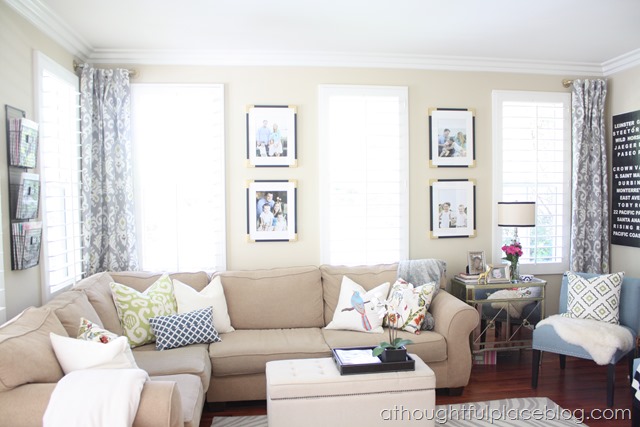
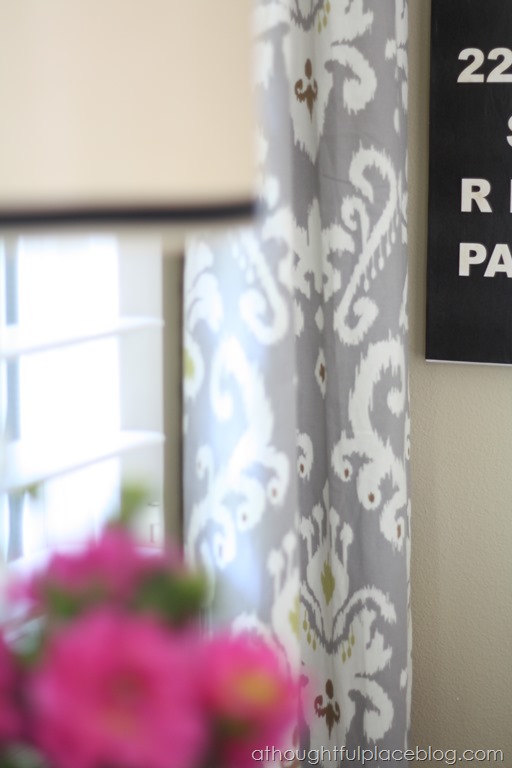
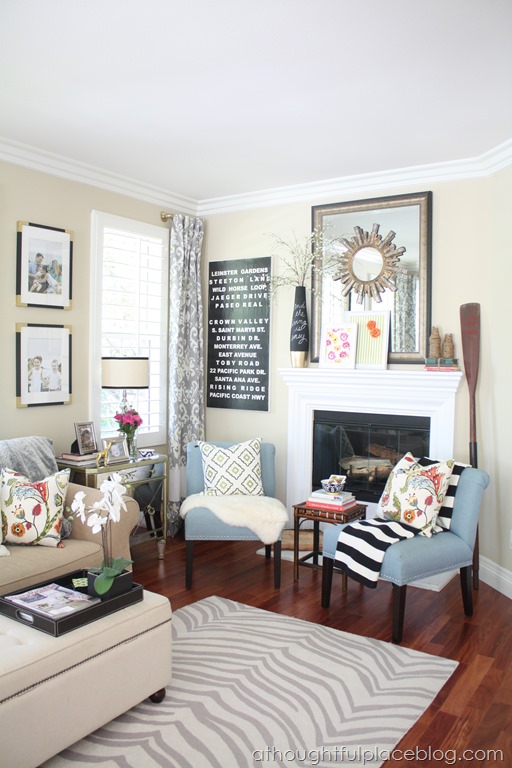
I am not sure I would do anything differently. Although I did try to bust them out in a hurry and sewed to wrong sides together. I was best friends with my seam ripper for quite some time. My biggest advice is to take your time and be patient. It is a very simple and easy process, but it just takes a bit of time. And lastly, I want to explain why we did the short rods for these drapes. Usually, I recommend using a full size rod that extends the length of the window. However, in this room, the windows are quite a challenge. They literally wrap the entire length of two walls and for the look of this space, I did not want rods extending the whole way. Especially as I did not want panels in the middle of the wall. Because I was using these to soften the room and add pattern, I chose the short rods. This does not work in every space and should only be done when you have no other option or when you do not need the panels for privacy or to block out light. Our shutters do all of that for us. And now, at long last, we have pattern and softness on our walls.
 …
… 
I hope this is helpful. It really was very very simple to do. The key thing is to measure and do your math correctly. If you do, the labor part is a piece of cake. So the next time you stumble upon drapes that are too short, don’t let it stop you!
 …
… 
 …
… 

 … …
… … 
These look great and once you get the measurements it really does look simple! Every time I see projects like this it makes me want a sewing machine! I think the last time I used a sewing machine was when I was 10!
Yes! After figuring the math it was so easy. Bust out that sewing machine, girl!
What a great look and a practical idea as well. Getting the extra drape is a good tip!
Thank you. It finally came together!
You did a great job – and I agree that getting the extra drape is a great tip and makes things easier in the end! Love your whole room…
Thank you so much, Rhonda. I appreciate it.
I just bought these curtains for my bedroom from TJ's on Friday. I had had white curtains up forever and decided that the pattern on these was too great to not get. Love them in your living room…and the way you lengthened them !
What a small world. Yes! Fun to switch it up with some pattern.
Can you please tell me the brand of your sewing machine?
It's a Brother. Nothing too fancy and I LOVE it. Hope that helps.
Great idea! Love stopping by here and checking out your DIY projects!
Thanks so much, sweet friend. I love getting all of my coastal inspiration from you {and fashion}!
Great tutorial! Your drapes are beautiful!
Thank you so much. Have a great day!
They look great and this is a great tutorial! I might have to try this with a shower curtain!
Love how they turned out. I actually used the same drapes in our downstairs hall bath for a shower curtain. Love the fabric!!
I love this idea. I purchased some semi-sheer ones from Home Goods. What would you recommend to incorporate with those? I think the solid white might be strange in that application.
They look so good, and definitely intentional. Unfortunately I have too-short lined curtains in my bedroom (purchased back before I understood how long drapes should be and where to hang them!) so I wonder if there's a decent way to do this with lined curtains?
Such a great idea. Have to try it out
You are my hero with your easy to follow tutorial! I always find drapes that are too short. Great to know this!! You did a beautiful job Courteny.
Haha, I always sew the wrong sides together! Patience is not my strongest attribute when sewing :). Great tutorial!! I still LOVE your curtains so much 🙂
They look beautiful! I love the soft colors in the Ikat fabric, but how it brings your whole color scheme together:). I have to say, I'm pretty friendly with my seem ripper too, since I always make those little mistakes.
Blessings,
Kayla
K.R. Dixon Designs
http://adelightfulplacetodwell.com
Great tutorial! Love those curtains and the pillows!! Did you make the pillow covers as well?
Genius! I wish I had seen this 3 months ago!
Such a smart idea to add the curtain fabric again at the bottom–thanks for the tutorial!
Great curtain alterations! Could you please tell me the brand of your sectional, and where you purchased it. It's exactly what I've been looking for.
Such a great idea! Bringing in the same fabric at the bottom makes it work. I can look at 84" drapes again! Wahoooo!
Such a great idea! Adding that strip at the bottom really ties the blocks of fabric together. Thanks for sharing!
I just love your blog! It makes me happy to open my email each day and see your daily post has arrived! Your tutorial for those curtains is great… just the perfect touch for your living room 🙂 where did you purchase your short rods? I think these might be just the trick for our somewhat awkward windows in our kitchen nook. Thanks!
Love the blankets in your home!! I just got this throw blanket and it had added a nice touch! Thanks for the tips!
Such a great idea! I love the pattern of the curtains too. Making what you have work out with a few tweaks is awesome.
I just read your story and I am so happy you did this as I have to get my drapes the same size as yours! I have 84" panels and I need 102", before thinking it through. But these panels are that thermacor dare i say plastic so i am wondering if i can get away with some sort of adhesive and then cover -somehow – cover the cut with some great sturdy ribbon,but need help thinking it through. I am so excited! Gosh – After twelve years in this 100-year-old home, I FINALLY found some thermal panels at like 90-percent off… I needed 16 panels for the whole house…anywhoo…if you have a suggestion for my idea/situation with the thermatec, which, i think, is plastic… please let me know. BTW -i LOVE your taste! And, here is the link for the curtains I bought – they look like burlap…http://www.menards.com/main/window-treatments/drapery/thermatec-hopsack-blackout-drapery-panel-52-x-84/p-1302425-c-9261.htm
How did you do the small curtain rods?
Can you please tell me the manufacturer of your curtains that you purchased at Home Goods? I want to try to find the fabric. It goes perfectly with my whole house!
Great idea! Now I don't feel so bad that I have put off lengthening my sons curtains. Now I'm going to go for it!
Hi there,
I can’t thank you enough for this article on adding to the length of your drapes. Believe it or not I need the same measurements that you are using, and I am adding white to a print that I love. I have struggled for months on what to do and luckily found you on the internet! Thank you again, Sharron
Hi! Love what you have done with the drapes! i was hoping you could tell me where you got the drapery hardware, it’s just what i am looking for.
Thanks
Do you have any suggestions how to lengthen your fav lace curtains? I’m stumped!
I am sooo thankful I found this blog post! I got some lovely 84 inch curtains for windows that required at least 90! Thank you for this idea. I can almost see the beautiful effect the accent panel will do to our living room
I wonder if you could just cut the existing curtain where you want the contrast fabric to start and then sew the existing hem piece to bottom of the contrast?