A few weeks ago, I shared the closet office we created for our daughter. Our now 7 year old!! She is still loving this creative space and spends hours working on drawings or cards for others. I had a number of you email and ask me just how we put up the paper so I wanted to share my tips and tricks. There wasn’t much to it, but it’s always nice to know what people learn and experience when tackling something new.  This is quite a small space so I only needed two rolls of wrapping paper. The chevron print is from Target. The first thing I did was decide exactly where I wanted the paper. Keeping in mind that this is very fragile and not sturdy like wallpaper, I wanted to use it in a protected space. So I really wanted it only behind the desk and not sticking out on the side very much as it could get bumped more easily. I hope that makes sense. If you look at the before photo, there is a piece of wood that is right behind the rod. It wraps around to the left as well. I used that as my natural guide. I measure carefully and cut two pieces of paper. One would be for the top and one for the bottom.
 This is definitely a two person job!! You need a helping hand to hold the paper as you attach it to the wall. And remember to handle it carefully as you don’t want any wrinkles in the wrapping paper. I attached the paper to the wall with Quake Hold. If you don’t own this, it’s a must. You can search on the internet to find the best place to buy or order it from. I pick my up from our local hardware store. I could honestly be a spokesperson for them. They have no idea who I am, but this stuff rocks my world. I use it on the bottom corners of every wall frame in our home. It keeps things in place, but without leaving any permanent damage. It’s essentially a putty that keeps things in place in case of an earthquake {if you live in CA like I do, this is no surprise!}.
 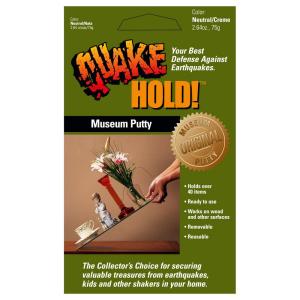 I used a small dot of it all the way around the top of the closet area. I spaced my dots about two inches apart. I also placed dots down the whole left side so I could attach that as well. I placed the dots of Quake hold directly on the wall. Then I started at the left side of the closet and placed the paper pushing with some pressure on those dots. When I came to the corner I made sure the paper was smooth and straight and then creased it heavily down the corner. I continued to hang it around the back of the closet.
  It really was a piece of cake and took about five minutes. Just be sure to check that things are smooth and level and not coming away from the wall. I did stick my hand up under the paper and place a few dots of Quake Hold on the main wall. I did use clear tape in a few places to reinforce the paper to the wall. Then I continued with the second row of paper.
  I didn’t like that there was a raw edge of paper that could potentially rip or get damaged. To solve that, I decided to continue the piece of wood that was already running around the top of the closet space. I went to my local hardware store and had them cut a piece to the length I needed. After two quick coats of paint, I adhered it to the wall with liquid nails. It overlapped that paper and eliminated having that raw edge.
  The photo below shows a good shot of the new strip of wood I added. Hanging the mirror and shelf above the dresser also helped with keeping that paper firmly in place.
  I also used a generous amount of Quake Hold along the bottom to really make sure that paper was good and stuck!
  And that is it! For a total of $13 {wood plus the $8 of paper} we have a wallpapered closet. I hope the tips and tricks help if you tackle a similar project in your home.
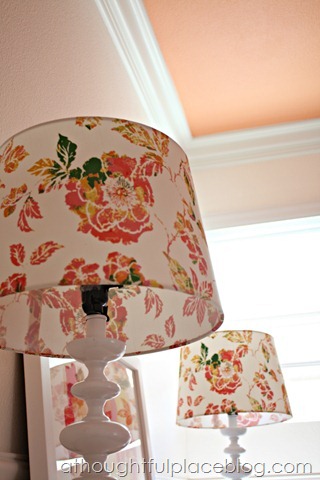
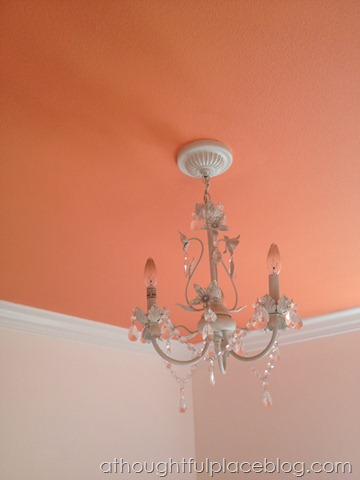
  I must say that I am secretly looking around the house to see where else I can hang some wrapping paper! To see other related posts to this tangerine room you can click below:
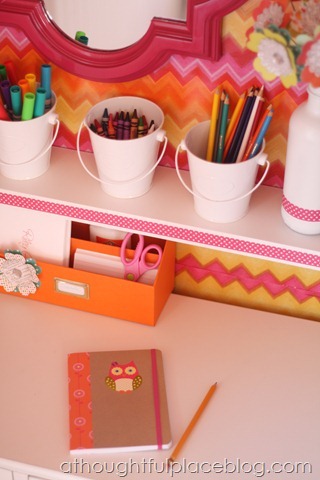

 Closet Office Paper Bouquet New Lamps Painted Ceiling
nice computer tricks
Love the pattern of the paper!! really brightens up the area!! love it!
That is amazing, I have a small space at home that needs some colour, I think you have just helped me out. Thanks.
I saw that wrapping paper at Target after you first posted this project and it took every ounce of my willpower not to buy it and find somewhere to use it in our living room {just re-did in pink/yellow accents} – I think hubby would have drawn the line there. LOL
-Morgan of Style Oyster
I really love this. I've always thought about using some wrapping paper on the walls in my little computer cubby, which is about the same sized space as this. I ended up wrapping the shelves above the desk to start. The whole space is so happy with all the bright colors you used! And I seriously need to get my hands on some of that putty.
Thanks so much! I love Quake Hold, too! I use it for so many things. I love that it comes off so clean and easily. I've used it to make temporarily footed dishes putting it between an upside down tea cup topped with a small plate. Very cute to hold a cupcake.
Does that putty leave a stain on the paint of the wall?
It looks amazing…I missed you, little pumpkin!!!!
Wall paper using wrapping paper?!! That's awesome!!! XO
OMG. In love with this idea! You are so creative!
You are brilliant! I've used wrapping paper to line cupboards before, but never thought to wallpaper a whole closet with it. It looks fantastic. I'm sure your big 7 year old just loves it! Hope you're having a great week, Courtney!
~Abby =)
Love how this turned out. It looks amazing!
This is the *cutest* cloffice I have ever seen!!! I don't think I would've ever thought of wrapping paper as wallpaper, but daaaaaang girl, you make it look *GOOD*!!! It's just the happiest little place! I think she's going to be a lot more willing to do homework with a space like that, right? (c;
OMG! I just looove the look of this. Thanks so much for sharing.
this is awesome! I love using wrapping paper for all sorts of things but this is the first time I've seen it done on a wall! Love it! Thank you for sharing!
GORGEOUS! I would have never known this was wrapping paper! Genius! Love it, thank you for sharing. I love that you used a small space and made it something spectacular!
Jeanne
Can I ask what you did to the closet rod? Is it painted or papered? Does it function for anything or just cute?
Darling idea!!!
Where did you get the cute desk?
Where did you get the cute desk?
Hi Courtney! hope you don't mind me using one of the pictures of this super ingenius nook of yours on a post I have today on my blog on gift wrap uses..http://buhayatbahay.blogspot.com/2013/08/gift-wrap-uses.html, I placed a link back here of course, but let me know if it's not ok with you! Thank you for sharing this!!!
I have 2 daughters. ages 7 and 13. I am redoing both their closets for added space, organization and functionality. I just said to my husband, I want to put wallpaper in their closets and he wanted paint to keep costs down. I am so excited I am so going to do this myself so when he gets home from work I can surprise him. Genius! Love our blog! Thanks, Beth
Thank you, I hadn't seen anything online about using wrapping paper as wallpaper, as I wanted to do in my laundry room above my shelves — you gave me the courage to do it, and what you did looks amazing!
This is great idea! I read your post on iHeartOrganizing and I saw your comment about QuakeHold. Does it lay flat? I have this idea for putting contact paper on my shelves, but since I live in a rental, I can’t use anything permanent. Do you think it would work for my project?