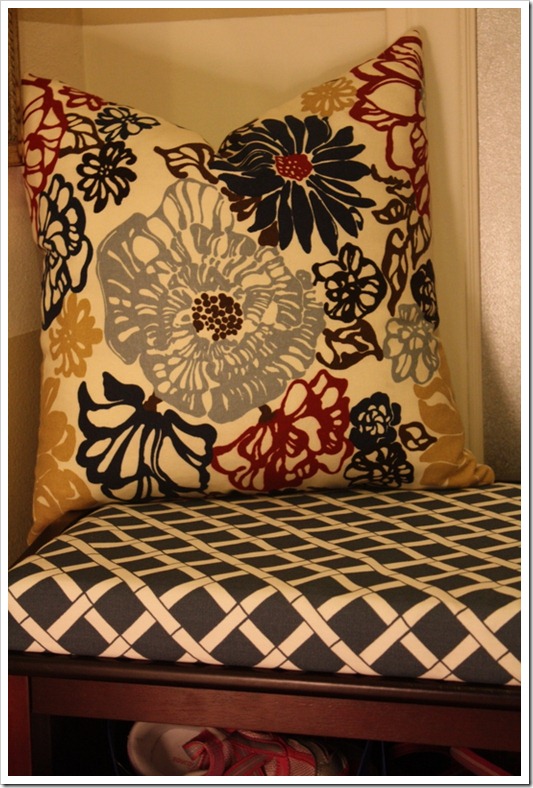
To call it a mudroom is a bit of a stretch, but I like the term! Our little coat closet clubhouse hasn’t been functioning too well. So I jumped in to make some changes and now it’s officially a mudroom/playroom for the kids. While they still like to play in the space, it really serves as the go to spot before and after leaving the house. It’s a lifesaver. After falling in love with some fabrics and finding a bench from Kohl’s it is starting to come alive. Here is a little bit of the room as well as a tutorial on covering the bench cushion and a ten minute pillow project.  I scored the bench for $75. I was really happy with that as the space can only fit a certain size and I was about to make the hubby bust one out for me. He was thrilled when I brought this home. It’s a solid piece and is made really well. I liked that it came with the cushion that I could easily cover. Every time the kids come in or out of the house, they plop down here, take off their shoes and put them in their buckets.
 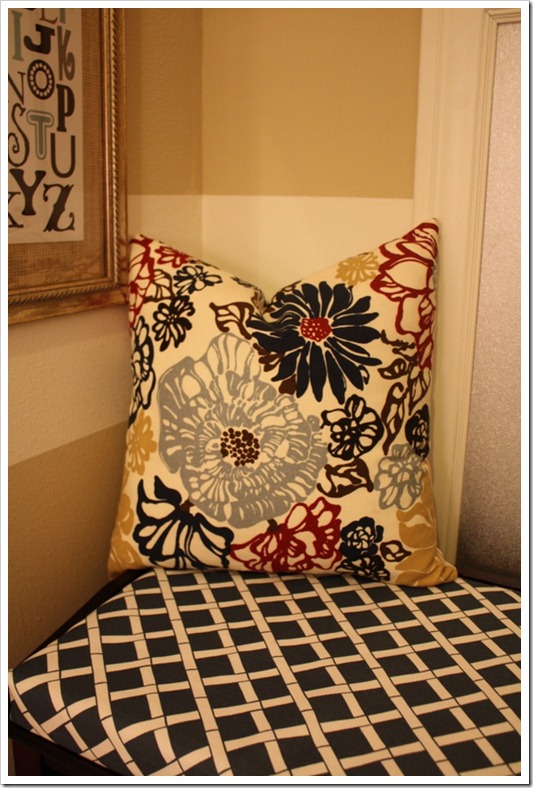 The blue and white fabric is indoor/outdoor so that it can wipe clean. Here is a quick tutorial on recovering the cushion easy style!!! I pick and choose my projects. Keeping in mind this is a children’s mudroom bench inside of a closet, I busted out the glue gun! Don’t judge. It was quick and painless. My kind of project.
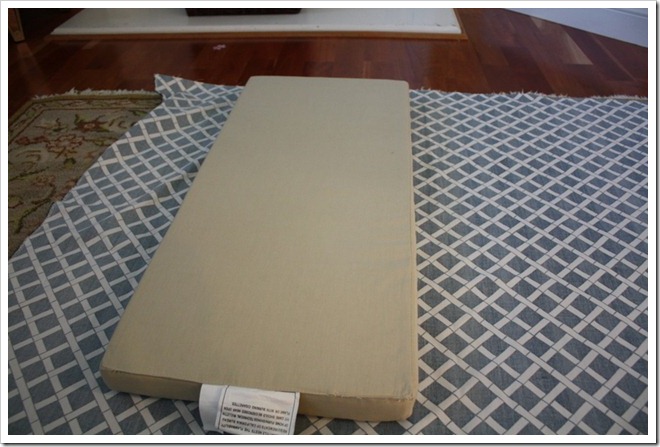
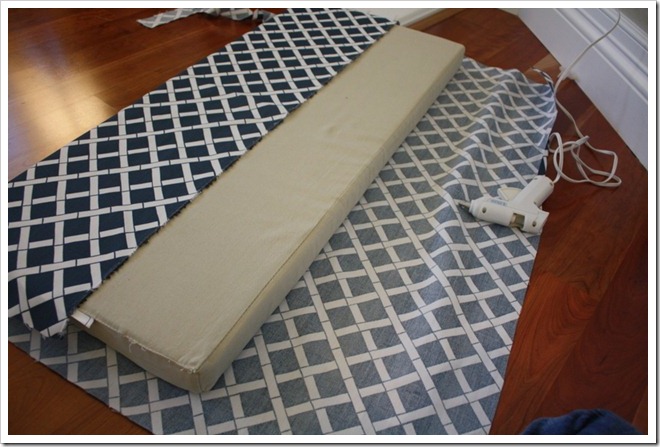
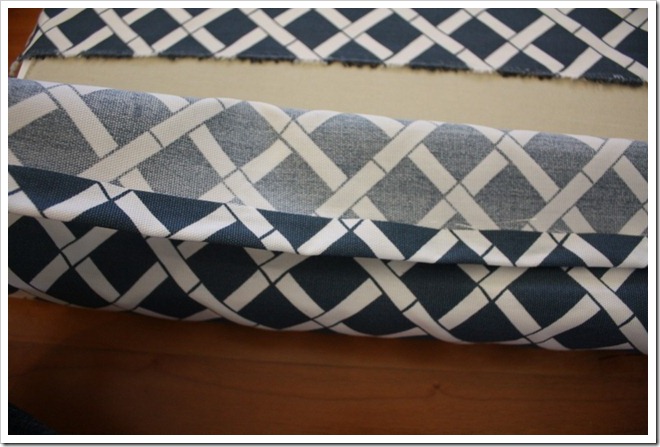 I literally just wrapped it like a present. The indoor/outdoor fabric has such a nice weight to it so it was easy to do. Anywhere I would have sewn a seam, I simple folded over and glued with the hot glue gun.
 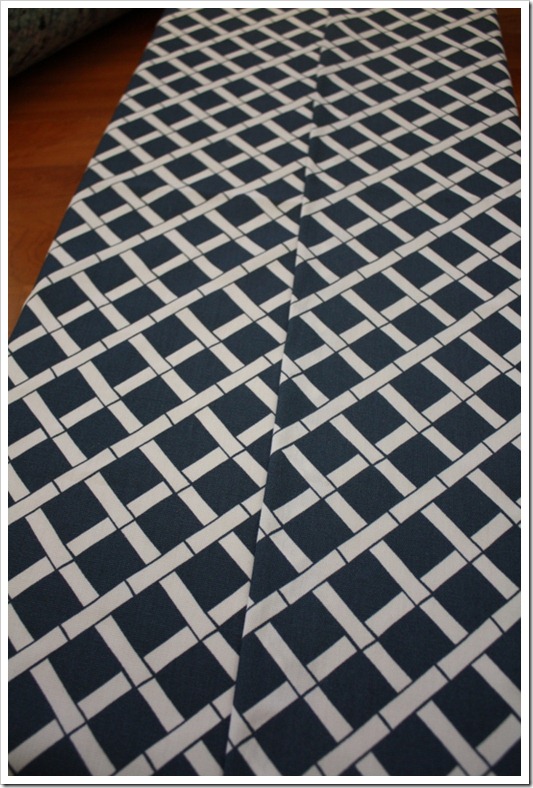 This is the under side which will never show so the pattern did not need to match up.
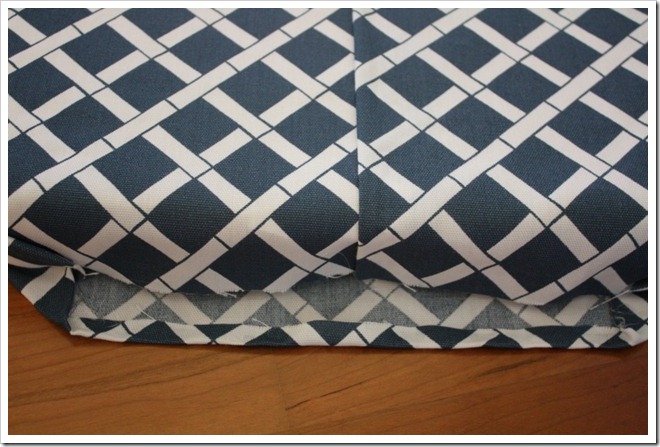
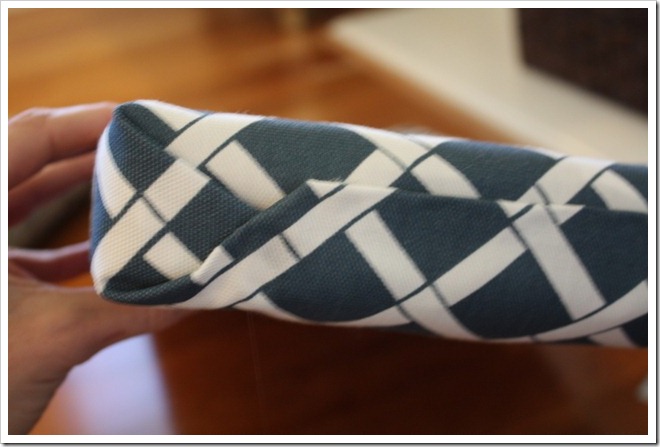 And that’s it! Sorry about the blurry shot. It was the only one I had snapped.
 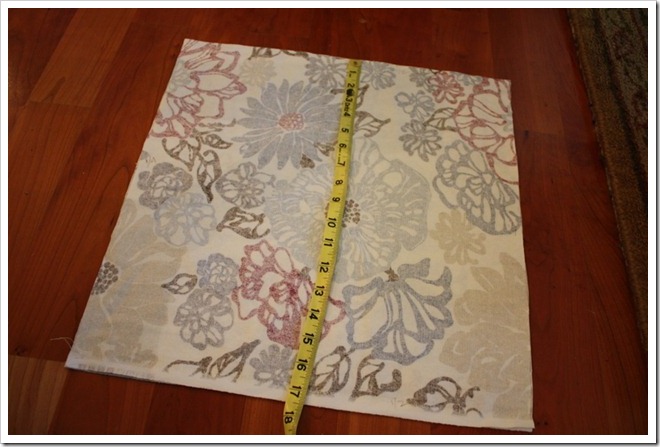 For the pillow, I cut two squares of fabric 17 1/2 ‘”. I pinned wrong sides together and marked 1/2” with a pencil. I always like to write that on the fabric so I don’t make a mistake when heading over to my machine. {Unfortunately, I don’t know the name of the fabric. I had picked it up at Home Fabrics and they no longer are carrying it. If anyone out there knows the name, please leave me a comment. }
 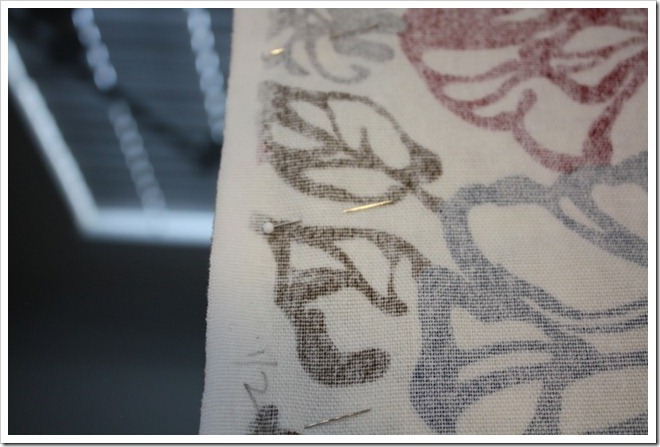 I made the 1/2” seam all the way around.
 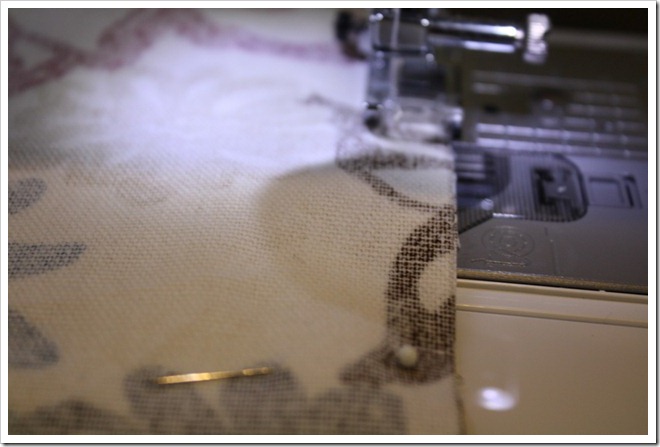 When I reach a corner I sew in an arc. That way you avoid the really pointed corners on the pillow. I like them to be a bit rounded. I tried to show you in the image below but it is tough to make out. Also remember to leave about 8 inches open along one side so you can insert your pillow!
 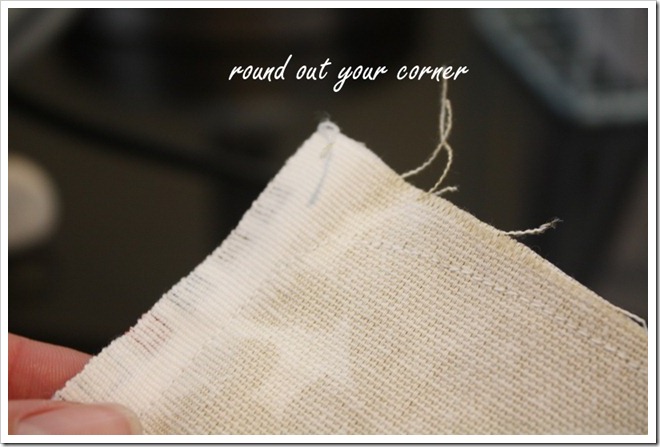 The last step is to iron open the seams, turn the fabric and then stuff the pillow inside! Again, choosing my projects carefully I chose not to insert a zipper. Mudroom pillow = easy and less time consuming route! So I hand stitched the opening along the bottom. It only takes five minutes to stitch it up. All in all, it was a ten minute project. It would have taken me longer to drive somewhere in the car to search for one. So if you are at all scared of making a pillow, please know it’s a very simple process!
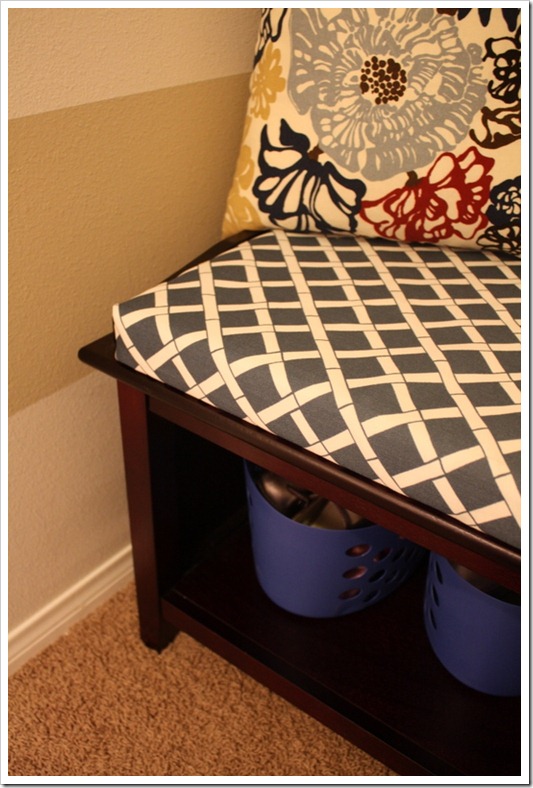
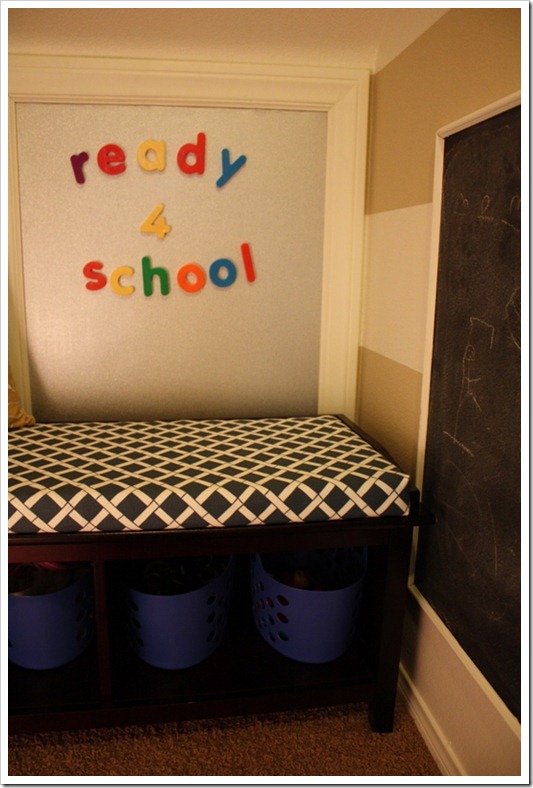
 I picked up these plastic baskets from The Dollar Tree. I am big on the containers that store shoes being able to breathe so these are perfect. And they can easily be washed out if need be. My daughter has one for school shoes and one for sandals/flip flops. My son refuses to wear anything other than his “soccer” shoes {which are just running shoes} so he has one basket for those and one basket that hosts the letters for the magnetic board.
 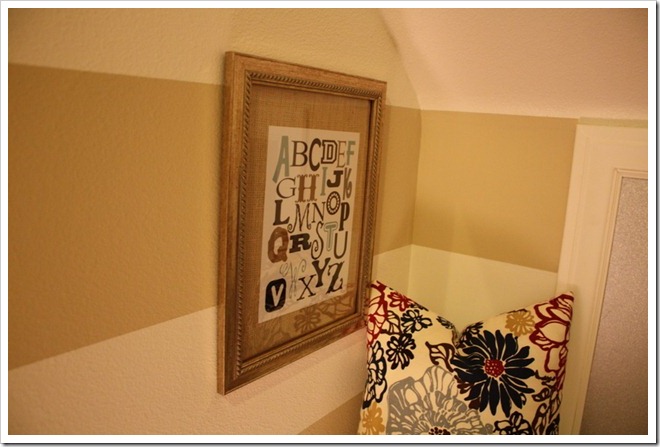 This sweet ABC print is from Couture Prints. I originally bought if for my son’s room, but because the children like to play school in here I thought it was perfect. And the colors are spot on. I matted it with a piece of burlap.
 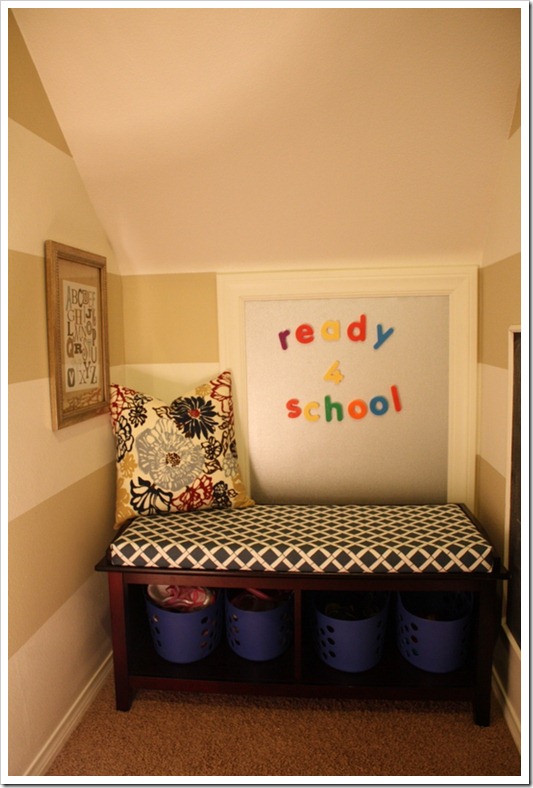 There are just a few more details and touches that were added to really make this space work for us. I will be excited to show you the rest later this week. Happy Monday, everyone!!!!
The mudroom looks great! Love the fabrics.
And I love the idea of using burlap as a photo mat, I may have to borrow that idea 🙂
Looks fantastic! Love the addition of the bench (and the fabrics). The ABC print is perfect. I have a few prints matted with burlap and love the look!!
This is looking fantastic! Great little space for organization!
Cute magnet board idea!
This looks so great. I LOVE the plastic bins for shoes. What a great idea!
Looks great !!
It looks so great. The kids must hide away in there all day!
Gotta love a glue gun!! No shame at all in that!
I love the new bench and the fabrics you added!
I love those fabrics and everything looks great. Can I come play in it?:)
XO,
Sarah
That looks really good! I love that you've turned it into a little mudroom. It's a great idea!!!
LOVE it! Wish I had a "mudroom"! 🙂
Love both fabrics, it looks really great!
love it! love the fabric and the baskets and the wall stripes. love everything. 🙂 happy monday!
So cute!
Looks great! Loving the nook! I mean mud room. 🙂
This is such a great little space for your kids. I love the way you cheated your way through that seat cushion. I am so doing that!
It looks so great, i can't even believe the transformation on you "mud room!"
Looks gorgeous Courtney! Love the lattice fabric for the cushion cover and don't worry sister, the glue gun is my dirty little secret too! 🙂
Good for you for acknowledging that the space wasn't utilized well, and actually making changes to it. Looks great, Courtney 🙂
The space looks great! And thanks for the helpful tutorial- I might try some DIY too! 🙂
Super cute of course!
it looks beautiful, courtney! so fun and kid friendly!
Such a cute space and you make it all look so easy! 🙂
whew — I was so behind!!!! I love the fabrics you chose for the mudroom…and clever girl to use hot glue!!!
LOVE the ring pulls on the back of your chairs too!
OH!! And hello online design services!!!! you GO!
SO cute! That bench is awesome. I bet it's nice having just one spot for the kiddo's shoes to go.
It's perfect! I'm curious if it's tall enough for you to sit on the bench in there or if it's just for the kids?
Hi Erin! It is actually tall enough for me or my hubby to sit there. In fact we get roped into playing school quite often. I just can't stand up in that back part! I will show a wider shot this week. Such a tiny space so it's hard to photograph! 🙂
Wow! Genius idea on hot glueing the fabric for the bench cover! I will definitely be stealing that idea in the future!
Love the facebrics you chose and the way they coordinate without being matchy matchy!
Love the mix of fabrics. Looks great! x
So so cute! It looks great and I love your fabric choices!
What a great idea to mat the frame in burlap!! And the glue gun- that will be so great for if/when you want to change out the fabric! But I do love the fabrics you chose:)
Perfect!
I love this space! I wish I had something just like this 🙂
Your mudroom is gorgeous. Love the combination of patterns you used on your bench. That is so funny you wrapped your fabric like a present and glued it on with a glue gun. I never would have thought of that.
Your playroom looks amazing, Courtney! How fun it is for the kids. I love the mix of the fabrics and very clever to use a glue gun on the bench cover. Since I don't sew (yet) I think I could tackle that one. I also like your burlap as matting for your frame. I wish I had a space like that when I was a kid!
Such a fun little space! Let me know how the shoe storage thing goes. Nothing I do seems to entice them to put their shoes in a designated spot. Drives me up the wall!!!
What great fabrics! I love this space so much!!
It looks fabulous!
Fabulous! Love the fabrics (and your sweet hot glue gun action!).
For those that were wondering about the fabric. . .I've seen it at Joann's. It's called Invigorate by Richloom.
I have some fabric that I would like to make pillows with. Thanks for the instructions.
This is looking fantastic! Great little space for organization!
Lily @ mudroom storage
So how has the hot glue held up? We are making cushions for our booth table. Im worried about using a staple gun because I’m just SURE the staples will poke us when we sit on the cushions. I also don’t want to buy and cut wood to staple them to and I can’t sew!! So hot glue sounds like great!