I found some fantastic chairs last week. But I guess I have to thank my children for them. See, the reason they are now residing happily in my living room is because the kids were driving me nuts. It was only the second day of summer and things were getting a bit chaotic. Let’s just say that they hubby knew the minute he walked through the door that mama needed some space. So he graciously told me to go do something fun while he handled the kiddos. Don’t have to tell me twice! So I drove right over to Home Goods where these little babies were waiting for me.  I have been shaking things up in my living room and am anticipating the arrival of a new fun rug. These chairs are perfect for the space and I love how they bring more blue into the room. But I also knew they needed some nail head trim love. So this weekend I popped into Home Depot and picked up these:
 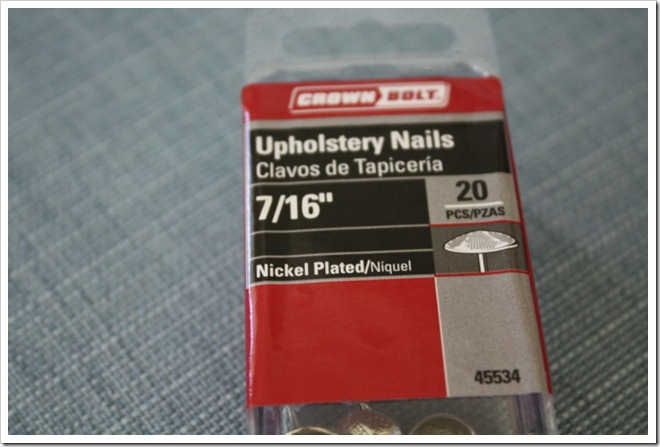 Then I grabbed a hammer and went to town. HOWEVER. Twenty minutes into this project I had already slammed my finger once and said some rather choice words as the nail heads wanted no part of going into the chair. I sported the puppy dog eyes and soon had my hubby doing the work. Oh, boy.
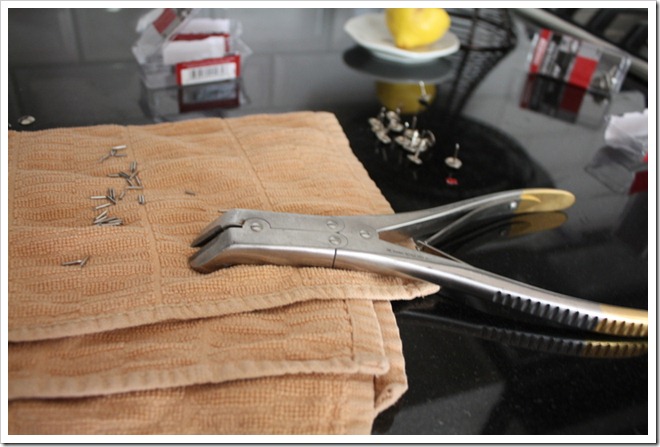
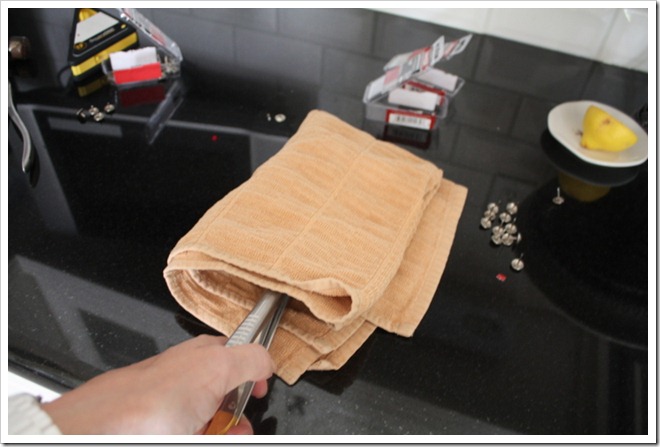
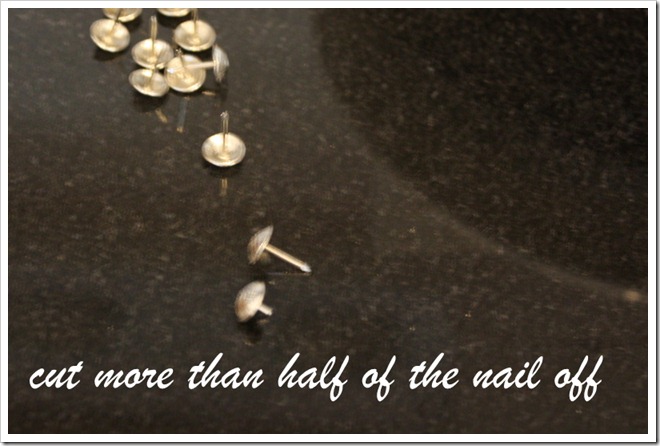
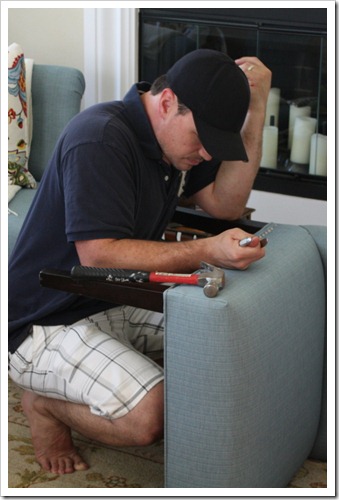 It wasn’t going so well for him either. Let’s just say these chairs may have cost us our marriage had I not thought of cutting the nails down. The problem was that they would go in fine and then just before fitting snuggly, they would bend or break. Ughhhhh! So I thought if they were shorter we would be in business. Sure enough, the hubs arrives a minute later with some random tool from the garage and I started cutting them down. If you do this, the trick is to hold a towel around the whole thing so that you don’t have metal parts flying this way and that. Also, I suggest doing it over a hard surface so you can hear one drop {with children around we don’t want any lost pieces}.
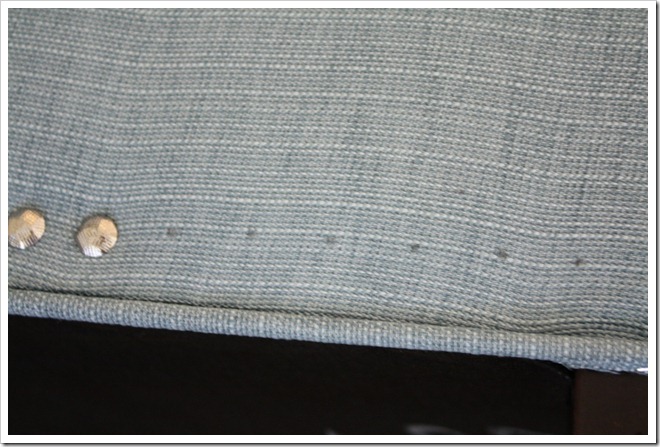
 I also used a pencil to evenly space the dots on the chair. This really helped to get the trim nice and even {I am sure it’s not perfect, but it turned out looking just like I wanted it to}.
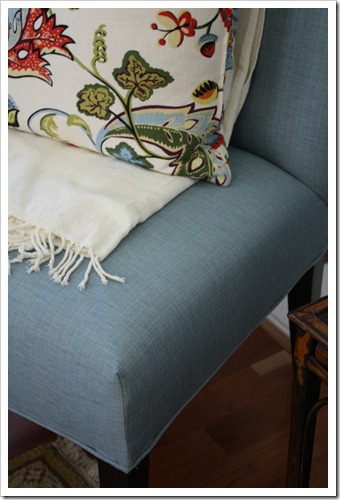
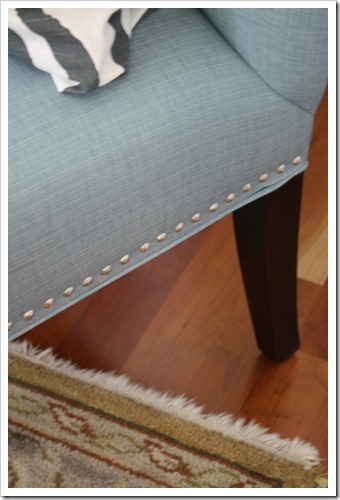
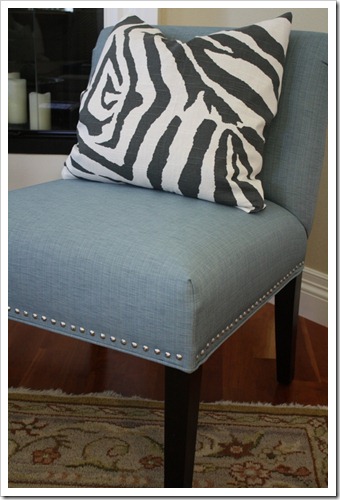
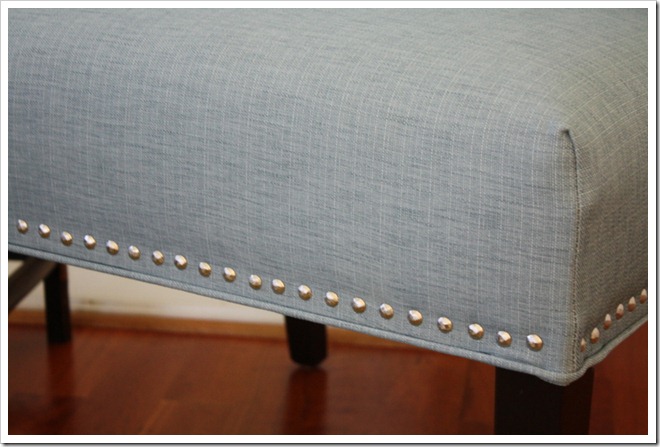 I think they are so much cuter with the trim. And for under $10 it’s a rather cheap addition. Once the nails were cut, it really did fly. I think I did this whole chair in an hour. I will tackle the other one this week. I will show you more of the room once my rug arrives!
Love the colour of the chairs- very cute!
Lovely! Don't you just love HomeGoods? My hubby knows every time I go, I'm coming home with another "treasure." Great job with the creative solution and the chairs are fantastic!
Cute chairs; I love the color! Looks great witht the addition of the trim.
Its so much cuter with the nail heads!
You are so smart Courtney! And apparently so is your husband to know in an instant that you needed to cool off. Love that chair!
Looks great. Glad you got a mommy time out to find the chairs!
Ooh!!! I love the chair! Great job:)
These look great. Thanks for the tip, what a great solution!
Looks Fantastic!! worth all the work!
Love these!!! Hmmm, I see a trip to Home Goods in my future!
The chairs look amazing with the nailhead trim! I also love the color. can't wait to see it all come together. 🙂
Well after all the pain you have a set of chairs that looks amazing. Congrats!
Your chairs look wonderful! Gotta love those helpful husbands
Jennifer
http://www.bigdandme.com
That really did make a difference. So cute! I'm not sure how you can make your living room any nicer, it is most definitely one of my faves!
You did a great job!! That chair is so beautiful!!
I LOVE those chairs. They shape is so classic! What a great idea to add the nail heads. It really takes it to the next level!!
Great idea, adds so much to the chairs. Can't wait to see the fun rug.
OHH I LOVE it with the trim!!! Gives the chairs a ton of character! And gosh, what a bummer about how hard it initially was…glad you and hubby made it through! Can't wait to see the rest of the room! 🙂
I wish that I got fabulous new chairs *every* time that the kids were driving me crazy! Oh wait, then I would have a chair hoarding problem…not that I really have an issue with that, per se (c: They look fantastic!!! I'm excited to see them with the new rug!
I love how you made these chairs your own! I would have never thought of adding such a simple touch, but it really makes a difference!
Wow! Sure sounds like a pain but they look SO great with the nailhead!! Great vision!! Can't wait to see the new rug in there too. 🙂
They look awesome! I just added nailhead trim to a couple of my chairs a few weeks ago. It is, indeed, very frustrating!!
Wow, girlfriend, it looks awesome! Adding little details like that is the fun part, and totally makes the whole chair! This is why we blog…to get great ideas like this (: Hope you're having a good Monday!
Looks very pretty dressed up with the nail head trim! I love the color of those chiars. I also love that fun animal print pillow! You have a sweet hubby to pitch in like that.
Holy cow, the chairs look awesome. So simple, but makes such a big statement. Good thinking to cut the nails down!
what a simple yet totally better difference!
love it! Way to go with the trim. Can't wait to see the rest of the room!
Looks great — nice find at Home Goods! I've got a bunch of nailhead waiting to be put on my wingchair, but I need to decide if it's being upholstered first!
Love the tutorial and shots on the counter…and what's the lemon wedge for? 😉
Ha! Love them!! If I could count the number of times hubby and I have tackled a project "together" with some heated moments…it's a miracle we are still married! LOL He swears we need to do one of those adventure shows in reality tv…he says we'd kick booty!! LOL
That made the world of a difference! I love it.
Aw, hubby's are the best!! Good teamwork! The chair looks awesome : )
I NEED THOSE CHAIRS!!!!!! That is an awesome idea!
Looks awesome! Thank god for handy hubbys. My parents just gave me some wing back chairs that I am wanting to recover and put nailheads in so thanks for the great tips!
Your efforts weren't in vain…the chairs are beautiful!
I love the look of the chair with the nailhead trim- thanks for the tip too- good to know for the future. Your hubby is so sweet!!
It looks amazing! Isn't it amazing how big of a difference a little nailhead trim can make?! I think I may have given up (or convinced Justin to take over). Glad you guys figured it out because it looks fab!
Love those chairs! The nailhead is perfect!
It is amazing the difference those little nails make! Great job!
love, love, love the chairs courtney!
how quickly can we clone ryan and send him to atlanta????
you guys are AMAZING!!!
gorgeous chairs and hunky, handy hubby! 🙂
Seriously, those chairs are incredible! I can't wait to see them in your space. And the nail head trim makes my heart skip a happy beat! Love love!
xoxo,
Jen
Great DIY project! I love how they turned out!
Love the nailhead trim – the chair(s) look gorgeous!