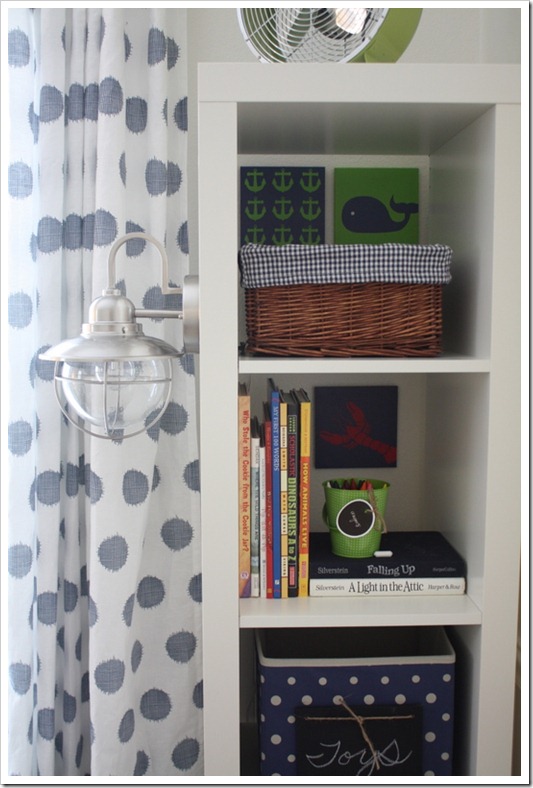
I have received so many wonderful and sweet comments on our big boy room reading nook. I have also received a ton of emails asking about how we wired the reading light. I had originally asked my husband if we should do a tutorial on the light, but he was a little reticent giving out electrical advice. So this is my official disclaimer: we are merely showing what we did, and do not in any way claim to be experts . . ! Now that I have that off of my chest, we can get on with it!  There really wasn’t much to it! We started with an outdoor lamp from Home Depot. Because it is an outdoor lamp, we purchased a lamp cord so that we could plug it in. STEP ONE: Drill a hole in your bookcase. We could have drilled more holes in an effort to hide the wire, but we were confident that it wouldn’t show and wanted to keep things very simple! Slip the lamp cord through the hole.
 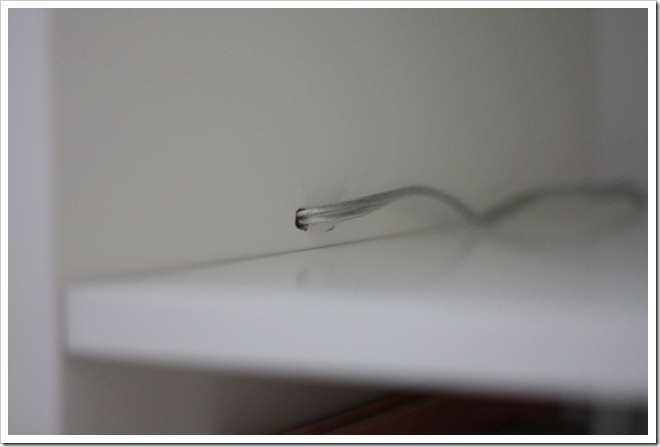 STEP TWO: Attach the lamp cord to the wires in the lamp. Use screw caps {sorry we didn’t have a photo of this} STEP THREE: Attach the lamp to the bookcase {Nothing out of the ordinary here. Simply follow the directions given that came with the lamp}.
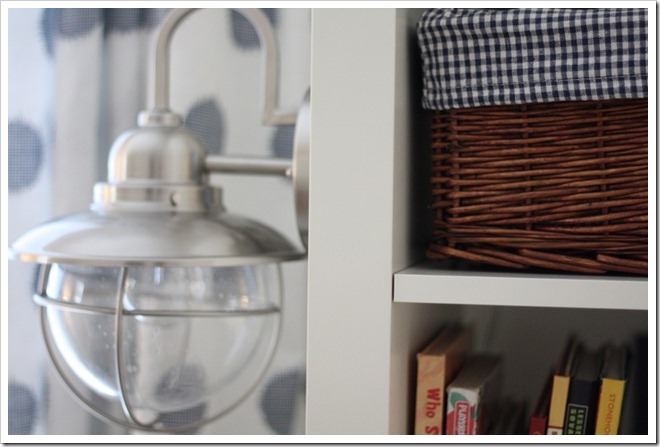
 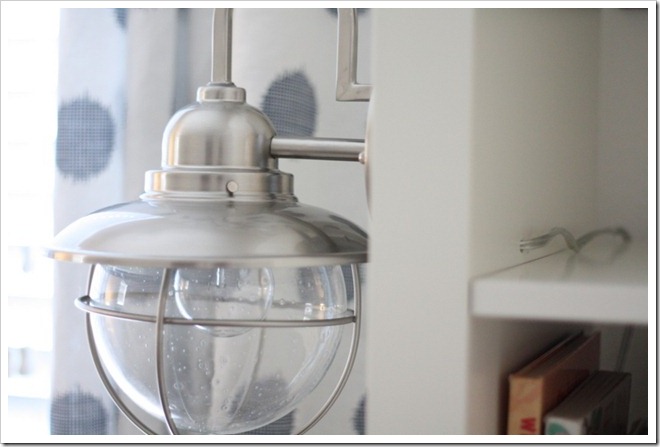 STEP FOUR: Use a large accessory on the shelf to help hide the wire. The basket worked great for us.
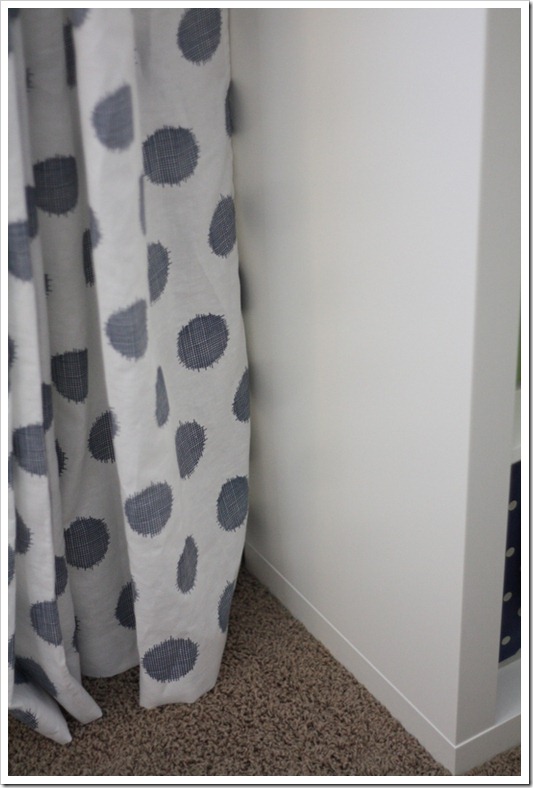
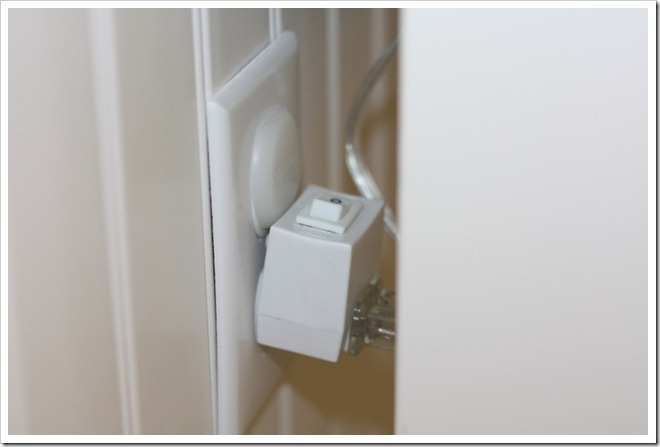
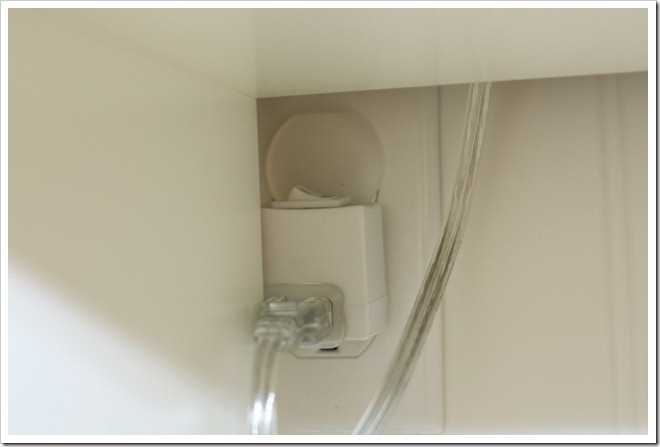
  STEP FIVE: Although it is anchored to the wall for safety, the Expedit is not flush with the wall which allowed us to have the space needed to plug it in. The curtain hides the gap between the bookcase and the wall.
  STEP SIX: Use a switch at the outlet so that it is easy to turn on and off and little hands are not going anywhere near the actual outlet.
 And there you have it my friends! Not much too it. If I didn’t have the accessories which were helping to hide the cord down the back of the bookcase, I would simply use some electrical tape to tape the chord into place along the thick edge of the Expedit. Hope that helps to shed some light on the situation {sorry, couldn’t help myself!}. And because the hubs is pretty darn cool, he found this “How to Make a Hardwire Light Fixture into a Plug In,” link for you which also might help! Hope you all had a great weekend!
How cool and how simple! Thanks for sharing 🙂
This is so cool! I've got to come up with a space to do this in 😀
It looks great Courtney, and I love how (relatively) easy it was to install. Thanks for sharing your steps!
Great tip! we tend to 'rig things up' over here too. 😉
I LOVE it! Totally want to do something like this in one of our rooms!
That light is beyond beautiful. Fantastic choice 🙂
Marissa
http://www.roost-home.blogspot.com
Love the light and seems easy to install. Great tips and thanks to your hubby for the link! Have a great week, Courtney!
That switch converter is the thing that is so genius to me…I always get nervous when my little ones think it's a good idea to plug/unplug stuff (yeah, I'm one of *those* moms…I cried dropping my four year-old off at his first day of preschool today…it was only for two hours. yep.). Still absolutely adore that light fixture, it's just so darn cool!!!
What a great job! Love the converter.
Take care,
Lori
http://www.lorimayinteriors.com/blog
I love this idea! And great tutorial!
Love how you did this. Thanks for sharing!
Exactly what I needed to see! THANK YOU THANK YOU THANK YOU!!
xoxo,
Jen
Just wondering if the glass gets hot after being on for a long time. I am considering this light for my kids bunk beds as a reading light but don't want them burning themselves. Thanks. Love your reading nook.