I walked into Restoration Hardware the other day and immediately saw this
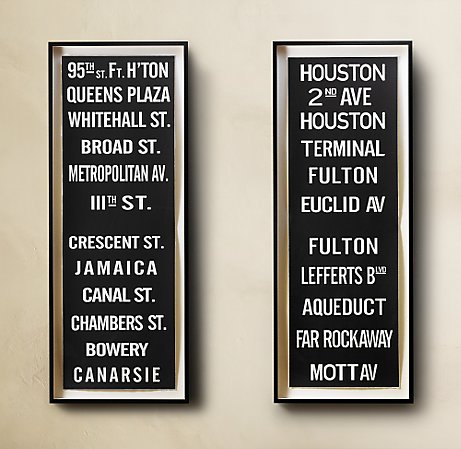 |
| $795.00 Restoration Hardware
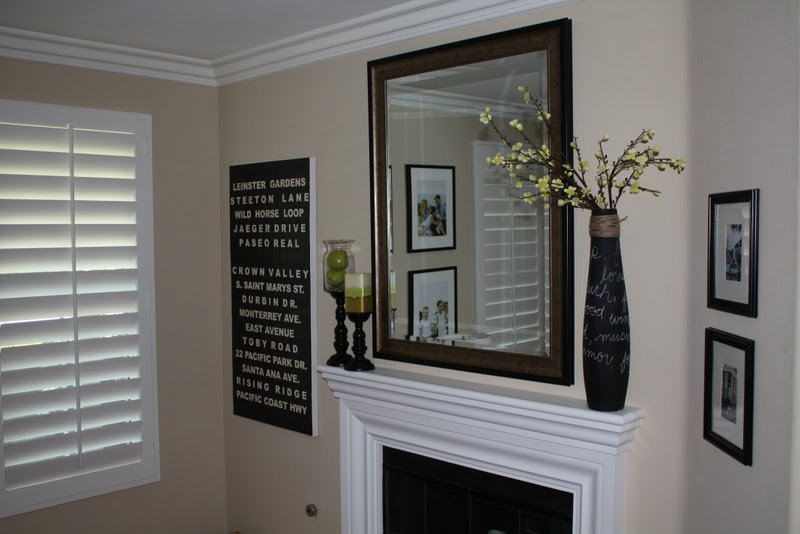
As soon as I saw it I wanted to casually say, “I’ll take that please!” Only in my dreams. I have a crush on subway signs right now, but not on their prices. So the wheels started turning and I decided to make my own. And since I was doing it myself, I decided to use street names that my hubby and I lived on as babies and growing up. I am a huge believer in artwork holding some personal meaning. So I got busy and the next day this was hanging in my living room
 I am thrilled with how it turned out and even more thrilled with the $34.00 price tag! Here’s what you need to make your own:
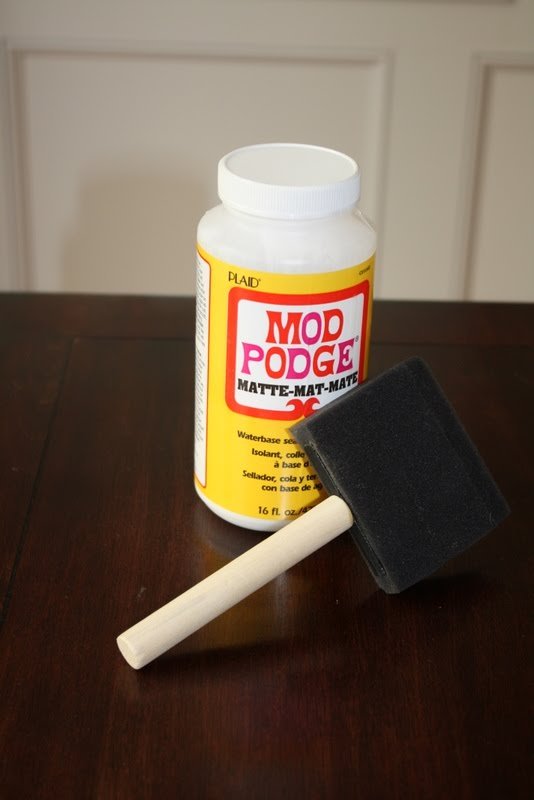
matte mod podge
foam brush
place to print your sign
coffee { yes, coffee . . . or tea}
one rag
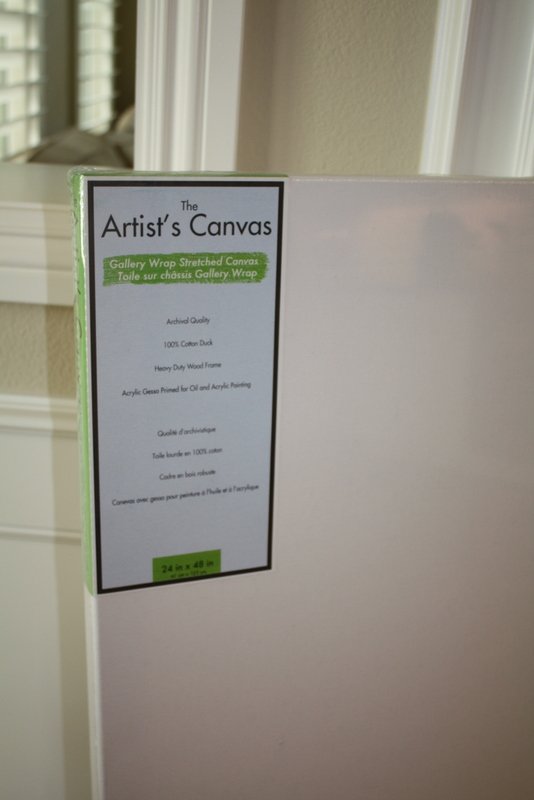
canvas { i used 24″ x 48″}
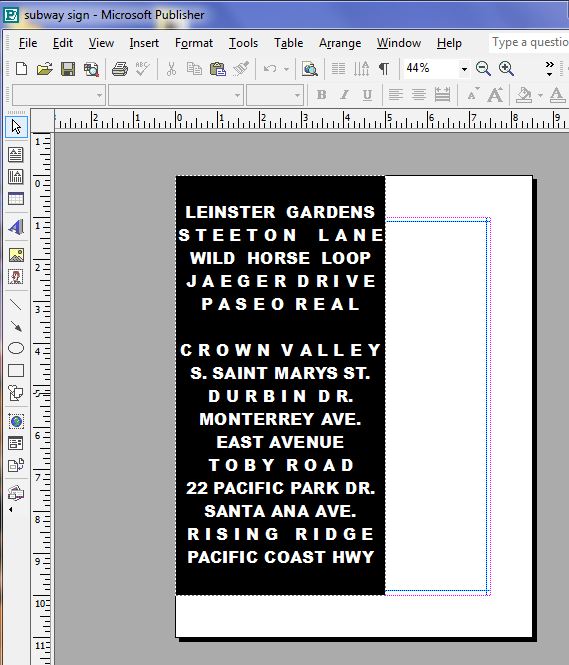
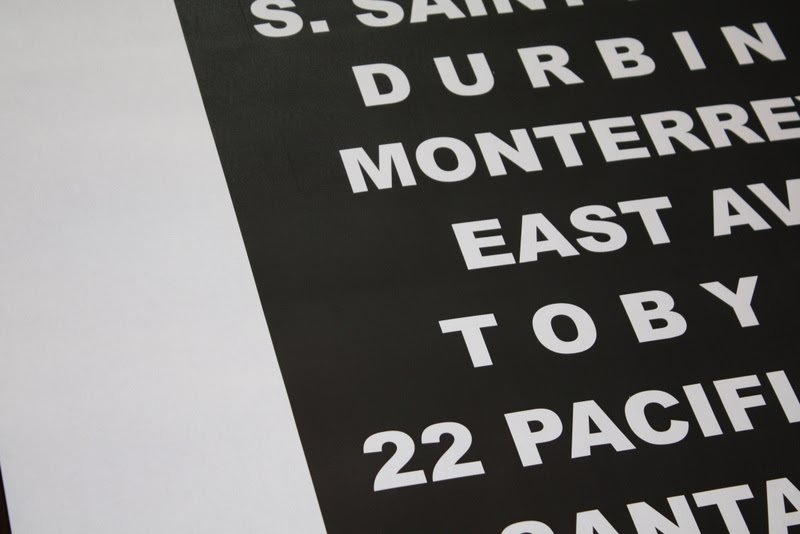
  I used Publisher to create my sign. One simple text box and you are ready to go. Just make sure you keep the same ratio with your canvas and text box. For example, my canvas is 24″ x 48″ so my text box is 5″ x 10″. My length was twice the width on both. Make sense? Once you have typed out the street names, change the text to white and fill the background with black. Here is a look
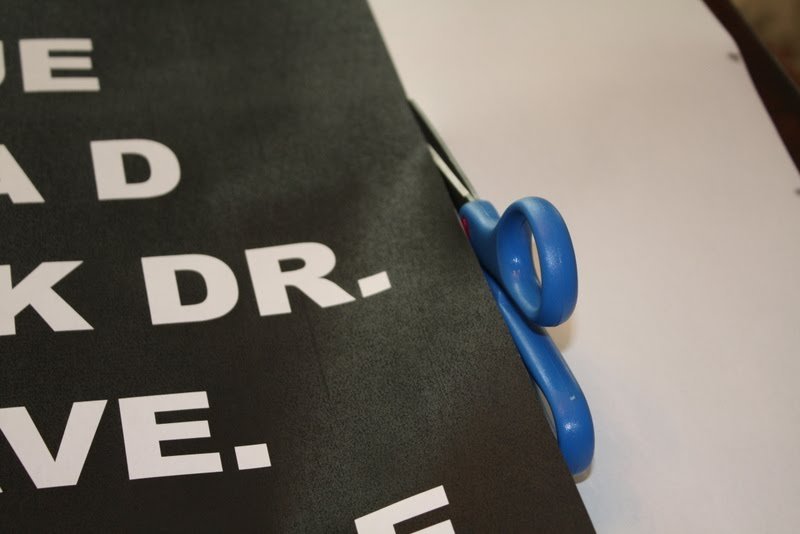
 I took mine to Staples to have it printed. The key is keeping it black and white. It is far cheaper to print. The poster cost me a whopping $4.00! Next step is to cut it out very carefully.
   Apply mod podge to the canvas and adhere paper to the canvas. Do not panic. It will look bubbly and wrinkled. Keep the faith.
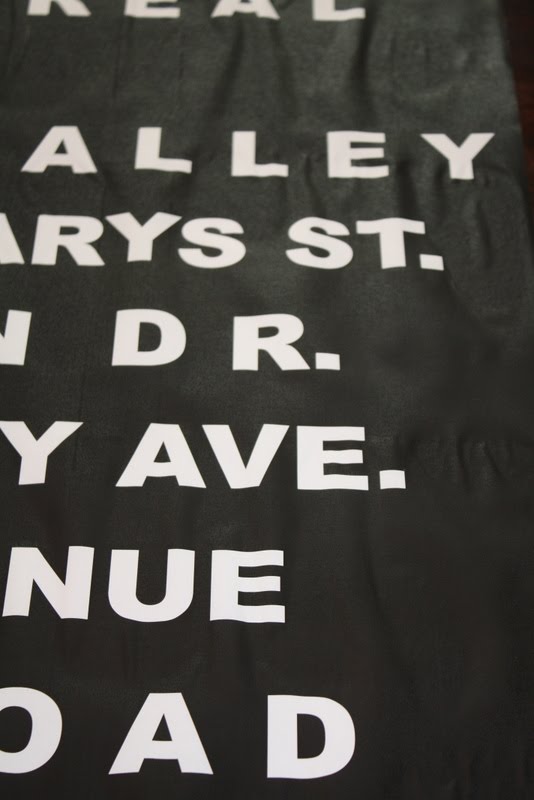 Let this layer dry (I waited 30 minutes). I know some people suggest smoothing it out. Not a bad idea. Then you are ready to put a layer of mod podge over the whole sign. This is where I was sure the project was toast. It looked HORRIBLE because of the wrinkles. Again, keep the faith. They will go away.
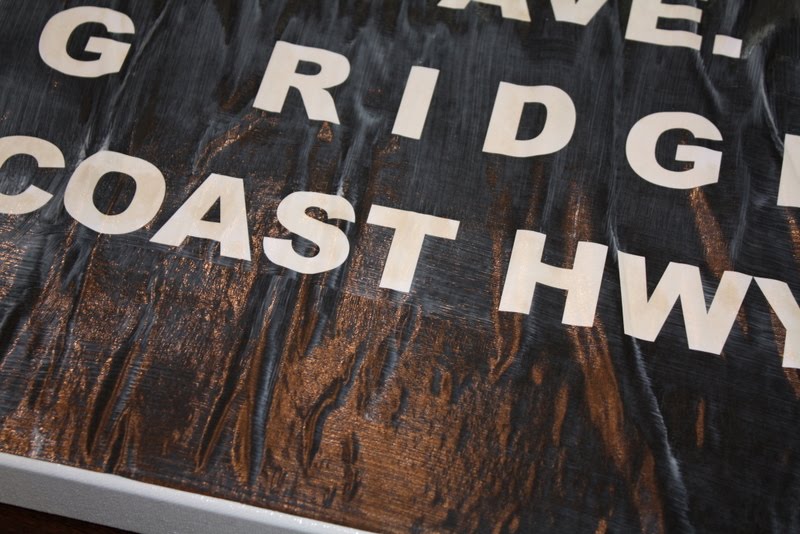 After it dried, I wasn’t thrilled with the stark contrast of the black and white. Trying to figure out what to do, I saw my leftover coffee sitting in the pot. Perfect. Using a rag {so that it absorbs into the rag and comes out as you squeeze} I applied it to all the letters.
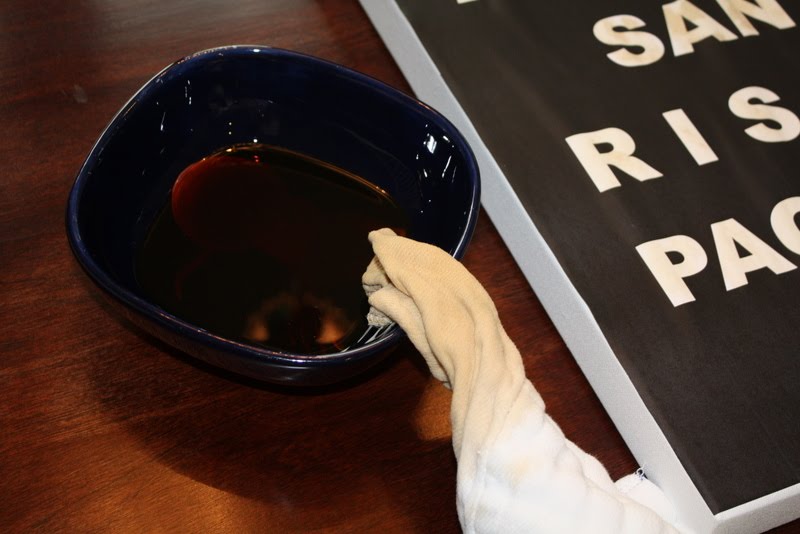 I wish you could see the creamy/aged looking letters better in the photos. They really turned out great. And that’s it! It took a couple of days for all of the wrinkles to settle. And any imperfections make it look a little more vintage! Good luck.
 Linking it Up:
Thursday: The Shabby Chic Cottage
Friday: The Shabby Nest
|
Court, that is just perfect! I love it.. and how you made it meaningful to you and Ryan is fabulous 🙂 You never cease to amaze me! I want to make one with all the cities Billy and I traveled BK (before kiddos).
This is fabulous! I like the price tag so much better than the restoration hardware one! It looks great! Thanks for the visit today!
I love this Court!! So great!! I wish I were as talented and crafty as you are! Love coming back to your blog!
This is a fantastic idea. What specifically did you tell the Staples people when printing. I am attempting to send my project to print online and I can't seem to select the correct paper size. Any help you give will be most appreciated. I can't wait to put this in my living room.
Hi Emily! Excited you are trying it! Send me a photo when you are done! I took my laptop into Staples {but you can just save it as a PDF file}, take in your memory stick and then I had them print it 24" x 48". Please let me know if you need more info! Good luck!
Ok… I think I just need to go there. Printing online isn't working out. I'm excited to find your blog. I love your house!
WOW!!! What a great take on the subway sign…and a super easy tutorial!!! Thanks for sharing!
You made it look so easy! Might have to try this myself. Thanks for the tutorial!!
This is truly an amazing piece of art!
I love art with "meaning"! You are a girl after my own heart! Beautiful job!
http://www.charmingcarolynn.blogspot.com
Great tutorial- I am inspired to try this one myself. Would make such a meaningful wedding gift!
http://www.homeismore.blogspot.com
I am doing this now!! Thanks for the great idea!!
I am trying to make a Subway Art sign like the one you made but am having a hard time. I dont have Publisher and Powerpoint is giving me problems. Any tips on other programs that may work??
Thanks
To the Burnett Family! So happy you are tackling this. Do you have a word program like mircosoft word or open office? As long as you type your words within the confines of the right dimensions {example: 4 inches by 8 inches} you should be just fine. Let me know if I can help in any other way!
good luck
I have attempted to make a simliar one for Valentines Day with sweet sentiments associated with the holiday. I did as you suggested with a couple of exceptions since I didn't see this blog until I was complete. Being new to modge podging, I researched it a little and one tip was to "wet" the paper prior to application. So I placed the modge podge on the canvas, sprayed the paper and then put it on the canvas. It did just as you detailed with yours… it wrinkled. I put another layer on it this morning but it's still wrinkley. My question to you is… do I wait it out? or do I sand it out and try again without spraying the paper? I also read another tip was to spray with an adhesive? Help! Thanks…
wow what a great project. i think it looks great. Love that you used places that meant something to you.
Thanks for sharing
Caroline
I am going to try to make this myself! What font and size did you use?
Thank you, thank you, thank you!!!! I have been wanting to do this and trying to figure out how to actually carry it out! I thought about stenciling or cutting out letters from contact paper, painting the whole thing black and then peeling the letters. I like your way better!
Hey, I was just wondering what font you use?
Thanks for your awesome tutorial!
Can't wait for mine to be done!
How did you change the white background to black? We have looked everywhere in Publisher and not getting any luck.