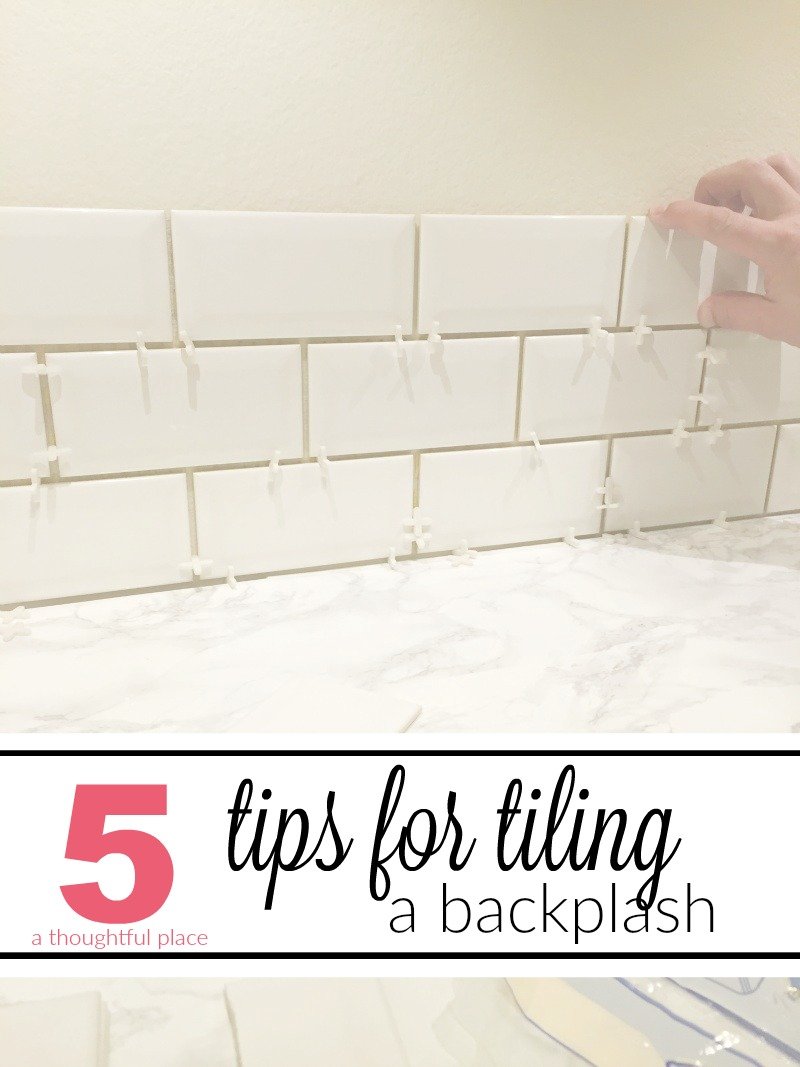
Thank you all so much for such kind comments about our new butler’s pantry. I think my husband was feeling the love. Which means he will be motivated to do more projects. Ha. So thank you! Today I wanted to share 5 tips for tiling a backsplash. Our first experience tiling was in the children’s bathroom. This time around my husband used a magic weapon that made it a piece of cake. Here are our best tips for tiling a small space.
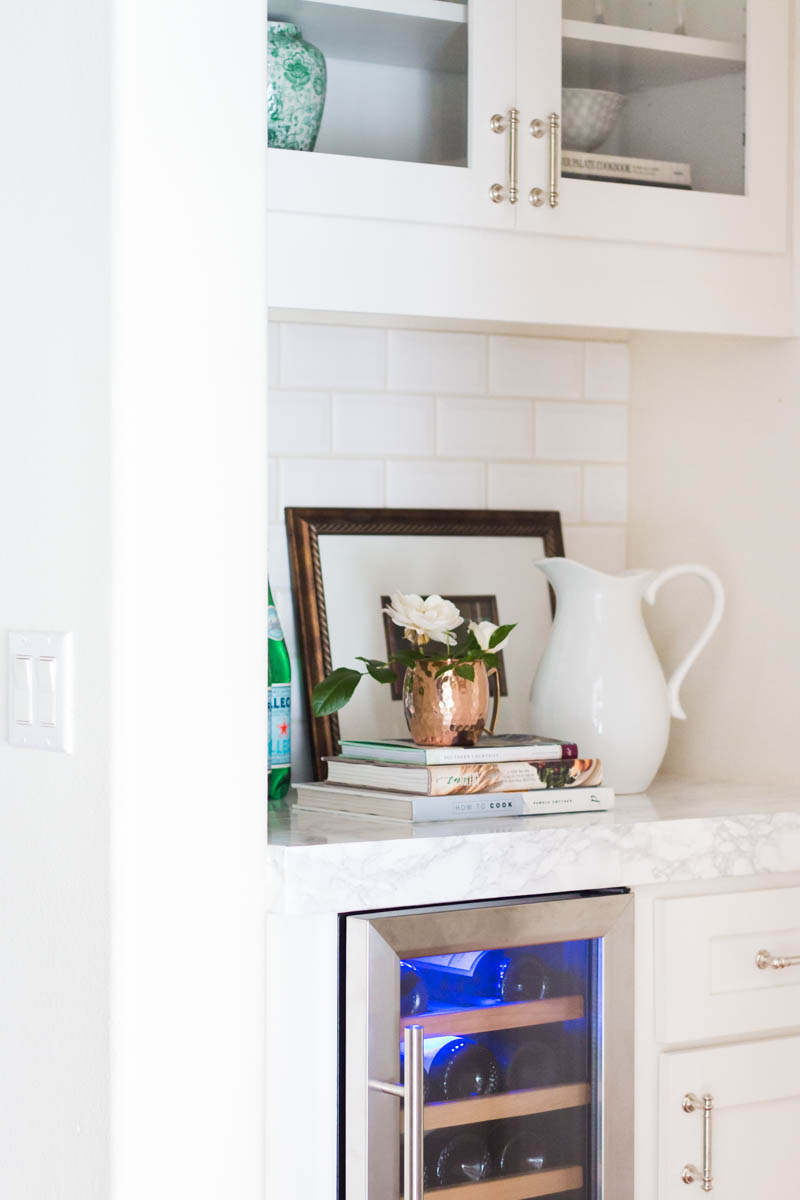
Here is a reminder of how the space turned out and what the backsplash looks like. We were fortunate in that we hung onto the extra tile that was used in the kitchen.
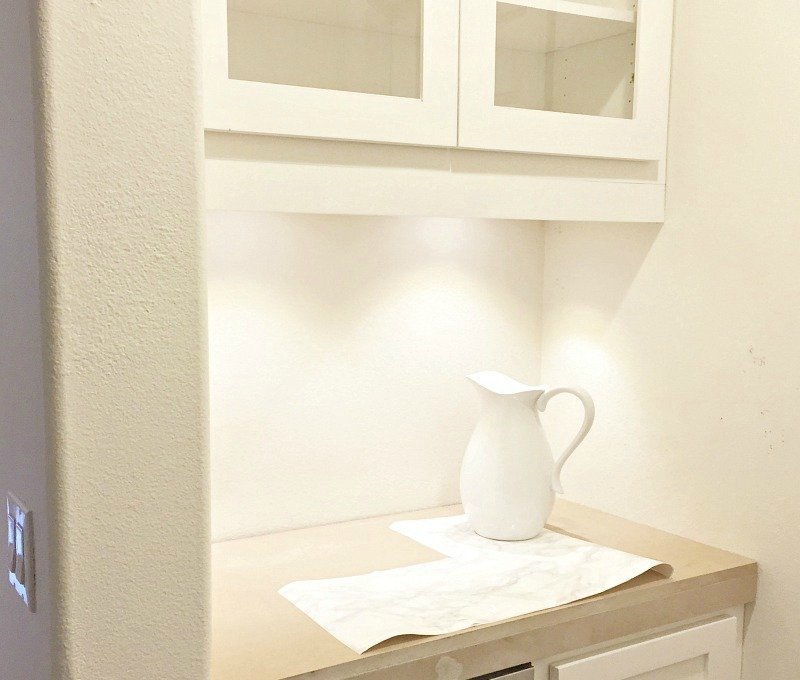
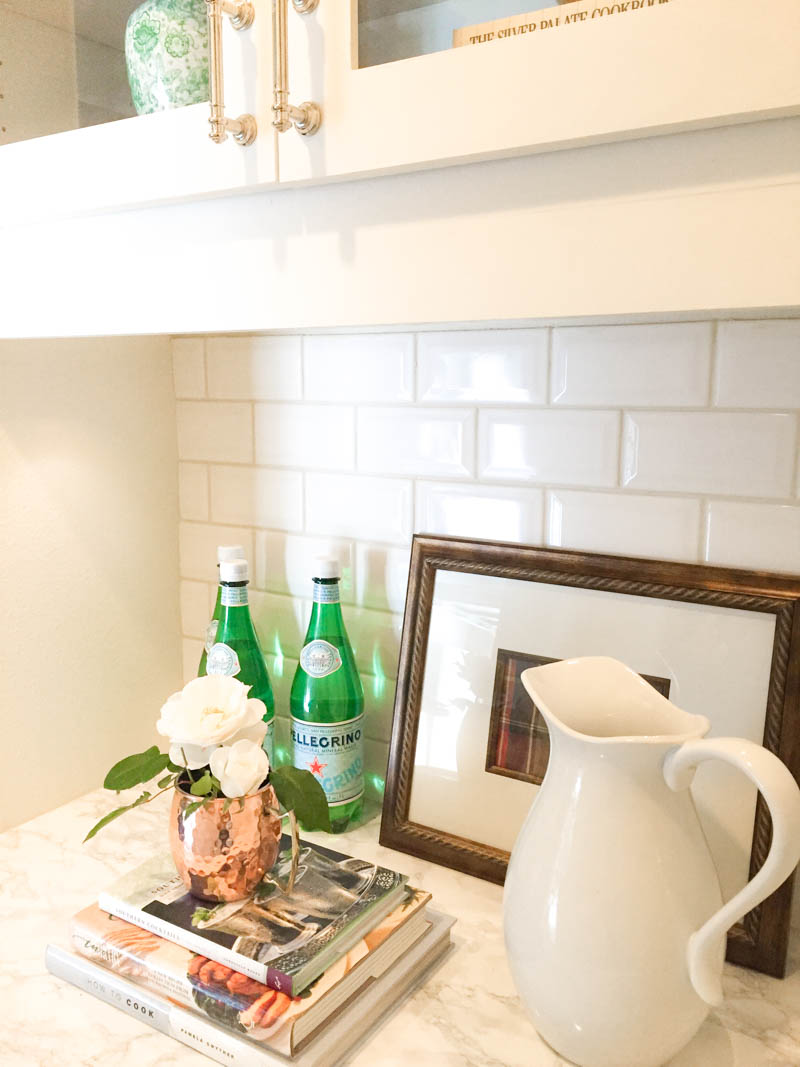
And here is how it looked right after we installed the cabinets. This was before we covered the countertop, too. You can see how much dimension and interest the tile adds.
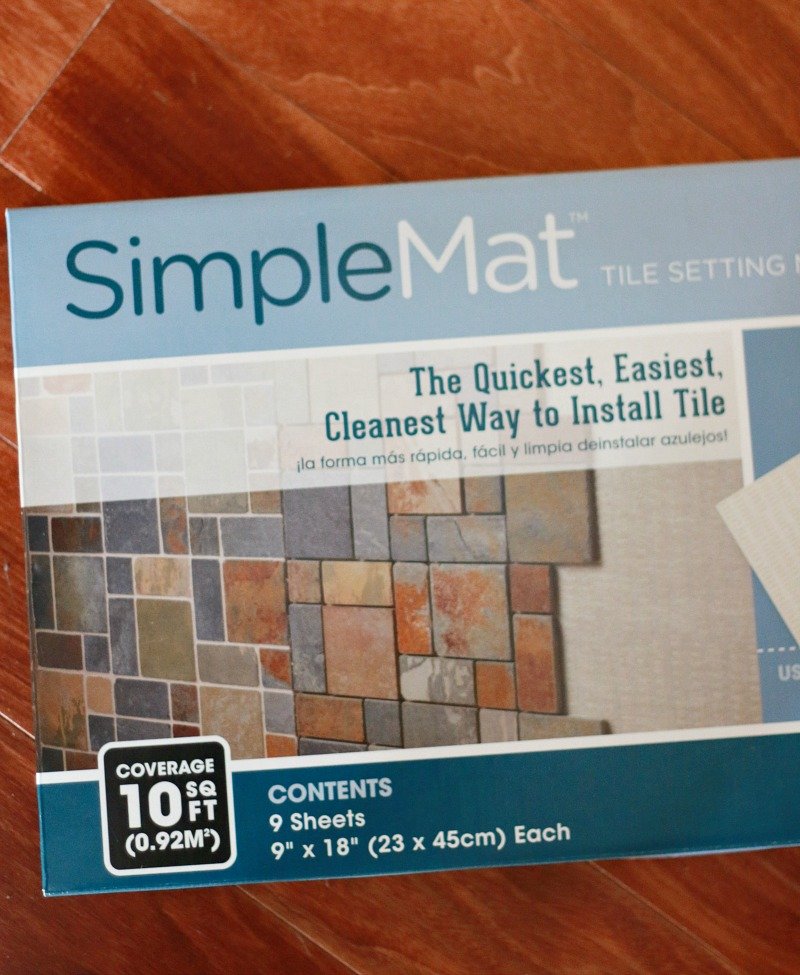
ONE: USE A SIMPLE MAT
This was life changing. Holy cow. We wish we had used this when tiling the children’s bathroom. I highly recommend this is you have a relatively small space to tile and you are new to the whole tiling gig. These are essentially sticky sheets that adhere to the wall. The tiles are then placed directly on top. Bam. So easy. It’s not inexpensive BUT it saves a ton of time and frustration. A box is about $20. This is such a small spot that we only used about 2/3 of it. This seriously makes tiling SO MUCH EASIER.
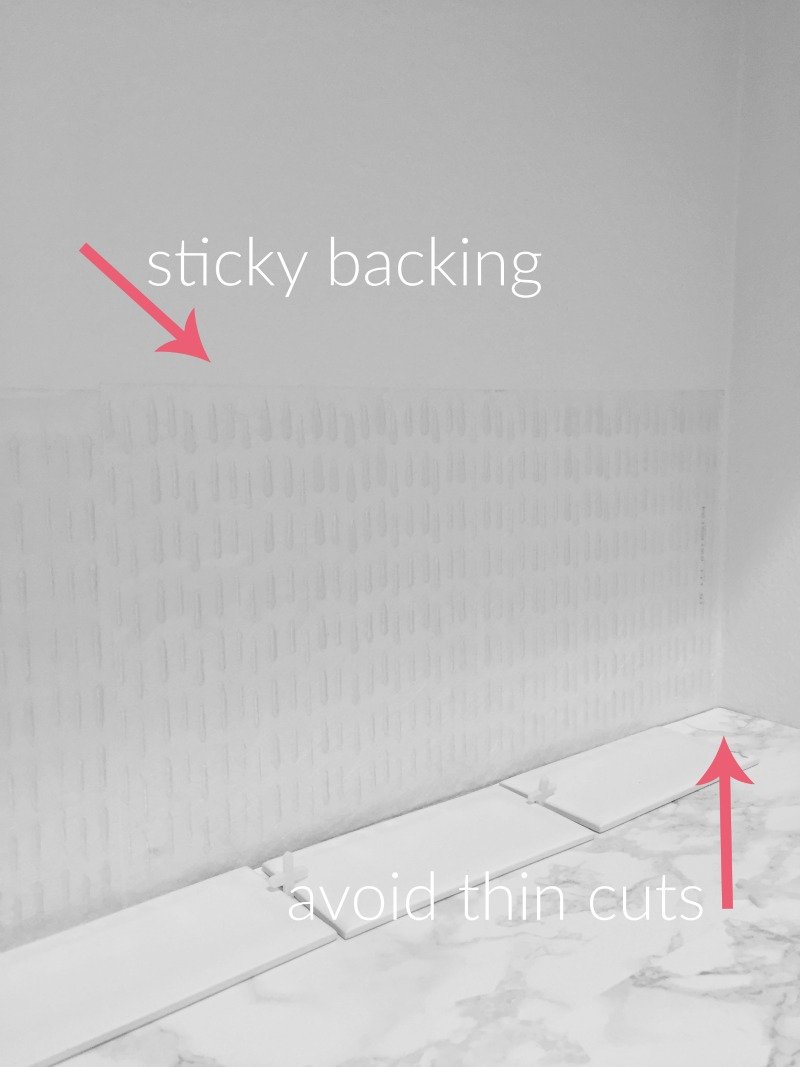
TWO: PLAN OUT TWO ROWS
If you are tiling wall-to-wall then you need to plan our your first two rows (if you are doing a brick pattern). Everything else is just a repetition of those two rows. We were crazy lucky and one row was a perfect fit and the end tiles did not need to be cut. For the next row, we made sure that we were not left with really thin pieces of tile on each end. When you have very thin cuts and you are using a normal tile cutter (seen below) you risk breaking the tiles. We were able to position everything so that our end pieces were still a couple of inches long. If it turns out you have thin cuts, you may want to rethink your first row. Even adding cuts to it to avoid thin ones in the second row. A bit confusing, I realize. But once you jump in and try this you’ll understand what I am referring to.
THREE: USE A TILE CUTTER (Avoid Thin Cuts)
There is no need for a fancy (and much harder to use) wet saw if you are using small tiles like these. My husband didn’t break a single one and they cut really well. As mentioned above, you never want to cut a very thin piece. That is when you risk breakage. We did use a wet saw when cutting the larger tiles for the children’s bathroom floor.

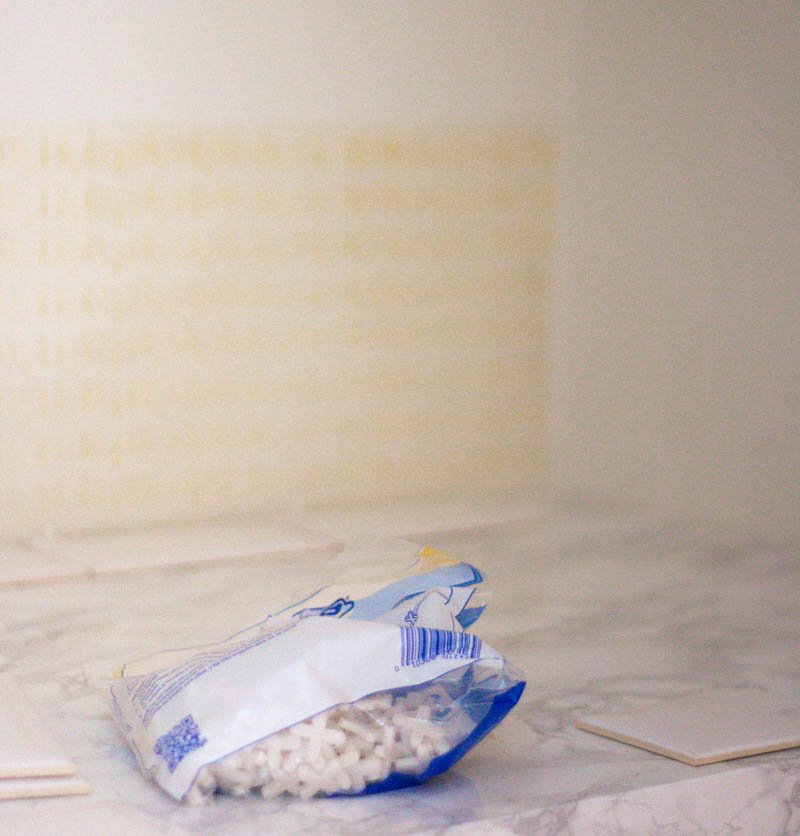
FOUR: USE TILE SPACERS
Even though we used sticky backing, the tile spacers are fantastic. They come in a plastic bag and keep you on point with the tiles being evenly spaced apart.
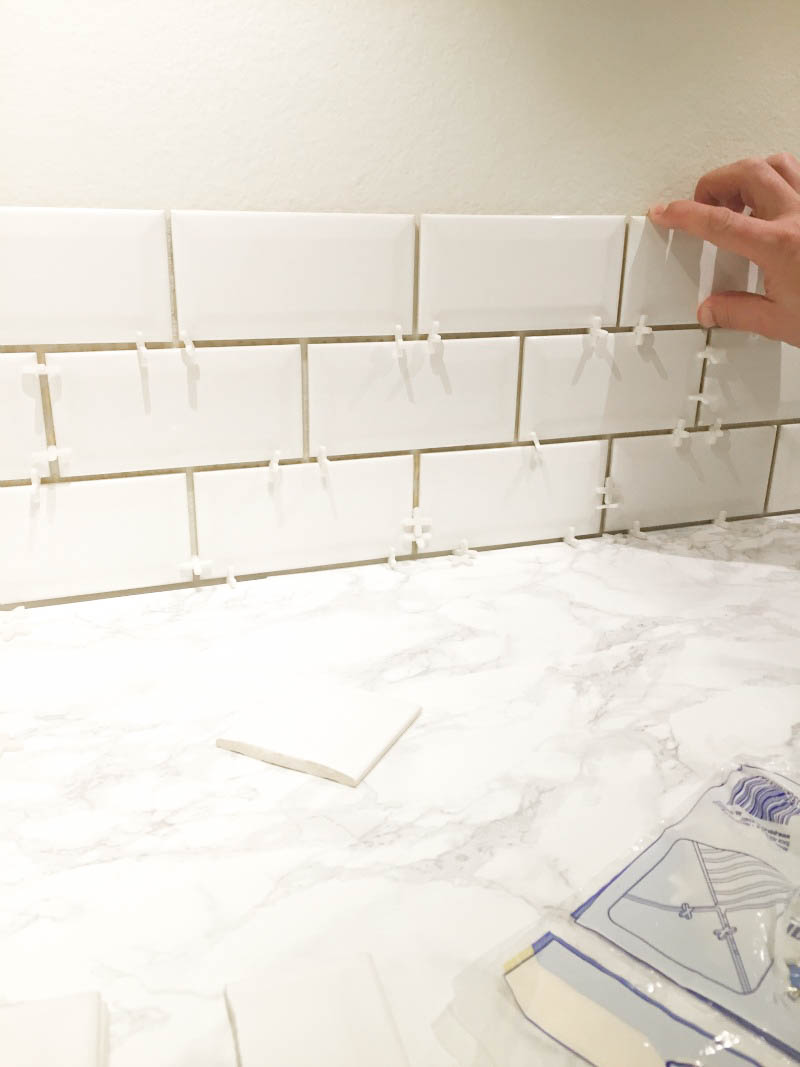
This is not difficult, just a bit time-consuming to place the spacers as you go. But well worth it. After this row was set we added more of the simple mat to the wall above.
FIVE: USE PRE-MIXED GROUT
Praise the people who pre-mix grout and stick it in a nice container. It’s awesome! We had some major difficulty mixing grout in our children’s bathroom. We had to do it twice. Once for the flooring and once for the marble tile wall. No thank you. This stuff is great. Especially if you are not doing a very large area. It goes on easily and then you wipe it off after a certain amount of time (directions are very clear). That’s not to say this process isn’t a bit messy so be aware but far easier when the grout is coming straight from a plastic tub.
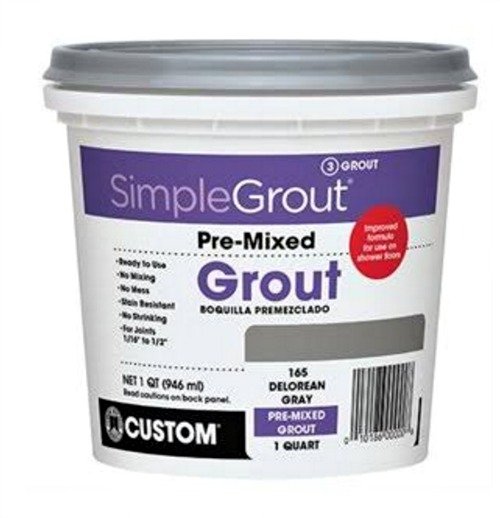
We used “alabaster” in our butler’s pantry. It most closely matched our tile grout in our kitchen.
And that’s that! If you are contemplating adding a backsplash anytime soon, these tips made the process so much easier. Even if you are new to DIY I think this is something you can tackle. And if you do, please let me know!

To see the full reveal of this space click here. I will put together a DIY on this space next week. Thanks again for all of your kind words and support.
Hope you’re off to a great week. I had a sick little one so I am hoping it does not get passed around to the rest of us. Fingers crossed! Enjoy your day.
You guys made this look so easy, I’m definitely pinning for future reference!
It’s still a project, don’t get me wrong, but all of these products make it SOOOOO much easier. I think people are intimidated by tiling and it’s much more approachable than you would realize. Thanks for the comment. Have a great day!
love the tips–one note–i’m not sure if pre-mixed grout is appropriate for wet/humid conditions (ie, a bathroom). that said, i used it for our kitchen backsplash and it was great. and one tip: for a small space especially, and if your tiles are small, plan out where you hang your upper cabinets or shelves or whatever so that you don’t have any horizontal cuts for the row immediately below the cabinetry.
Oh that’s a wonderful tip. And great to know about the grout. Especially if people are considering a bathroom. Thank you! Completely agree on the cabinets and tiling. We definitely planned that out as well (plus making sure the cabinets go to the ceiling with the crown).
Wow! What a beautiful job! I love that you and your husband created this 🙂
Thank you so much, Cynthia! So sweet. It’s been fun working on these projects together. He blew me away with this one. xo
I hope your little one is feeling better Courtney. Great post on tiling! Although I have never attempted it myself you inspire me to give a go and I just may do it. Can you believe we are still doing our guest bath? Crazy! We put in on hold when I was sick last year. Master bath got 99% finished but guest bath…well, back to it now. Yes to the pre mixed grout!!
Thanks, Allison. She was back at school today but still feeling a bit down. Poor thing. I still want to see photos of your master! Bathrooms can take so long. We speak from experience. LOL!
Thanks for these tips! We plan to tile our kitchen in the near future and will keep these tips handy 🙂
Oh wow. I just learned something new today! LOL …..never knew they had sticky backing until reading this. I am pinning to my DIY board for future reference! Thanks for the tips.
Wow I’ll definitely be trying the simple mats when I do my kitchen backsplash. No more messy glue!