Nothing like a quick and easy DIY project. Our basement bathroom is a great size but we find it always draped in towels (from our hot tub) which isn’t working for us. I’ve known for quite some time that a wall of hooks would solve our problem, but haven’t gotten around to it. So the other day we finally jumped in to this project. If you like to do things yourself, this shiplap paneling was very easy to install. In fact, all said and done it only took a couple of hours.
NEEDING TOWEL STORAGE
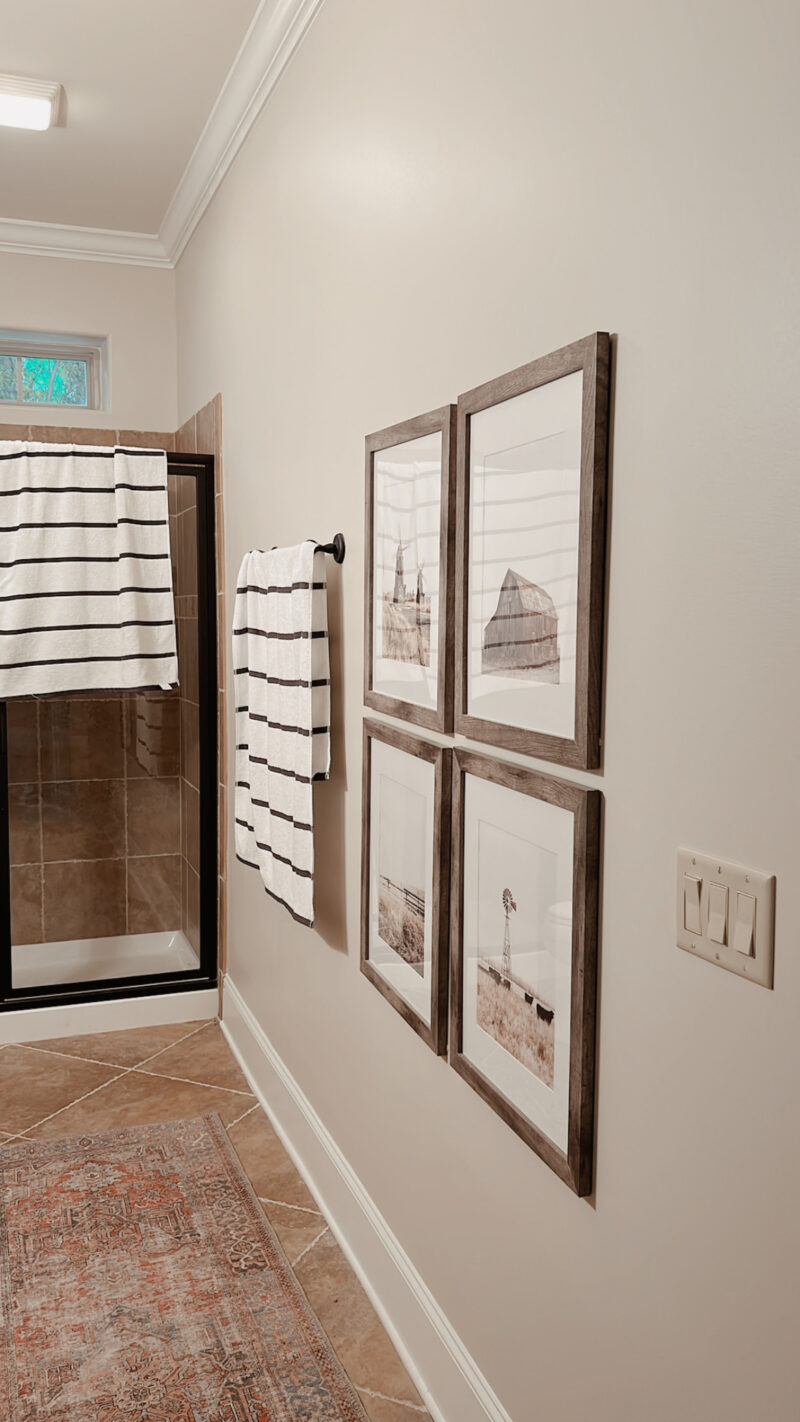
While this basement bathroom isn’t exactly our style when it comes to finishes, it’s in perfect condition. So far we have just made a few cosmetic changes. One of the greatest additions to our backyard has been the hot tub (if you are on the fence, do it). But after we get out, the towels all end up here draped over the shower. The one towel bar isn’t cutting it. I have been wanting a long peg wall forever so I’m excited to finally have this project in motion. It’s just a classic look and offers so much convenience.
Our runner (love the colors) is over 70% off. The artwork were prints from Etsy (fantastic, clear quality). I like our striped towels so much, I am buying another set.
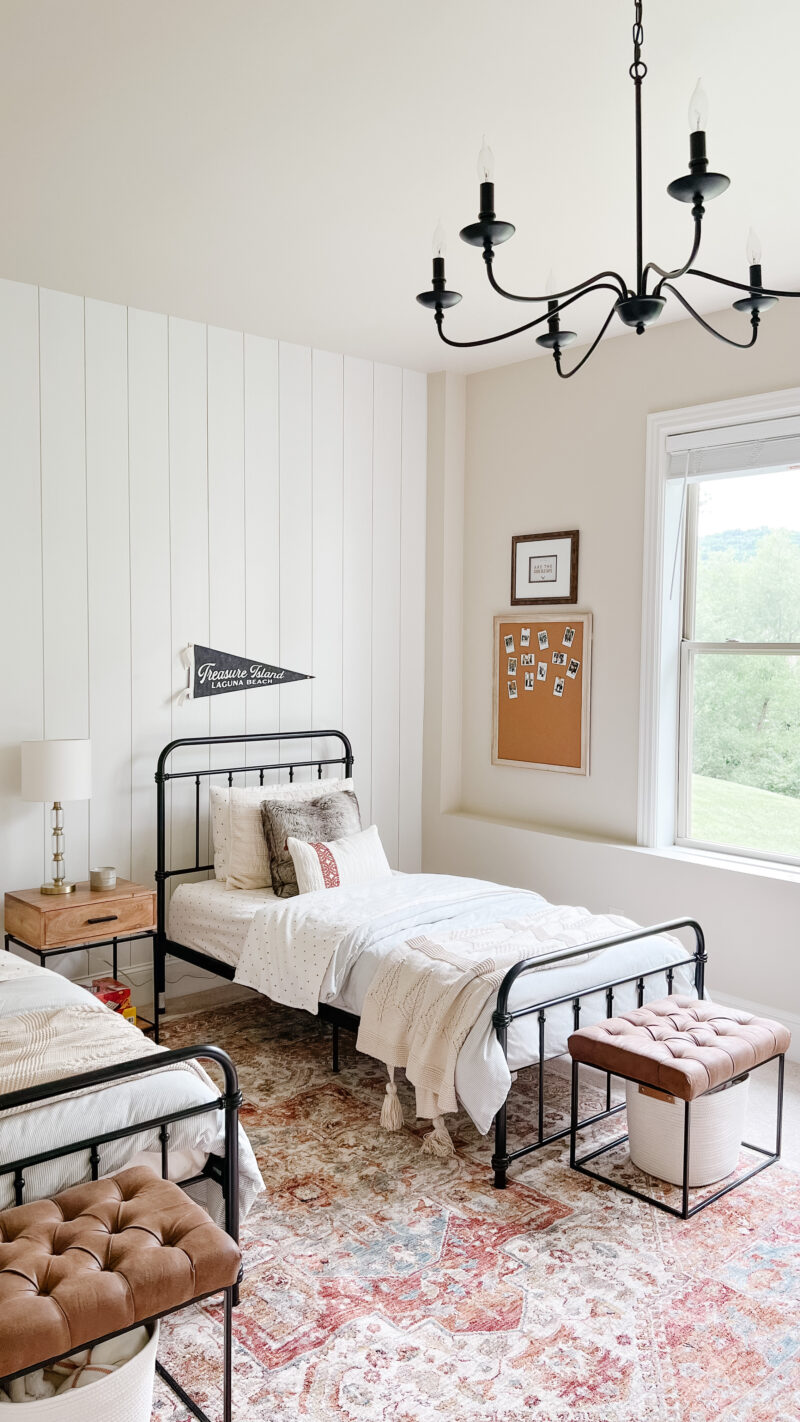
We considered traditional bead board but because this adjacent guest space has vertical shiplap, I wanted to marry the spaces. Installing traditional boards like this would have required removing the baseboards and it would stick out beyond the shower tile.
LIGHTEN THE LOAD
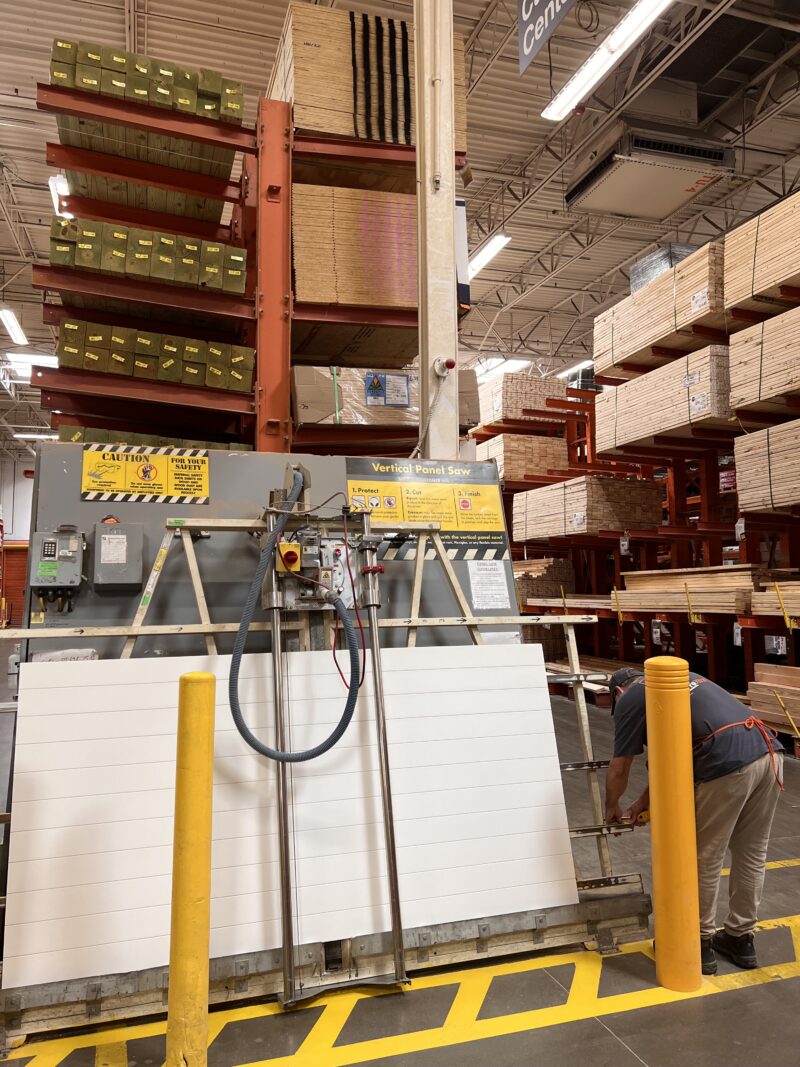
When I found this shiplap paneling, I knew it was ideal for this. While I think it’s designed to be horizontal, it can of course be installed vertically (perfect for the height we needed).
The panels are 4′ x 8′ and we had them cut down to 5′. If you can have cuts made in store by all means do it. It saves so much time and energy.
SHORT ON CAR SPACE?
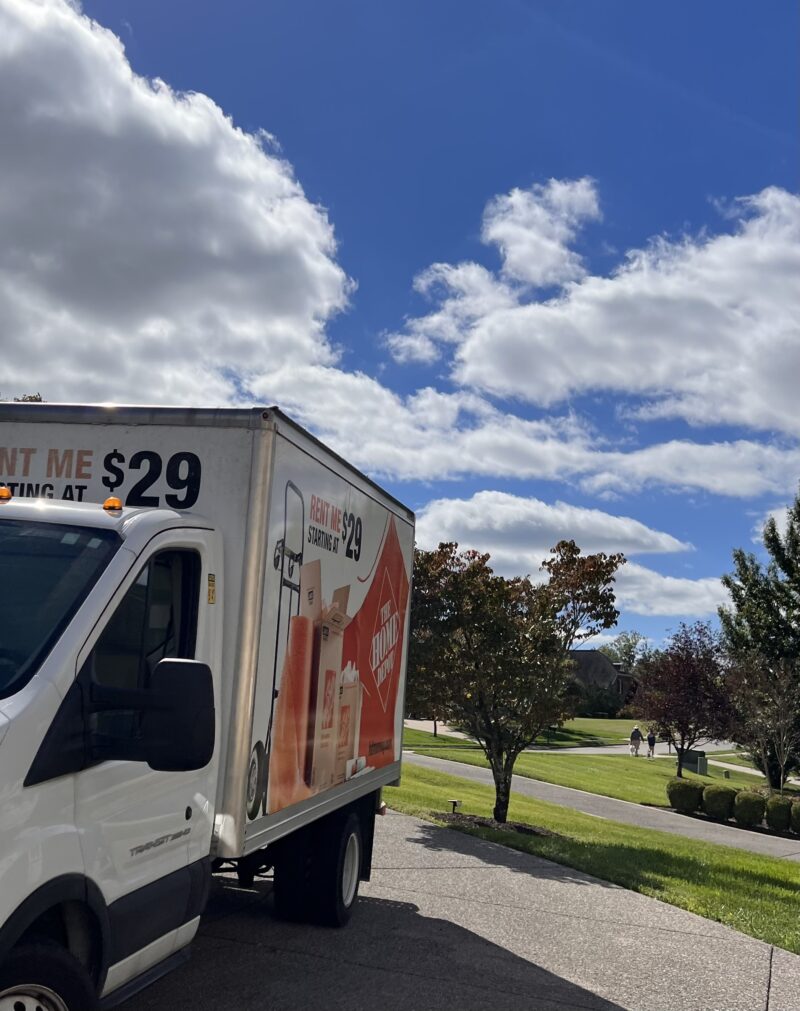
If you are like us, and the panels don’t fit in your car, you can rent a giant box truck for $29! It really is convenient and a small price to pay to be able to move large items.
PROGRESS IN NO TIME
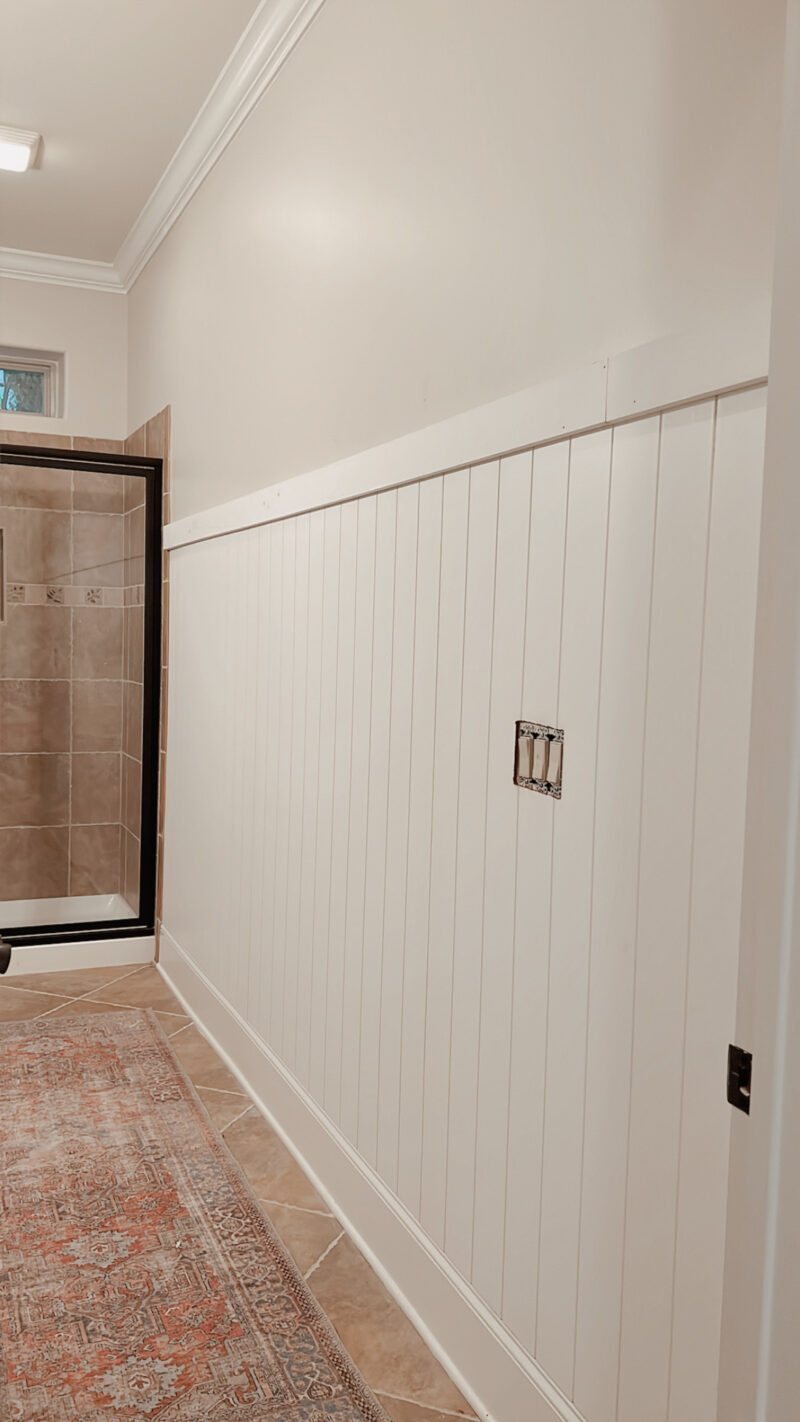
Because the paneling is so thin, it looks perfect with the baseboard. You want to use a level to be sure the first panel you install is perfectly lined up. After that, it really is so easy to nail these panels to the wall. We use a 3′ board to cover the top of the panels. There is a seam that we will patch. Unfortunately we had them cut the board to fit in our car before we knew we needed to rent a truck. So if you can avoid a cut, that is ideal.
The length of the wall we paneled is just shy of 12′ so we used three panels of shiplap. The cost was just over $100 which I think is fantastic.
OVERALL THOUGHTS ON THE PANELING?
Love it. I would still opt to use separate boards for a more formal space, but in a spot like this where you don’t want to remove baseboards, this paneling is ideal. It has been so easy to install and looks great. It’s also a lot of bang for your buck.
WHERE HAS THIS BEEN?
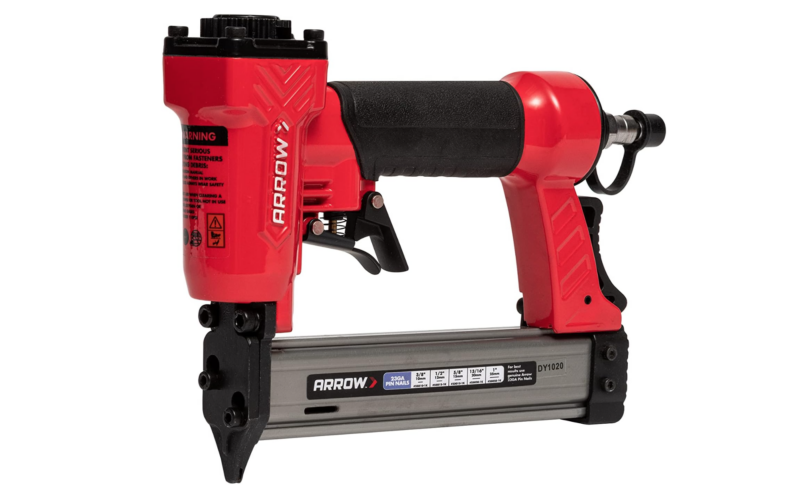
This is the real hero of the project. Why did it take us so long to buy a pin nail gun. We’ve had a nail gun for years and years but this uses tiny pin nails so you barely even see the hole. Genius and ideal for this type of project. We will be using this from now on for any trim we add. It does require an air compressor so be sure you have one of those.
UP NEXT
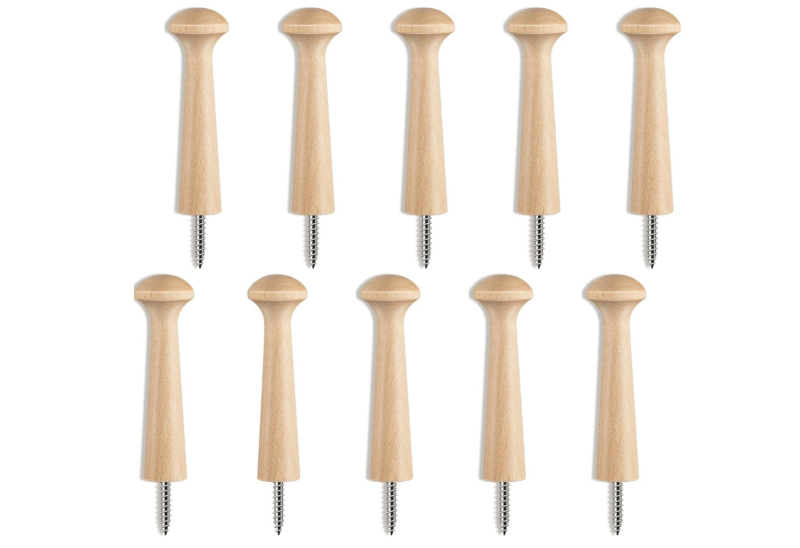
Home Depot was out of shaker pegs so I ordered these from Amazon. We will pre drill and then screw each one in. I will paint them once they are installed with very thin coats. I also plant to add a finish to make them more water resistant. I’ll be painting the panels this week with a foam roller. We will paint it all Alabaster by Sherwin Williams in a semi gloss paint.
I considered a darker color but we plan to overhaul our basement space soon so I am waiting to see how that turns out. For now, white works best.
Hoping to wrap up this project over the weekend and will be back with an update. We’ve stuck to cosmetic changes in two bathrooms so far and gutted one. You can check them out below. Thank you for stopping in.
Wow! It looks fantastic, even unfinished. I love an easy DIY that adds functionality and beauty! It’s a win-win-win. I am saving this in my mental inspiration folder for the future. Thanks for sharing!