Hi friends. How is your week shaping up? I am missing my daughter so much so things just feel a bit “off” around here. She comes back tomorrow and I am counting down the hours. As a blogger, I am constantly taking pictures. Most of them are taken with what I call my “good camera” but I also rely on my phone daily. Readers are often asking for tips so I thought I would share five ways to snap a better photo. There are extra tips hidden throughout the post so be sure to look for those.
ONE: OVER THE TOP
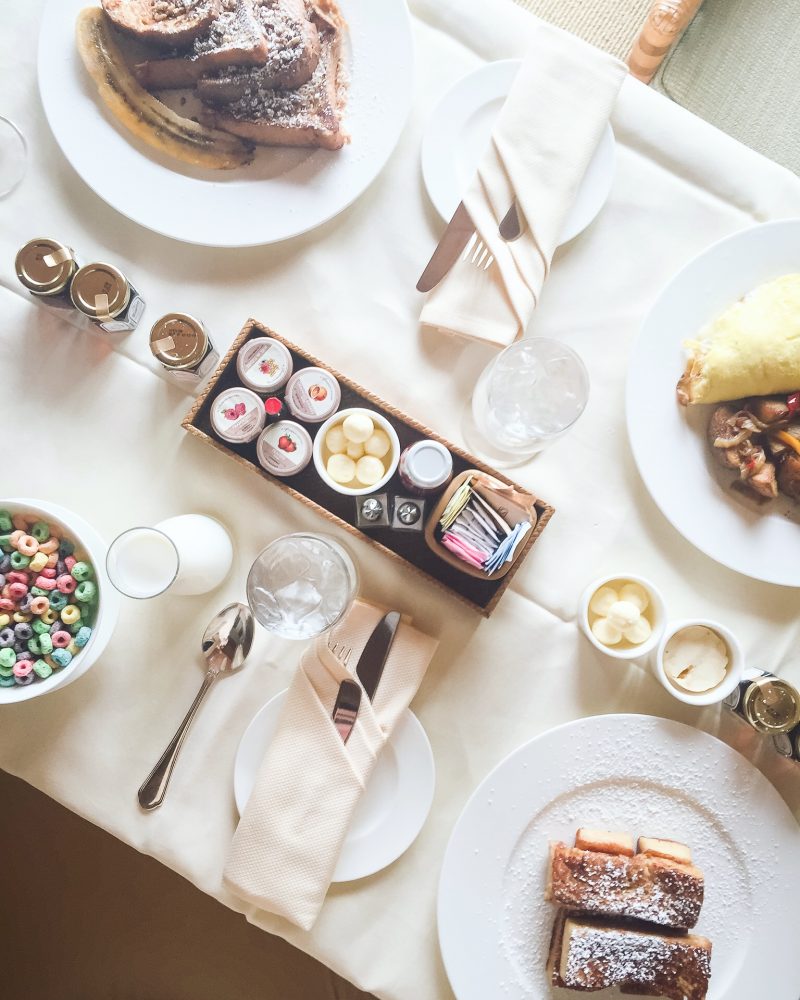
Changing the perspective can do wonders for a photo. Had I taken this shot standing normally and shooting it with more of the hotel room in the background the shot would have looked extremely busy and very uninteresting. Your eye would not have know what to focus on. Standing on a chair and holding the camera over the table takes the same amount of time but results in a much different look. You also don’t need to capture EVERYTHING in the photo. You’ll see some of the dishes and meals are cut off and that also adds more interest to the snap.
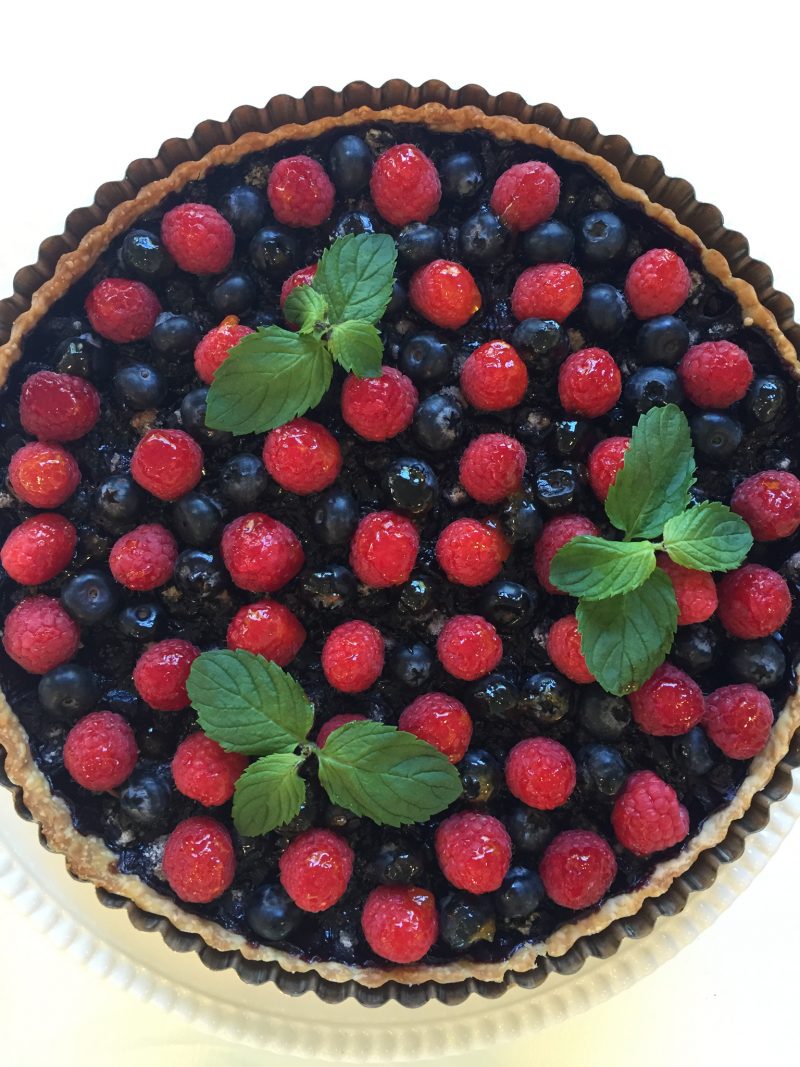
Another example is this photo taken of my sister’s dessert on Easter. No editing necessary and I only snapped one. But because it was overhead and on a white table it really popped. Far different had I taken one from the normal slanted angle. Give it a try soon. It also works really well with flower arrangements.
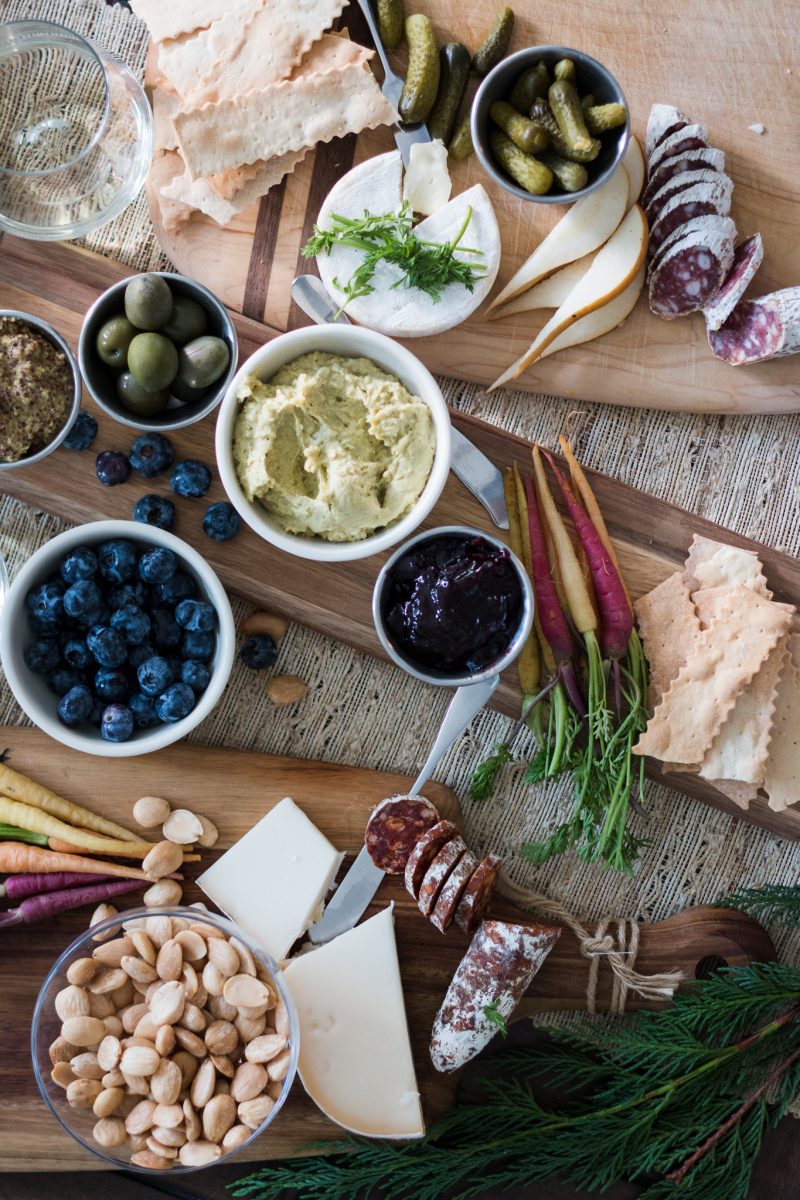
You can also see how this would have been so different had a held the camera at table level. I could quickly capture everything in one shot and give you a feel for what guests are seeing.
TWO: ADD SOME LIFE
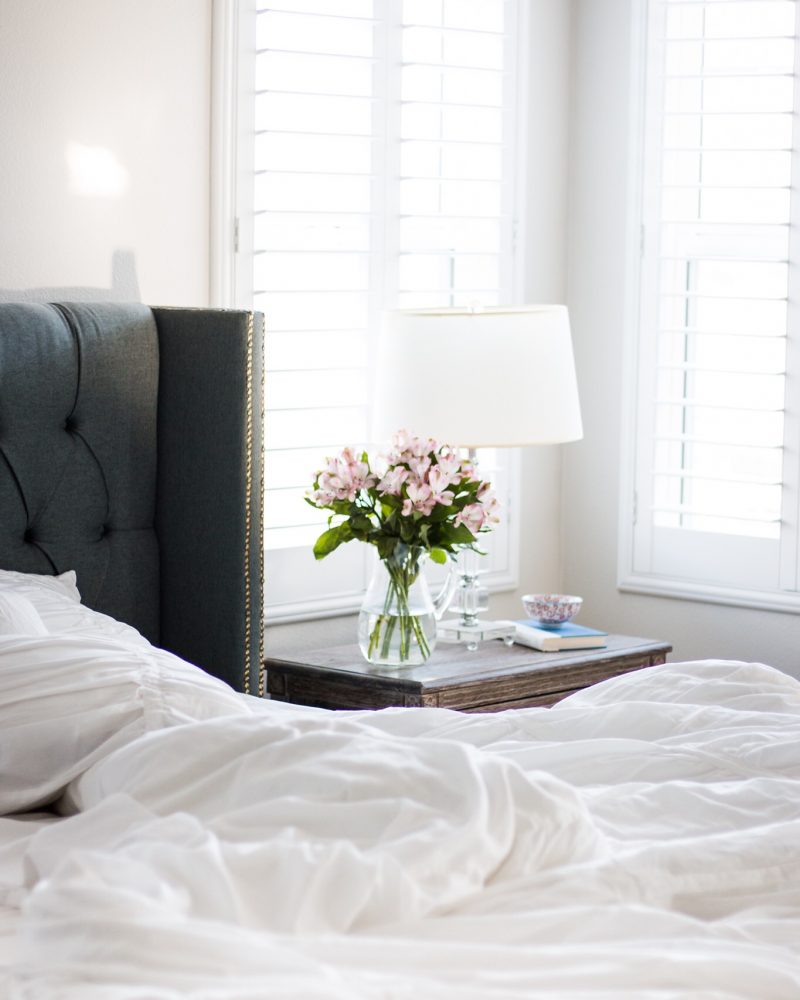
Keep things as natural as you can. That means you need to add life to your photos. Whether it’s people, animals, flowers, etc. Adding natural elements keeps a photo feeling lived in. A messy bed, shoes on the floor, toys left out on the rug. You name it.
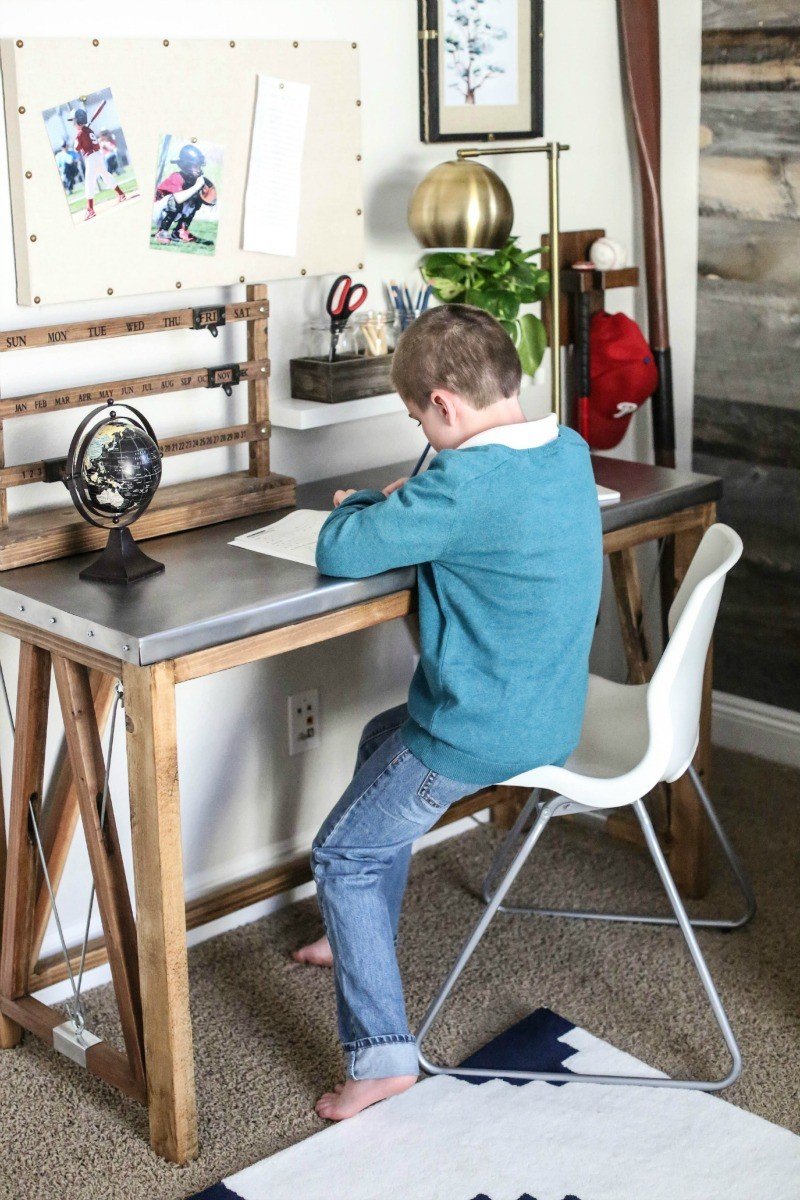
When I shared the reveal of our son’s room from the One Room Challenge, including him in some shots made the room more personal. It allows you to feel more connected to the space.
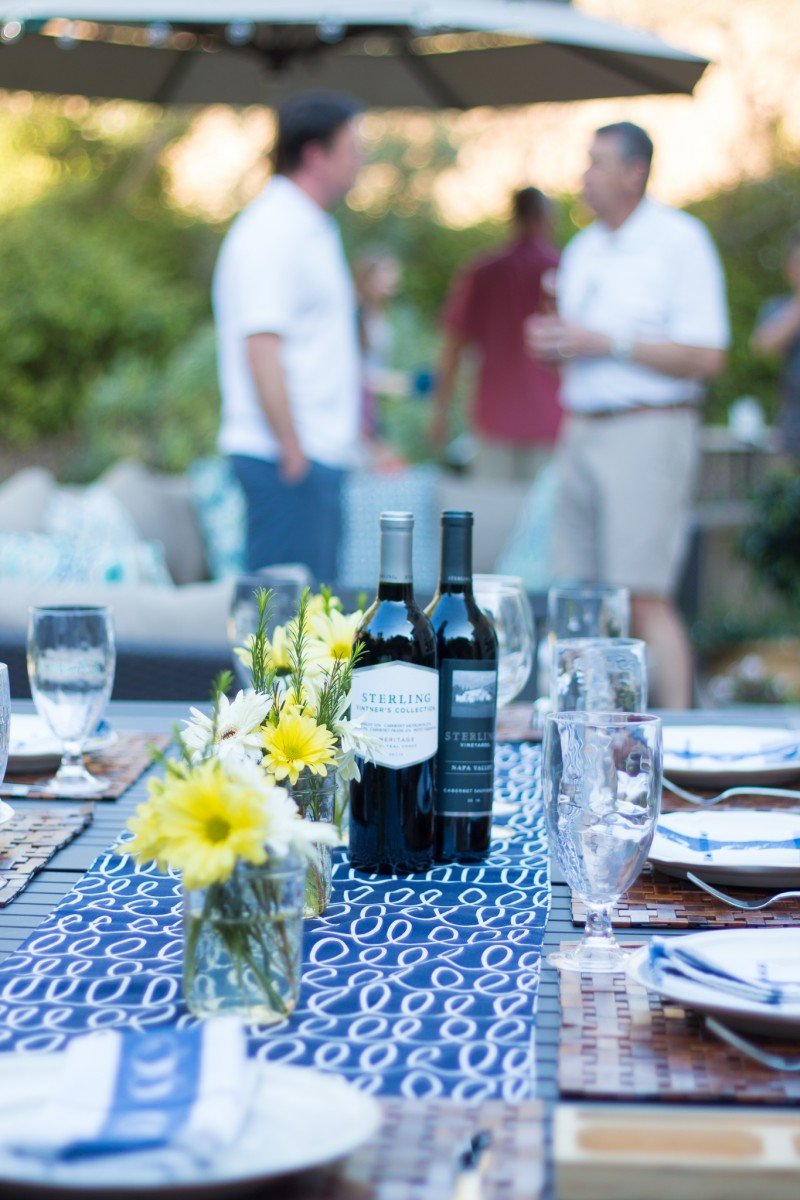
In this shot, rather than just showing the table, I snapped when my family was milling around outside. It tells a better story. You know there is a gathering going on. You start to wonder what they are talking about. It just helps create more of the whole picture. Shared a yummy marinade recipe in this post if you are interested.
THREE: KEEP SUBJECTS MOVING

If you are anything like me, you take a million snapshots on your phone when you’re with your family. My favorite photos are the candid ones. But by candid I don’t necessarily mean the subject doesn’t know you are shooting, I just mean they don’t care! LOL Let kids be kids. If they are running through the waves that is when you start snapping. This is much better than having them standing and posing. Listen, I am all about a posed family photo at times. We do them with the tripods on holidays every year.
But the outdoor photos are more exciting when there is some action in them. Even if you’re trying to get a shot of your child before a special school event or something similar, try having them walk toward you or away from you. If you keep them moving and keep snapping, you’re sure to find one you really like. And far more natural.
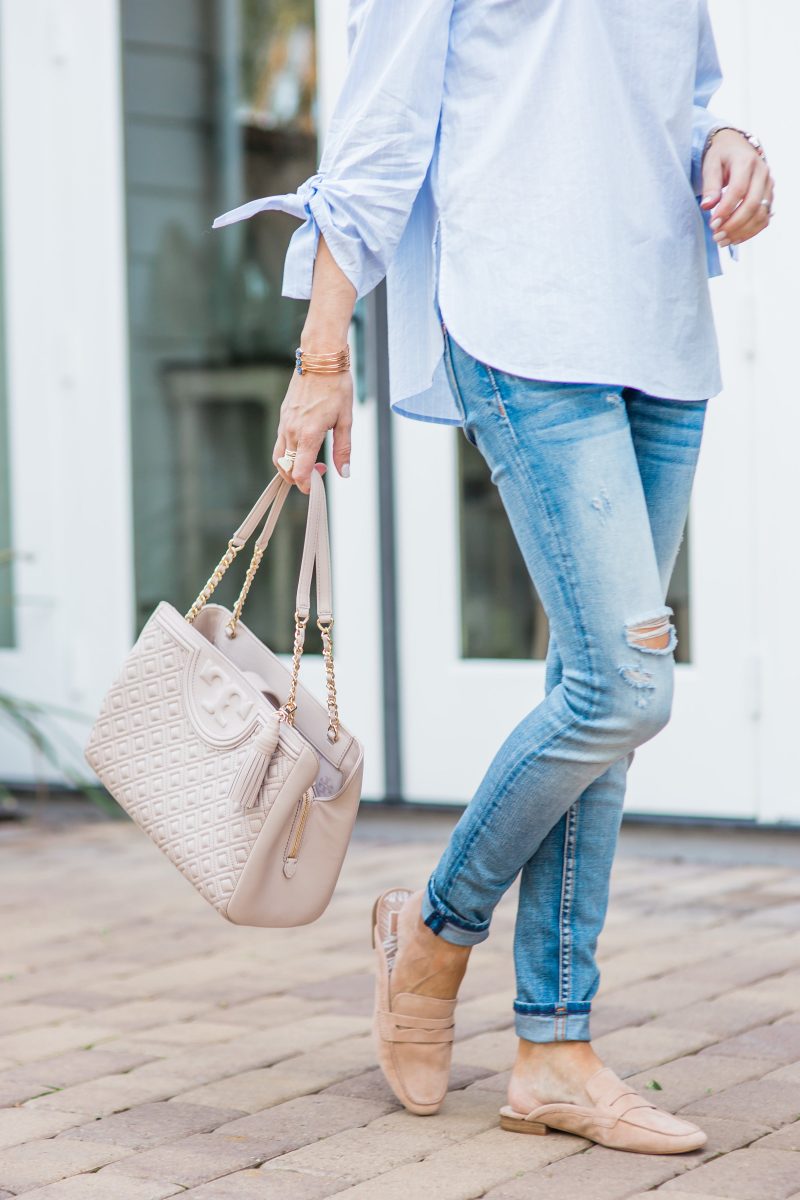
shoes | jeans | top (sale) | handbag
Even in these obviously posed fashion shots I am still constantly moving around. Being on the move allows you to catch a more natural shot. Same with children and family shots. Keep everyone moving next time.
FOUR: SHOOT STRAIGHT ON
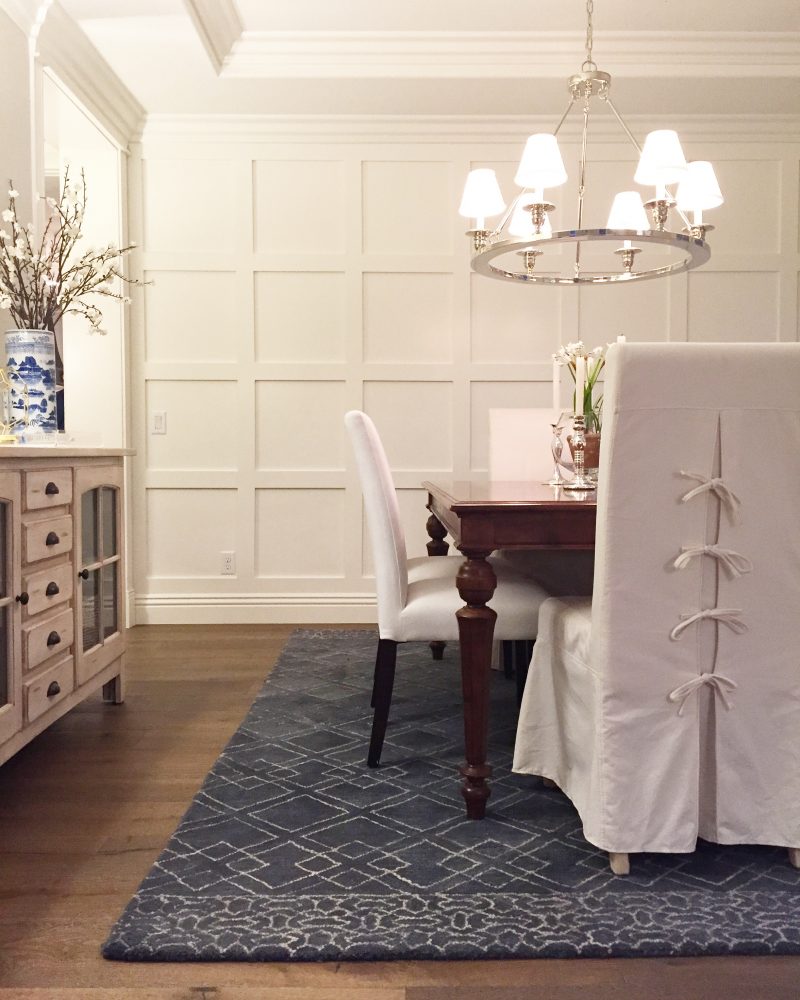
Composition of a shot is key. First and foremost, turn on your photo grid on your iPhone.
How to turn on your photo grid: On your iPhone, go into settings. Find photo and camera. You’ll see an option for “grid” under camera. Turn that on.
It will give you those lines that allow you to make sure you can line everything up. Shooting straight on and making sure the photo is straight will help you by leaps and bounds. You can also keep an eye on the rule of thirds. If you think of a photo divided into three vertical sections, it’s nice to have each section a bit different. Here you have the credenza and wall in one-third, a side of the chair and table leg in another and lastly the back of the chair in the final third. It takes a bit to train your eye this way but it creates a photo that is more pleasing to look at.
DROP IT LOW
Another tip is to drop it low! Get down low. I almost always squat down when I take a photo like this. It’s hard to tell, but if I were standing, I would have eliminated the whole bottom part of this photo. Seeing the rug and how it meets the floor plus the chair legs gives this more of an interesting angle.
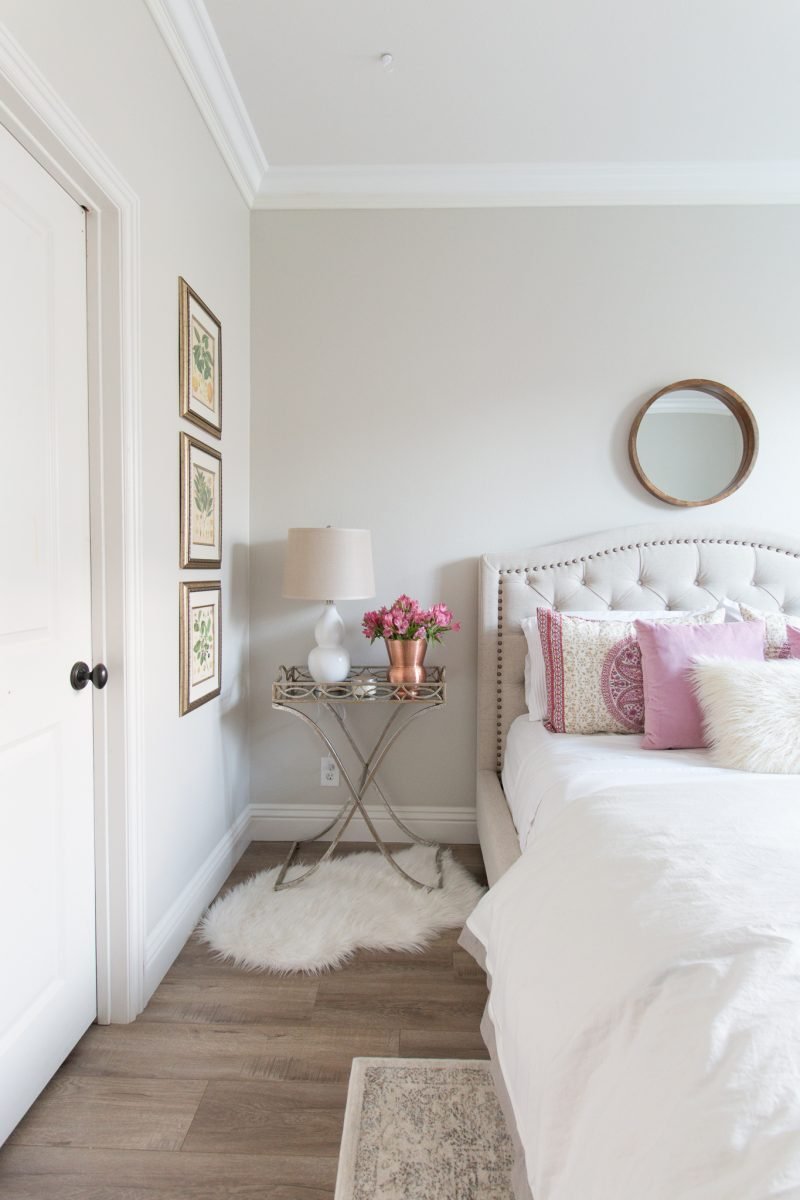
Here is another example of shooting straight on rather that at an angle. It creates a clean look and again enforces the rule of thirds. Entire room can be seen here.
FIVE: LIGHTEN UP
Lighting is everything. Bottom line. The other night we were out with some friends and one of the husbands went to snap a photo of us girls. It was looking super dark so we simply swapped places. He took our place and we stood where he was so the light was behind him. Needless to say it was a simple switch and created an entirely different picture. My first choice is to adjust where your subject is to capture the best natural light. That is always optimal.
But sometimes you just can’t change it. If you are capturing your child playing soccer you can’t exactly ask the players to switch places. LOL. So that is where editing apps come in. They are fantastic. The one I use the most is called Afterlight. It’s not difficult to use and I normally just adjust the brightness level. It’s like night and day with photos. Literally.
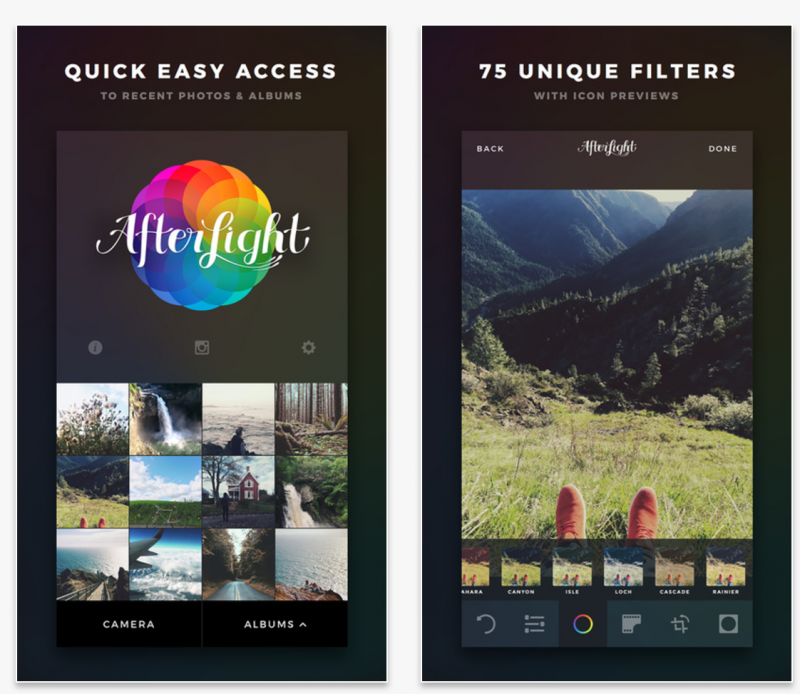
I am not a filter girl but I love that I can adjust clarity and light levels with this app.
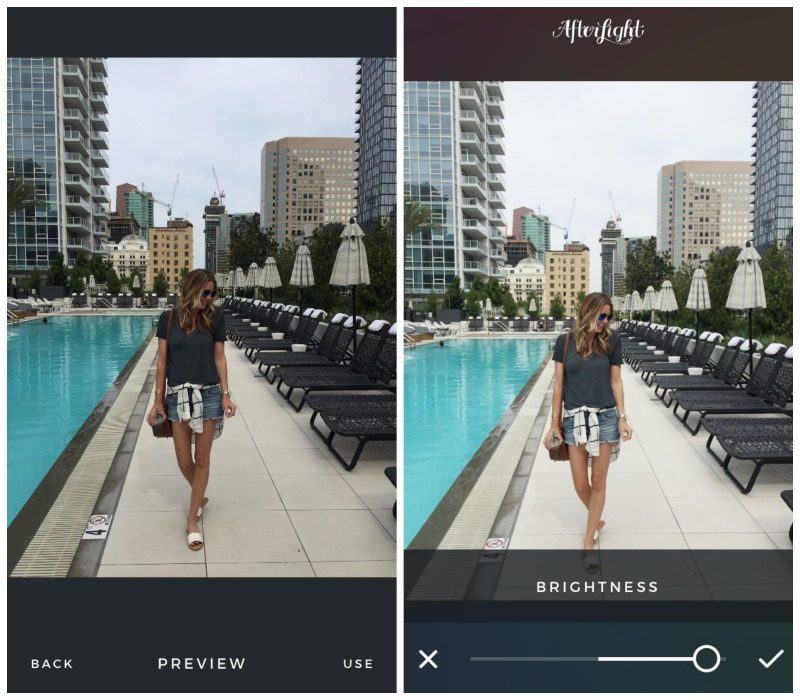
Here is a side by side. We took this on a VERY cloudy day. Not optimal. You can see just by adjusting the brightness it changes the look. It still appears as a cloudy day which is fine. It’s just not as dark and depressing in the edited version. And editing photos in apps is all about subtle changes. Don’t go nuts. The more you edit the more you can ruin a photo. So just keep in mind the idea that “less is more” when editing. I also love PicMonkey on my laptop when I want a simple adjustment. When I take photos on my good camera I use Lightroom to edit on my laptop.
I hope these tips help. I love taking photos and have learned little things here and there over the years. Always happy to share and will add to this as I think of more tips to pass along. Let me know if that would help.
FYI
Just wanted to let you know I updated my “shop” tab at the top of the blog. You can look at Instagram looks as well as see my favorites. Hope this helps. I will continually update it.
Enjoy your day. I am prepping for my daughter’s birthday!!!!
Great post & great tips!! thank you for sharing!
Thank you soooo much! I am working on taking better photos and this is great!!!!
Great tips Courtney! Thanks for sharing.
Thank you for sharing these helpful tips Courtney. I will definitely use these as I am always wanting to improve the photos that I take. I have lots to learn regarding photography. Your sister’s dessert is so beautiful and my mouth is watering. I hope she’ll share the recipe!
Awesome tips, thanks for sharing! x
Super helpful, Courtney! Thank you!