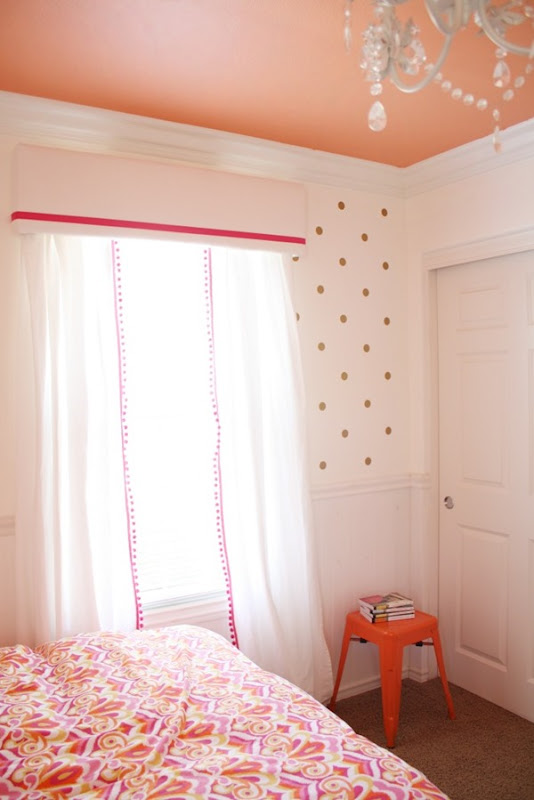
I am doing the happy dance! We finally have drapes in our daughter’s room. We have wanted to do them forever but you know how it goes. I finally decided I just needed to get my rear in gear. I could not be happier with how they turned out. They are much prettier in person. This room may be the most difficult to photograph in our home. These window treatments definitely have a back story. Let’s just say the original concept was completely different. #blondemoment But, in the end, we powered through and came up with something we love even more. Full story below!
So I knew I wanted to create panels that resembled the beautiful ones found at Serena and Lily. In an effort to spend less, I purchased white drapes from Ikea and cute pom-pom trim from JoAnn Fabric. This should have been a slam dunk. Like, no big deal, sew on some trim and stick them on a rod! So sew I did. And they came out great! But . . . 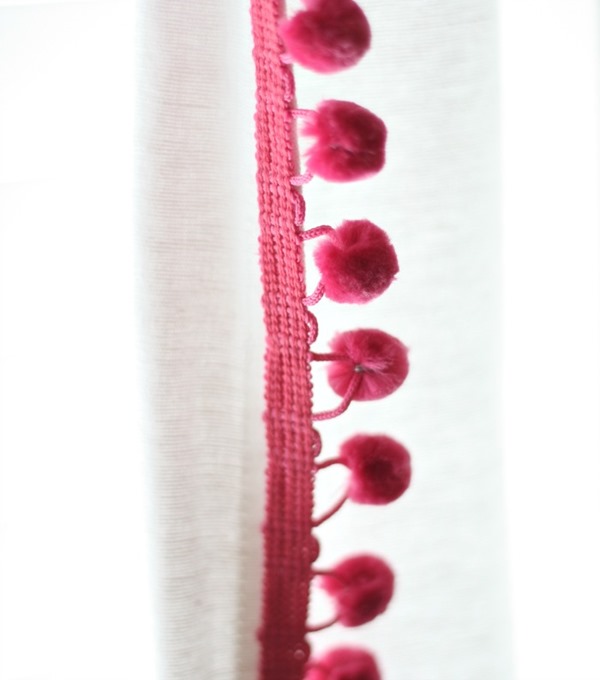
…. I washed and dried the panels before adding the trim. When I went to hold them up two inches from the ceiling they were like 12” inches too short! “HONEY I SHRUNK THE DRAPES!” Horrible. Here is the deal, not only did they shrink, but I never even saw that they were only 98” to begin with. In the past, I had only purchased the white drapes from Ikea that are crazy long and come unhemmed. I went all fancy and bought the Lenda drapes that are hemmed and 98”. They do come in a length of 118” but I bought the wrong ones. Duh. So that mixed with some extra hot drying magic, my drapes fell way short. By the way, the Lenda drapes are awesome. A light weight drape that has some body to them. I seriously love them.
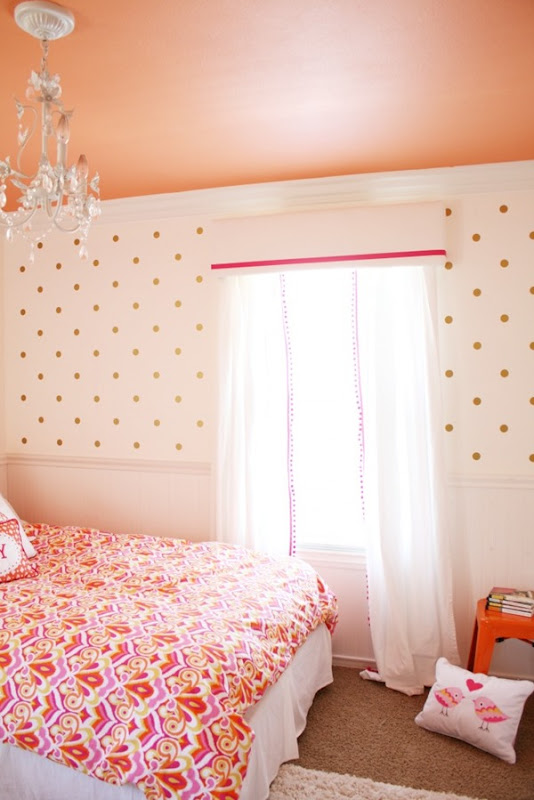
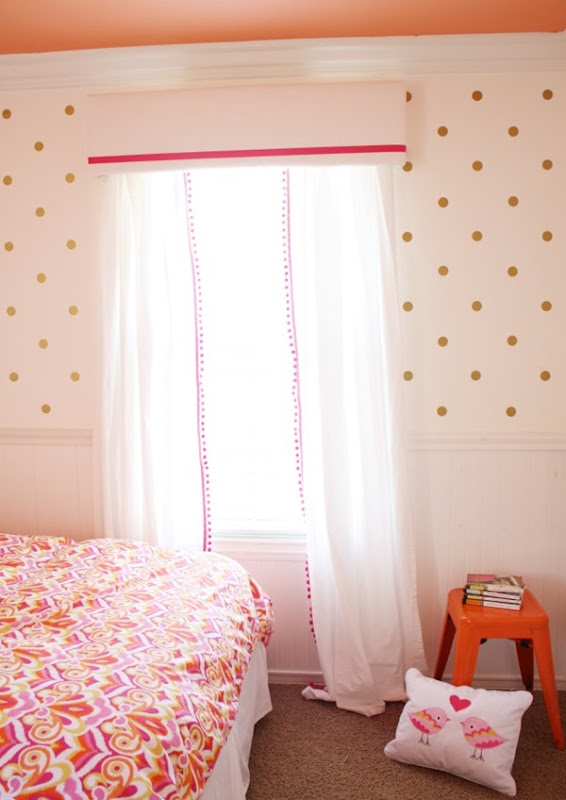
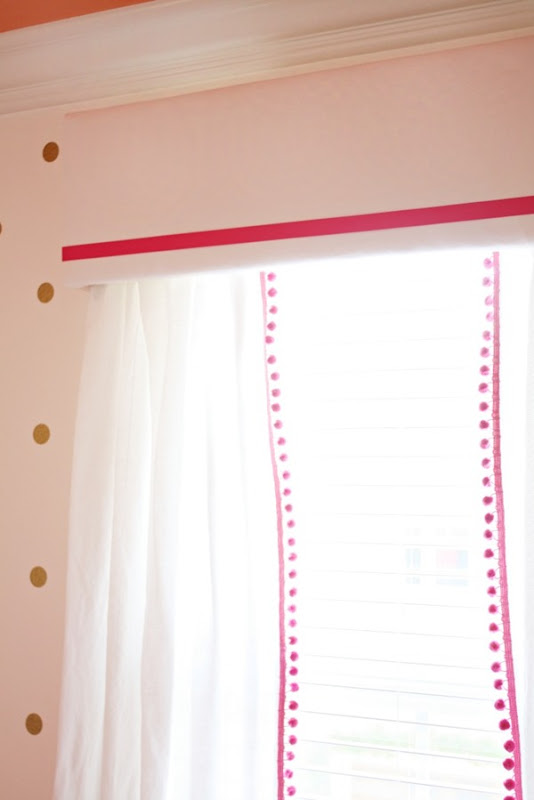
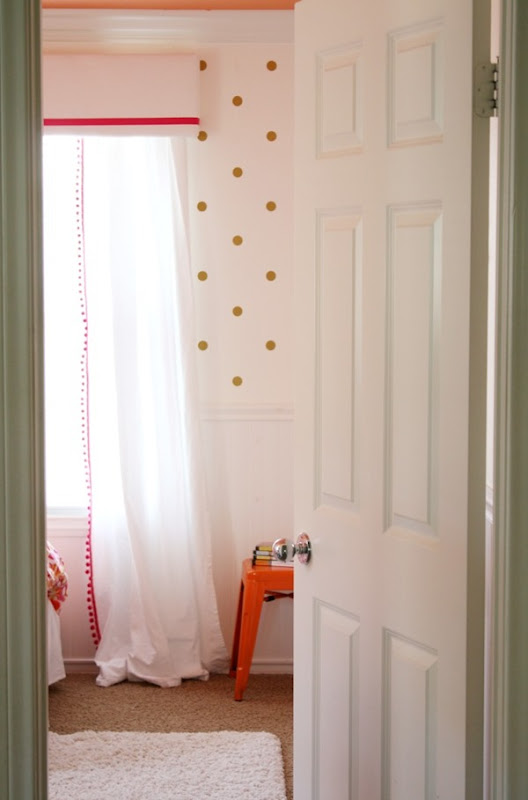
Pelmets to the rescue! I immediately ran to Home Depot to grab supplies. It was crazy easy to do and completely solved the problem. I will do a DIY post soon on how it all went down. Much easier than I thought. The hubby busted out some pretty amazing pelmets in no time. I covered them with the white drapes that used to be in our master bedroom. The pink trim is groisgrain ribbon. So simple. I wanted to keep them fresh and clean. Nothing fussy. There are actually two windows in her room so I will show you the entire space once the pillows and headboard are complete. Still inching towards the finish line.
So all in all, I am so thrilled that I pulled a total blonde moment and screwed up the drapes. I think the pelmet makes the space. I love peering down the long hallway and seeing these in her room. A great lesson on turning lemons into lemonade. The best part is seeing my daughter reading on her bed . . . she just loves the transformation. So do I! DIY post to come. To get caught up on this space you can click below. Drapery costs: 4 Lenda window panels $40 | pom-pom trim $15 Pelmet cost: wood $18 | batting and ribbon $10 | hardware & tension rods $30 Total: $113 for two windows
how to wallpaper with wrapping paper | gold decals | closet office
Wonderfully creative use for a bed and windrow! Like you, it takes me awhile to get things done but it's always worth the wait. Enjoy!
modern-apartment
What a great creative fix! I made the same trim curtains for my daughters nursery but reall should hem them about an inch, probably a task I'll never do lol!
Thank you so much! You should have seen my face when I realized I had shrunk them. Oh boy!
so pretty!!!
Thank you, Kristi!
This looks amazing! Love the entire scheme you put together here!
Thank you so much. Slow and steady!
The drapes are fabulous and I love how they add another layer of whimsey to the room. Perfect.
Your so sweet. I so appreciate that, Marty!
They look awesome! I had planned the same Serena and Lily hack for LLJ's nursery (in fact, I still have the hot pink pom pom trim in my sewing stuff!) but never made it around to making them. May need to get back on that and add a pelmet, yours looks great!
I promise it only takes ten minutes to sew that trim on! But I am the queen of having things and never getting around to them!
Looks amazing! I am in love. The pompoms against the pelmet is perfection my friend.
Thank you, sweet friend. A happy mistake.
they look great…and I adore the hot pink!!
THank, you sweet thing.
Really really cute. Love the poms
http://www.designsbykaty.com
Thank you, Katy. I am smitten with them.
They came out so good!
Thanks ,Jamie.
Love when a mistake turns out better than the original plan. They looks amazing!
Yes! So surprised that the mistake lead to something much better. Kind of fun.
The curtains turned out incredible! The entire room is so magical and continues to come together beautifully.
Oh, you are so sweet. Thanks, Jen. Slow and steady.
Wow! The drapes came out beautifully Courtney! I knew you could do it and it would be fabulous. Such a fun room for Riley. I always enjoyed reading when I was her age, too.
Thanks for the faith! It was definitely a shock to see them too short!!!
So stinking cute, Courtney. I'm sure your baby girl LOVES it. I've been wanting to add pom pons to our living room drapes for ages. This is pushing me over the edge.
Do it Do it!!! You won't regret it. Thank you for the sweet compliment.
So, so pretty. I think I have told you think already but I am ITCHING to add pom poms to something in my house right now. Basically nothing is safe until I find a target 🙂
I'm afraid I have the pom pom bug now as well!
love the ceilings and all the little details that make this room so cozy, cute and chic.
Thank you! It's been a really fun room to work on. Just a slow process! Ha!
Thanks, doll.
They look so good and yes I would love to see how you did the pelmets!
So simple but such a nice touch! Did you show us how you DIY'ed the pelmet box?
Thanks so much for the tutorial. Will be making some pelmet boxes soon.