So excited to share our butler’s pantry with you today! We designed and built it ourselves and it just may be one of our favorite spots in our home. It’s now a spot that boasts a wine refrigerator, cookbooks, extra stemware, serving pieces and paper goods for entertaining. And here’s the best part. We did all of this for just around $600.
When we first moved in to our home this space was completely empty and we filled it with Expedit bookcases. It stored cookbooks, family albums, wine, binders and children’s art supplies. It worked well for many years but it definitely didn’t make the home more beautiful. When we painted our home recently, we unloaded this space and it was an ah-ha moment. My husband looked at the space and said, “We should build a butler’s pantry here.” And that was it. It was shortly before the holidays and he was all in. I began looking for design inspiration and because I have always wanted a wine fridge I was 100% in, too. This project came together rather quickly and is a nice addition to the kitchen.
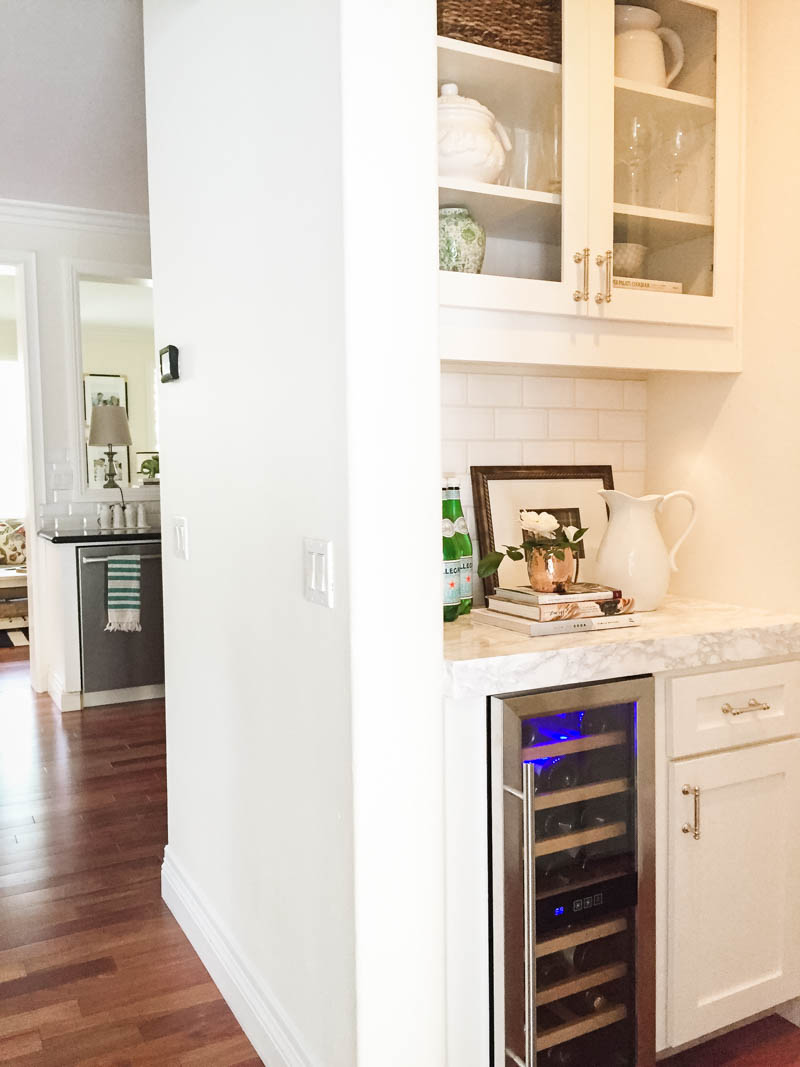
I honestly can’t capture a full shot of the space because of the angle. Excuse the iPhone snap but I wanted you to see that this it is located directly behind our kitchen. So this has added a nice amount of counter space for beverages while entertaining. There is a wall directly across from the butler’s pantry so it is crazy awkward to photograph. I wish you could just see it in person. He really did an amazing job. We saved the extra beveled tiles we had leftover from when the kitchen backsplash was installed. It was one of the rare times I was happy I actually held on to something for so long. It allows this pace to look like it had always been there.

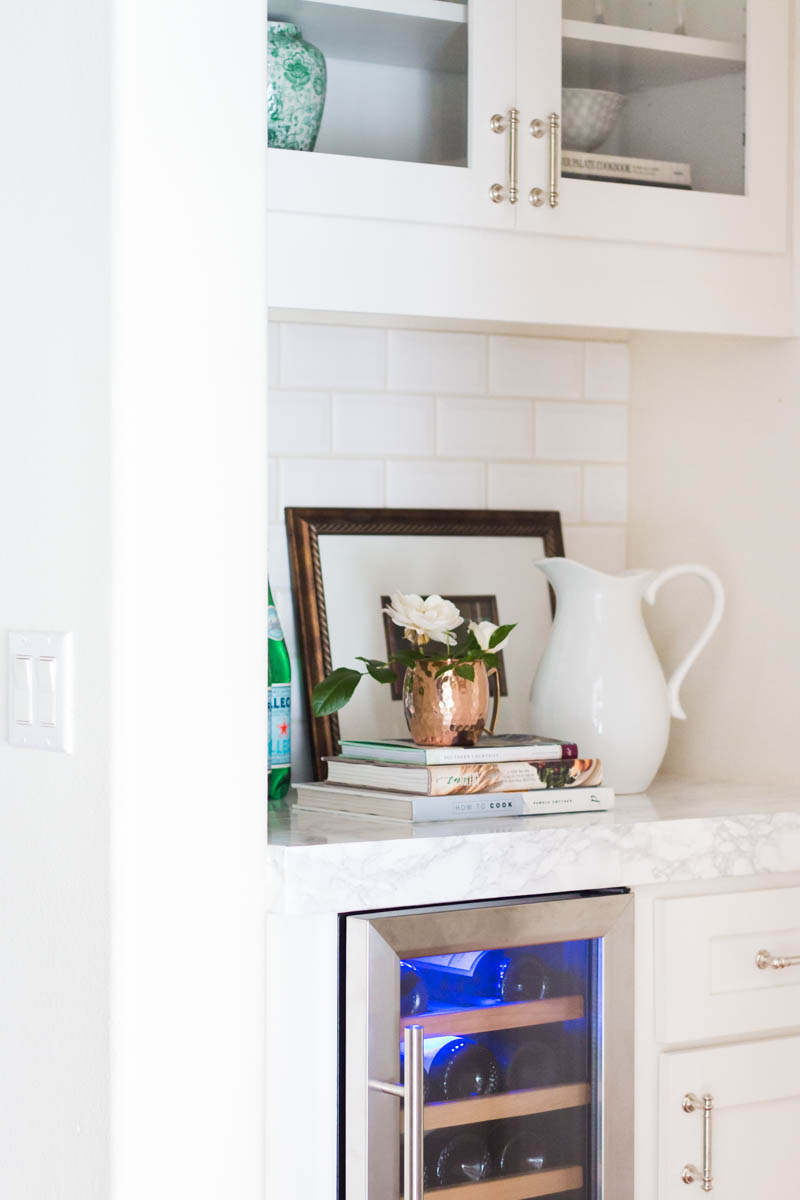
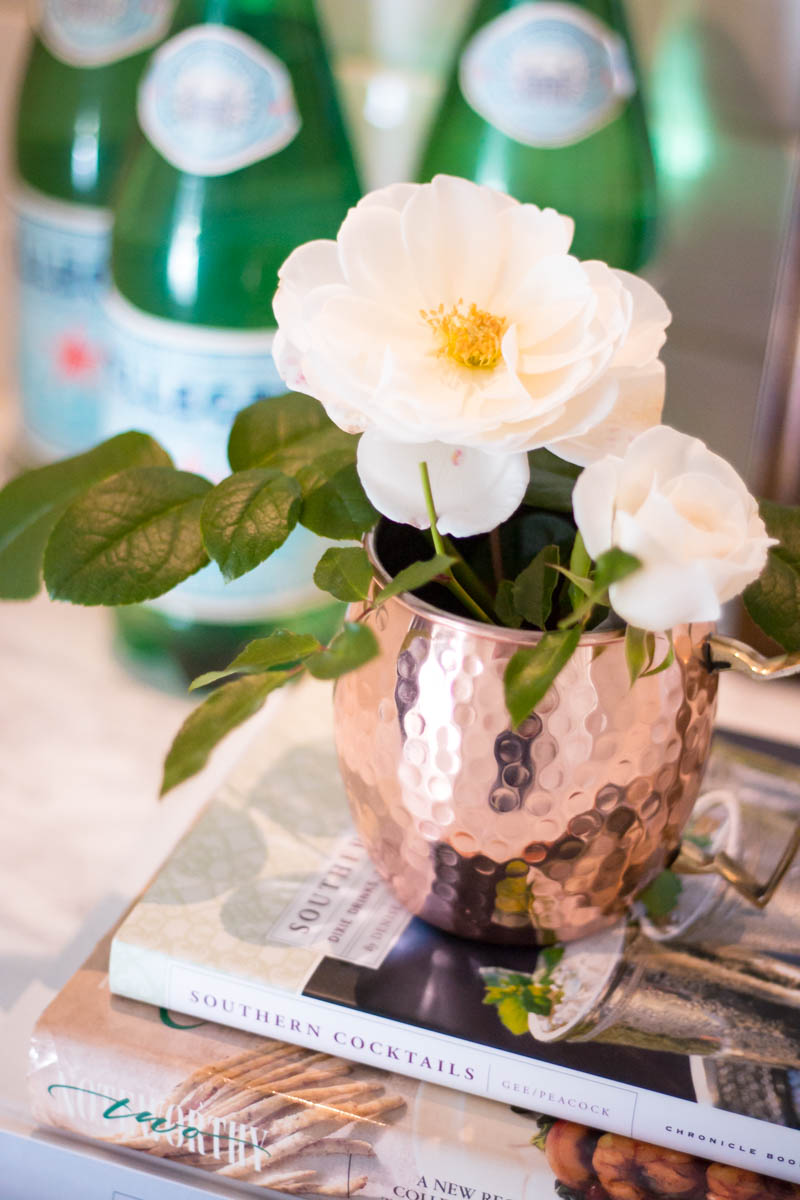
This cooler holds 24 bottles of wine and has been a great addition to our home. The upper cabinet now holds some of my favorite cookbooks, serving pieces I use often and extra stemware for when we entertain. The lower cabinet holds cocktail napkins and our paper goods that we use when we have parties. (The tile looks like it does not go all the way up but that is because I am holding the camera at an up angle. In person, you can not see underneath the cabinet like that.

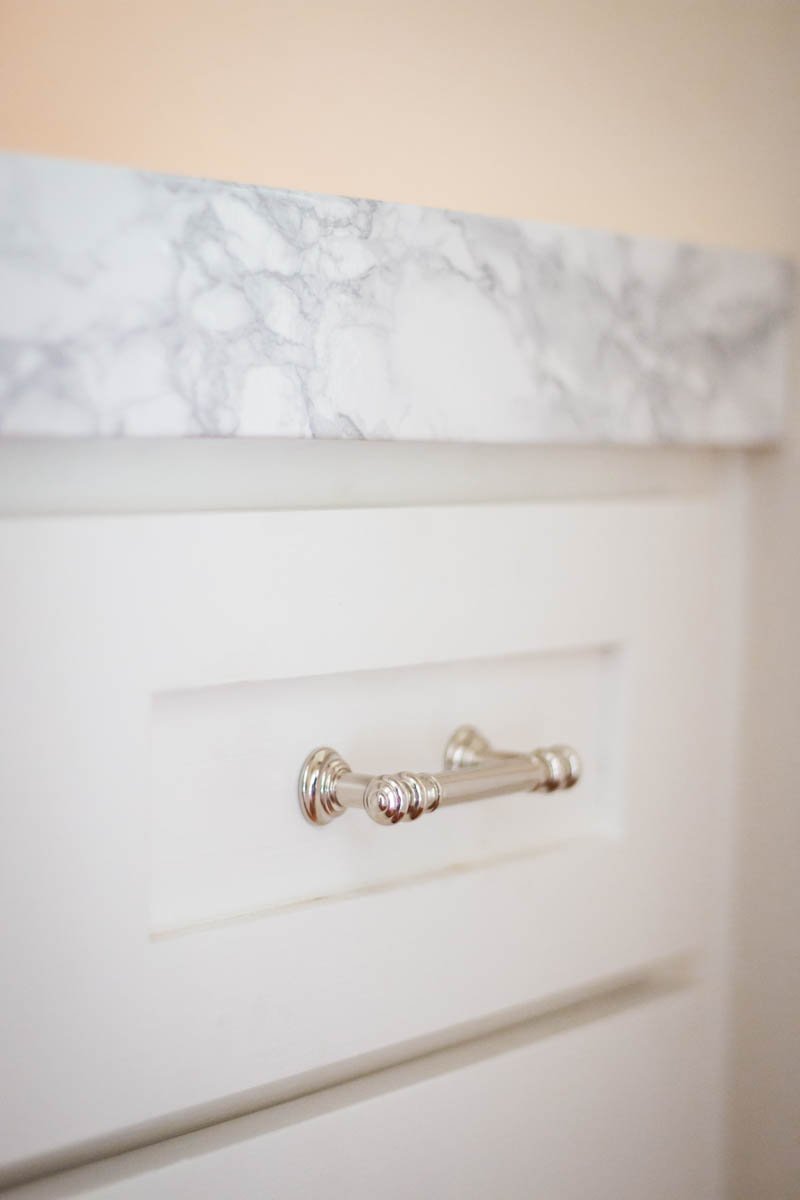
We decided to go with Shaker style cabinets because I like the clean look and thought they would pair well with the sleek wine fridge. To juxtapose that, I chose some more traditional hardware. I like the shimmer that they add. They are from the Martha Stewart line sold at Home Depot. The cabinets we bought were raw wood so I gave them three coats of paint prior to installing them.

My husband built a wood countertop and we decided to go with marble contact paper. We were not interested in spending the money to have a countertop fabricated. We also tossed around doing a butcher block counter but ultimately I wanted to keep this light and bright. And this wipes clean which is pretty fantastic.
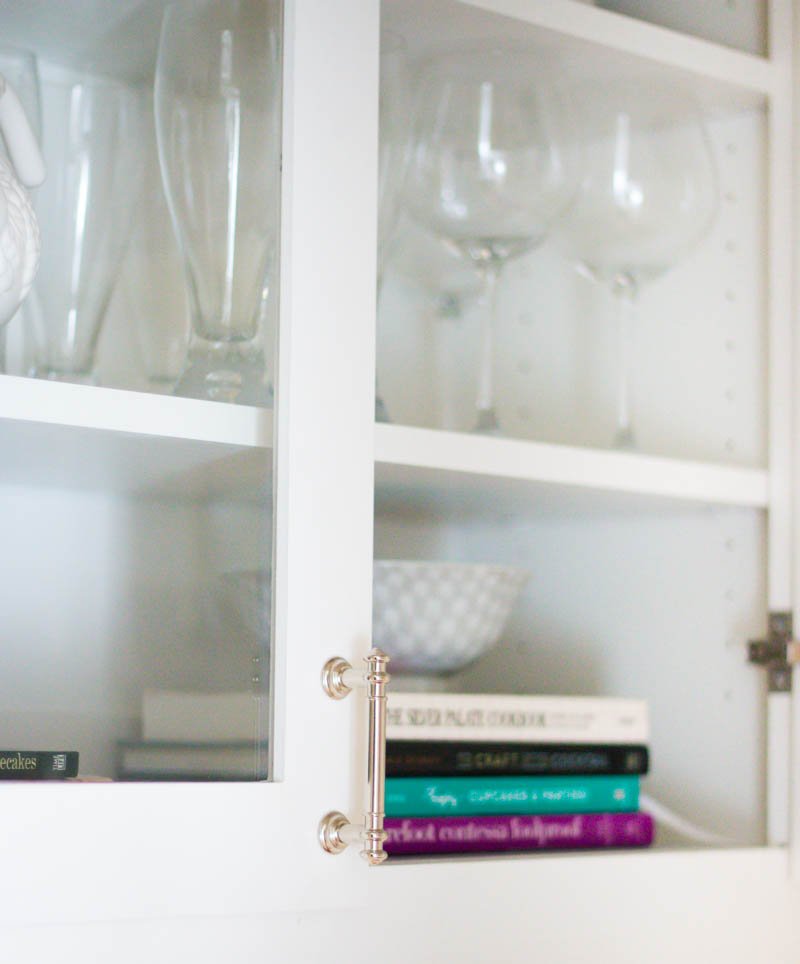
We cut the door panels out and replaced them with glass. we also installed under cabinet lighting which really adds a lot. Much prettier in person.

This is a nice shot where you can see the under cabinet lighting shining down. The under cabinet lighting is actually battery operated. So great for a space like this where you really only need to have the lights on when entertaining. I am really grateful that my husband not only dreamed up this project but executed it so well. I loved designing it and he actually enjoyed building it. Of course there were a few hiccups along the way. There always are. But it was all so worth it.
I will follow up with a full DIY post on this space and how we added tile to the wall. It is remarkable how much the backsplash added to the space. It really elevated the look and was so so simple. Excited to share that with you this week.
Sources for our butler’s pantry:
cabinets (builders surplus) || wine fridge (overstock) || hardware ( Home Depot) || marble paper || under cabinet lighting (Lowe’s)
How wonderful! I love that y’all did it together. I can’t believe that’s contact paper . Nobody would ever guess that!
Thank you, Stacey! It was fun to work on and that marble paper really is crazy good. I bought a roll years ago and have used it in a few key spots. Highly recommend. Have a wonderful week.
Oh my goodness, this looks amazing! What a great idea and great use of space. That counter definitely looks like an expensive piece of marble, awesome idea!!!
Thank you!!!! It’s one of those things where we look at it and think, “Well what took us years to do this?” It’s really not all that difficult so I hope readers are encouraged to try something similar. Thank you for the sweet compliment.
Wow! I really love what you did with this space.
I’m showing this to my husband to see if we could implement this idea in our basement.
You both did a beautiful job!
Thank you so much, Kathy! I hope you guys are able to do something similar. I’m envious you all have a basement! Dreamy.
Courtney….never commented before but long time follower. Can’t help but tell you this is AMAZING!!! So inspirational! We have a larger but similar spot I’ve been so overwhelmed about because I kept thinking it would require a contractor and thousands of dollars. Now I’m encouraged to do it myself
Quick question….on the wine fridge. Did you purchase it as a formal build in with a vent? The non-build ins are certainly cheaper but we went that route and regretted it because unless they are designed with a vent (and to sit inside a cabinet) they blow their motor and do not cool. ???? Hard lesson for me to have to learn. Did you just frame yours out or did it coincidentally fit in the cabinet dimensions?
Again….so impressed and encouraged by your nee space!!!
Sarah,
Thank you so so much! And thank you for taking the time to comment. I love hearing from readers. You’re so sweet! It was a really fun and manageable project. Yes! You bring up an excellent point which I should mention in the DIY post. This specific fridge is designed with a vent in the back and the manual has very specific instructions about how much room it needs in the back and on the sides. You’ll see in the photo it’s not sitting in an airtight box because the vent is in the back and needs some room on each side to breathe. Super important for anyone considering this. But the manual made it easy to follow. We did frame it out to fill in the gaps. I will try to show that in the DIY post.
Have a great week, Sarah. xo
Um………where do I even begin????
This. is STUNNING. Crazy talented doesn’t even begin to describe you two.
Just breathtaking.
You are so kind. Thanks, Catherine!!!! There were some pretty funny moments. Not gonna lie. And the credit all goes to Ryan. The kid did well. xo
everything is so beautiful!
XO Ellen from Ask Away
http://www.askawayblog.com
Well thank you so much. It’s a space we are really enjoying already. Have a wonderful Monday.
Sooooo good!! Looks like it was meant to be there all along. Great job, guys!
Thanks, Michelle! You’re so sweet. I am just on the edge of my seat waiting for all of the glorious building you are about to embark upon. I seriously will be living through you! xo
This is probably a dumb question-but I’m going to ask anyways! Would the contact paper go over laminate countertops and hold up??? Love the space!
Hi Carol,
That’s actually a fantastic question. My gut instinct says no. It is rather thick but I do think it looks best in small areas. I also would be afraid of getting water on it. While a little is no big deal, I don’t think it would hold up near a sink. I have used it in an upstairs hallway on a built in shelf and it’s been great. I hope that helps. Let me know if you have any other questions. Have a great week.
Beautiful!
As usual, you are so very resourceful and do such a classy, elegant and timeless look. Really surprised by the contact paper tip, this is great inspiration!
This is BEAUTIFUL. Everything about it looks like “A Thoughful Place.” I have so much to do in my home and when I’m done I’d love to know that it looks like me.
This looks great! Can you share where you got the cabinet pulls? I’m looking for something very similar for our new kitchen! Thanks – xo
This space is gorgeous Courtney! Such a perfect space for you guys with all of your entertaining you do. You two are quite the dynamic duo! Beautiful job Courtney and Ryan!!
so so so gooood! Thank you for the inspiration!
How awesome is that?!!! Love it. we have a built in desk area in our kitchen I would love to do something like this with.
It looks so great! I would love to have space for something like this.
Looks amazing! Could you tell me how you painted the cabinets? We are installing some unfinished wood cabinets in our office and I am trying to decide if we need them sprayed by a professional orif I could do it myself with a brush or roller?
I love this space!! Y’all did a great job!! We redid our hall closet last year to make it into a butlers type pantry… It is one just in the hall lol! But, it has been so nice & such a game changer!! I’m intrigued by the marble contact paper – I’ve never heard of it before! I assume it’s durable, etc.? It does look really nice!!
Beautiful!
Oh wow, what a great addition to your kitchen. And AWESOME DIY skills here! So good.
Beautiful!! And wow to the contact paper!!
Quick question…. Assuming your counter top/base vaunted are standard 24″ deep…how did you handle the “seams” of contact paper? Edge to edge or over lap?
Also… Do you think this concept would work on a small, round table top? (Thinking about the lip / edging going on around )
Thank you!
This is seriously amazing. I cannot believe that is marble contact paper!! Very impressed with your hubby’s DIY skills (I’m still waiting for mine to hang some coat hooks LOL). Beautiful space 🙂
Hi Courtney! First off, yay for my first comment! I LOVE your blog. Definitely a go-to for me in terms of inspiration. And I also wanted to comment that you have the PERFECT balance of home, diy, family, mom, travel, style, etc. Keep it up!
Now on to today’s post, I wanted to share that I wish I had seen a before picture! 🙂 Those always make me excited because I get that “wow” moment. Hahah. None-the-less, this space is beautiful and what it has become is simply genius! It’s those changes around the home that truly make you realize how blessed you are to live in a home that you have grown to love.
Thanks for sharing!
Yay is right!!!!! Thanks for taking the time to not only read but to comment. I so appreciate it. And what a sweet compliment. You made my day for sure. I do have a before photo for the DIY post. I totally agree with you. So much more of a wow factor. We do tend to jump the gun and jump right in forgetting to snap photos. I need to slow down and work on that.
And what a special thing to say about the home becoming some place we love. I couldn’t agree with you more. When we put our own mark on something it really does become that much more special. I hope you’ll continue to comment. All the best to you and have a great week. xo
Wow Courtney, just stunning! But then again you always do such incredibly work, I shouldn’t be surprised! I love how the butler’s pantry just flows with the rest of your house and looks like it has been there the entire time. And serves such a great function! Love it!
Looks so great! And kudos to R for being so dang handy!! Send some of that over here, would ya!! 😉
That looks great! What a fantastic use of space and making it really work for the way you live. I love that you went with glass doors. It makes it a showpiece than just a storage piece.
Hi Courtney!
This is my first time commenting but I have been reading your blog for some time now. It is the first site I go to in the morning with my coffee! I love your style and your home is beautiful. What an amazing job on the butler’s pantry! I love your wall color. Would you be able to tell me the color?
Thanks!
Hi Joy,
First of all! I LOVE that you took the time to comment. Seriously. And so sweet to know that you start the morning off with coffee and blogs (me, too!). Thank you for such a kind compliment about our home. My husband gets all the credit for the butler’s pantry. The wall color is White Dawn by Benjamin Moore but we had it color matched at Home Depot (which is key because that is the color on our wall. . . it changes slightly when it’s color matched). Hope that helps. And I hope to hear from you again. Enjoy your day.
I love it! You have inspired me! We have a similar nook that I would love to convert with a wine fridge. Can you explain how the cabinet and fridge sit together. I have very little DIY experience and am unsure how this all goes together! Does the lower cabinet sit next to the fridge, with just some moulding around the fridge to blend the two??? Or is the fridge somehow within the lower cabinet??? Thanks!!!