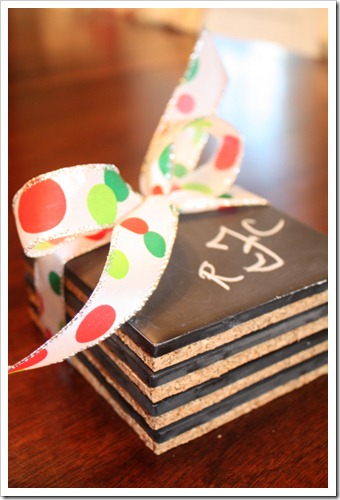
 Many of you have already seen these little chalkboard coasters I made. Just wanted to give the full tutorial in case any of you are up for making them. Cheers!
  Super Simple Project. Here is what you will need: 1. Chalkboard spray paint 2. Four ceramic tiles . . . use black if you can find them so chips in the paint won’t show. {Home Depot} 3. Cork Board {Target sells a set of four boards for $4.00 . . . I had one left over so it’s now a jewelry holder . . more on that later!} 4. Glue gun and glue 5. Chalk 6. Ribbon to tie them up if you are giving them away as gifts.
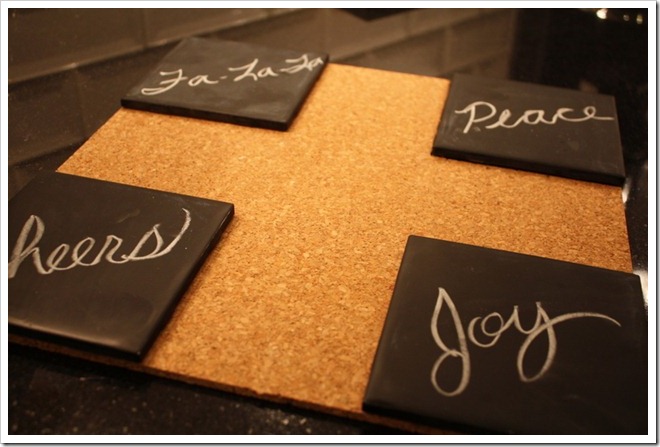
 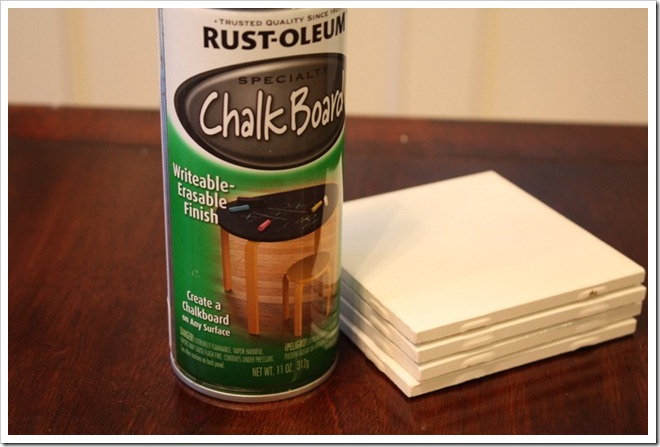 1. Spray tiles with chalkboard paint. Wait 24 hours and then put chalk all over them. Wipe clean with a cloth.
 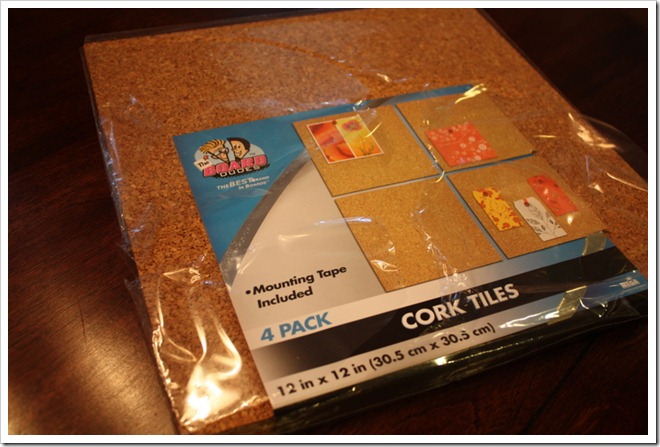 2. Trace tiles and cut out cork board to put on the bottom of each coaster.
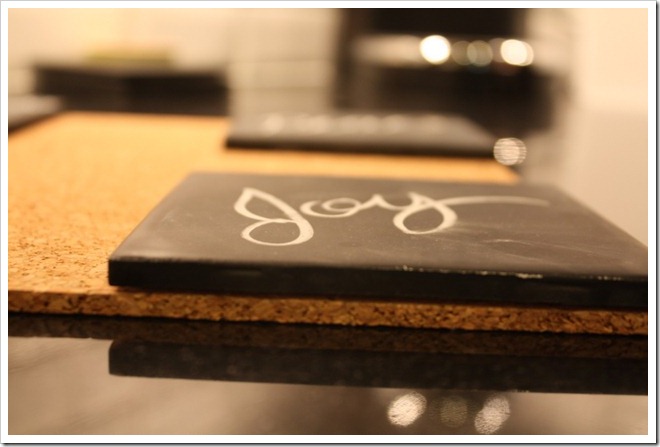
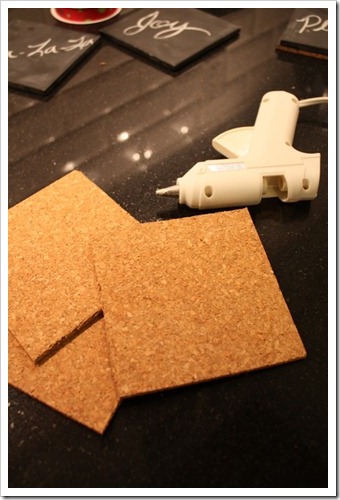 3. Attach cork with glue gun.
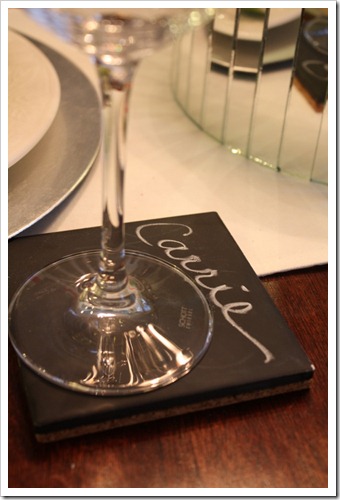
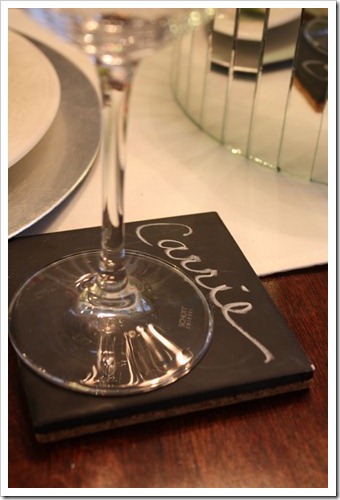
 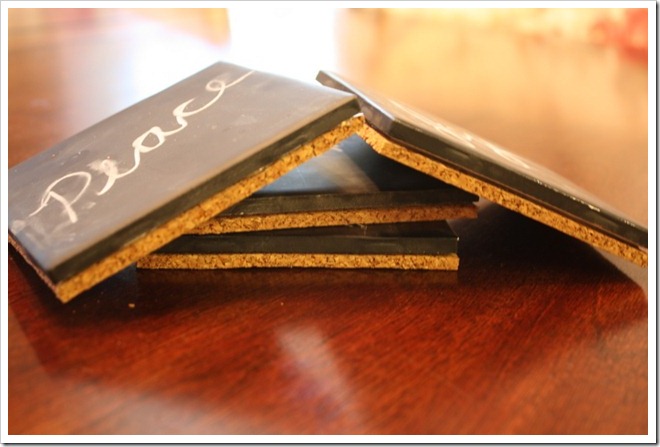 You are ready to go! They can serve as both coasters and name cards!
 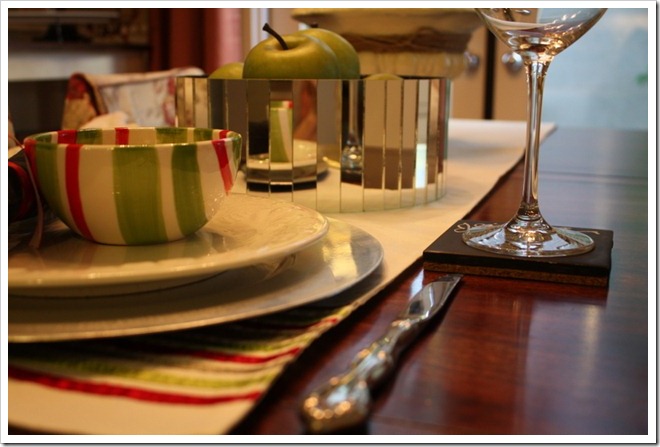 Or just as a place card
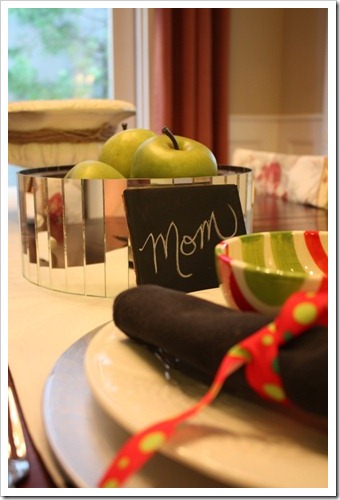
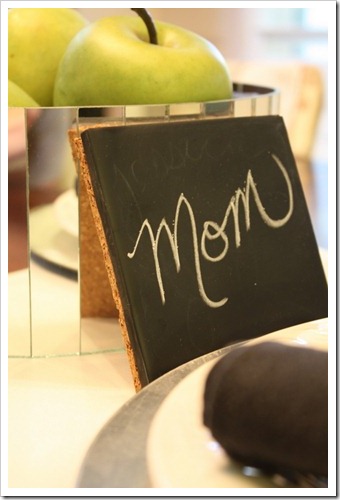
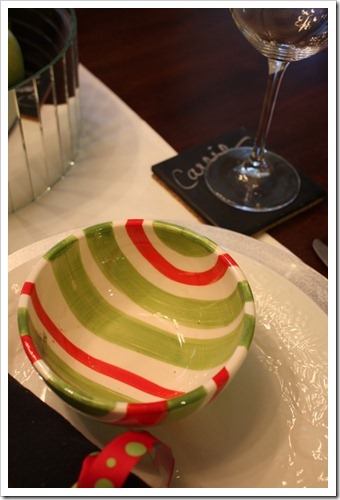
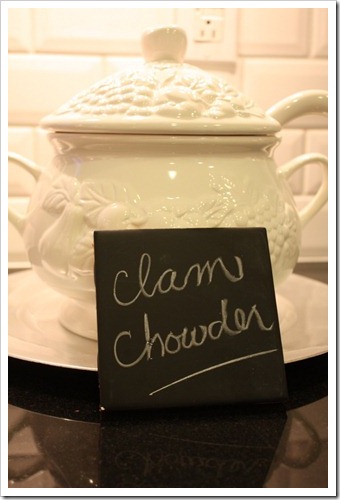
 They can also be used to label your buffet.
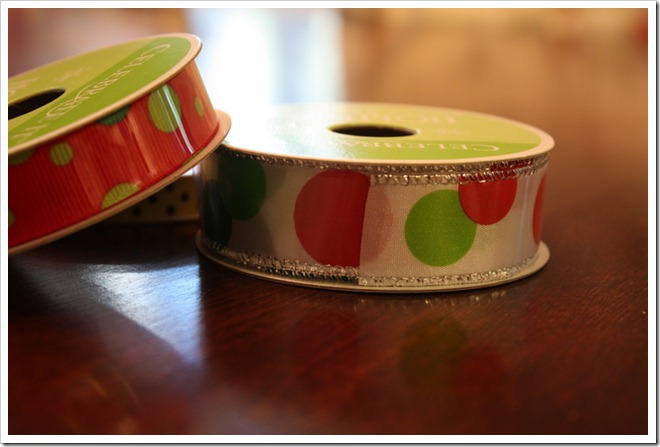 4. Tie them up and they are ready to give as gifts. You can add a monogram or cute message to the one on top!
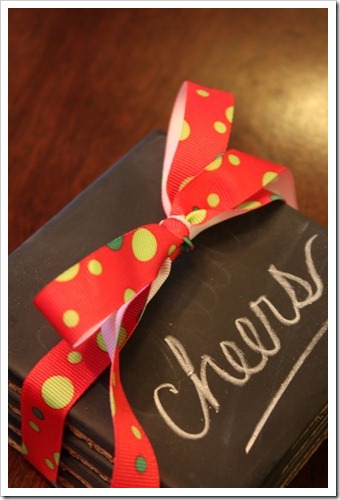
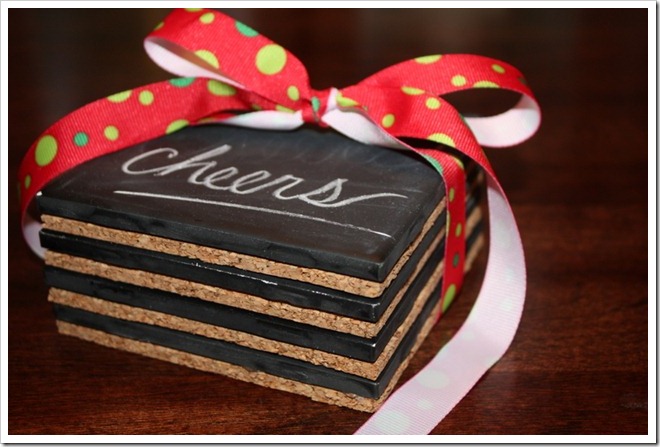
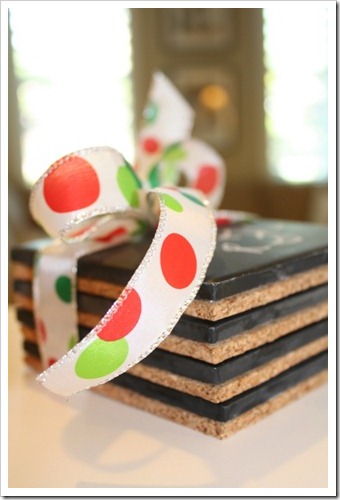 Of course a chalkboard coaster might not be the most absorbent coaster you will ever use, but with a stemmed glass or with all their other uses they sure are fun. And I am all about a good conversation piece at parties. Linking it up: Monday Just a Girl Tuesday: My Uncommon Slice of Suburbia Today’s Creative Blog Wednesday Blue Cricket Design Someday Crafts Thursday: Somewhat Simple Friday Remodelaholic
I love these Courtney! Thanks for posting the tutorial. I have tiles, chalkboard paint AND cork laying around…so will be making these for sure!
Sharing on FB …Love this!
these scream glitzy new year's eve party to me! really lovely idea. thanks for sharing!
Very cute!!!
that is the CUTEST idea EVER!!! Love love love!!
New follower!
<3 Cara
PS. A Giveaway is going on @ Lilac and Grey…HINT HINT: "KEEP CALM"
i might need to steal, fantastic!
I just picked up my tile to make these… thanks for the great idea
Loving this (still). Bookmarking and attempting to make for some holiday gifts. You rock.
You are so creative! I love it! This would make the most wonderful Christmas gift!
XO
Kristin
Thanks for linking up!! 🙂
Those are genius…and so super cute!!! I'm for sure going to be making those!! Just bookmarked your post in my 'Projects I Snagged from Other People to Make' folder. 😉
So cute and creative! What a great idea for a Christmas gift!
Love this idea! Another thing that would add to it would be a couple of pieces of chalk tucked under the bow! Cute Cute Cute ~ Definitely need to make some 🙂
Thanks Courtney. I've said it before, and I'll say it again. Clever, clever, me-likey! x
These are too darn cute! What a great and simple…yet oh so chic and expensive looking gift idea!
Thanks for your nice comment about my Thanksgiving wreath. I love these chalkboard coasters. They would make a lovely gift. I'm having a fun giveaway along with my link party and would love you to stop by if you get a chance. Have a great day!
Coming over from Blue Cricket Design! I have used tiles before for other coasters but I had an a-ha moment when I saw your's! I don't know why I didn't think of chalkboard paint before! These are great!
Jeanine
seriously genius! great tutorial-makes me think i can do this! stopping by from blue cricket design.
http://www.thecapeonthecorner.blogspot.com
That is awesome! I would love for you to link up at my Strut Your Stuff Party!
http://danajeanward.blogspot.com/2010/11/strut-your-stuff-party.html
Hey there! Just wanted to let you know that this project was being featured at Eccentric Delirium! It's not up yet, I have it scheduled to post in the morning, but I wanted to make sure I didn't forget to let you know! If you'd like a button, head on over for the code! 🙂
http://yourworkistodiscoveryourworld.blogspot.com/
LOVE THESE! New follower here! Im going to be making these for my sister who just got her own place in NYC for Christmas! Hope to see you will check my blog out sometime!
spitupchronicles.blogspot.com
Wow! I LOVE these and I love your beautiful blog…I'm digging in to your archives now. I guess, I'm just going to have to follow you. 🙂
Fantastic idea!!
These are soooo super duper cute…thanks so much for sharing with all of us!
Blessings,
Linda
Christmas is right around the corner…hop over to enter my gift card GIVEAWAY…WIN some Christmas cash!
Love these!! I'm your newest follower!
a grrrrrrl after my own heart–weak knees re packaging! i luv packaging! and presentation! huzzah 4 u! darling coasters.
these are really cute!!
I found you on A Little Lovely and I'm hooked! I gave these as gifts this Christmas and they were a big hit! I blogged about it and made sure to give you a shout out! Thanks!!!
I love these! I linked them up to my chalkboard paint project post too!
I think these are really pretty. Saw you featured on crafty cpa's blog and had to link you up myself! So much nicer than a sharpie and a solo cup, if you ask me!
Love these definitely on our list of crafts to make. Check out our DIY coasters tutorial at http://somethingsplendidblog.com/?p=431
Love these! Definitely going to put them on the to do list. Check out our tile coaster tutorial at http://somethingsplendidblog.com/?p=431