For years now we have been wanting to make a Cornhole game. For those of you not familiar with the tradition, it’s simply a bean bag toss game that makes its appearance at tailgating parties, backyard barbeques, outdoor concerts and more. It’s just a fun casual game that the whole family can enjoy. This quiet time gave us the impetus to finally make our own and today I am sharing my best painting tips and how to get a nice finish.
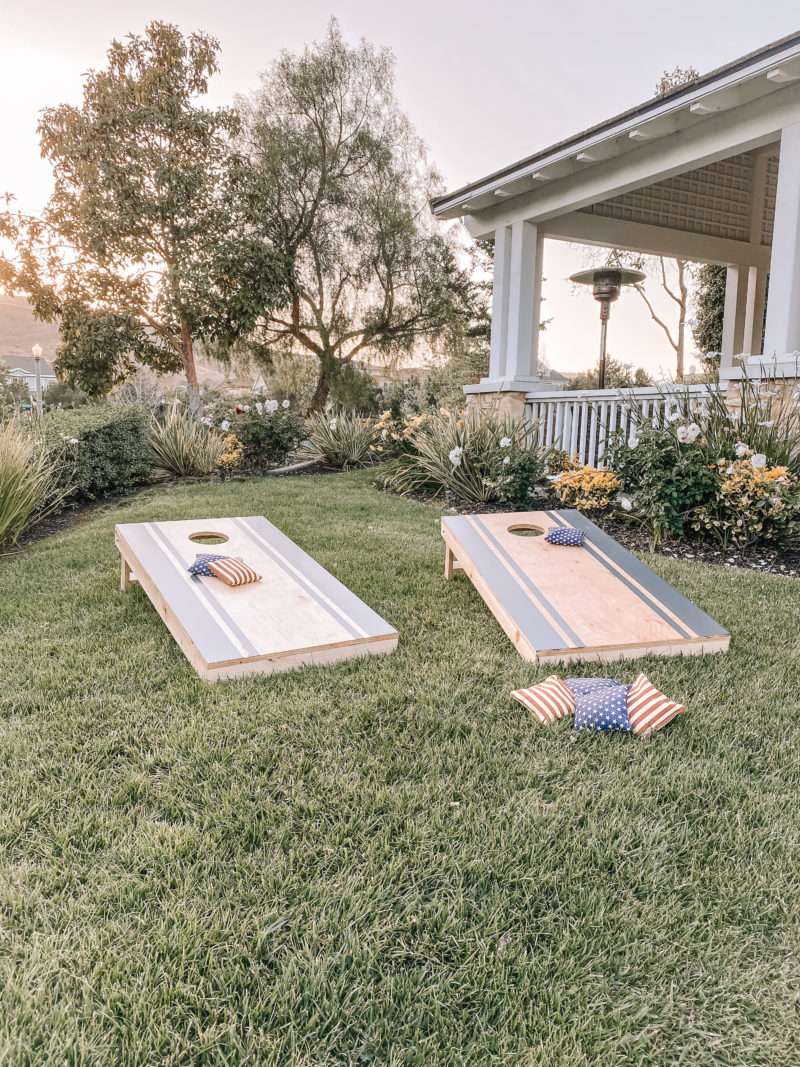
When it came to building the actual game, we decided not to reinvent the wheel and followed an excellent tutorial from Our Faux Farmhouse. The steps were easy to follow and spot on.
PAINTING THE BOARDS
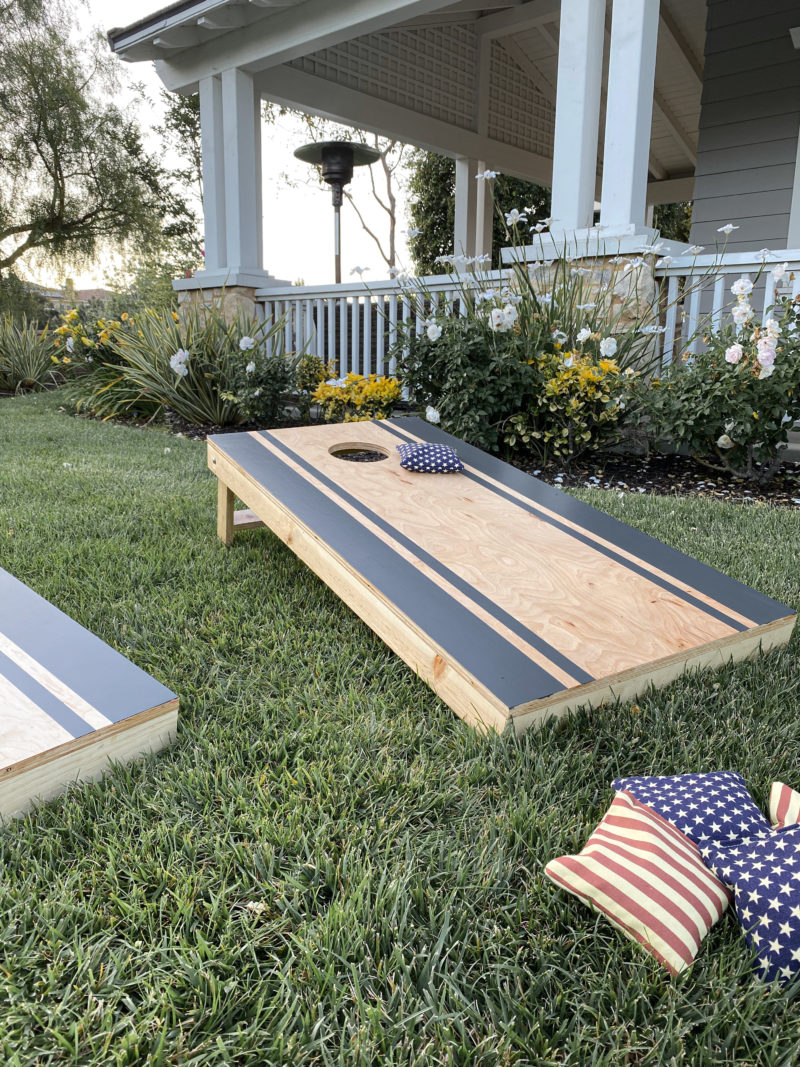
For those of you who would rather not build your own, you can grab an unfinished set and then add your personal touch by painting it. I wanted to keep our design very clean and classic. I was inspired by this set. The simple stripe design is easy to create with painter’s tape.
SUPPLIES
- one inch painter’s tape
- pencil
- measuring tape
- wider painter’s tape if you have on hand
- foam brush
- paint
STEP ONE: Measure Carefully
To create the wide 4″ stripe, begin at the top of your board. Measure 4″ from the edge and mark with a pencil. Repeat that every few inches all the way down the board.
STEP TWO: Connect the Dots
Using the 1″ tape, extend it from the top to the bottom. Be sure you line it up with the dots you created in step one to be certain it is a straight line.
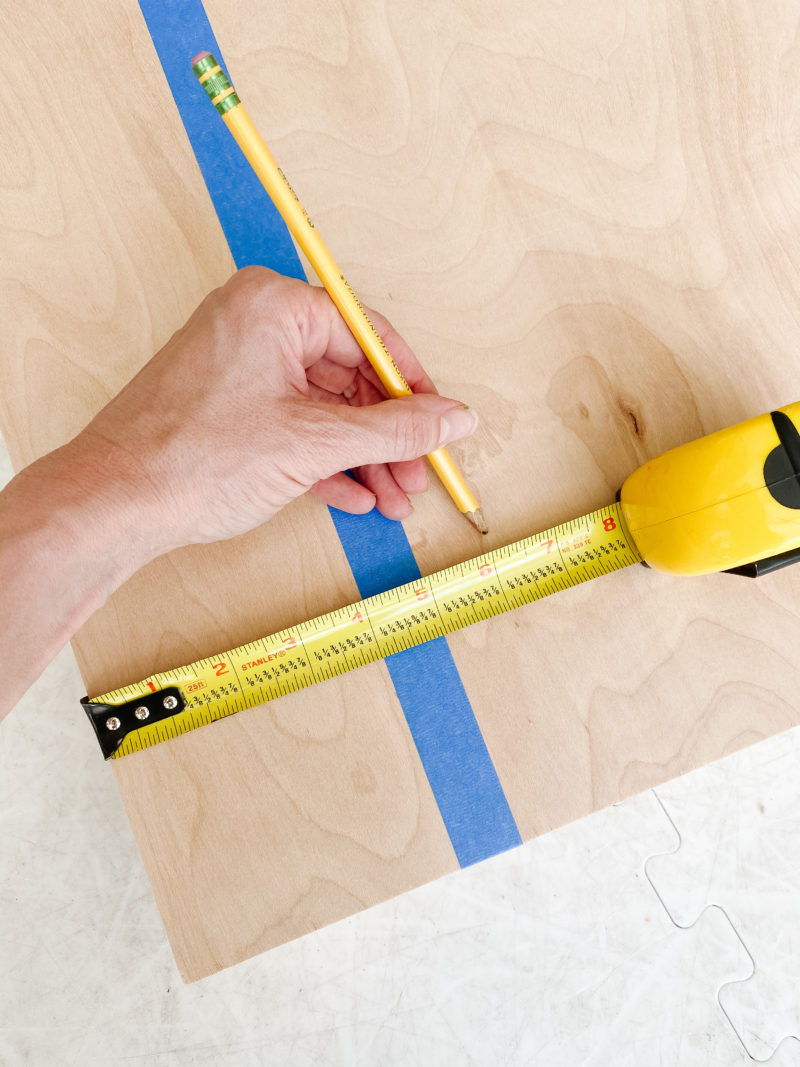
STEP THREE: Measure for Second Strip of Tape
Measure 6″ from the edge and mark with a pencil. Repeat this every few inches all the way down the board.
STEP FOUR: Connect the Dots
Place another piece of tape on the board following the dots you created.
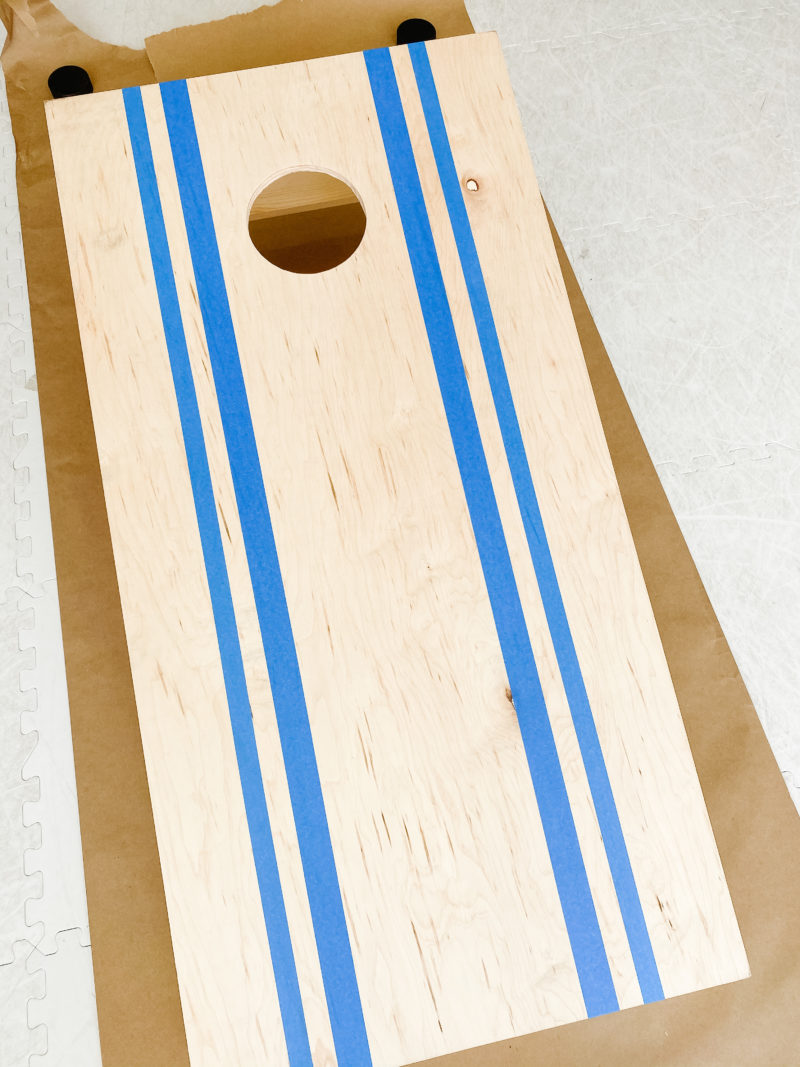
I used a wider piece of tape to allow me to be a bit sloppier when I painted. You can use the 1″ if that is all you have. And that’s it! Now it’s time to paint.
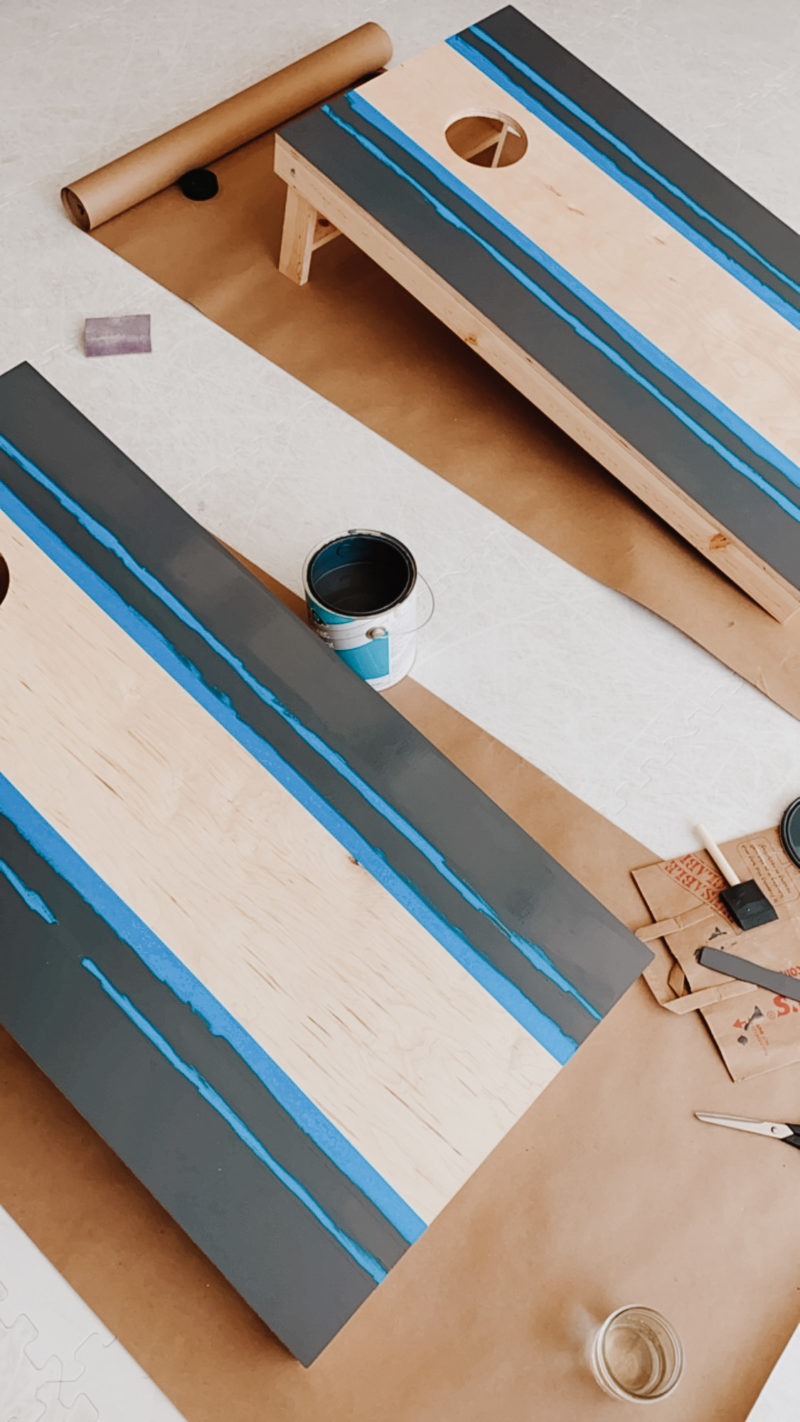
STEP FIVE: Apply Two Thin Coats
Using a foam brush, carefully paint your stripes. Work slowly and carefully near the edges so that the paint does not drip down onto the sides of the board. Be patient. Allow the paint to dry in between coats.
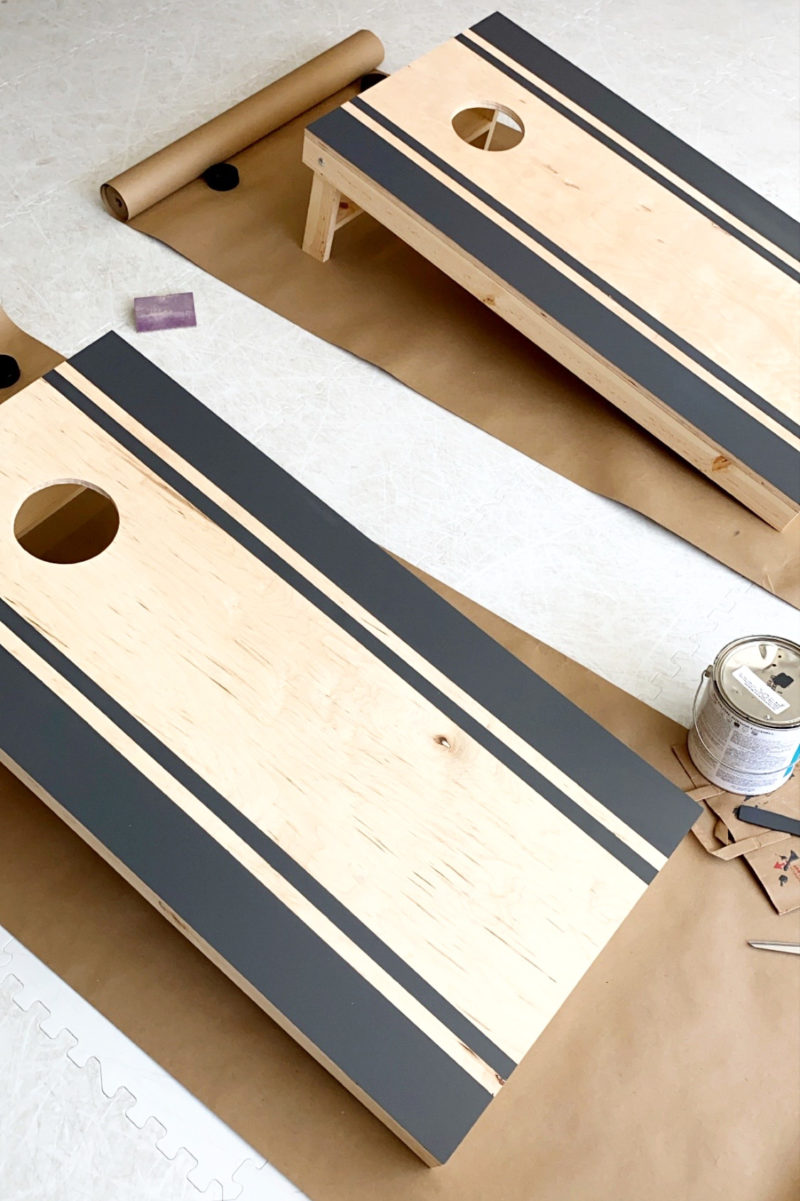
STEP SIX: Remove Tape
Slowly remove the tape as soon as you finish your second coat of paint. Allow to dry overnight before sealing your boards.
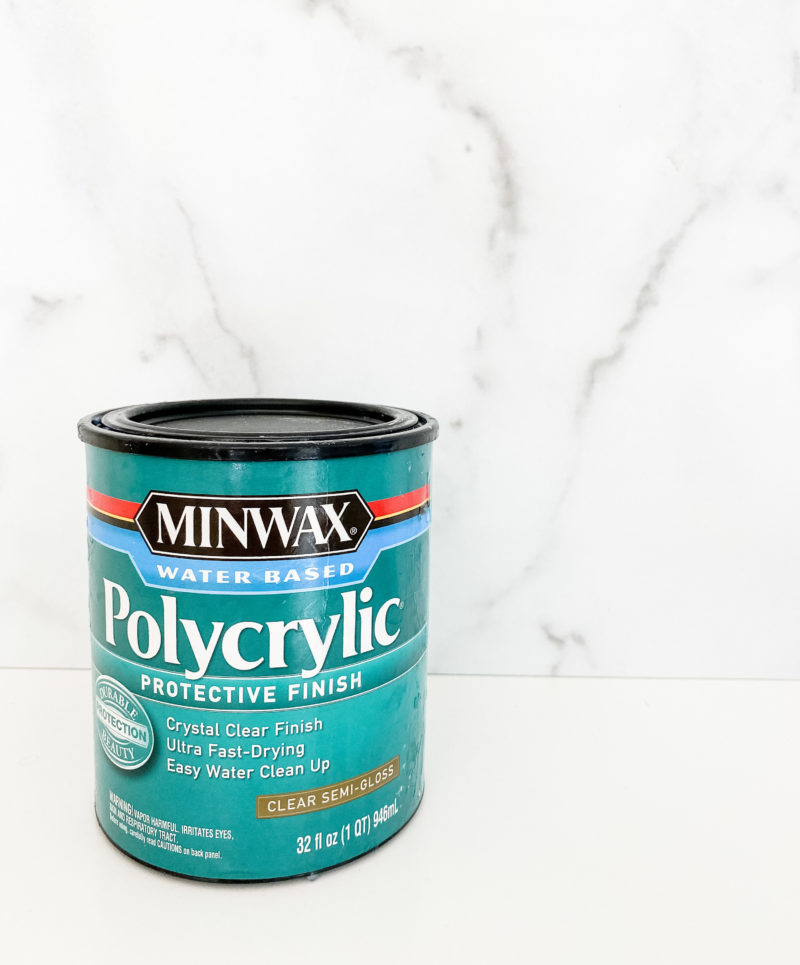
STEP SEVEN: Seal the Boards
You wan’t to seal your boards so that they hold up well. There are two popular choices when it comes to adding a protective finish. You can use Polyurethane or Polycrylic. I chose Polycrylic because it is quick drying, requires only 3 coats, and will protect the board very well.
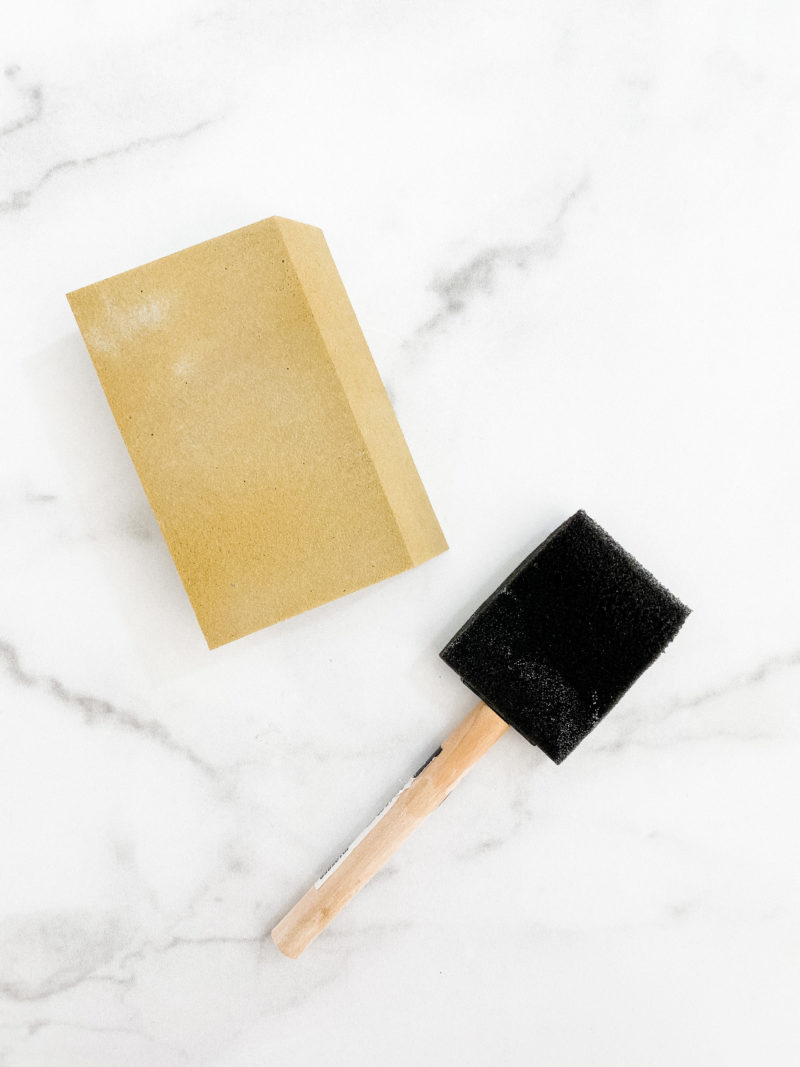
SEALING TIPS
- Do not rush the process. It took me one day to seal the boards (only an hour of hands on time).
- Do not shake the can. That can cause bubbles. Stir gently with a paint stick.
- Be sure your boards are clean. Remove any dust or lint. You will want to ventilate your area, but be sure there isn’t too much of a breeze. You don’t want any debris to blow onto the boards.
- If possible, raise your boards up onto a workbench or table. This will save your back. Place a tarp under your work area.
- Using a foam brush, apply a very thin first coat. Polycrylic tends to be drippy so go slowly and do not add too much to your paint brush.
- Don’t forget to add a coat to all of the sides and legs.
- Wrap your foam brush in foil in between coats.
- Allow the coat to dry for a full two hours.
- Apply a second coat and allow to dry two hours.
- Before you apply a third coat, VERY lightly sand with a 320 grit sanding block. You’ll be surprised how smooth the boards get. Be extra careful on the painted surfaces.
- Remove any dust created from sanding.
- Add the third and final coat.
- Allow to dry for 2-3 days before playing.
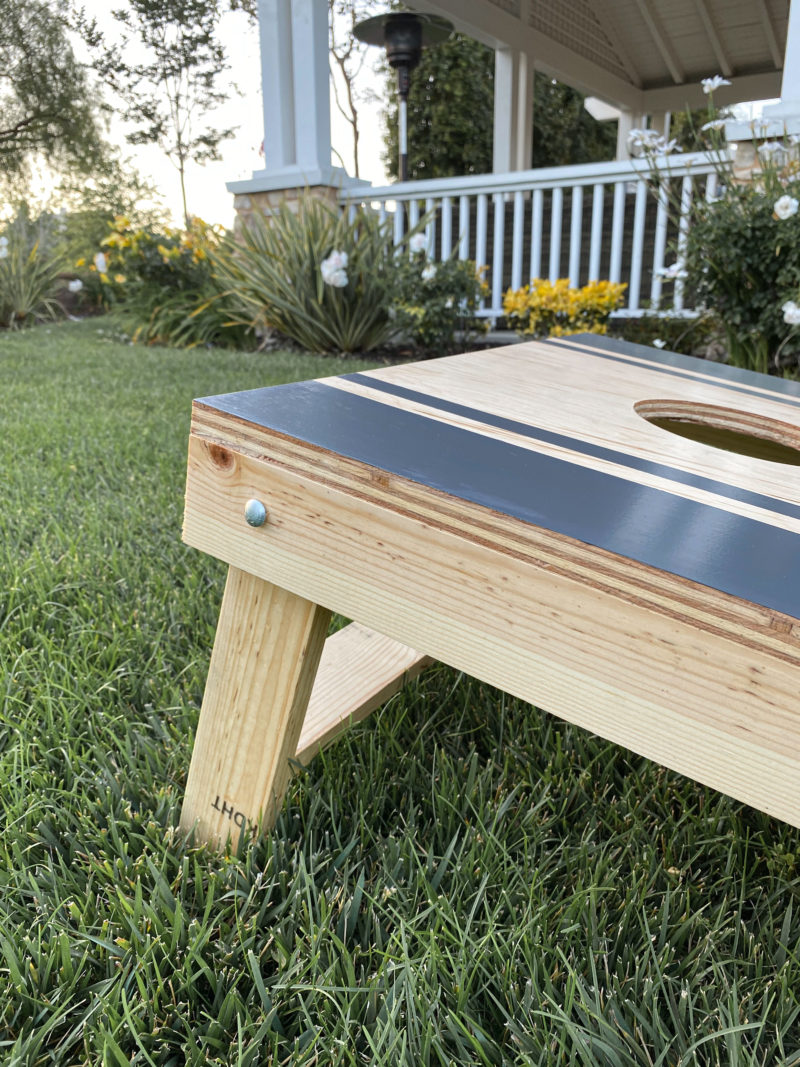
The semi-gloss Polycrylic adds a subtle sheen but doesn’t make the board to slick. The nice things is that these legs easily fold down so it is easy to store and transport.
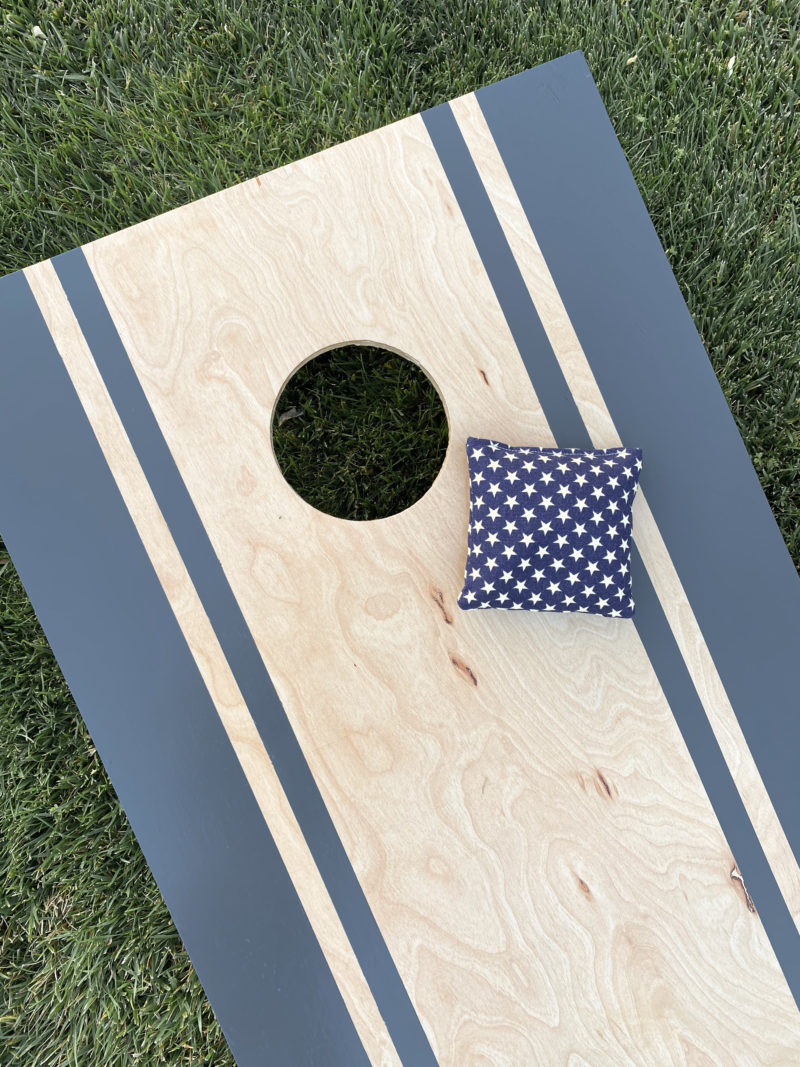
paint color – French Beret by Benjamin Moore
We bought our bags off of Amazon. They have a slight vintage feel to them but I have to say that the stripes appear more red and yellow than red and white.
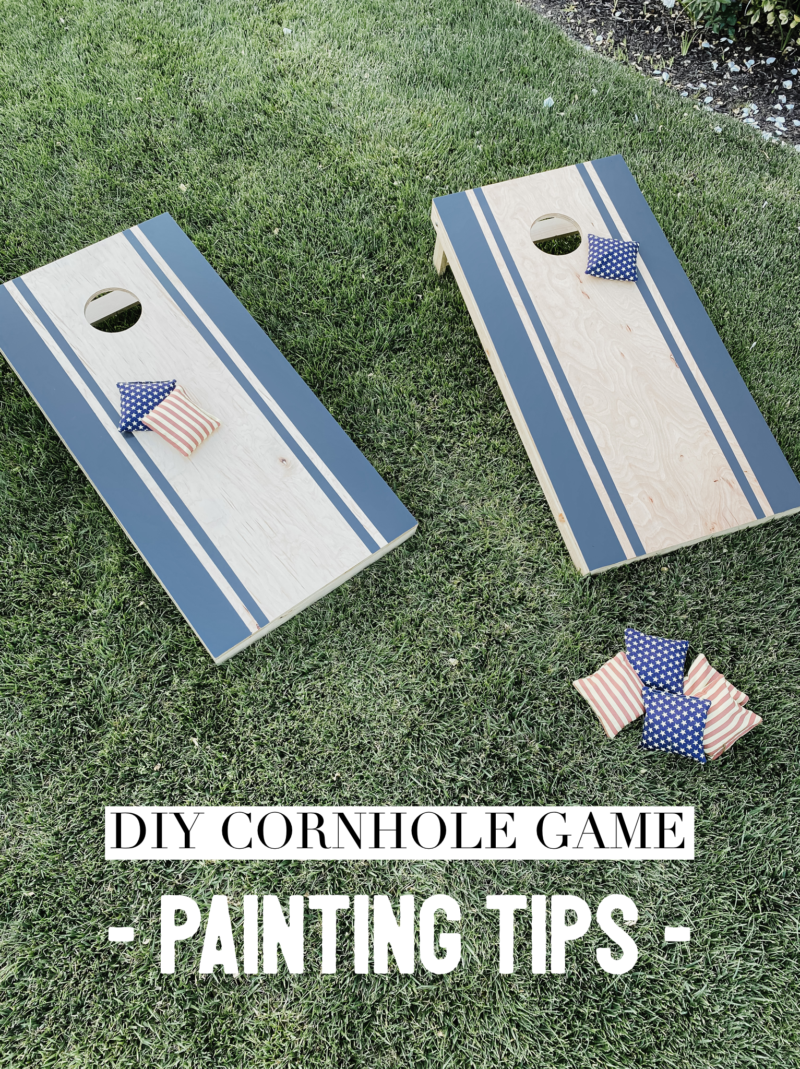
I hope these tips come in handy if you decide to tackle your own set. If you decide DIY isn’t for you, there are so many beautiful options and they make for a great Father’s Day gift idea. Here are some of my favorite sets.
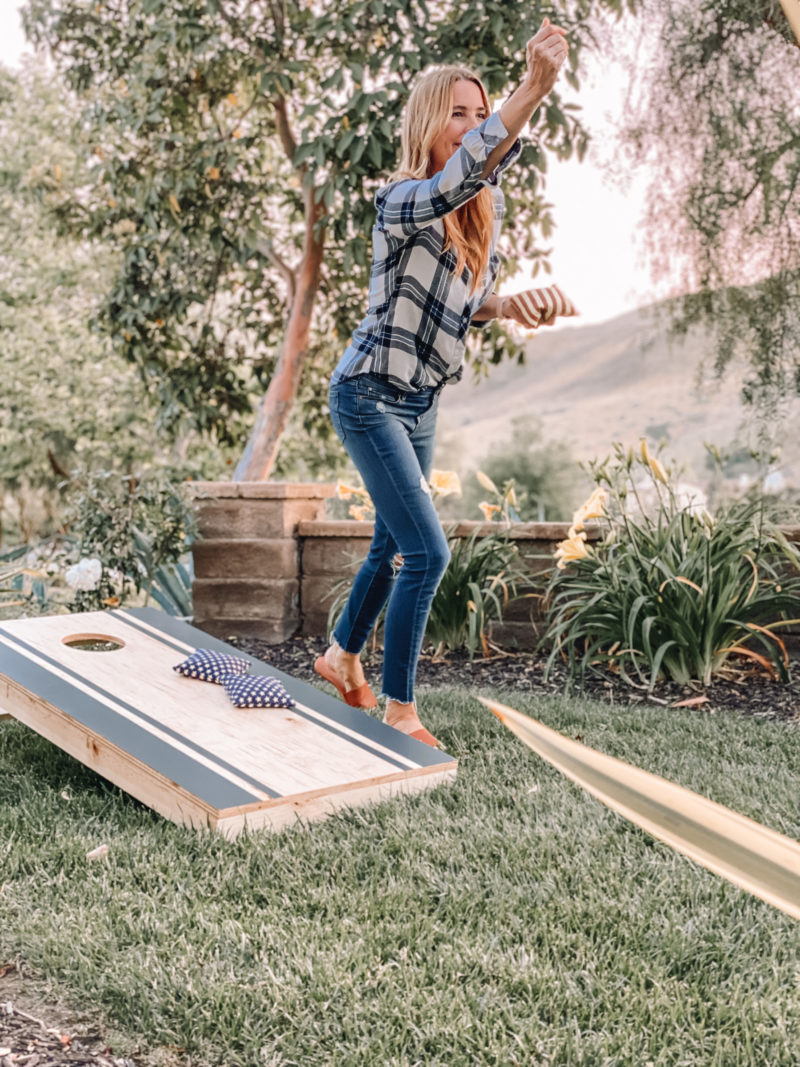
We love playing Cornhole with the family. It’s been a fun way to spend our evenings as the weather warms up. If you’re looking for rainy day fun, you can catch our 30 Favorite Games to Play as a Family.

Your boards turned out great!
We received a set as a gift a few years ago. We also really enjoy playing bocce ball outside with the family.
I’ve been keeping this project in the back of my mind bc we have a wood corn hole like yours. I’m trying to convince my son that we should do this project together this long weekend. Thanks for sharing all the tips!
Could you tell me what color paint you chose?
Beautiful work! May I ask, what brand and finish of paint did you use? Thank in advance.