I love a DIY project that is both quick and simple. Today I have just that. We have all seen those cute little flag stickers that go on straws. Well, you can make your own in no time. It could not be easier to make your own DIY straw flags. 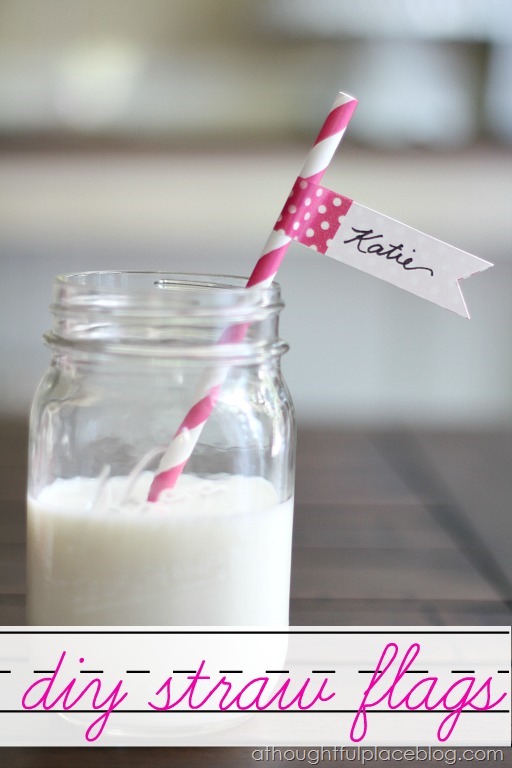
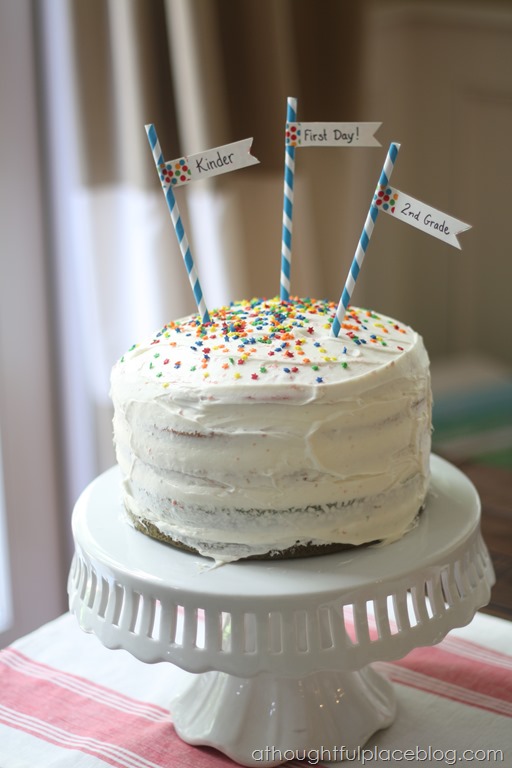
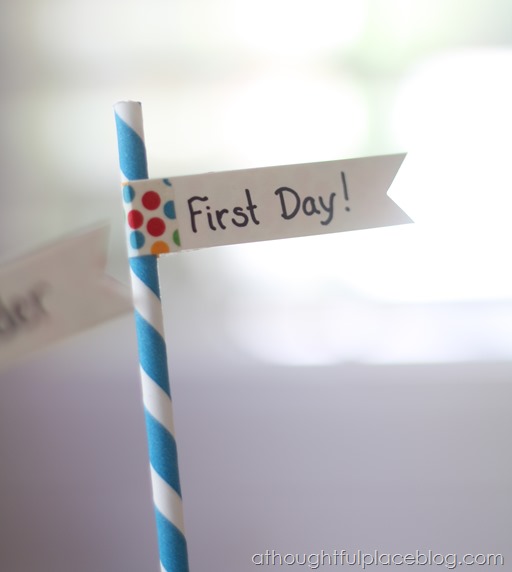
 This actually came about when we were making our annual rainbow cake for the first day of school. I wanted to stick straws in the cake that said, “Kinder” “First Day” and “2nd grade.” I really didn’t want to fire up my laptop to print anything out so I made them myself. I had just used darling sticker flags from Minted at party I recently threw. Those were all gone so it was time to bust out my own. …
 …
… 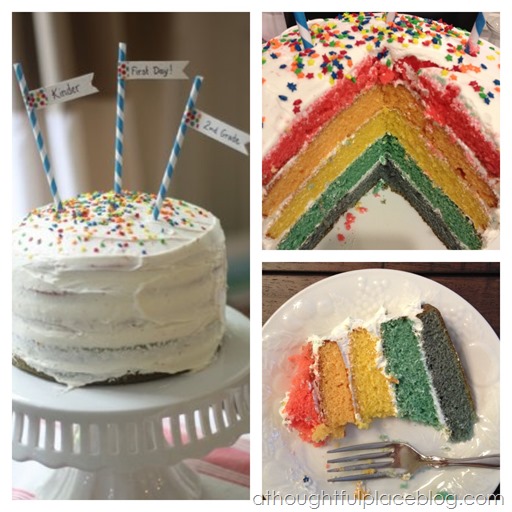 The rainbow cake is really quite simple. I don’t do anything fancy! Out of the box cake all the way. I love looking back and seeing how much the children have grown. Last year’s cake can be seen here.
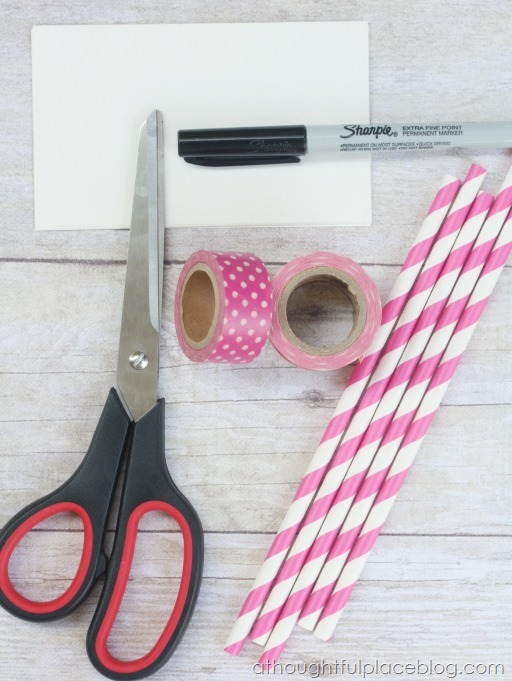 … Simple Supplies scissors a note card or cardstock {anything that has nice body to it} straws cute washi tape a marker or sharpie pen …
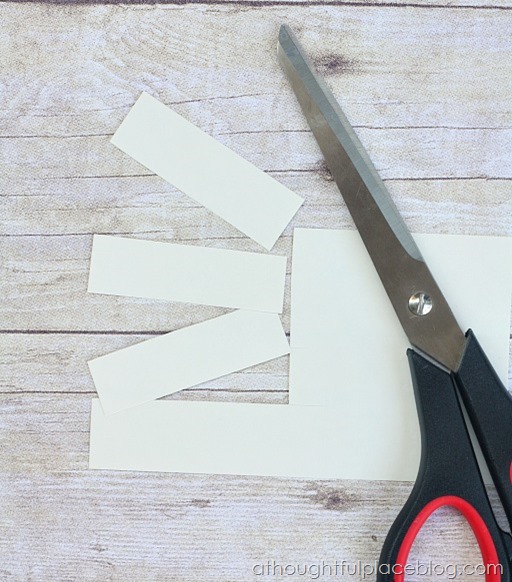 Cut out strips that are roughly 2-2 1/2 inches long and the width of your washi tape {or at least close to it}. No exact measurements required, my friends.
 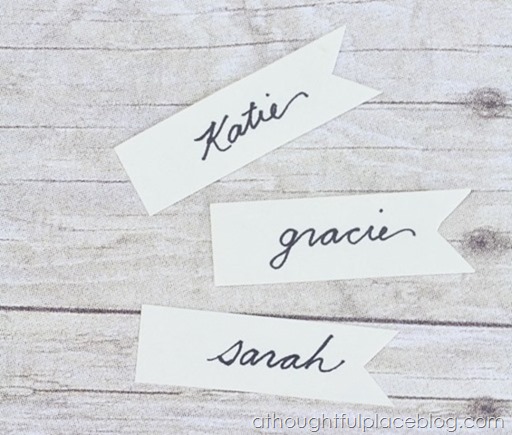 Cut the ends in from each corner to form the flag. Write names or sentiments on each flag.
 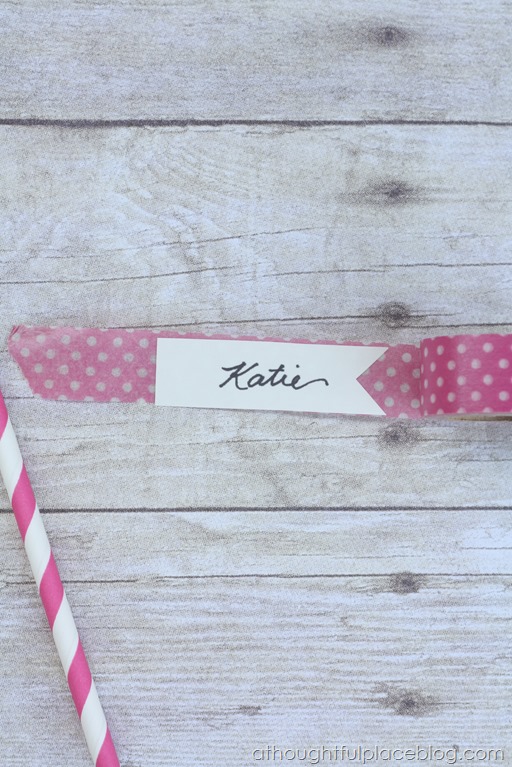 Pull out a strip of tape and place the flag on it. Leave roughly 3/4 inch on the left side.
 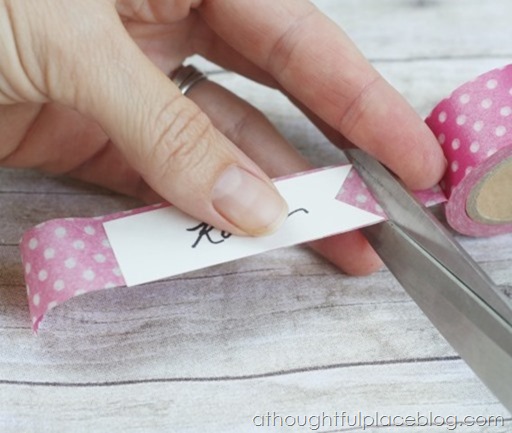 Trim the excess tape on the right side and cut along the flag edge. Trim any extra along the top or bottom edge.
 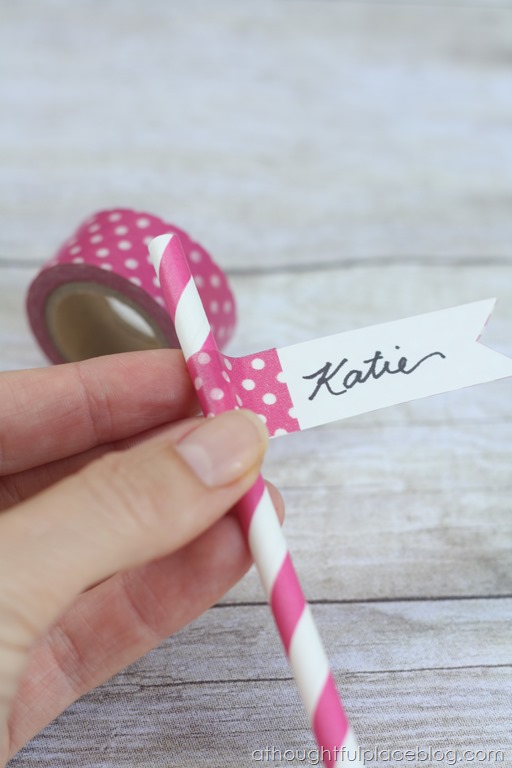 Place the flag next to your straw and wrap the extra piece of tape around to secure the flag.
 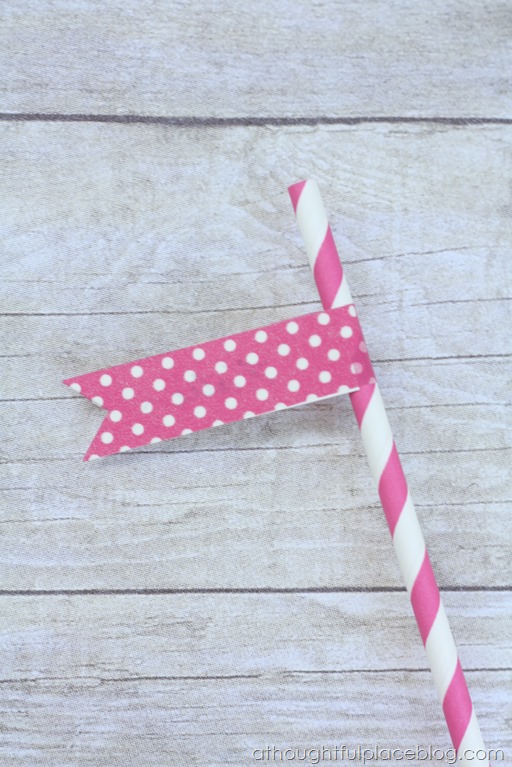 The back of the flag now looks darling and you have a straw flag in less than two minutes.
 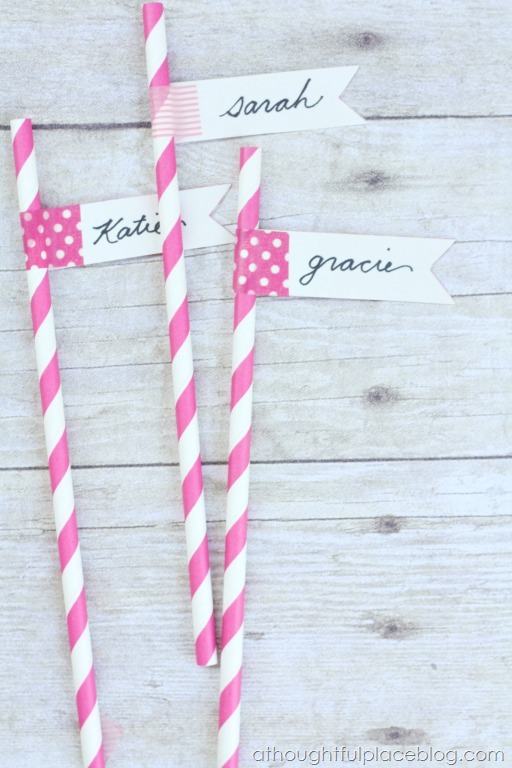 …
… 
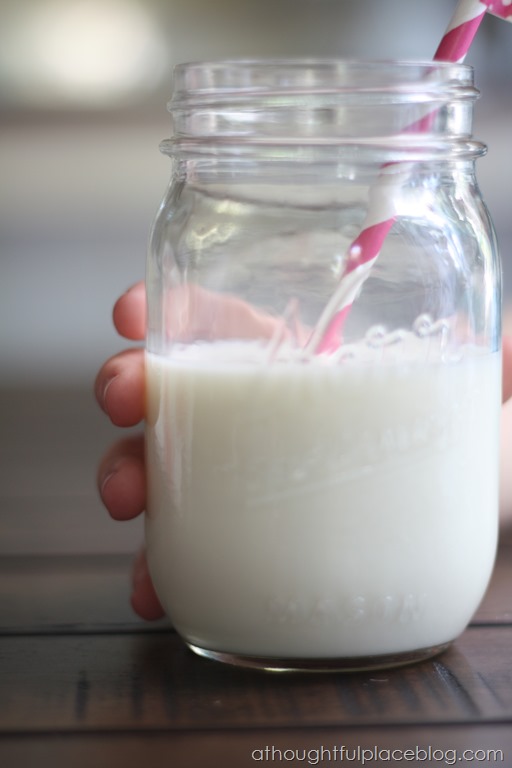 There is really nothing to this project and I am excited that they can be made so quickly. The possibilities are endless. They would be cute stuck in individual cupcakes with a monogram or name. I also love the idea of using them for special days in a glass of milk or when friends come to visit.
I hoard those paper straws – for some odd reason having bunches of them in my pantry makes me happy- ha! Love these – you're such a fun momma – bet they loved coming home to a piece of that cake!
Totally adorable. Like Carmel I have WAY too many paper straws. I also created little flags on paper straws for a friend's baby shower. Of course I forgot to take some pics! Loving all the entertaining ideas you have been showing us!
I love a paper straw! Just picked up a package of black and orange ones yesterday for Halloween. Now I know what I'll be adding to them. So cute!!
So pretty! I bet your littles just loved that! So thoughtful & fun. I will totally be attempting these!
Xo Kylie
I agree with Carmel…You are a fun Mom! Such a cute and simple DIY. It would be fun at our Christmas party using our red and white striped straws I bought last year.
such a cute idea!
Such a simple DIY that adds a personal touch! How fun to do the back to school cake! Love it!
Caaaa-uuuuute!!!
Super cute! Love the cake too.
Love these! So simple to do and I actually have all of the supplies in my craft closet. Can't wait to try it.
So cute! Simple and easy is the best! Thanks for the great tips!
Blessings,
Kayla
http://adelightfulplacetodwell.com
Gotta love Washi Tape! I'm sure your kiddos loved it!
So simple and sweet, I make these too…..most recently from the tops of some paper cups that I cut down to use on a dessert bar. Thanks for sharing on craft schooling sunday!
Loving this quick and easy craft! Thanks so much for sharing this at the DI & DI Link party I loved seeing this. Pinned and shared it 🙂
I love this idea. These straws could take the place of wine charms for a party! Love how simple, but has lots of party impact.
Those are adorable. Love the straws too!
Thanks for sharing at Funtastic Friday!
So easy & looks great. Would be nice for a brunch. Thanks for sharing at the Inspiration Spotlight Party @DearCreatives Pinned & shared.