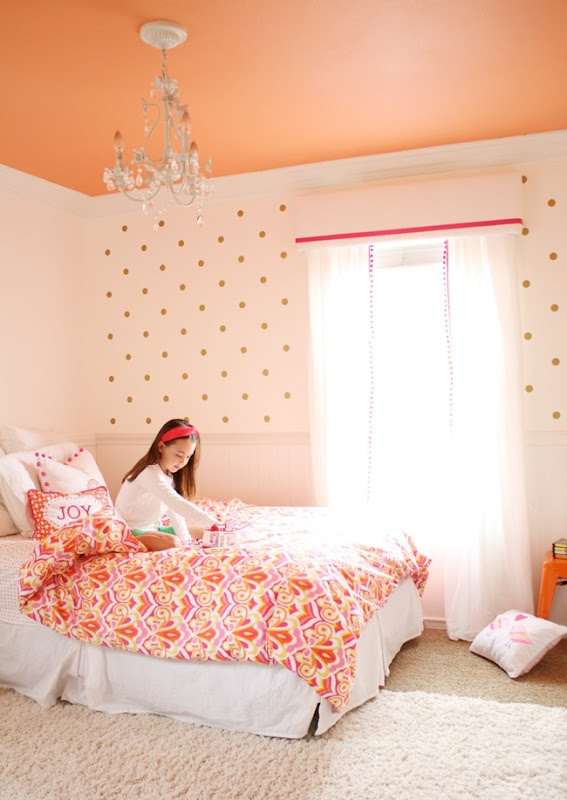
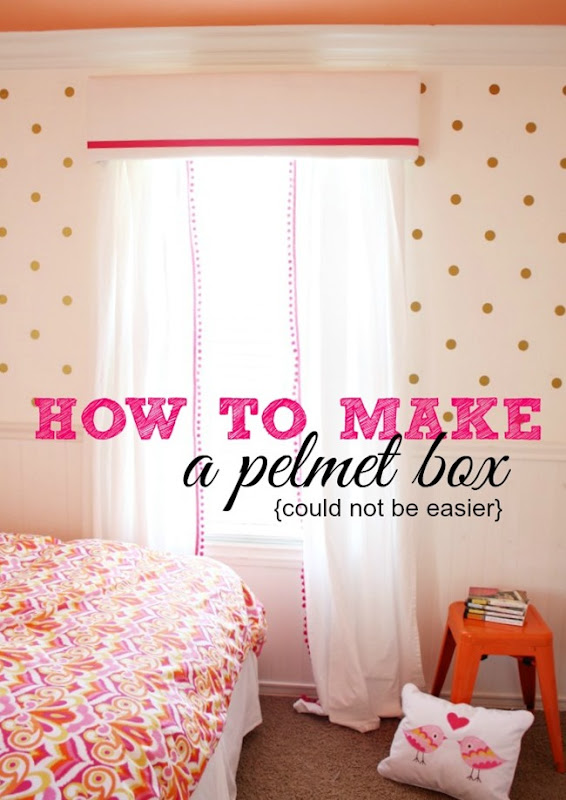
Hope you all had a glorious weekend. We soaked in some great pool time and enjoyed every second of our long holiday weekend. If only they were all three day weekends. At long last! I know I promised this tutorial and so many of you have been asking. These pelmet boxes really are a snap to make and create a polished look in a room. The possibilities are endless with the fabric you can use and the statement you can make. Let’s get started.
-
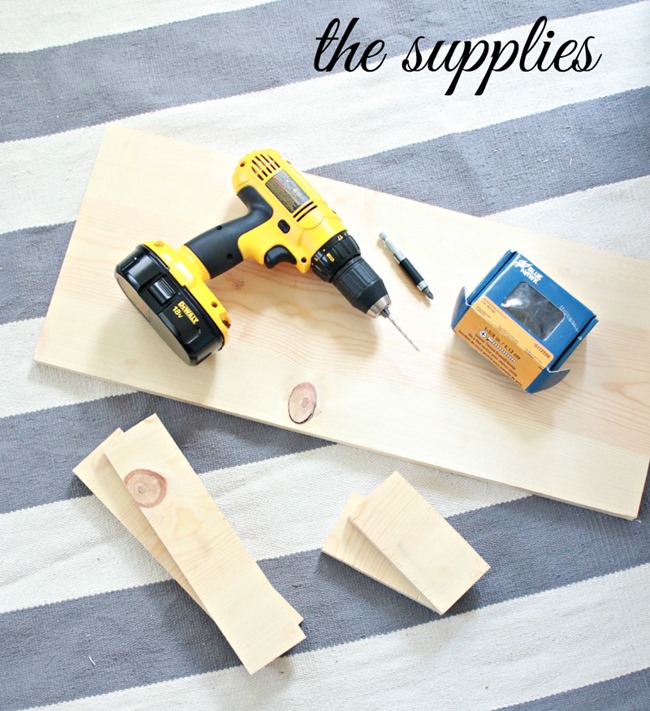
one 12” board cut to be four inches longer than the width of your window
-
three 3” returns cut {cut one in half again}
-
12 screws
-
drill
-
fabric to cover the pelmet
-
batting
-
staple gun
-
trim if desired
-
two keyhole hangers
-
one spring rod if hanging curtains inside the pelmet box
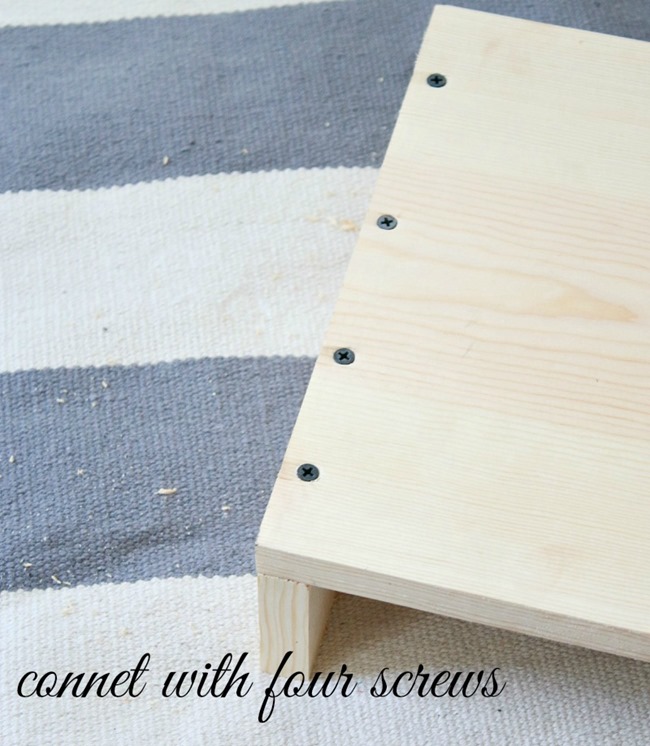
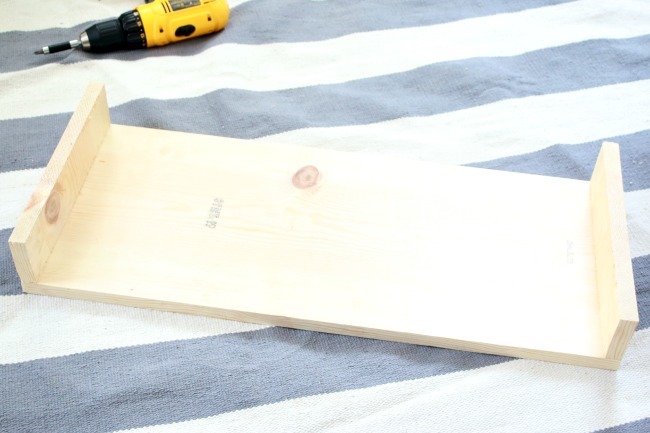
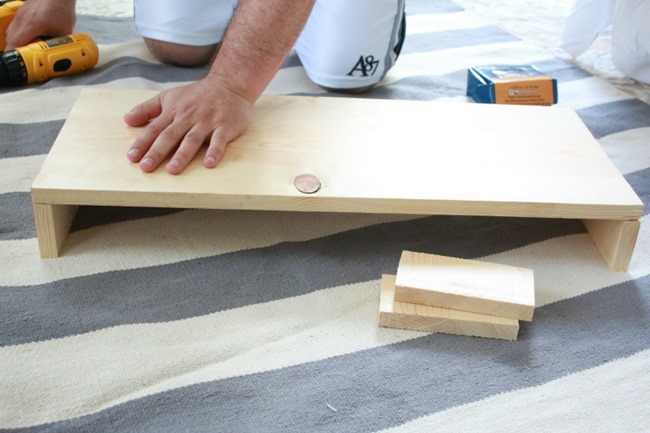
The length of the board is determined by the width of your window. Measure the window width and add four inches {two inches for each side}. Once your wood has been cut, line up the board with your returns and drill four holes in each side.
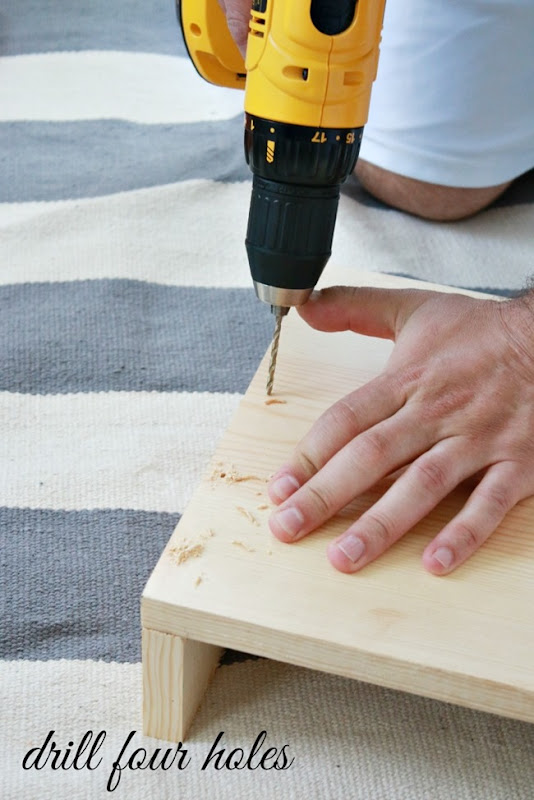
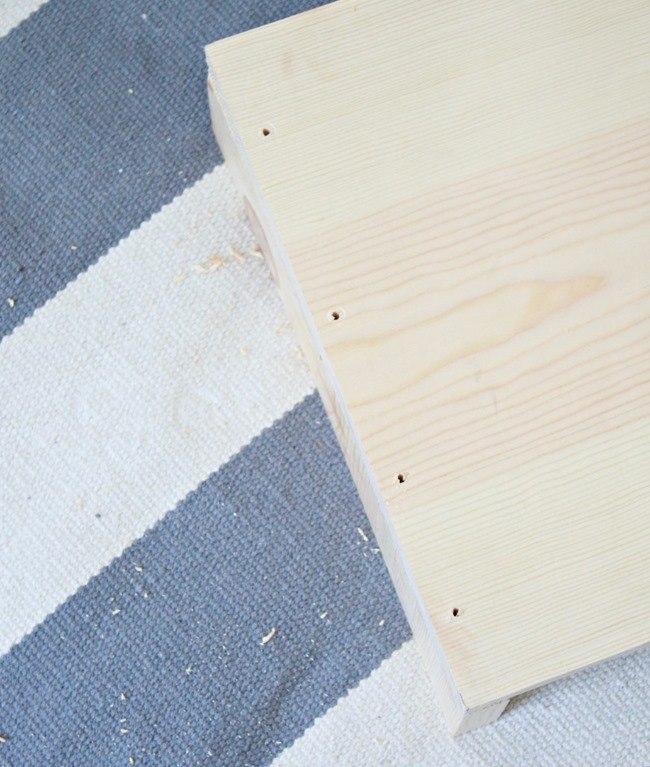
Attach the returns to the board with four screws on each side.
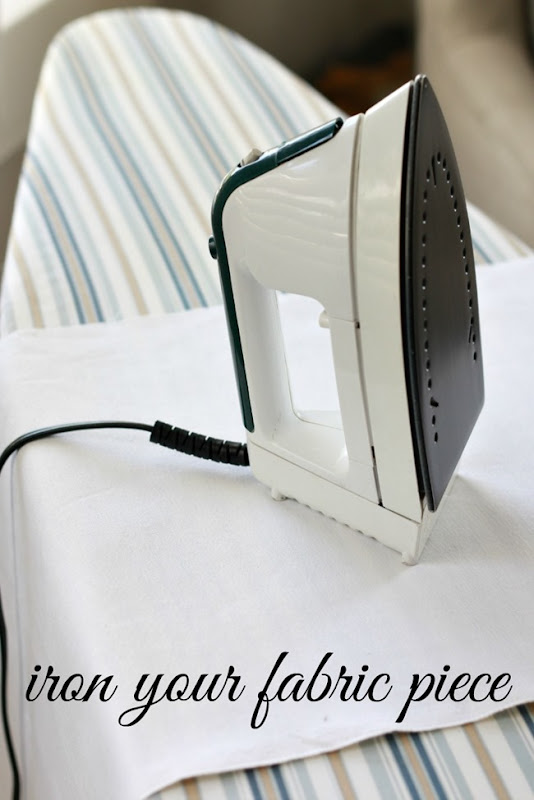
When cutting your fabric, lay the newly made pelmet box on your fabric and allow enough extra so that it can be wrapped around each side. Be sure to iron your fabric so that there are no wrinkles when it gets stapled to the pelmet box.
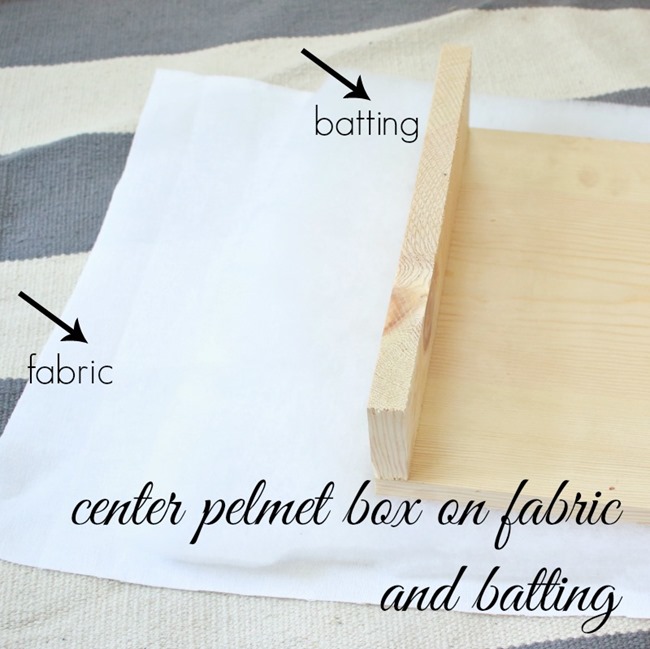
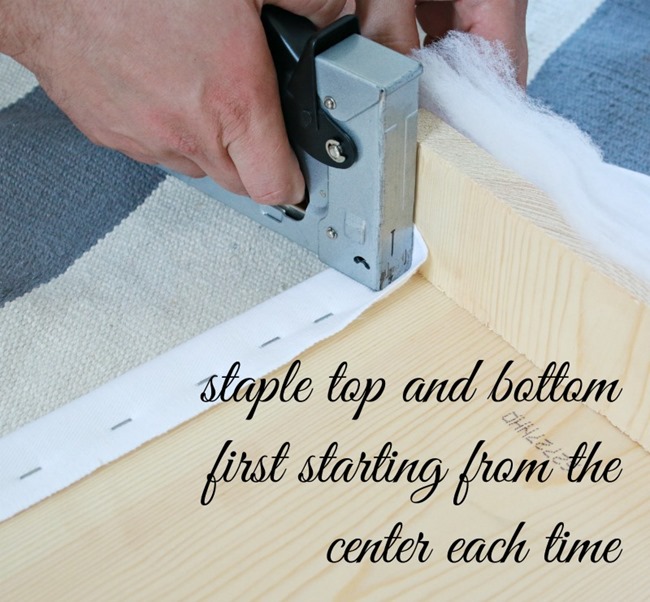
Lay down the fabric, batting and pelmet box. Then convince someone stronger than you to do the stapling! It can hurt your hand after a while! Always pull snug and begin stapling in the middle of the board and move towards the sides. If there is a pattern on your fabric, be sure you line it up so that it is level.
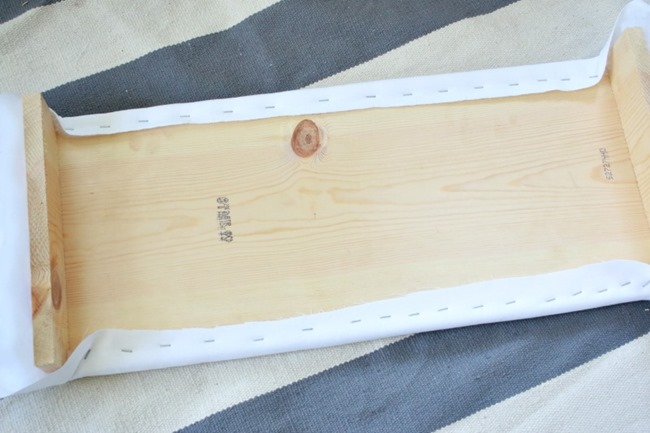
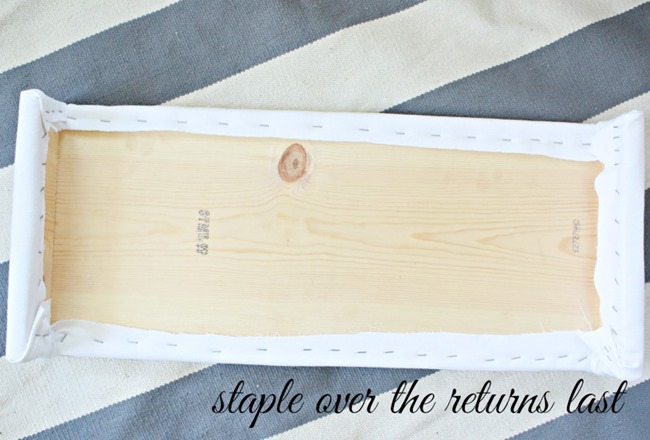
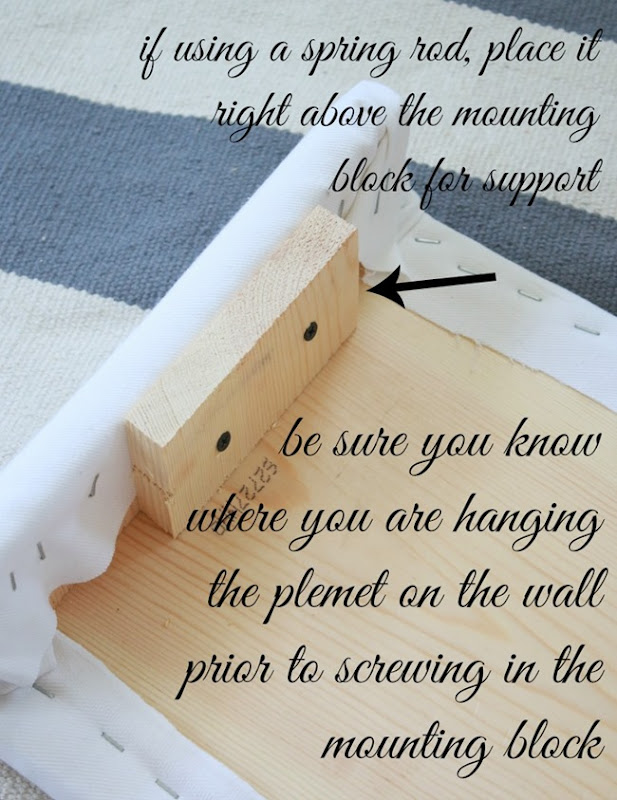
In our daughter’s room we hung drapes under the pelmet box so we used a spring rod. You will be adding the two shorter blocks of wood to each side. These are your mounting blocks. You will be attaching a keyhole hanger to each. If using a spring rod, they will act as support for it on each end. If the pelmet is quite long, I recommend adding another support block in the center.
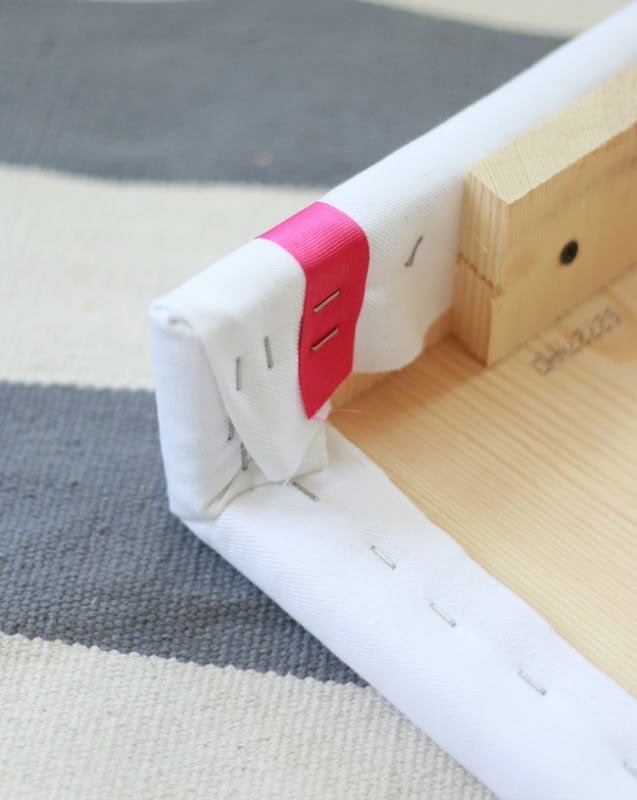
We added pink ribbon trim to these pelmets. I stretched it across the front making sure it was straight and stapled it to the sides.
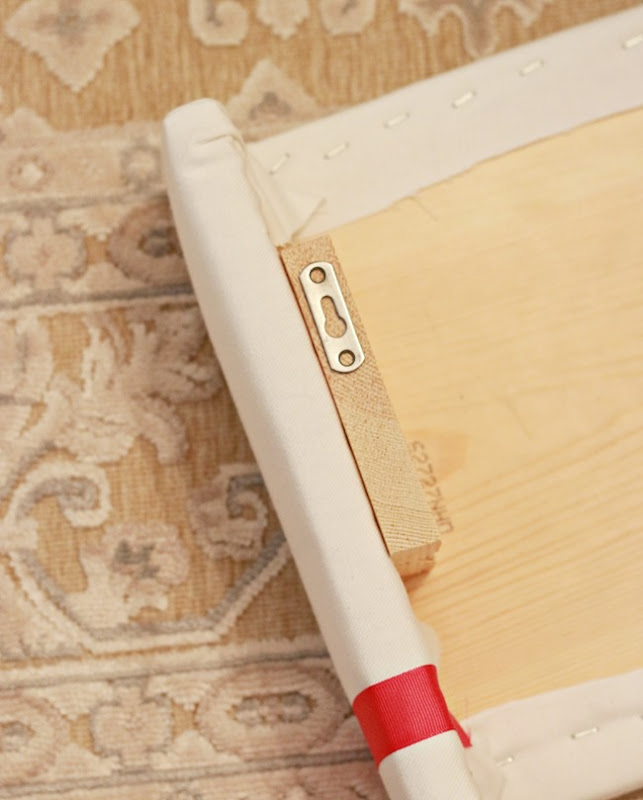
We ran out of the exact keyhole hanger we like to use but I wanted you to see how it works. We prefer one like this.
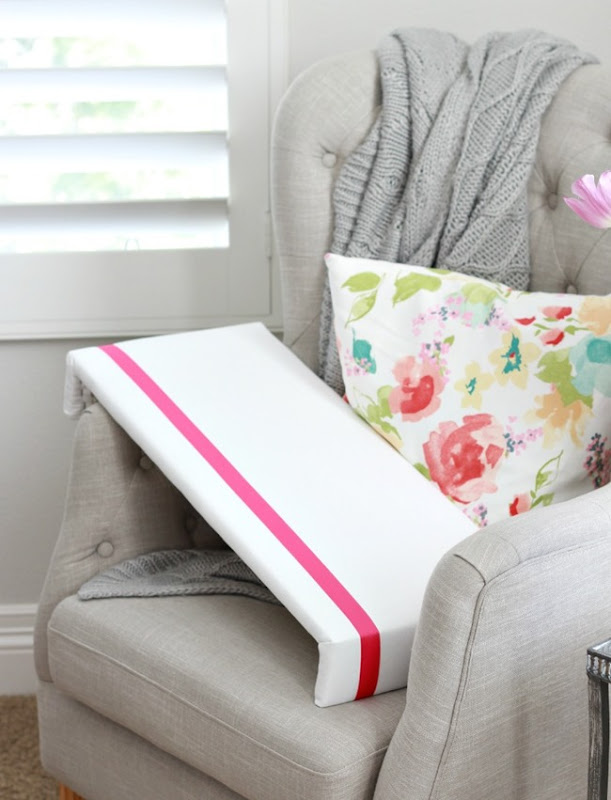
If you are anything like us, your finished product will lay around for a few days before you get around to hanging it up. She has two windows and this one we made is for the second window. I still need to sew the pom pom trim to the other drapery panel. All in good time! The pelmet box only takes about 30 minutes to make. You can have your local hardware store do all of the cuts for you. Makes it so simple.
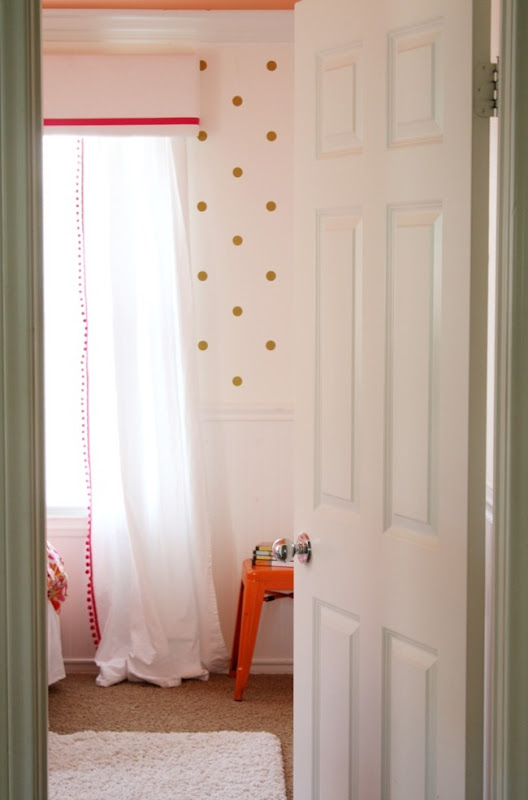
My favorite is walking down the hallway and seeing her pelmet box and drapes. It is a big impact for very little money and time.
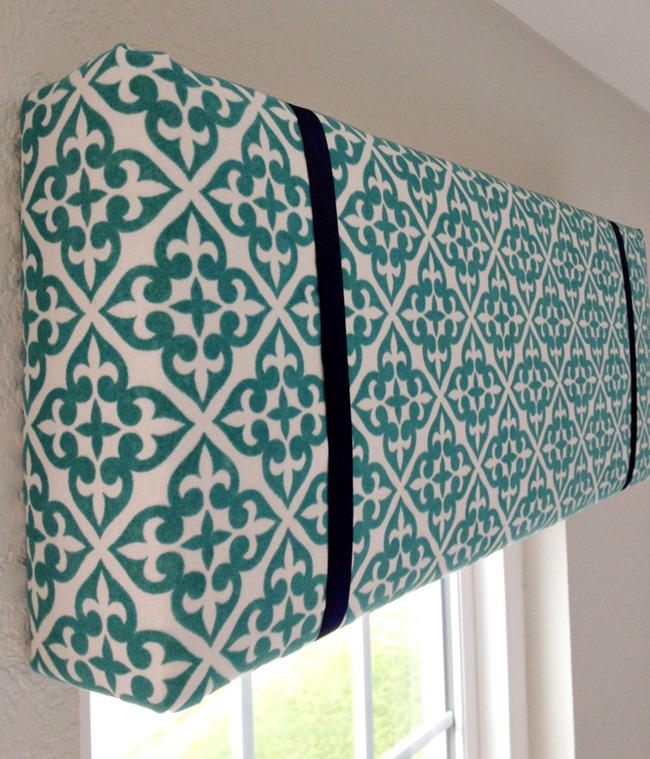
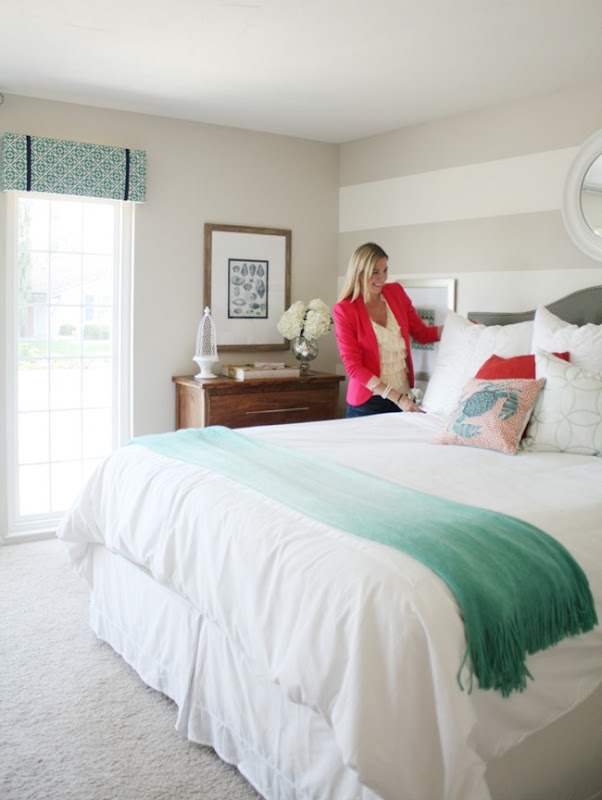
This really is a simple project that anyone can do. Enjoy your day.
I've been waiting for this tutorial!! Thank you. I have a huge kitchen window in our vacation/retirement house and I don't want to put up much of a window treatment because I don't want anything to compete with the view. When I first saw your post with the pelmets in your daughter's room I decided that would be the the perfect way to add a little texture and color without having shades or curtains. Thanks for going into so much detail~~makes it easier to imagine actually getting this done. Hope you're having a fabulous summer!!
Look so good! Love the tutorial!
Super cute. Thanks for the tutorial! It does look really easy. (btw, I wish I could comment as "name, URL" on your blog. I don't use my google account anymore.) 🙂 Have a great day!
Great tutorial! The pelmet box is the perfect finishing touch for R's room. Beautiful Courtney! Such a sweet room.
Love the tutorial! Looks great 🙂
I have been dying to make some of these, thanks for sharing, I hope it is as easy as you say!!
It may be time for me to upgrade S's pelmet from foam core board to actual wood!! #twss
Looks so great…her room is adorable!
Love it! Perfect for any room.
That's exactly how I built mine too but never made a tutorial. When people ask me how I made mine I should just link to your page 😉
Great tutorial! I may actually be able to pull that off! Love her ceiling every time I see it!
oooooo they both look so pretty and preppy! love how they turned out – great tutorial 🙂
Hi love your Pelmet, I have made one joining two materials with binding the bottom material is perfect and the top one which is the mail colour I can’t get to flatten out, have already taking the binding off and re-sewn and still the same all ruffled very frustrating. Have you any adea why this is Many thanks
how do you hang it once the box is completed?
Hi!
Where did you purchase her bedspread? It’s gorgeous!
I love these! Two questions, what are the dimensions of your board top to bottom, and how many inches down from the bottom of the crown moulding did you hang it?
Thanks! I’m inspired!
Sharleen
THANKS! I just did this project in like 20 mins and looks great! Thanks!
That makes me soooo happy. That make sharing projects so worth it! Thank you for taking the time to let me know. And thrilled to hear that the tutorial worked!
xo
Is there any chance to make a 140 inch one to go across patio doors,..? If you could give me any idea’s
Thanks
Looks so easy but maybe too much for a long one
Great tutorial! Easy directions to follow. I made this for our granddaughter’s room and covered a roll up shade with a contrasting fabric. Thank you!
Fab tutorial. I had suspected how these pelmets were made but your guide made it so much easier…….now to get around to putting this plan into action
I LOVE this tutorial, but I’m a little stumped as to how to work around a fabric issue. The fabric I’ve chosen is only 54″ wide, and the window is 48″ wide. Essentially, the fabric will not completely wrap around the entire pelmet box. How would you recommend covering the pelmet?
My initial thought is to cover the front with one piece and let the ends wrap around the side as far as it will go, then take two more pieces and cover around the sides all the way to the back and have the “seam” at the corners. Any other ideas?