Happy Monday to you all! Today I want to show you how to make a table runner using a piece of acrylic. This has been my new favorite addition to our home in quite some time. I created the table runner out of desperation just before hosting Christmas dinner. I had a darling roll of candy cane stripe wrapping paper that I really wanted to use as the runner. I knew paper wouldn’t hold up to drinks and eleven plates of food so out of necessity this idea was born. It occurred to me that a long piece of acrylic could be a great way to have not only a child-proof runner but a way to use all of those cute papers that exist out there. Speaking of, I just picked up these! The floral wrapping paper below is from Target. ……………..{acrylic} table runner 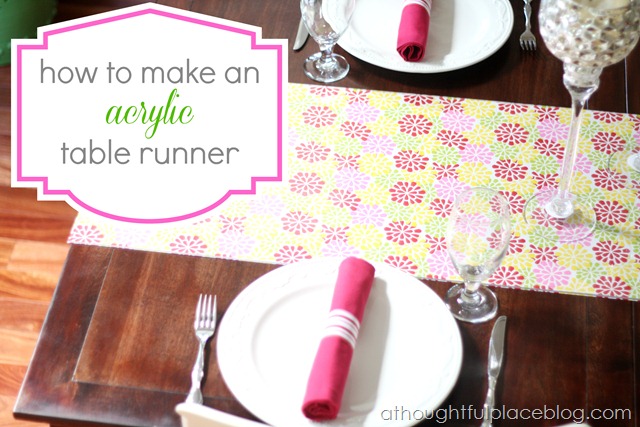 So here is how I did this. I went to Lowe’s {my favorite place for cutting acrylic} and bought their largest piece. If you are unsure about acrylic, just ask a lovely salesperson where their acrylic cutting spot is and they will direct you. Easy. Oh, and cuts are free. It was a splurge at $50. However, here is how I easily justify it {ha-ha}. Each cute fabric runner I seem to fall in love with seems to always be right around $25. That very quickly adds up. With this idea, I can use any wrapping paper or fabric. The fabric will always stay clean which is another plus. I also love that I can take advantage of the cute Target $1 rolls that they always have. Inexpensive and I can change it up with the seasons or my mood. And in keeping it real . . . I like to switch up my table a ton so now I literally can afford to do that whenever I want if I am using inexpensive wrapping paper.
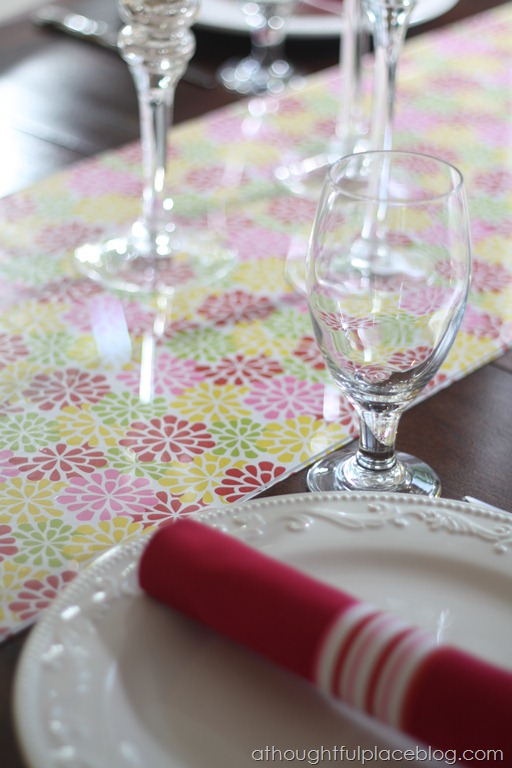
 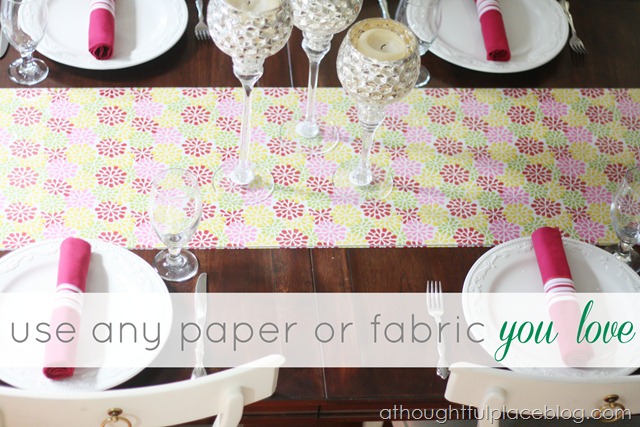 The piece was of acrylic was 6’ x 4’ {if I remember correctly} so I actually was able to have two runners made. The one below is about 15” wide and I have one more that is wider in case I want even more print on the table.
 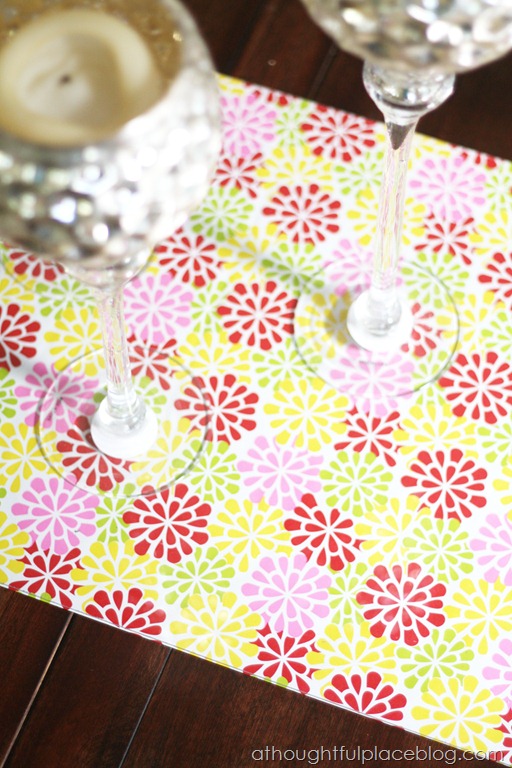 In the photo below you can see the edge of the acrylic. I also love that I can literally wipe down my runner! And it’s nice to set down wet drinks without any issues.
 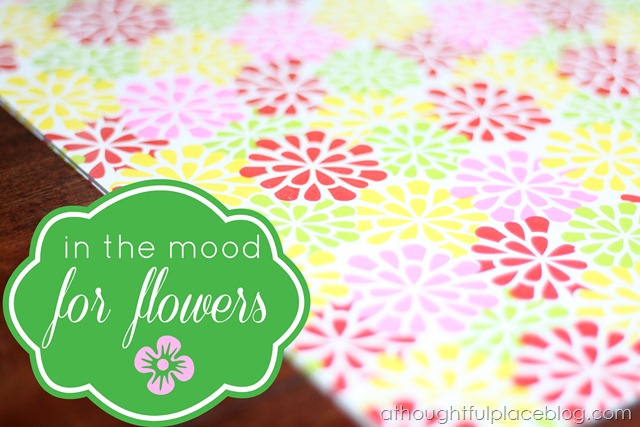 Tips for having acrylic cut: Measure your table length carefully. If you have a leaf that will go in the table at some point, I recommend having the piece cut to match the everyday size. Then when you add the leaf, two plates can be on each end with out the “bump” of the acrylic. Or you can have them cut you an extra piece to add when you use your leaf. Also, be sure to set your table and see how wide you want the piece of acrylic. You do not want it to interfere with your dinner plates. Just think it through before you have it cut so that plates are never in danger of being off balance. Also, be sure you have a car that will accommodate a long piece of acrylic. I didn’t think of this until I got back to mine and it barely fit! Here is the candy cane stripe paper that inspired the acrylic runner from Christmas dinner. The paper is from the Martha Stewart line and I must say I am a huge fan. The paper is a nice heavy weight.
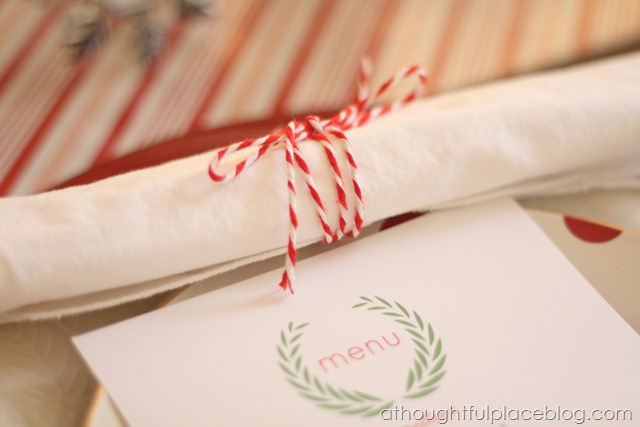 The tutorial for the menu above can be seen right here.
  So what about you? Do you have some beautiful wrapping paper or fabric that would work under an acrylic runner? Would love to see what you come up with. I know I am looking at papers in a whole new light! Enjoy your day. {to see my monogrammed tray using acrylic can click here} Sharing this runner with Beth over at Homestories A 2 Z
What a great idea, thank you for sharing! I would have never thought of that- I have a fascination with pretty wrapping papers but never know quite what to do with them. I'm running out to get my own piece of acrylic asap 🙂
Great idea…especially in a house with little people. The wipe clean-ability is fantastic!
How cute! I love table runners and to make one would be fun! Great DIY!
That is genius! I have loved using acrylic inserts in my serving trays so I can change out the pattern underneath, but never thought about this. I love the fact that it is washable. Hate ruining a pricey runner with candle wax and spills.
Thank you for sharing such a great idea! And $50 dollars seems like a deal to me, when you think of how many time you can use it;)
I used wrapping paper for our Christmas tablescape runners, but I didn't put acrylic over it. That's a great idea.
http://www.willscasa.com/2012/11/dare-to-diy-christmas-tablescape/
Oh, we are on the same wavelength. This works well because I can set the water glasses on it without hurting the paper. Have a great day.
What a fantastic idea!! So simple and clever. I can't seem to resist cute wrapping paper either, so this is a perfect way to get great us from it – thanks for sharing!
Amazeballs! Seriously – this is pure genius! I had no idea Lowes even had acrylic!! Totally love this – thanks for the tip girlie!
You are so smart Courtney 🙂 I LOVE this idea!! I buy the Target dollar bin wrapping paper too. Definitely worth the money for the acrylic and being able to switch out the papers. I'm definitely heading to get me a piece cut 🙂 Thanks for the awesome idea!
Love this! Where do you store the acrylic when you are not using it? And the edges on yours look nice…are they sharp? Do I need to find the "good" acrylic cutter person at Lowes, lol?
Such a pretty pattern and so genius! I'll come eat at that table 😉
I never thought of this! With all the cute paper this is totally genius!
you smart little cookie!!! such a great idea!
This is so great…especially with small kiddos around! They try to ruin anything and everything I ever put on the table so this is so completely perfect for the little tornadoes (c;
Your "flowers" runner is a nice touch of happy and spring! I agree with others…that is a genius idea!
okay, i have to say that my mind is blown a little….okay a lot. but because i am not smart or crafty, i need you to dumb this down for me. is the paper sandwiched between 2 pieces of acrylic or is it directly on top of the table?
sincerely,
the lowest common denominator
love it! our kitchen table has little grooves in it that I HATE to wipe all the food and crumbs out of so i always have a table cloth but have toyed with the idea of a piece of acrylic covering the table top… any feedback on that idea? would the edges be to sharp??
I love this too, and I am a true newbie trying to dip a toe in the DIY world. Is the paper sandiwched between 2 pieces or did you simply wrap/tape on one side?
Such a great idea, Courtney! $50 very well spent.
This idea is genius! I can't get enough acrylic here recently!
Great idea ! Thanks for sharing 🙂
Wonderful idea, can't wait to try it! I have several rolls of Vera Bradley patterned paper that I am excited to try! That might be paper you would want to check out, great heavy weight and gorgeous patterns (plus the papers are double-sided for a coordinating look – I'm thinking napkin rings, etc….)!!
Wonderful idea, can't wait to try it! I have several rolls of Vera Bradley patterned paper that I am excited to try! That might be paper you would want to check out, great heavy weight and gorgeous patterns (plus the papers are double-sided for a coordinating look – I'm thinking napkin rings, etc….)!!