Good morning. When I shared our laundry room plan on my stories, I was shocked with how many of you have water lines you would like to move. But like us, you don’t know where to begin. First and foremost, we are not experts and consulted many online videos. There are plenty of them out there. But bottom line, if you are handy, we want you to know that this is absolutely doable. In fact, moving the water lines took about one hour. That’s it! I can’t believe we put this off for years.
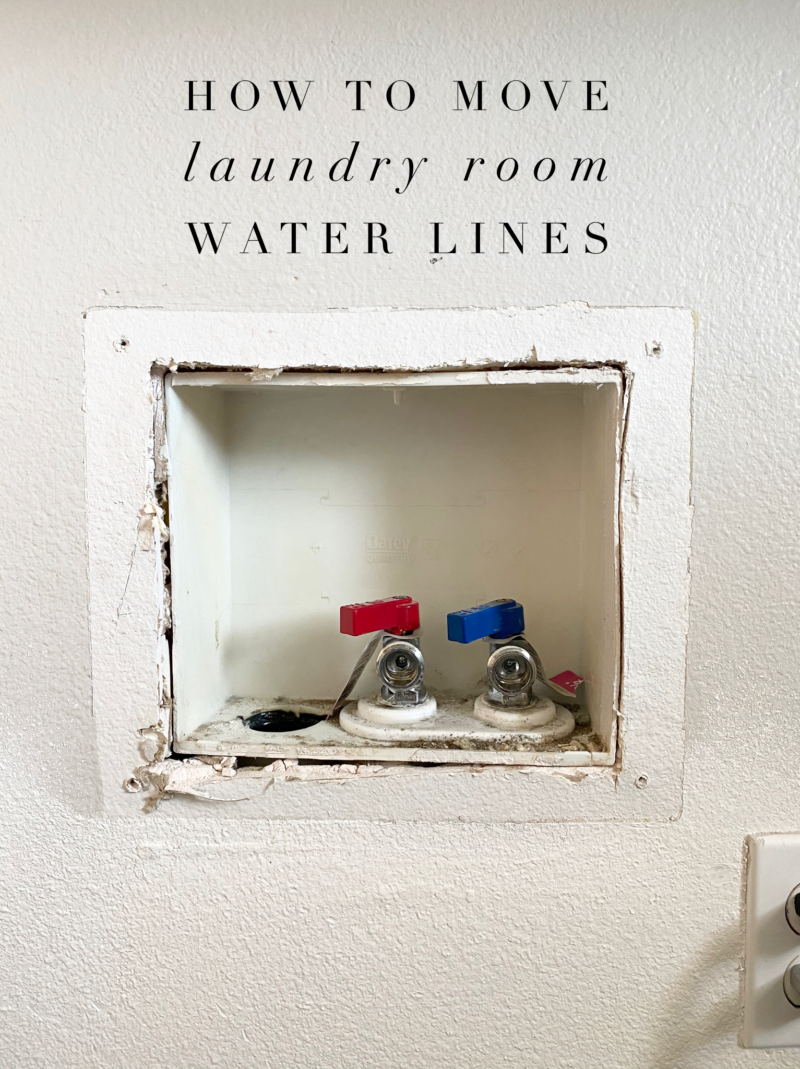
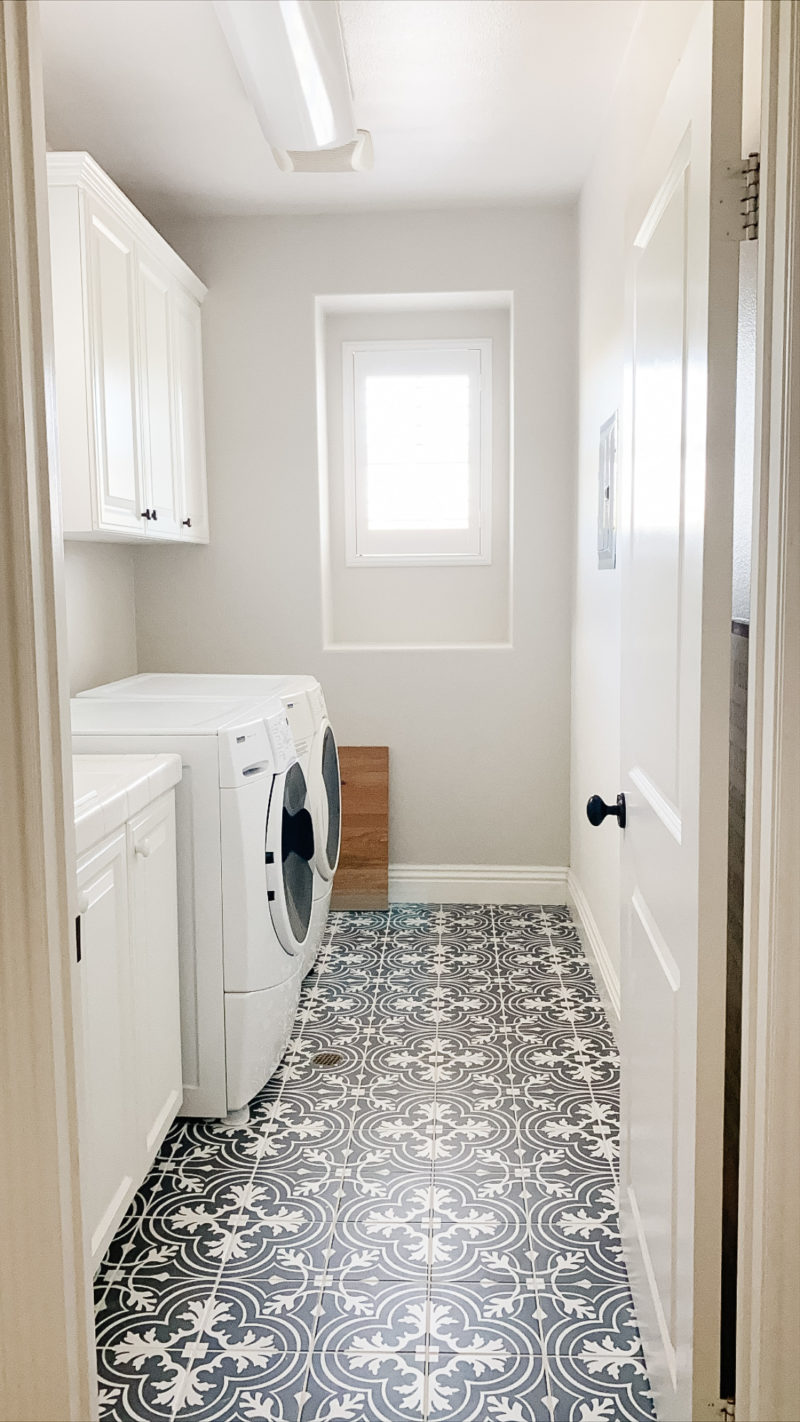
A reminder of how are space looked at the onset of this project.
COUNTERTOP DREAMS
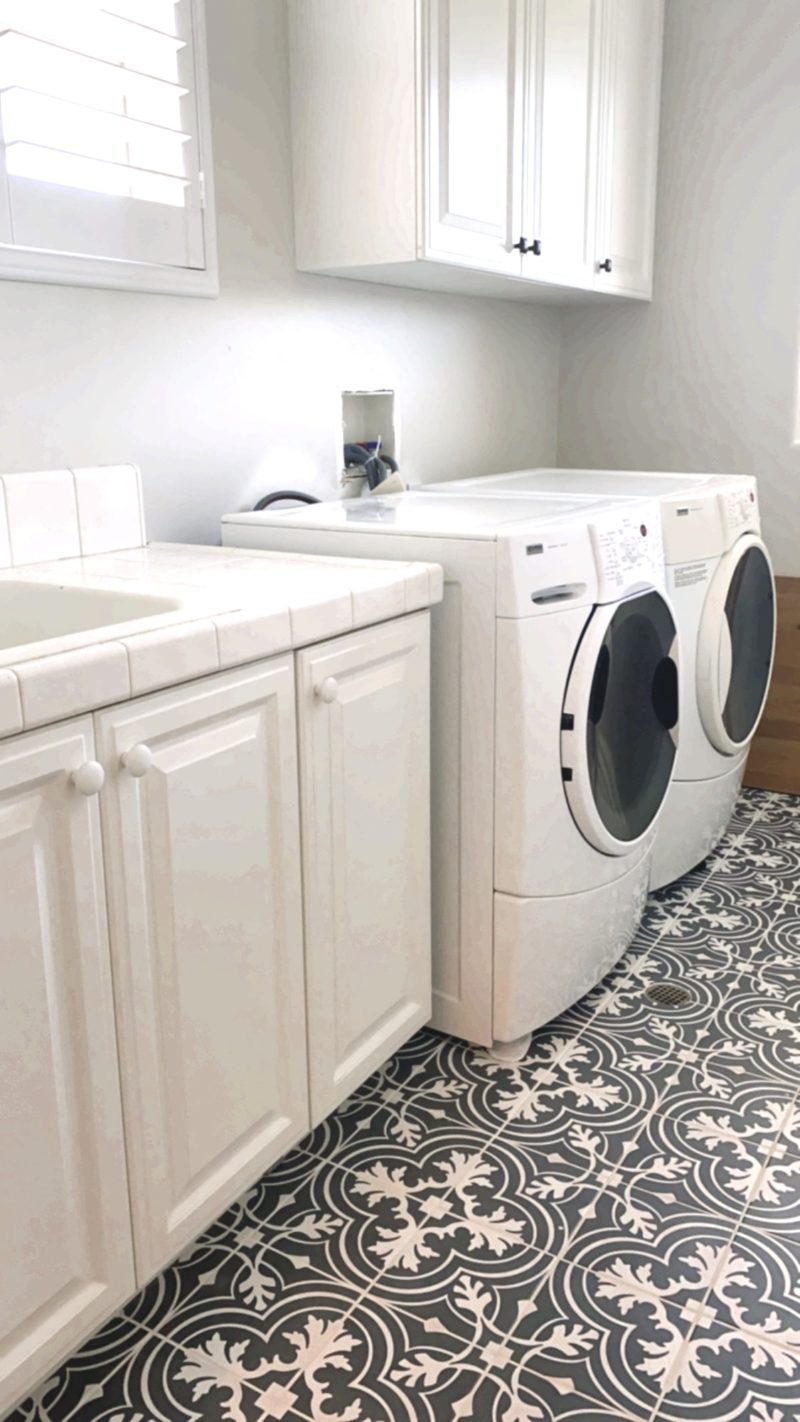
We’ve wanted to put countertops across the washer and dryer for years. But you can see those pesky water lines are in the way. We thought about making a clever box to hide them or tiling and having a removable panel. So many ideas have gone through our heads over the years but ultimately we knew that they just should be moved. I started researching and realized that it’s not only possible but quite easy. Hopefully this gives you the little nudge you need if it’s something that you wish to do.
CAN THEY BE MOVED?
Without a doubt, please do your own research and read the guidelines from your washing machine manufacturer. They will guide you as to the acceptable height for your drain and water lines. Logically speaking, the drain just needs to be higher than the highest water level in your machine. We were in the clear by about five inches. That made me feel much better about moving these lines.
TAKE A PHOTO OF YOUR SETUP
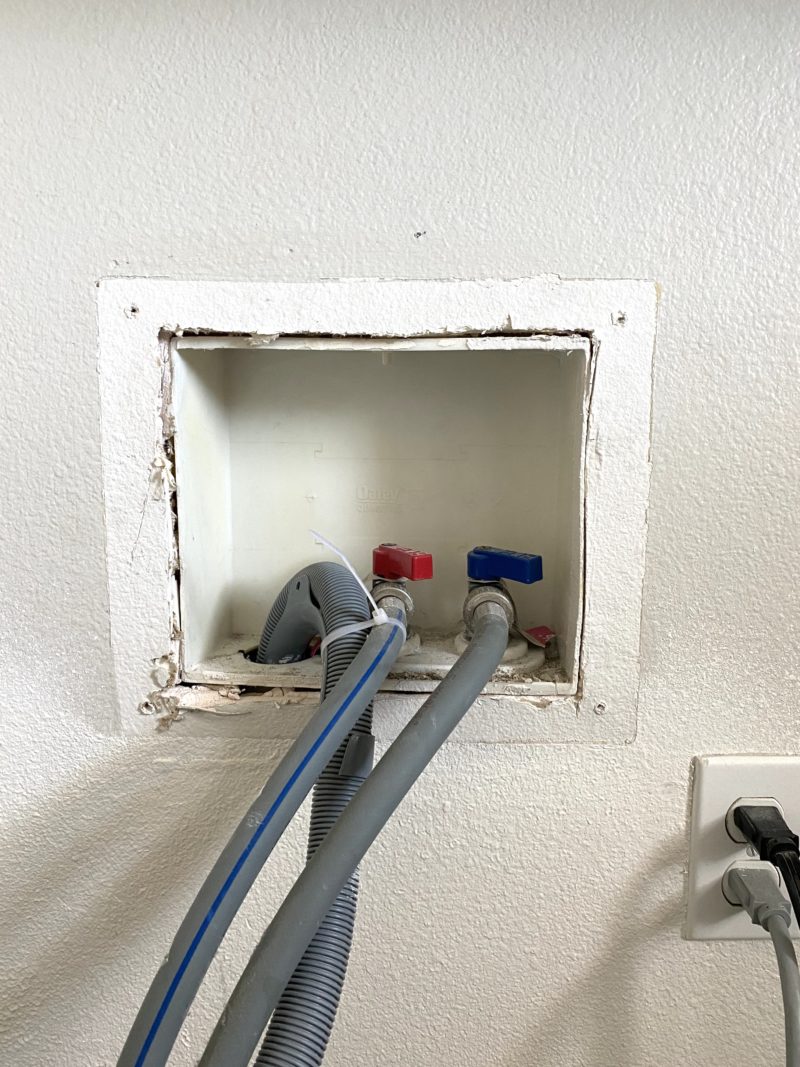
Step one is to buy a new outlet box. We thought we would stroll into Lowe’s and grab what we needed. Unfortunately, we grabbed one off the shelf only to bring it home and realize it wouldn’t work. It had the drain hookup in between the two water lines. Big fail. If you look in the photo above you see (from left to right): drain, water, water. My advice is to take a photo of your current situation prior to shopping. If you are looking online, make sure to match the existing layout. We ended up ordering one online so that set us back a couple of days.
Also know what kind of pipes you are working with. The outlet box we used works with copper, PEX, CPVC, and PE-RT Pipe. We happen to have PEX piping.
GETTING STARTED
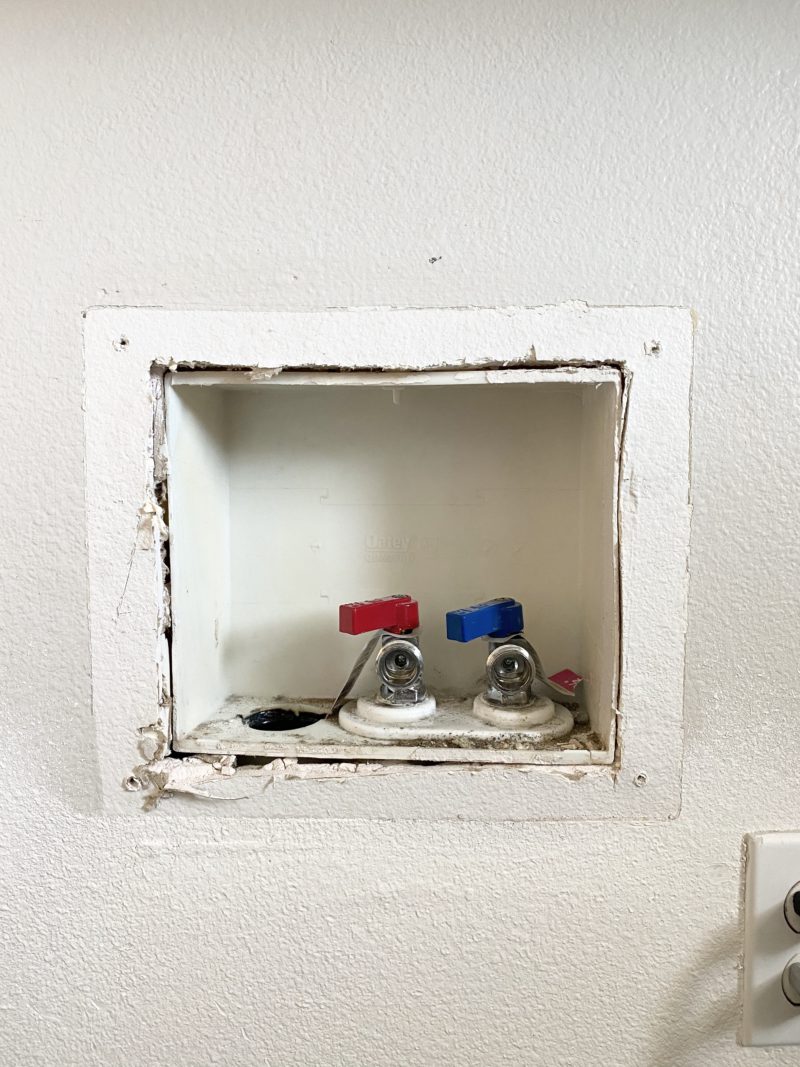
Turn off the water main. You’ll want to disconnect the drain and the water lines (be sure you are prepared to catch any water into a bucket).
TRACE AWAY
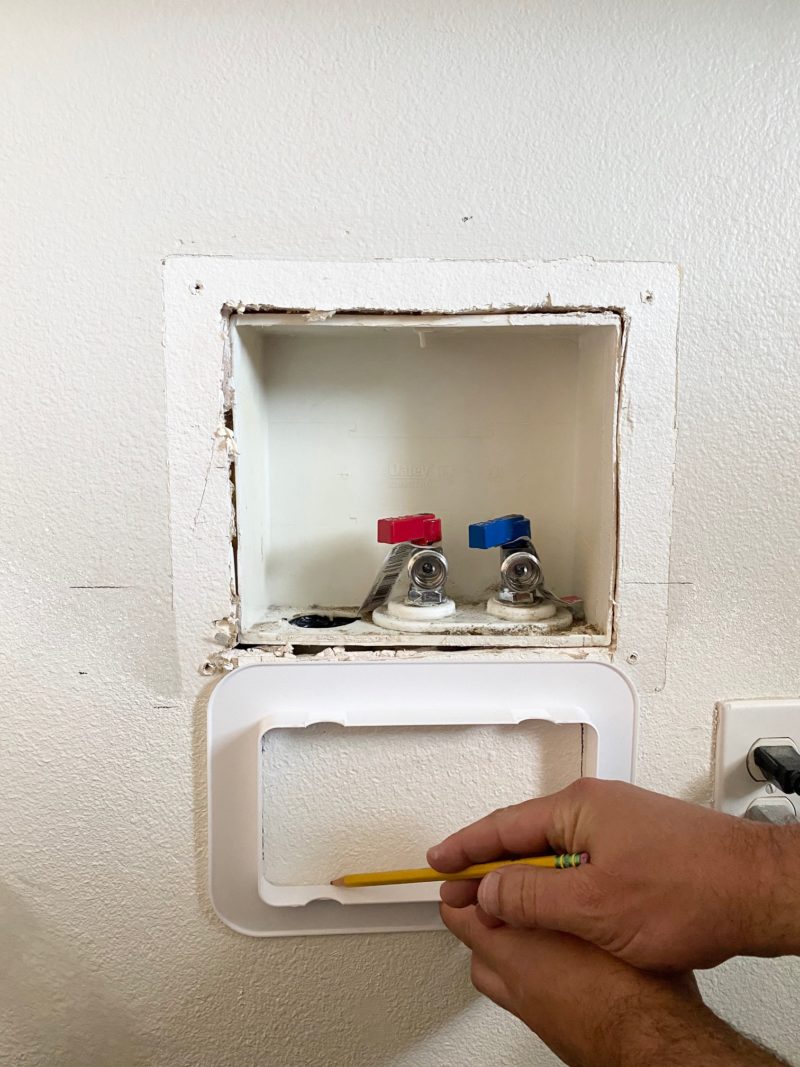
Trace your new outlet box on the wall where you want it to be placed. Cut out the coordinating drywall area.
GET CUTTING
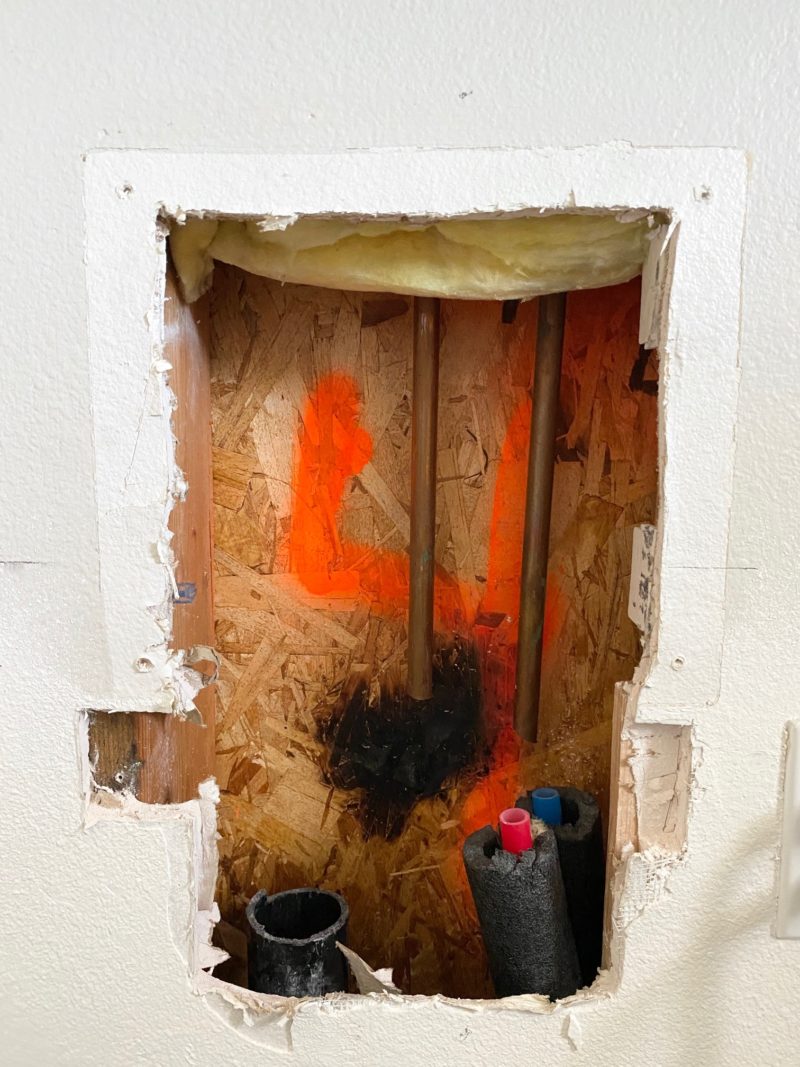
*I apologize we don’t have a photo of my husband cutting the lines. We get in go mode and just keeping going.
Once you have the drywall cut out, you can use this oscillating tool or hack saw to cut the drain pipe. The drain pipe is most likely glued to the existing outlet box. We used a PEX piping cutting tool to cut the water lines below the existing box. Once they are cut, you can toss the old outlet box as you will be using the new connectors. You will be left with something similar to the above photo.
You may need to cut the lines even shorter to match up with the new connections.
BE SURE IT’S A GOOD FIT
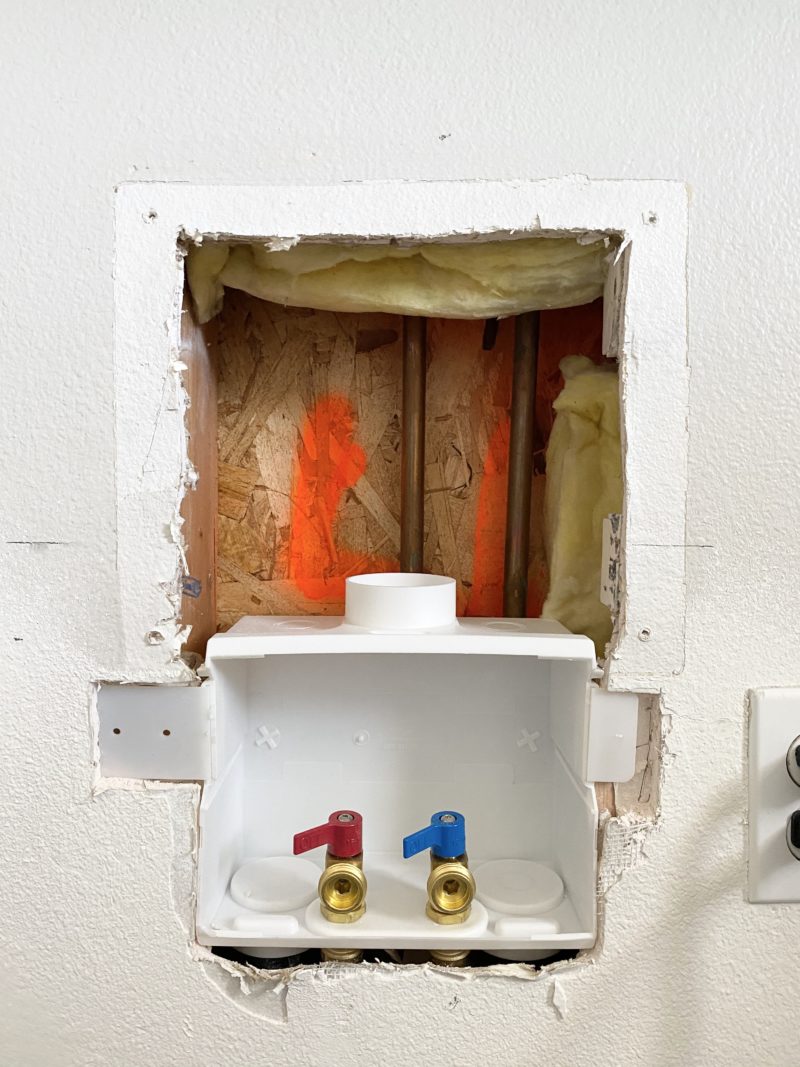
This is the outlet box that we bought. It is just sitting in the new spot to test for placement. At this point nothing is hooked up because we need to cut out more drywall in oder to access everything.
CUT MORE DRYWALL
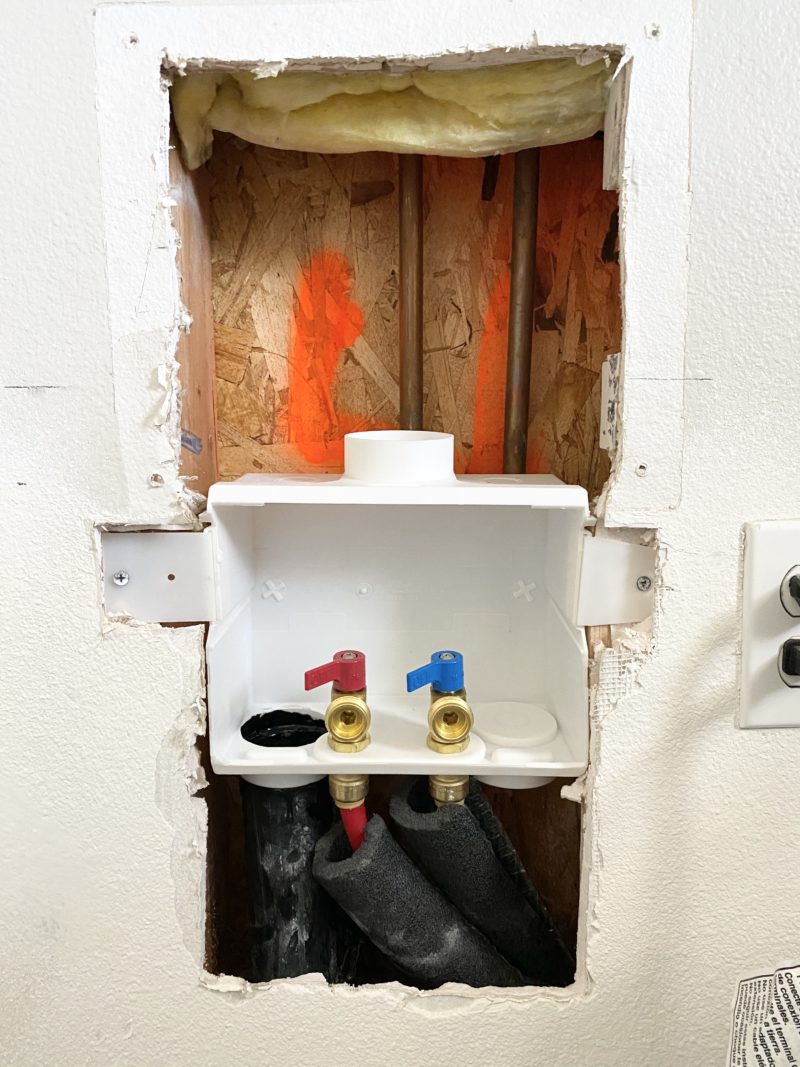
Cut out a section of drywall below the outlet box in order to reconnect the drain pipe and the water lines. You will need to glue the drain pipe to the opening of the new outlet box. For our situation, my husband used ASB pipe cement. But that is it, my friends. You’ve successfully moved the water lines.
TIME TO PATCH
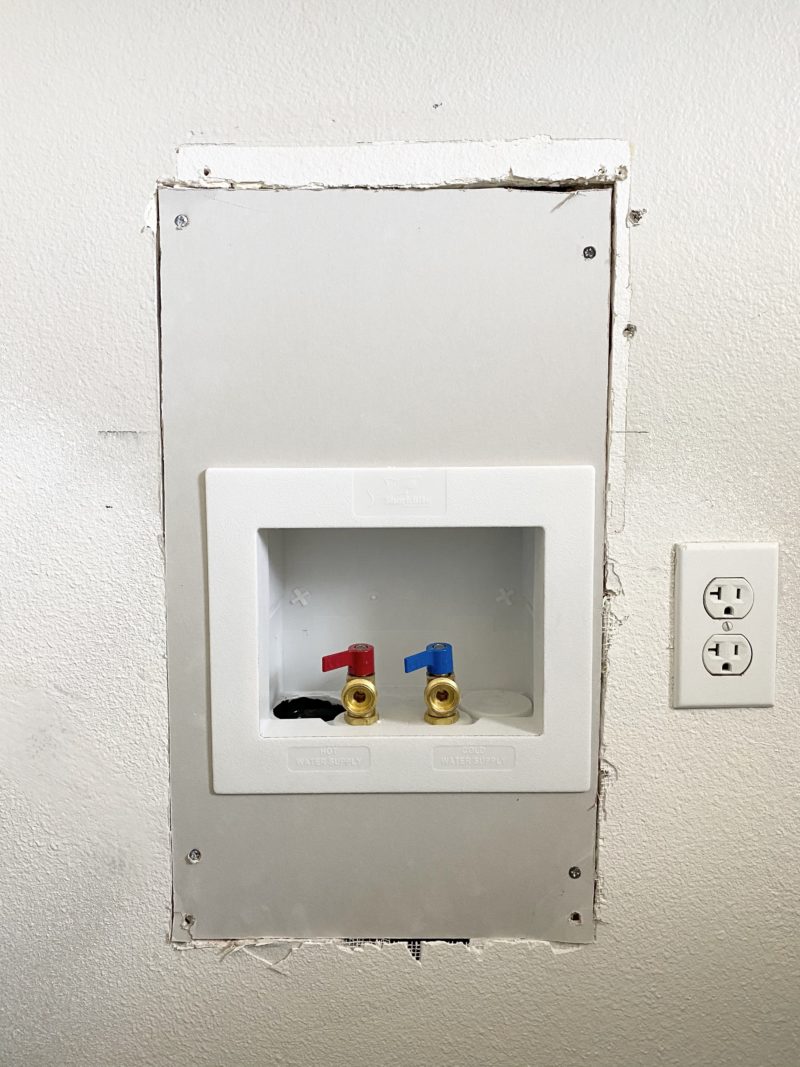
We purchased a small piece of drywall so that we could patch the entire hole with one piece. Most of this will be covered by the washer and dryer.
BYE BYE, WATER LINES
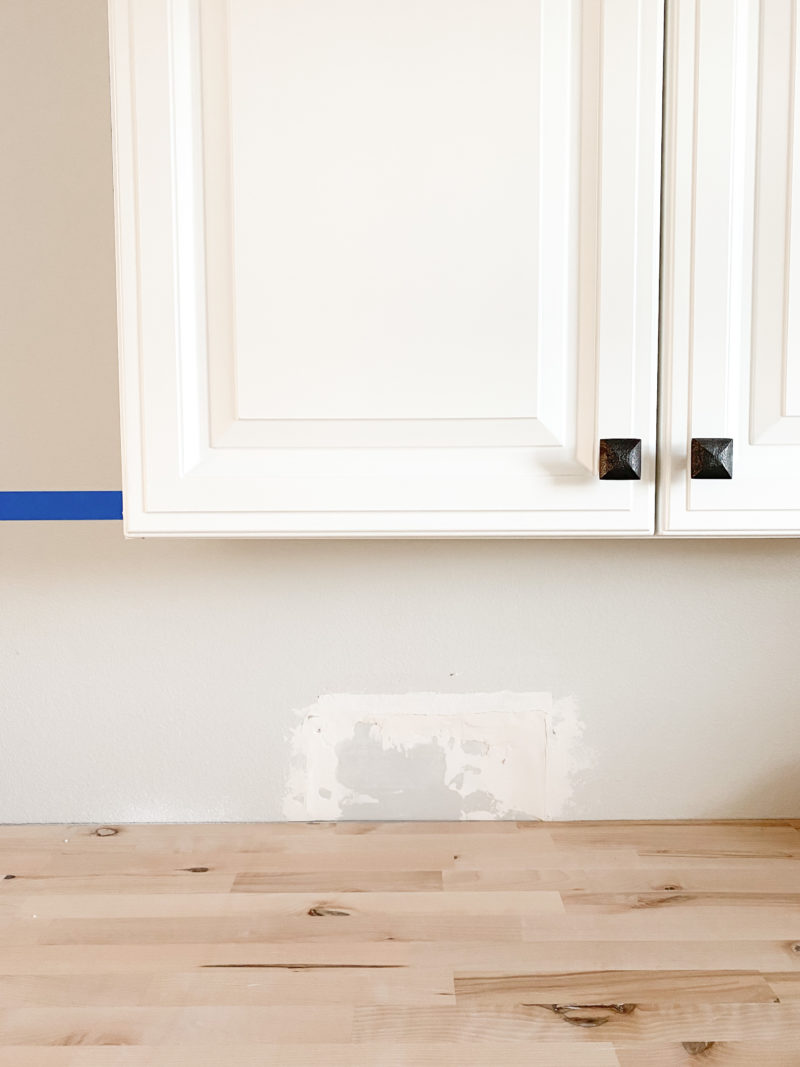
This is the only portion that shows after patching. It’s a pretty crude job because we are planning to tile over this. If you were to leave it as is, you would want to take your time with this step. But without a doubt, you can knock this out in an afternoon.
ACCESSING THE WATER LINES
I will hopefully share a laundry room reveal soon, but wanted to let you know that we chose not to affix our countertop. A post including how we installed it is in the works. The top can be removed or slid forward for easy access. I sleep better at night knowing nothing is permanent and should a problem arise, we can easily handle it. Every situation is different, so I would just recommend getting creative so that you can easily reach the water lines.
THE BIG PLAN

You can check out all of our laundry room plans here. Please let me know if you have any questions in the comment section below. Hopefully this, along with online tutorials, will give you the courage to tackle this project.
Make it a great day.
This looks great! I would like to do something similar in our laundry room, but wondered about accessing the water lines (if need be)with the countertop fixed in place. Have you all thought about this? Did you do a hinged countertop (or have some other solution)?
Thanks!
Fantastic question! I just updated the post about that. You definitely want easy access.
Can you move the water lines left or right instead of up or down?
What did you use to hold the butcher blocker over the washer and dryer? Was it compressed wood?