After sharing our son’s bathroom makeover, we received so many requests for a paint tutorial. I love that so many of you are wanting to jump into your own project. Ladies after my own heart. Today I am breaking down the entire process and taking you through a step by step guide on how to paint thermofoil cabinets.
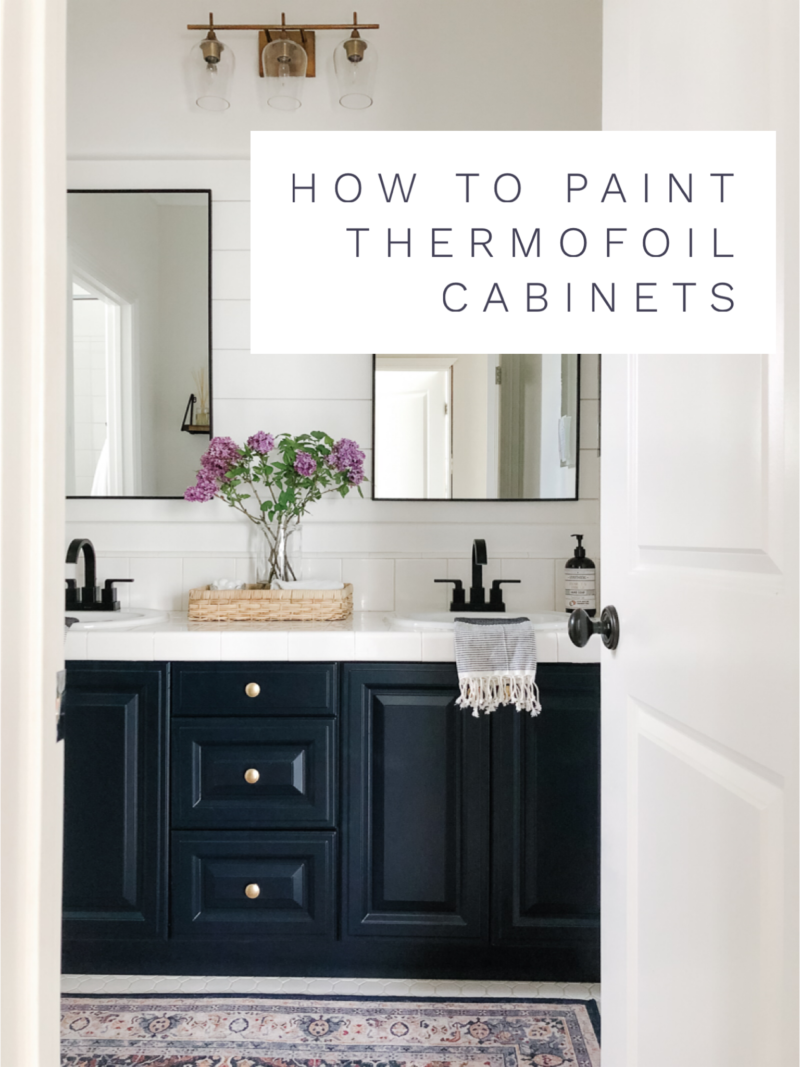
Both our laundry room and our son’s bathroom boast thermofoil cabinets. They are similar to laminate (this process can be used on laminate as well). Thermofoil cabinets have a thin layer of vinyl covering MDF. They are extremely strong and durable but they can also begin to peel over time. Our cabinets were in very good shape so I felt good about painting them.
*If your cabinet doors are in really rough shape (peeling) you may want to consider having new doors made. That still saves you money versus tearing out an entire vanity. Something to think about.
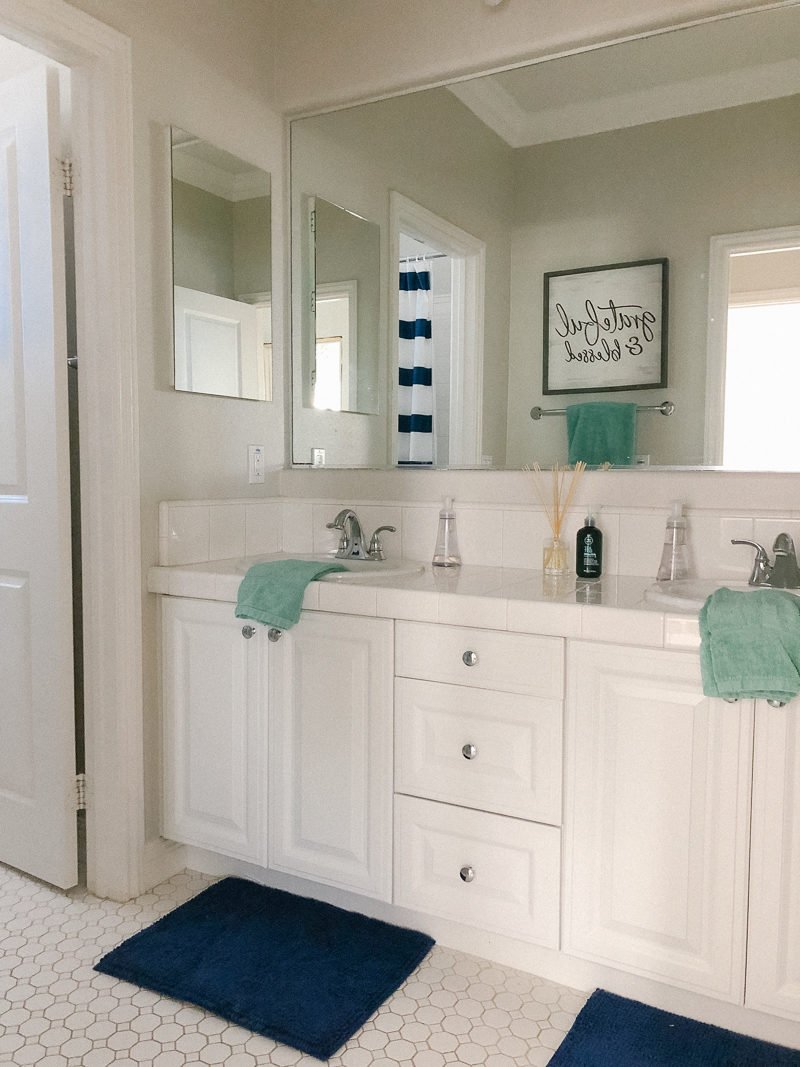
Here is a reminder of how the bathroom looked before.
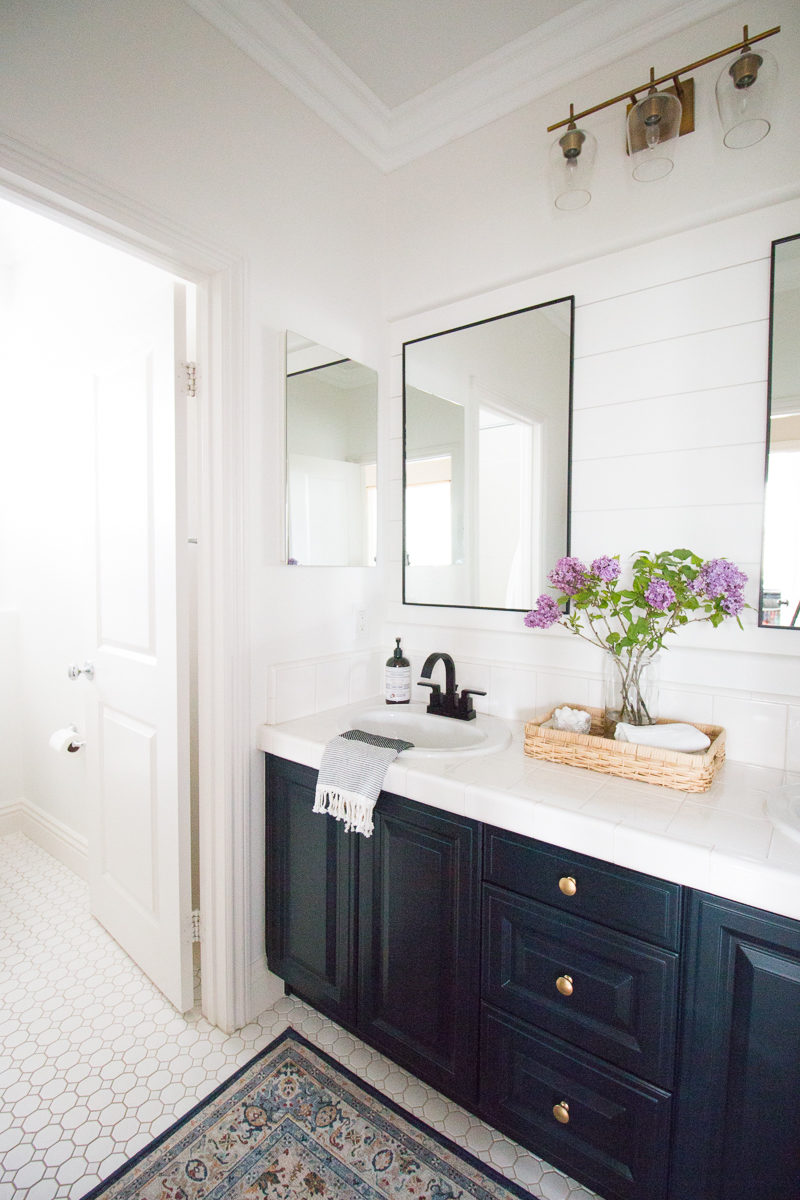
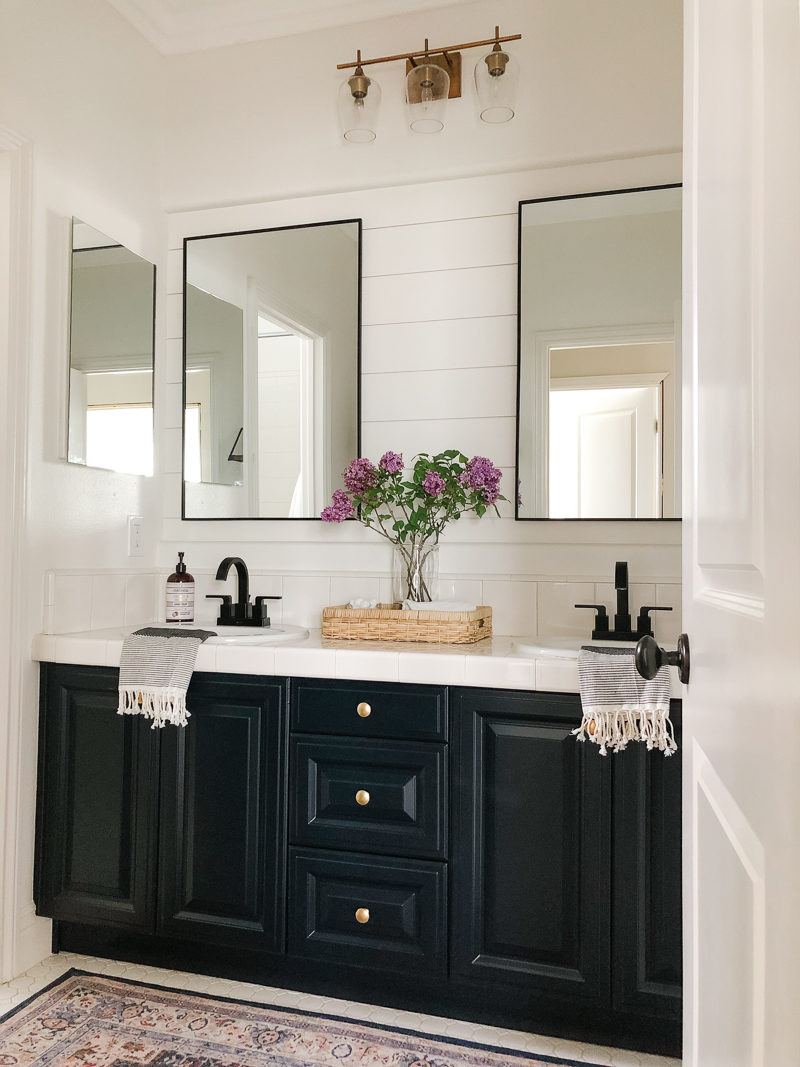
We are thrilled with the results and so far the cabinets are holding up very well. Let’s get to the tutorial.
ONE | Remove & Wash Door Fronts
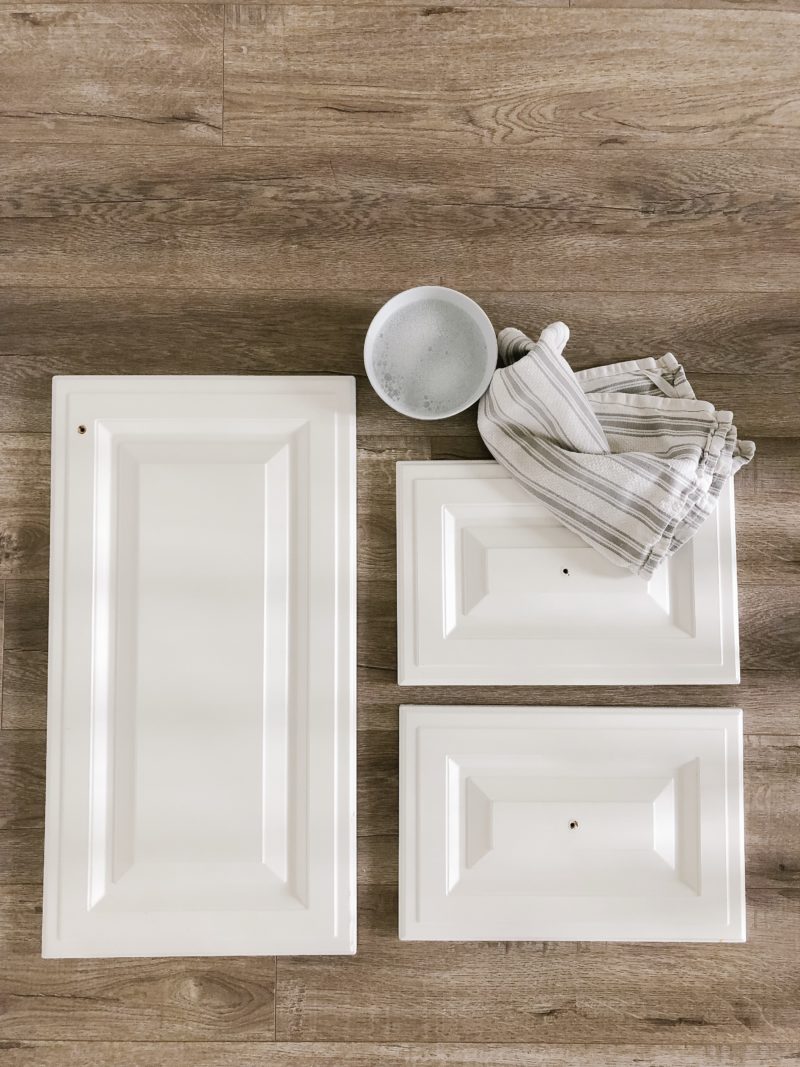
After you remove the doors, just give them a quick wash with warm water. While this may seem silly because of the sanding, it’s nice to start with clean surfaces. Cabinets can accumulate grime and grease over time so get them nice and clean!
TWO | Lightly Sand
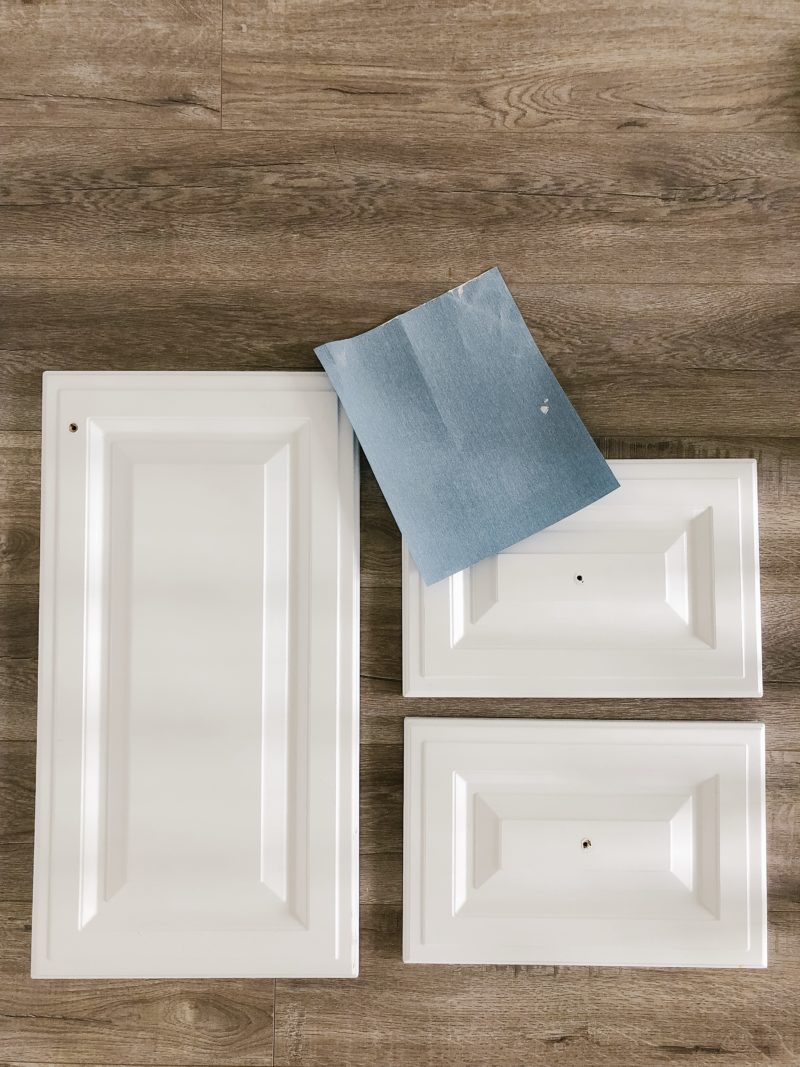
Very lightly sand the doors. Use a 220 grit sandpaper so you do not damage the thermofoil in any way. You will want to do this outside to avoid too much of a mess. Take your time and be sure to get into the grooves of each door.
THREE | Wash & Dry

Now you really want to be sure those doors are clean. You’ll want to be diligent to remove the powder created from sanding the cabinets. I used warm water and a clean dry towel to dry them. Allow them to fully dry before priming.
FOUR | PREP YOUR SPACE
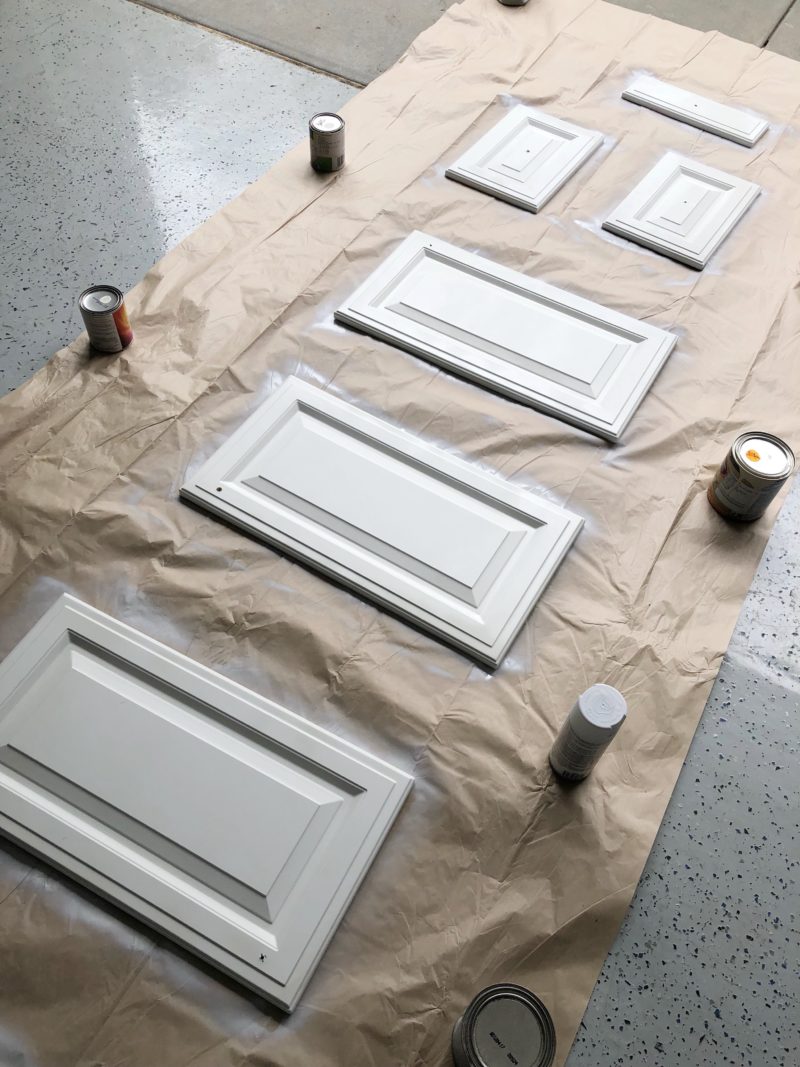
Find a ventilated area to prime and paint your cabinets. I used our garage with the door wide open. I also used the paper drop cloths to protect the floor. Be sure to weight the paper down in case of a breeze. The last thing you want is for the paper to accidently end up on your wet doors.
FIVE | Prime the Cabinet Doors
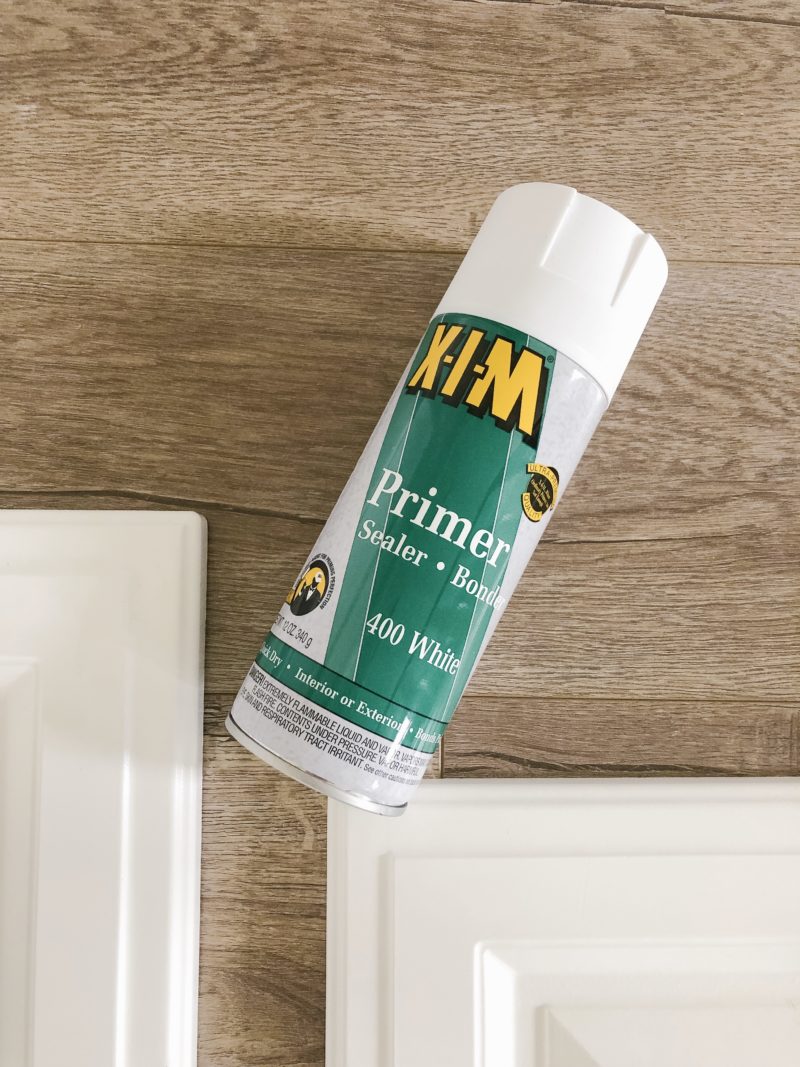
I used this primer to prep the cabinets. It was recommended to me by my cabinet maker who happens to be meticulous in every project he tackles. The spray was very easy to use. Allow them to fully dry between coats.
SIX | Prime Again
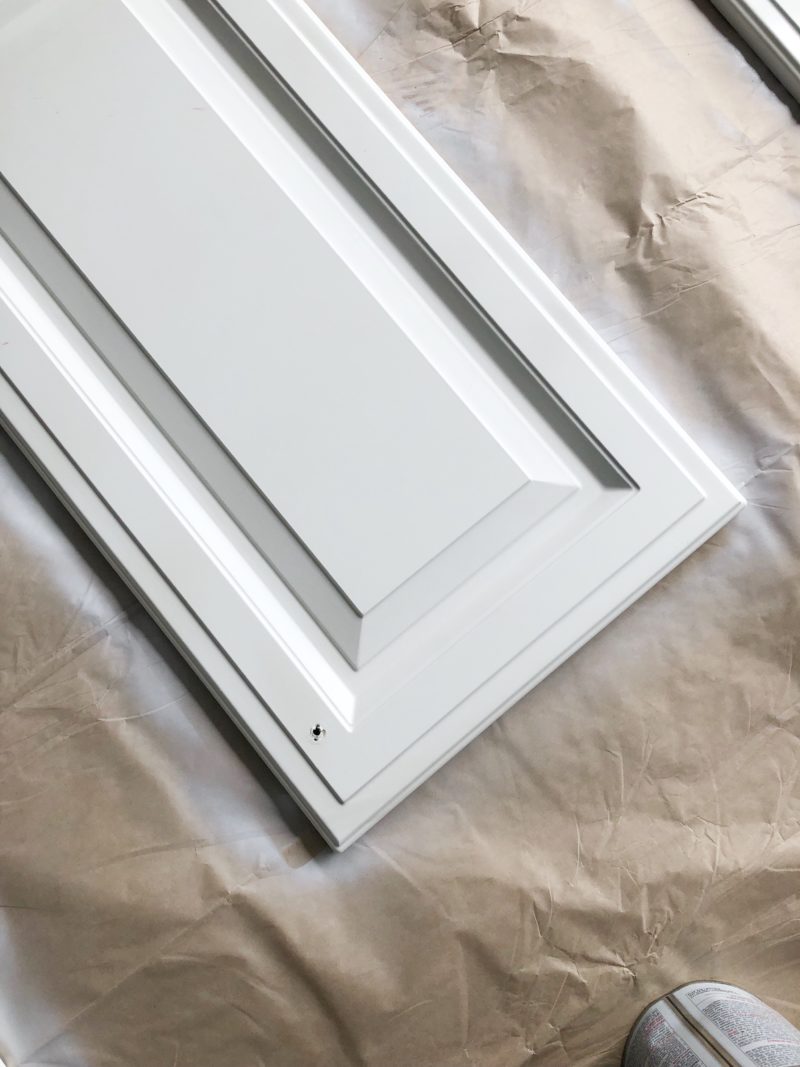
Be patient and realize you’ll need to let them dry so you can add another coat. Once dry, flip them over and repeat the process. This is a good place to stop for the day.
SEVEN | Spray the Doors
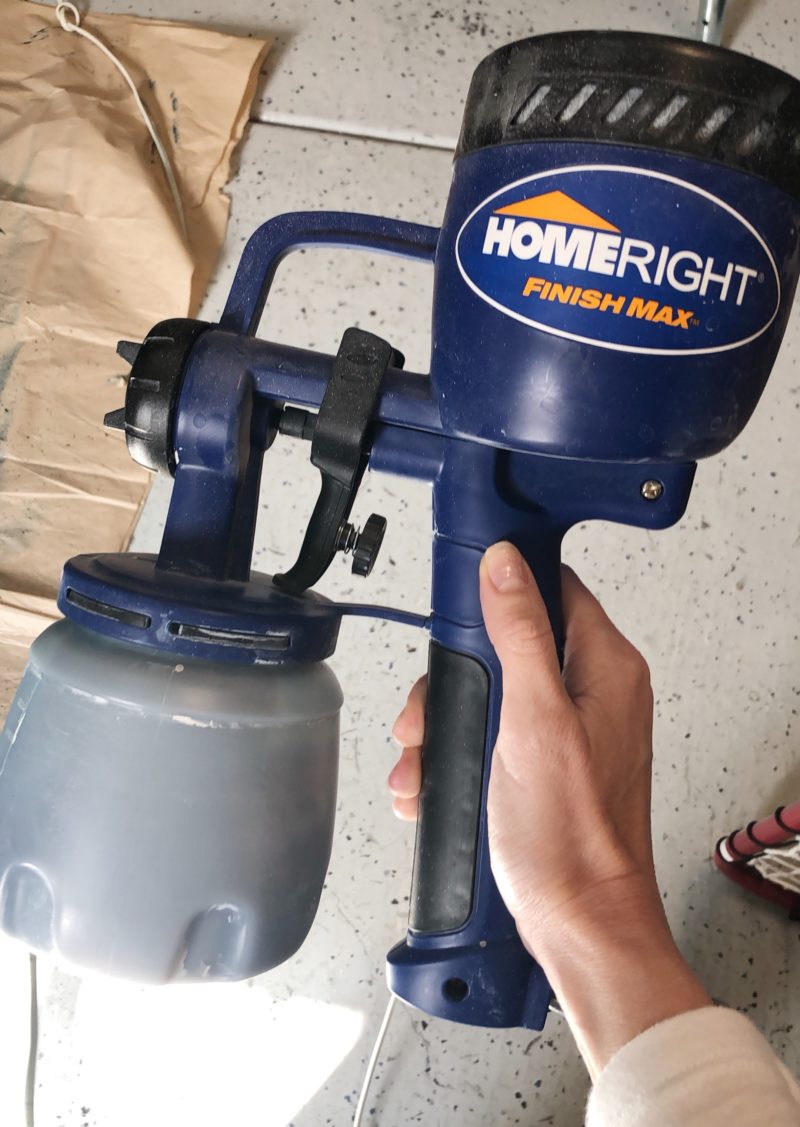
Now for the fun part! The paint sprayer is key. While it may seem intimidating, it’s AMAZING. Follow the directions and be sure to think the paint with a bit of water (this is included in the directions). It seriously covers the doors in no time.
Helpful Hints:
- Don’t rush this. Do not spray what has already been painted.
- Keep the sprayer moving so as to not recoat a section.
- Don’t panic at the outcome before it fully dries!
- Cover the nozzle with plastic wrap in between coats to keep the air out.
EIGHT | Let Dry Completely
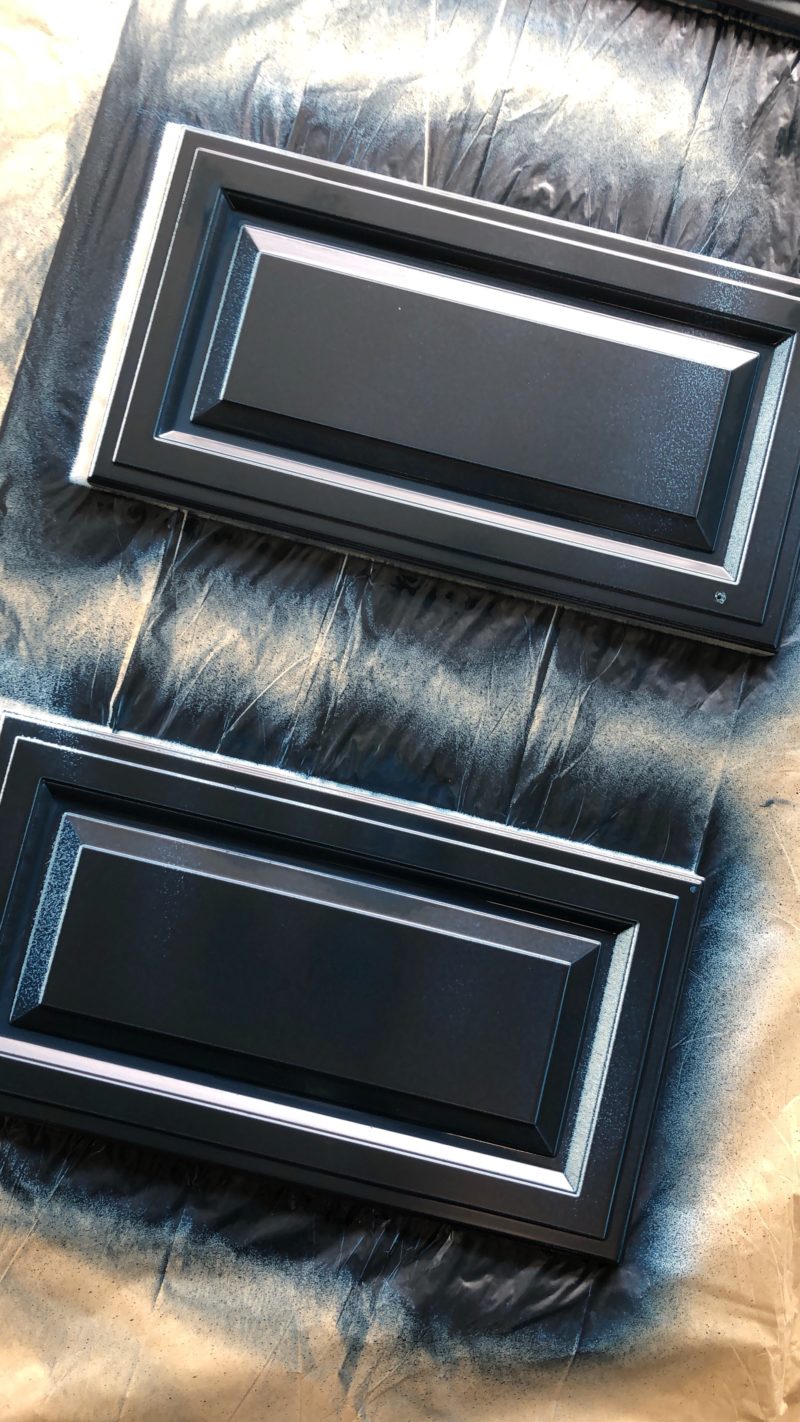
The first coat and wet paint can look HORRIBLE. Don’t panic. You will be shocked at how it dries. So smooth and pretty. The MOST IMPORTANT part of this process is letting the paint dry completely between coats. If you rush it and don’t let it dry before the second coat you risk the cabinets feeling tacky to the touch because you painted over wet paint (even though it appears dry). I recommend one coat in the morning and one in the evening. Or even waiting until the next day.
Rookie Mistake: Be sure to prop the doors up on something. Don’t do what I did. It never crossed my mind and the edges stuck to the paper. Learn from my mistake!
NINE | Paint Again
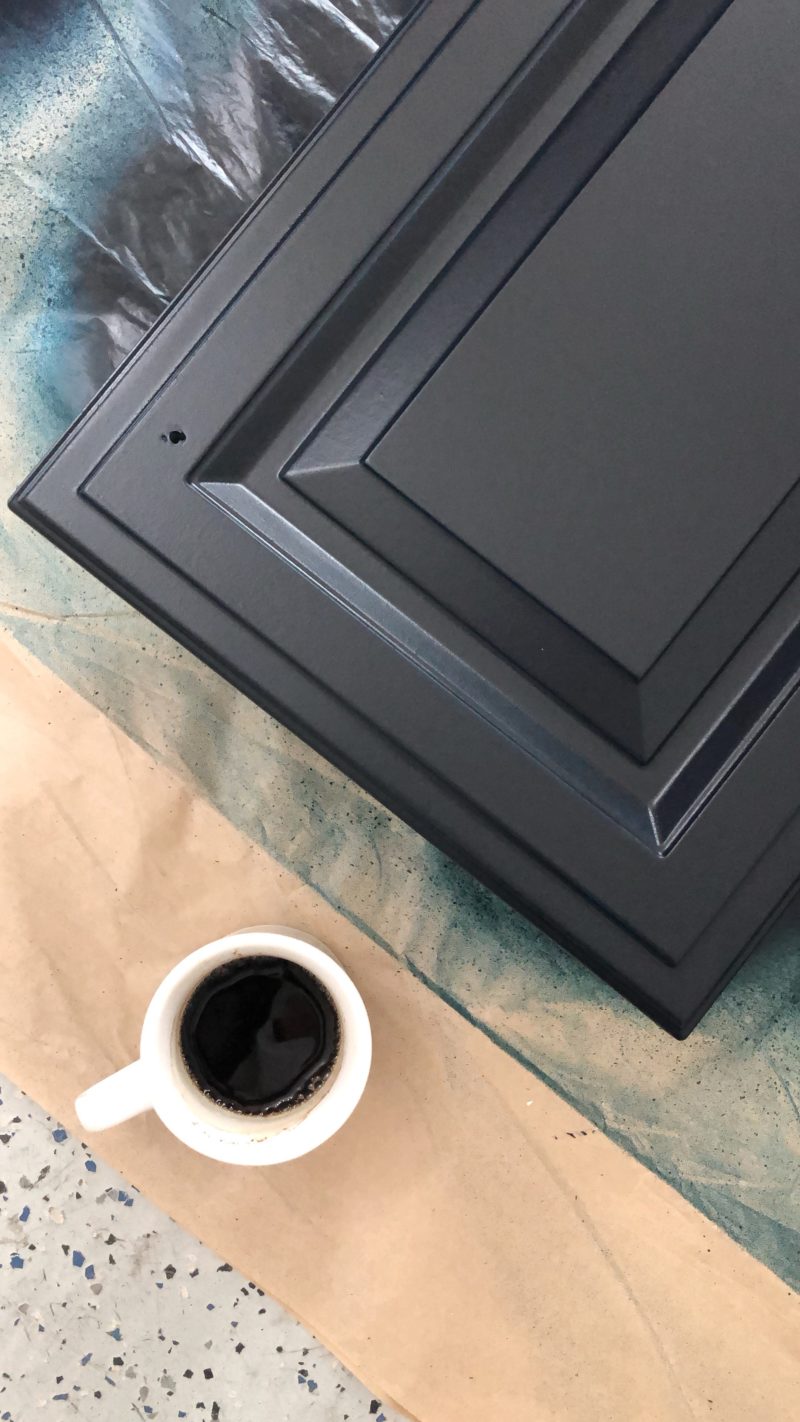
You can see how smooth the door looks once the paint dries. You will need to repeat this process and may even need a third coat.
Pro Tip: I recommend paining the backs of the doors first. After 2-3 coats allow them do dry overnight and then flip them over to pain the fronts.
TEN | Rehang & Be Proud
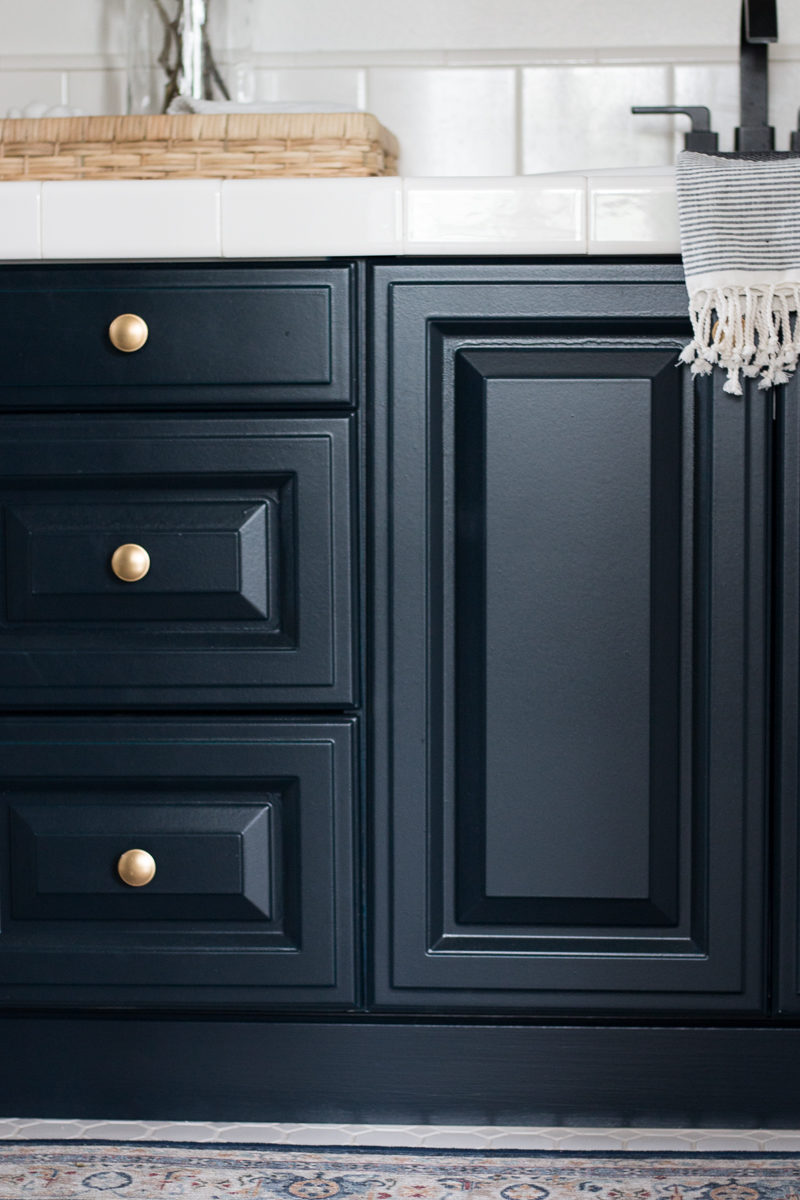
We waited a full week to hang the doors. You really want the paint to be fully cured. We couldn’t be happier with how they turned out.
*We used “Galaxy Black.” It’s actually a discontinued color from Behr. While we LOVE the color, the first coat appears aqua in color and can be a bit scary.
Self-Leveling Paint
You can see in the above photo that there is a flaw near the top of the door. This could have been avoided had I used a self-leveling paint. Here are a couple options.
Advance by Benjamin Moore
This paint can be used with a brush or a sprayer. Amazing, strong finish but takes a very long time to dry in between coats.
Emerald Urethane Enamel by Sherwin Williams
Very expensive but a professional finish. Only use with a sprayer.
*Consult with your local paint store on these self-leveling paints. I do not have first hand knowledge with them but have heard great things about both.
Shop This Room
What About the Trim?
I lightly sanded the trim and used a brush to apply three coats of paint.
I hope this is helpful if you have cabinets that could use a little bit of love. We were able to give the bathroom an entirely new look for under $1000. While the painting process is a long one, it is not difficult. Just know it will happen over the course of a week and it’s well worth it in the end. Happy to answer questions in the comments below. Enjoy your day!

Did you spray or brush the cabinet frames?
If sprayed, how large an area did you have to tape off?
We need to redo our master bath and I’m dreading dealing with the cabinets…
Thanks!
We painted the frame with a brush. Worked well and it is not a focal point so I wasn’t worried about brush strokes. Took two coats.
It looks great! Did you use a semi gloss or gloss paint for the cabinet? I’m going to tackle our downstairs bathroom!
It looks great! Did you use a semi gloss or gloss paint on the cabinets?
How is it holding up? I’m thinking of doing our kitchen cabinets. Thanks!
Thank you for this. Has anyone tried this with cabinets that first have to be repaired? I have drawer edges that are peeling and I’m not sure how best to tackle. I’m thinking some kind of plastic wood and a putty knife, but I really don’t know.