Kicking today off with a really simple project. When I bought the nightstands for our guest room, I knew I wanted to switch up the hardware. The room has warm accents and the silver knobs just weren’t cutting it. I’ve looked all around and ultimately decided to spend nothing and paint them myself. But spray painting knobs can be messy and I wanted to knock this off the to-do list rather quickly. I hope this ten minute hardware update is helpful if you are wanting to do the same thing.
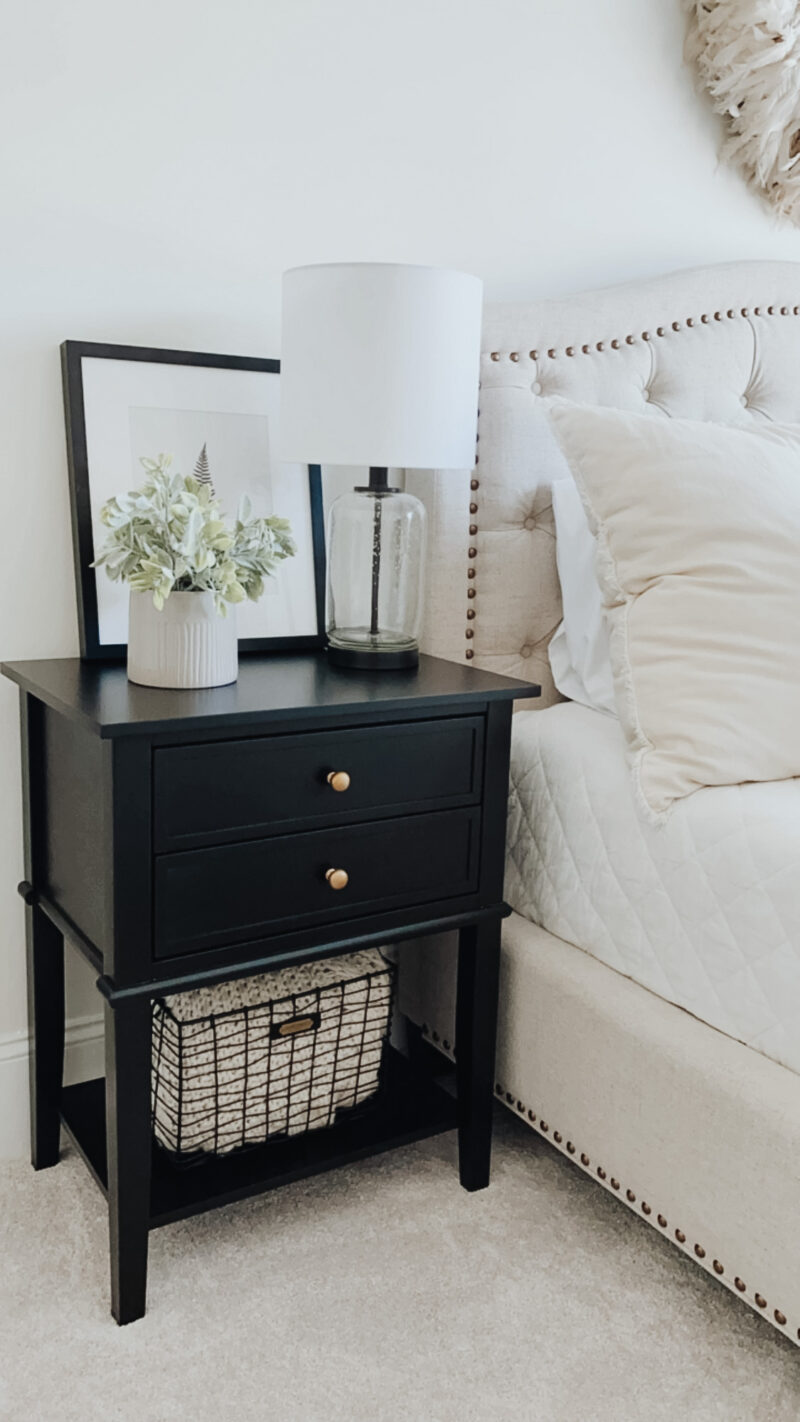
Here is a peek at the new brass knobs. I like the way the tie in with the brass label on the wire baskets below.
THE BEFORE
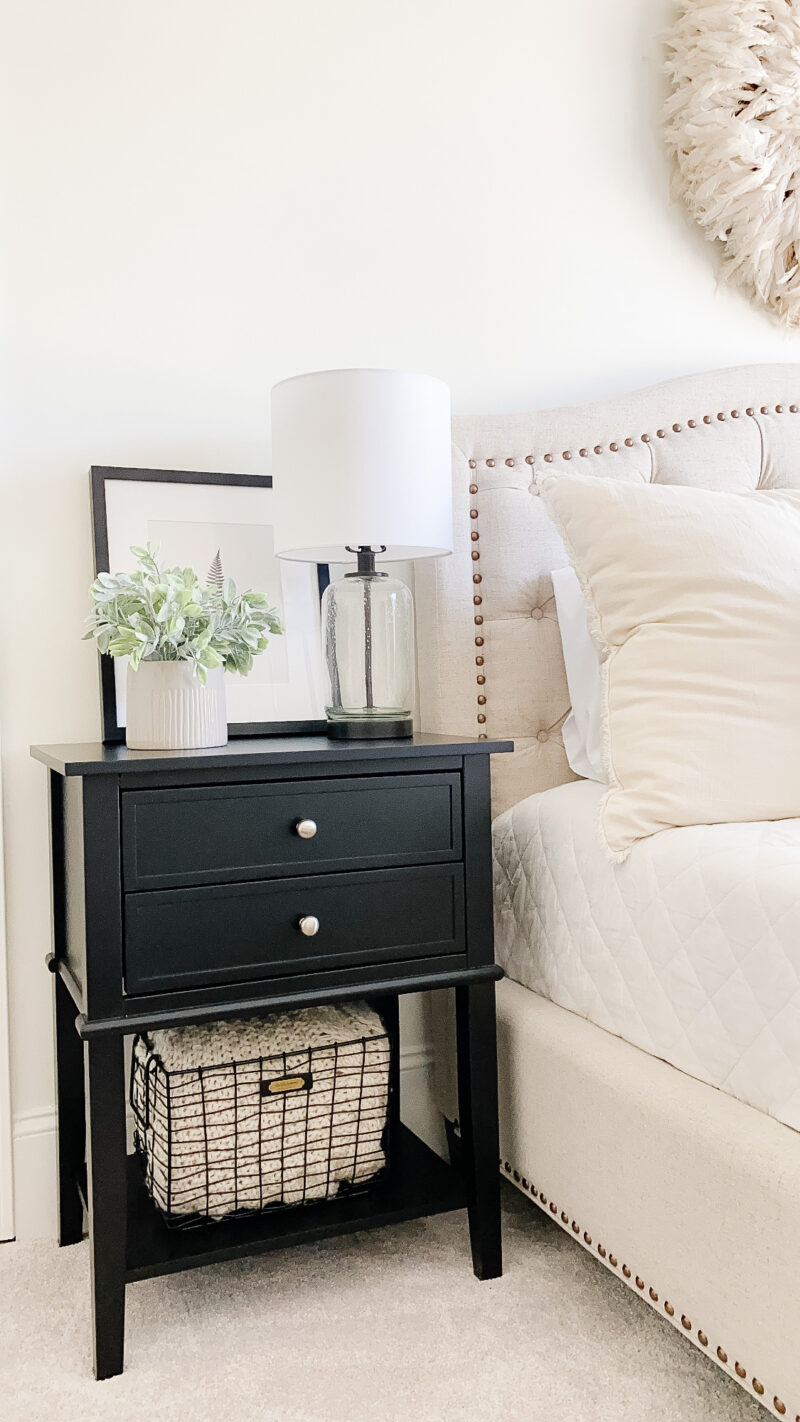
And here is a look at the nightstand with the knobs the way they came. If you are on hunt for a simple black nightstand you can find this one here.
CAREFULLY REMOVE THE HARDWARE
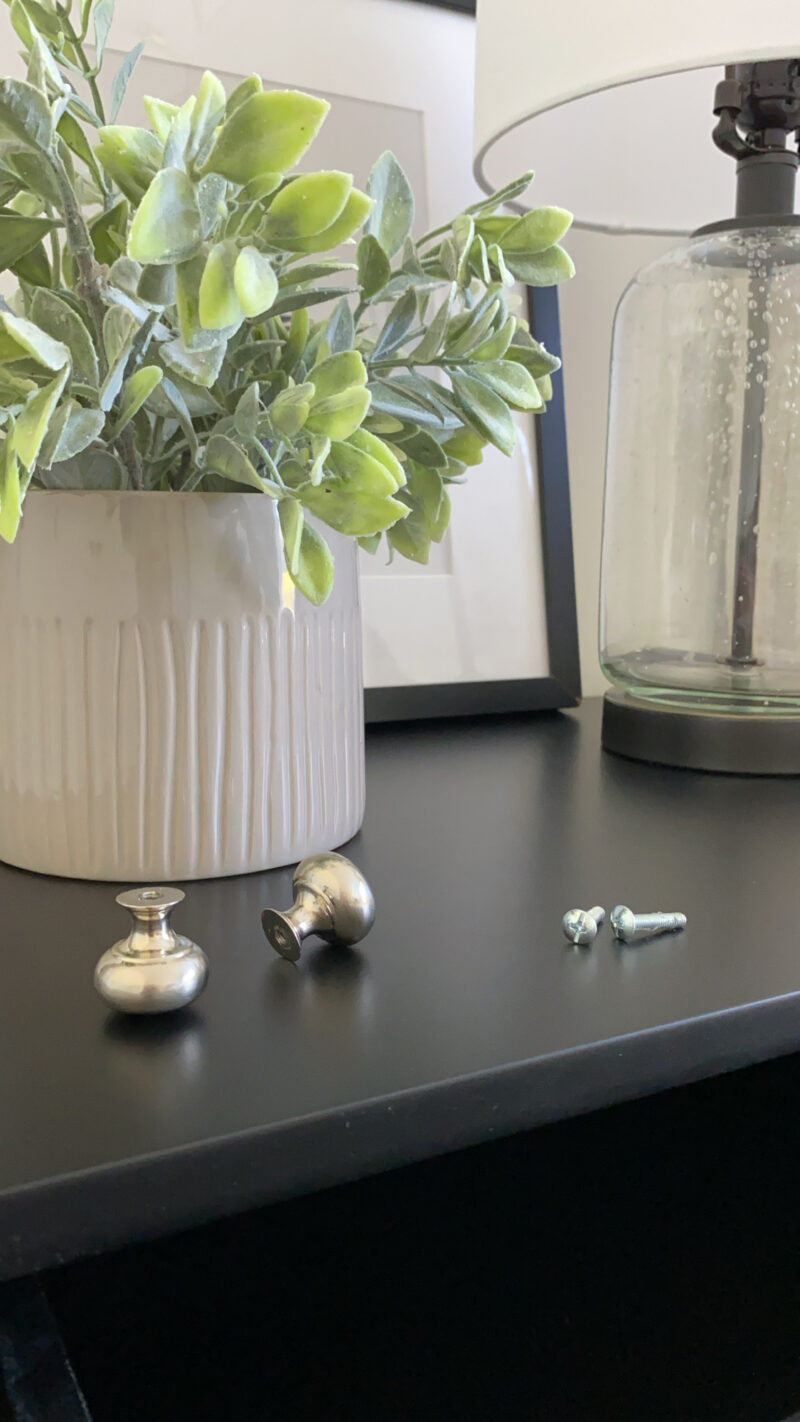
Using a screw driver, carefully remove the knobs and set aside.
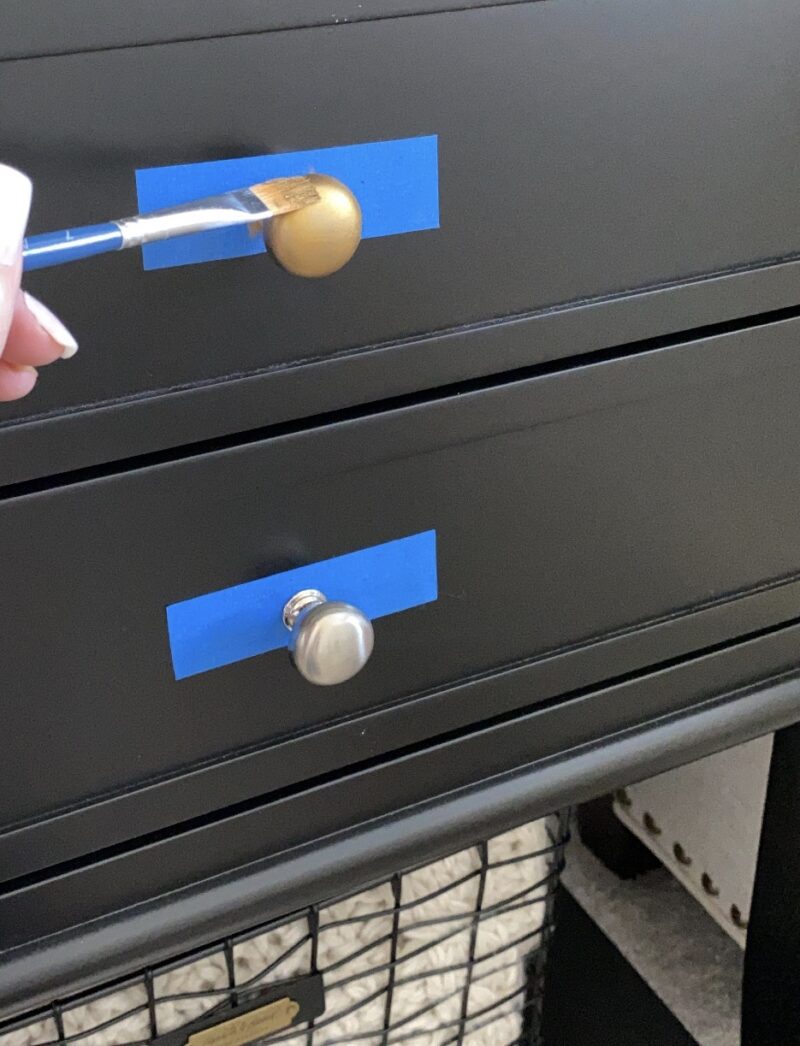
ADD TAPE AND REINSTALL HARDWARE
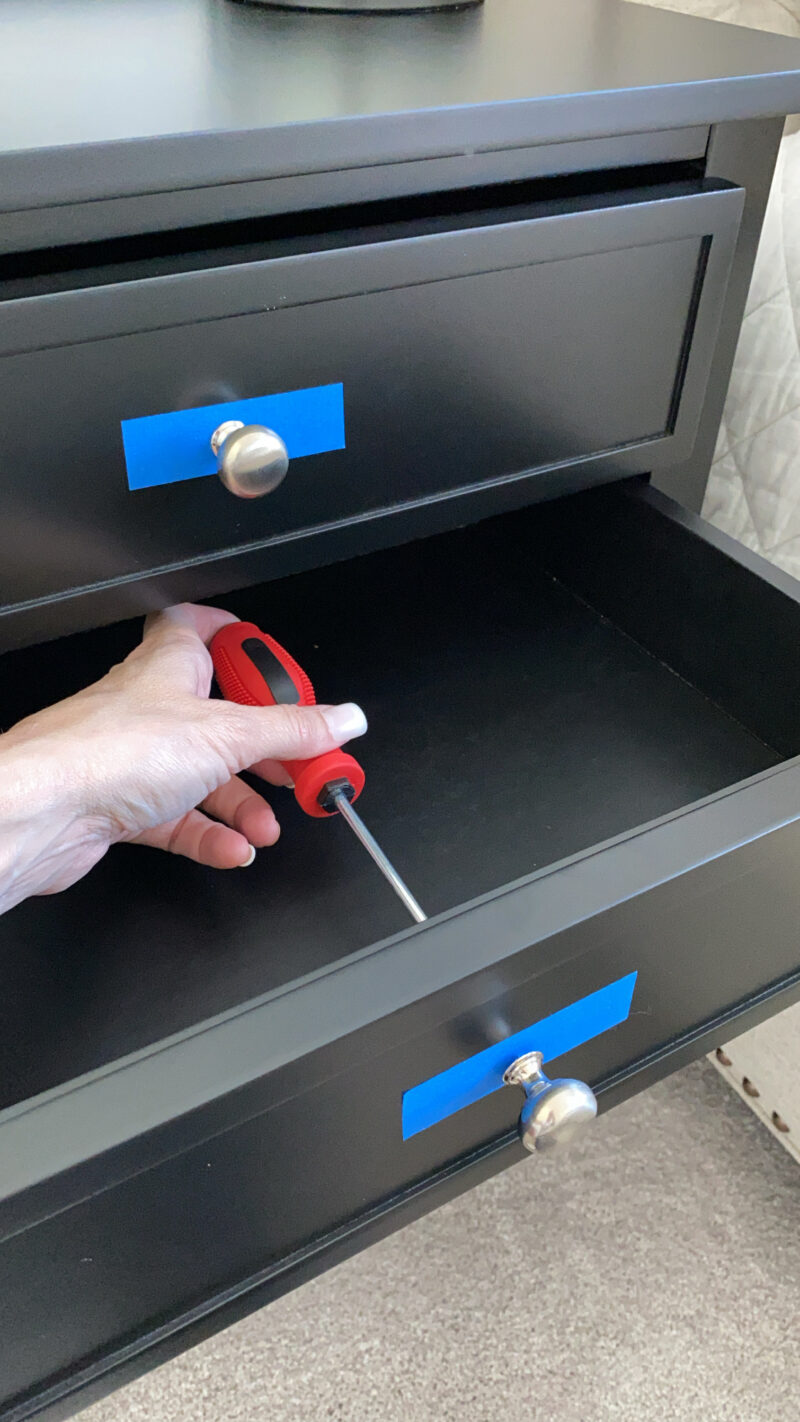
Place a piece of blue tape over the hole. I used an ice pick to poke a hole in the tape. Loosely reattach the knobs. The blue tape will protect your nightstand from any extra Rub n’ Buff.
*You could also attach them to an extra cardboard box you may have laying around. You just want to be sure they are attached because it’s so much easier to paint. Otherwise the topple over. I speak from years of experience on this one.
RUB N’ BUFF TO THE RESCUE
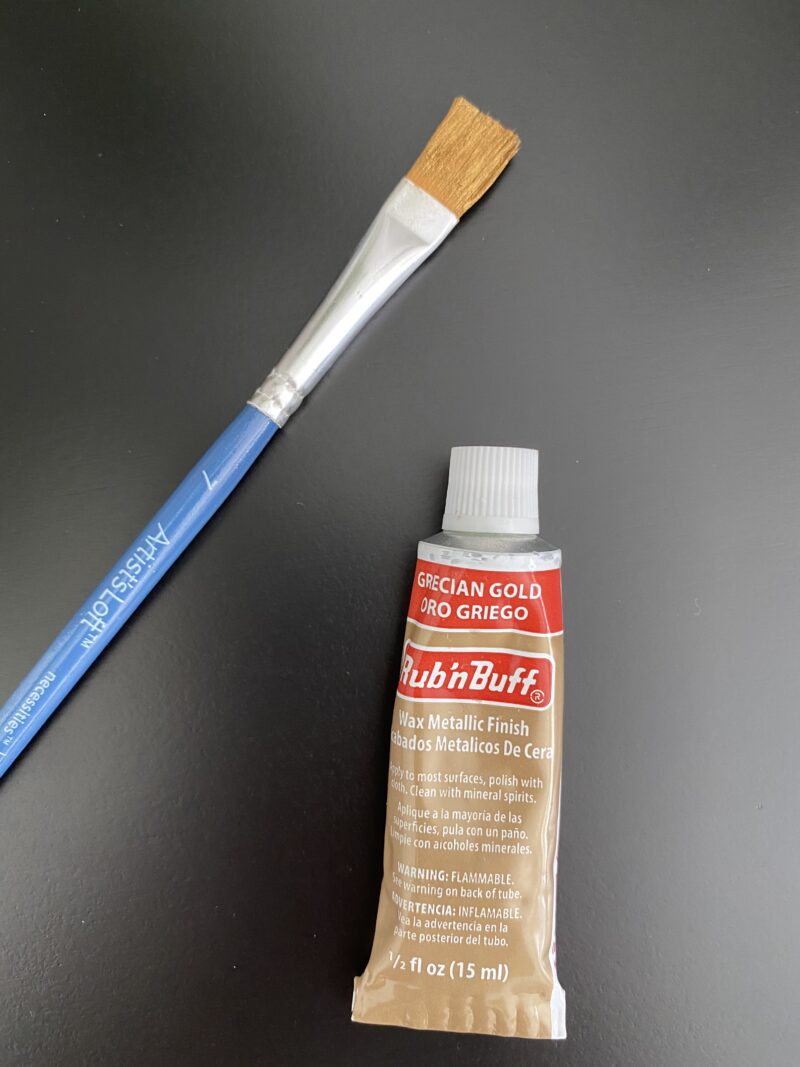
This is the color of Rub n’ Buff I used. I actually bought a set of colors to have on hand. You can pick this up at Michael’s or order from Amazon. It’s best to use a brush you plan to toss. I forgot about that and realized I may have ruined this one. This stuff is difficult to get out. Just squeeze a tiny amount on to a paper plate. A little goes a very long way.
LITTLE GOES A LONG WAY
This takes just one or two light coats. If you haven’t used Rub n’ Buff before, it can be a bit tricky. It can clump up a bit but just take your time to create a nice even coat. It really only took a couple of minutes.
Allow the knobs to dry (only a few minutes will do) and then unscrew the knobs, remove the tape and screw back in. Done and done.
WARM AND COZY
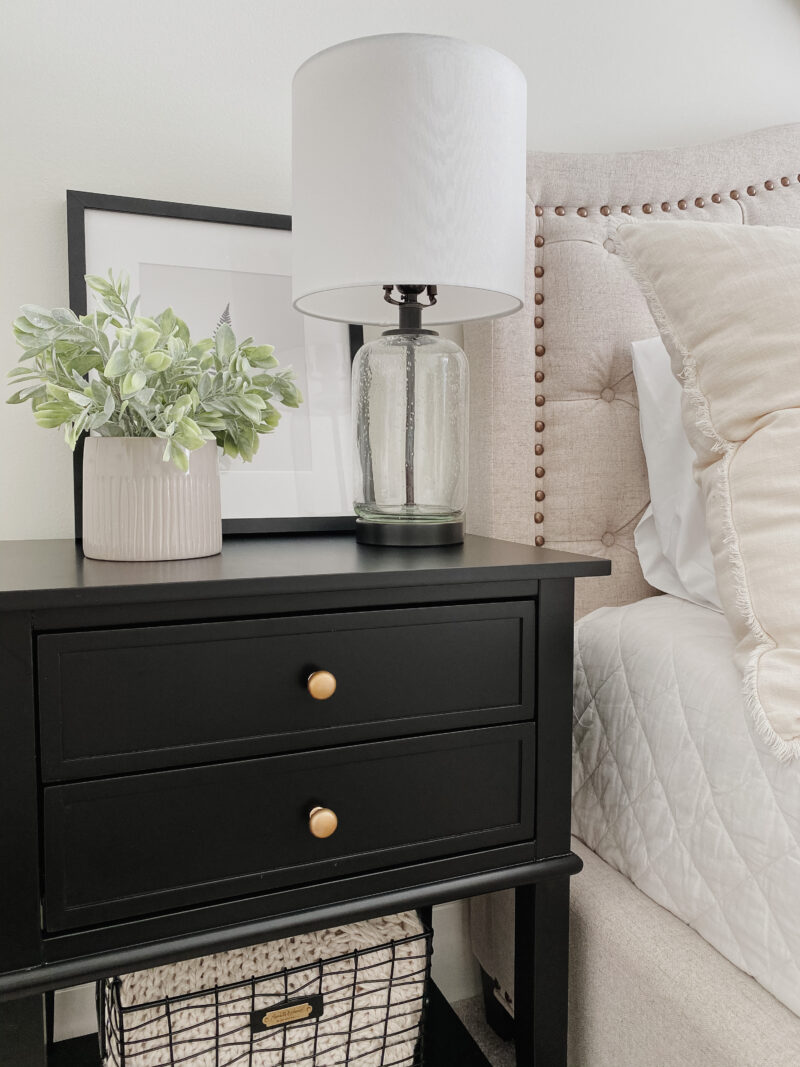
Such a simple update and it took no time at all. Now that they are done, I am so happy I didn’t replace the knobs. This is just the touch of warmth we needed.
ANOTHER QUICK TRANSFORMATION
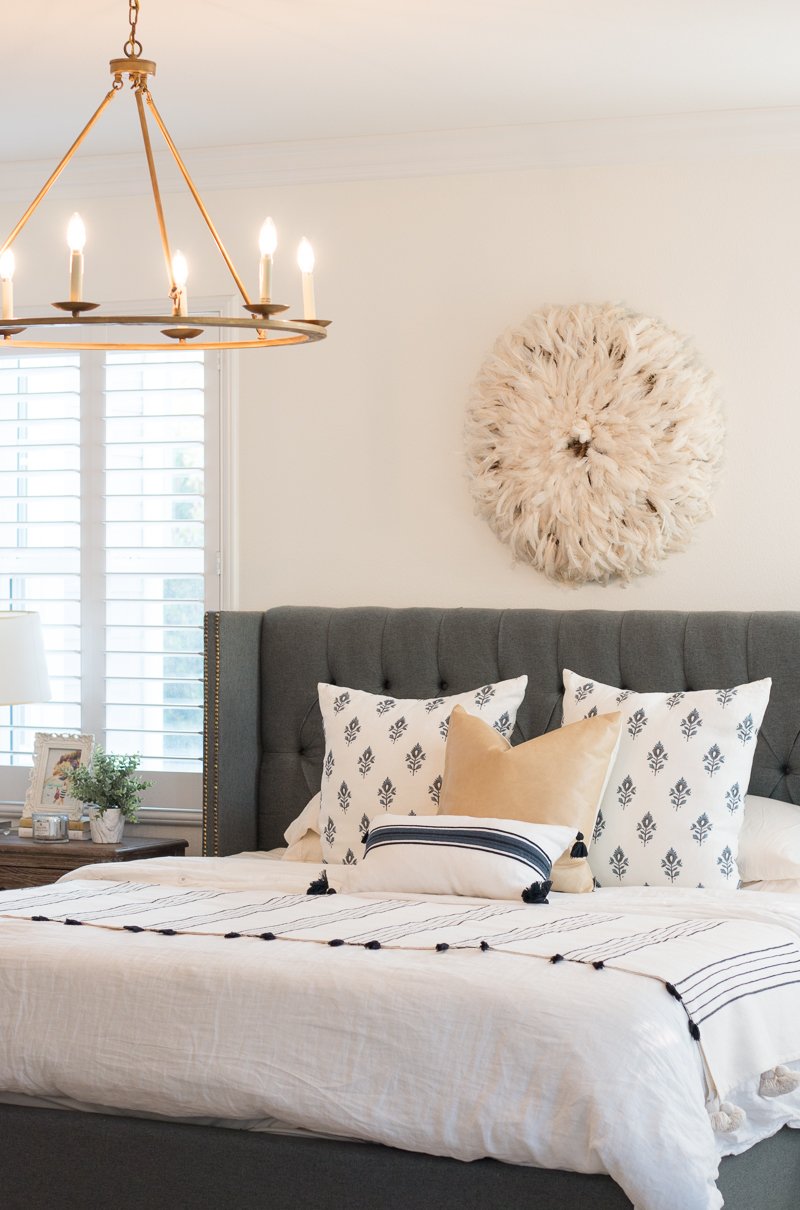
You may remember I used Rub n’ Buff to transform this chandelier. You can see that project here.
Off and running today. And looking forward to being productive. Hope you have a great day.
I’m always inspired by your Rub n’ Buff transformations! Hope the move-in is going well and you’re starting to feel settled, Courtney.
Perfect. Just the right amount of golden sparkle.