What a difference window treatments can make. I’ve known for a year that we would hang drapery panels in our bedroom, but like with so many things, they fall to the bottom of the list. I’ve had the panels for months and we finally got around to it this past week. Wishing we had done it sooner. Today I am sharing the before and after as well as some of our tips for getting a designer looks when hanging drapery panels.
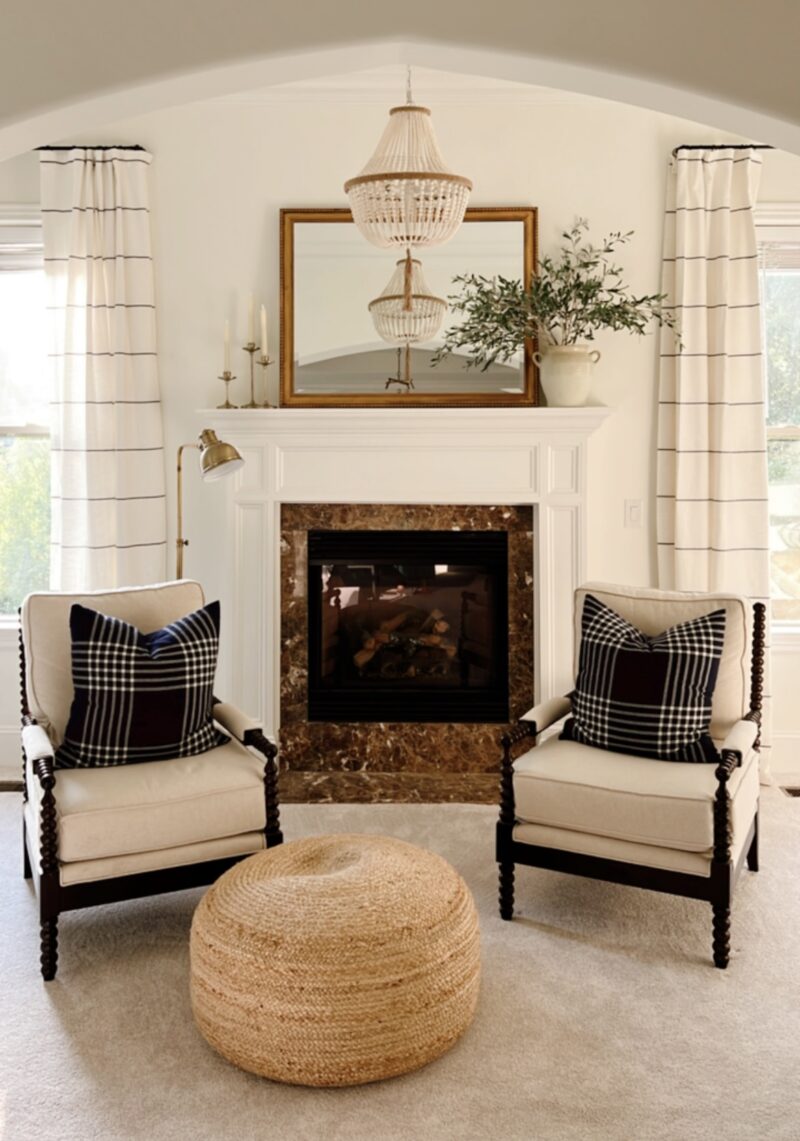
These striped panels added so much warmth to the space. Now that they are up, I see how naked the space looked before. Window treatments can definitely be intimidating and custom drapes can set you back quite a bit. I hope these tips encourage you to give it a try.
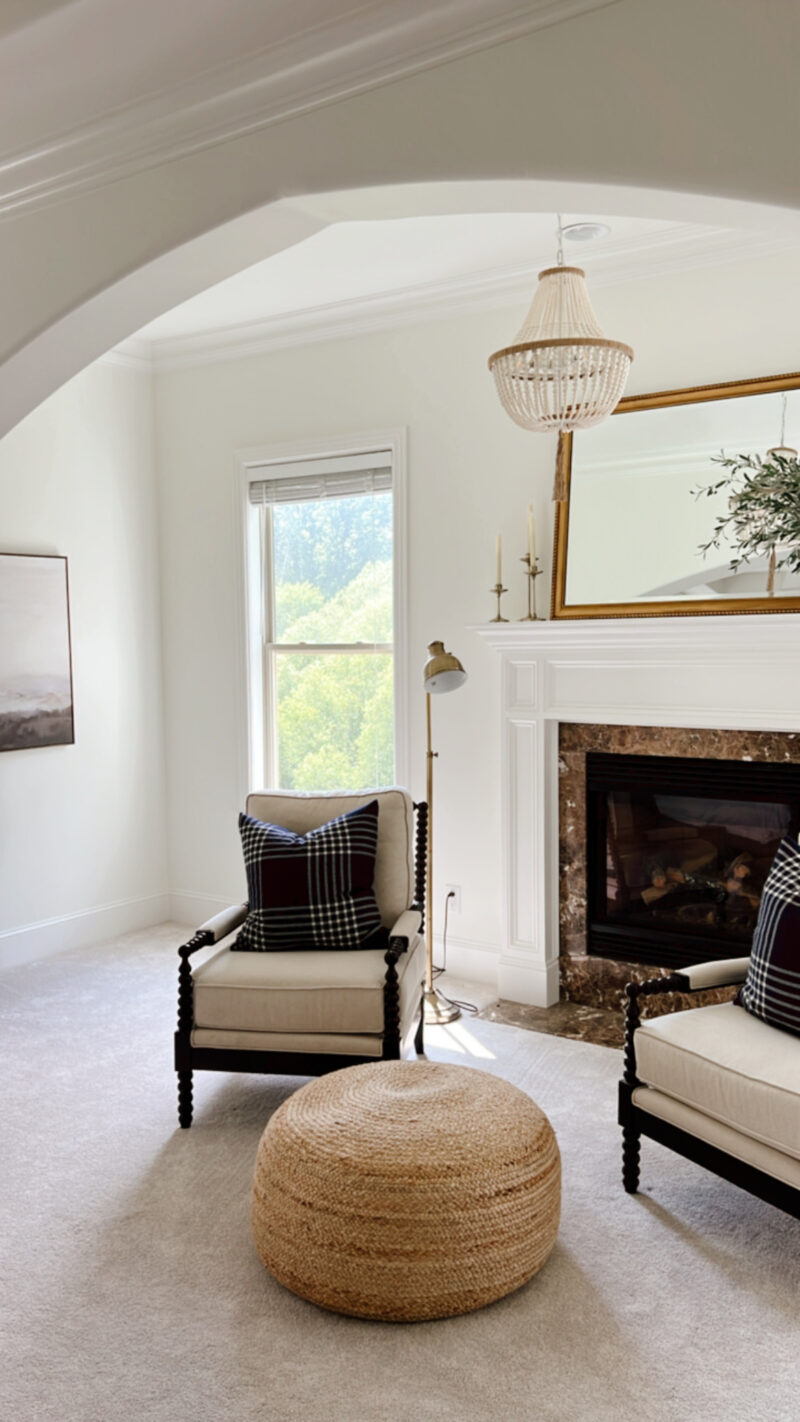
Here’s a peek at the before. This room gets phenomenal light which we really appreciate. In fact we hung this right when the sun was blaring in so you’ll see the blinds down in most of the photos.
TIP #1: HANG YOUR PANELS HIGH
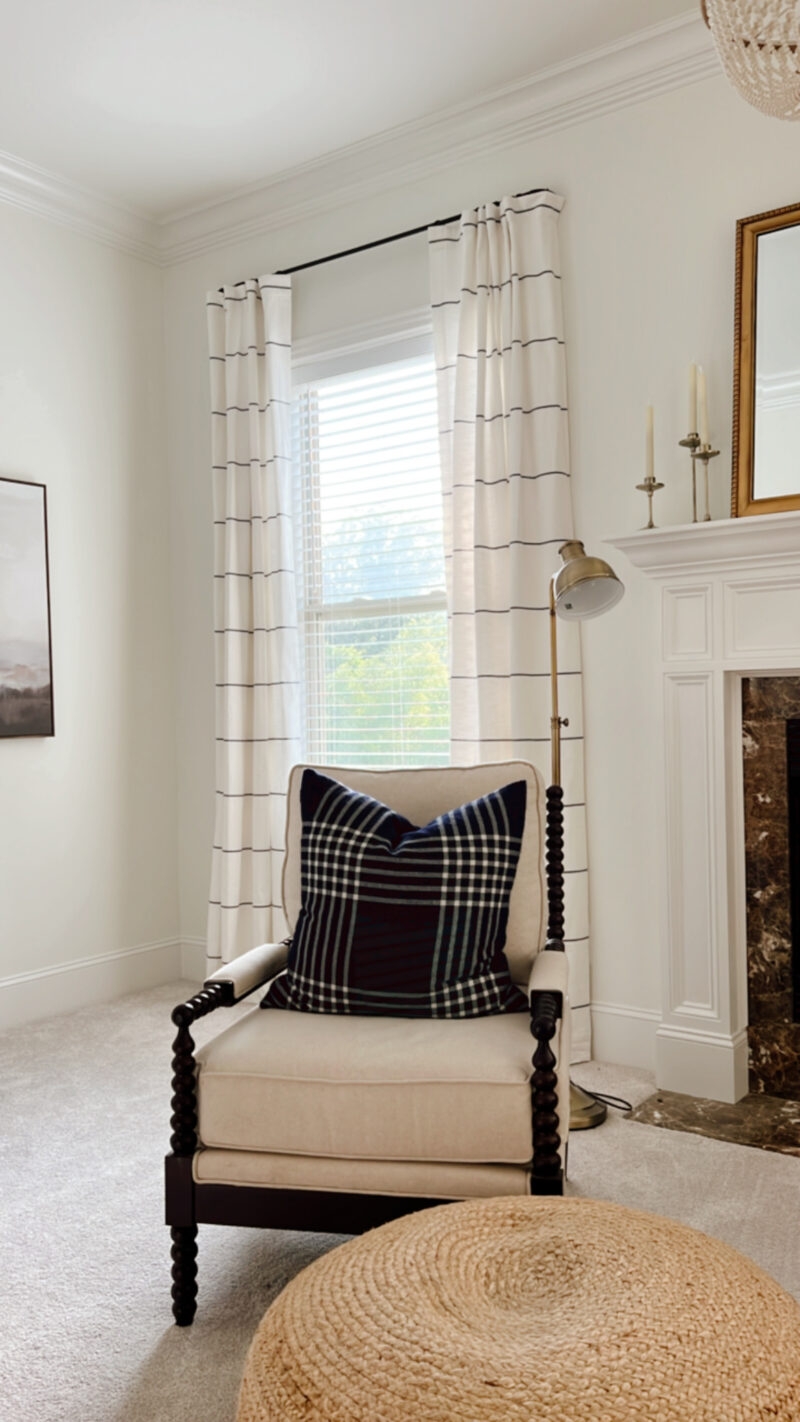
By all means go as high as you can. Typically I like to hang my rod 2-3″ below the ceiling, or crown if you have it. It gives the room more drama and pulls they eye up. These ceilings are extremely high and the panels I chose came as long as 108″. That meant they wouldn’t be quite as high but still a good 12″ above the window frame.
TIP #2: HANG YOUR PANELS WIDE
The other tip is to trick the eye into thinking the window is larger than it is. I like to hang the rod 6-8″ beyond the window frame on either side. This also means you won’t be covering up too much of the window or light that comes in. I like my panels to just cover the frame, not the actually window itself.
TIP #3: STEAM YOUR PANELS
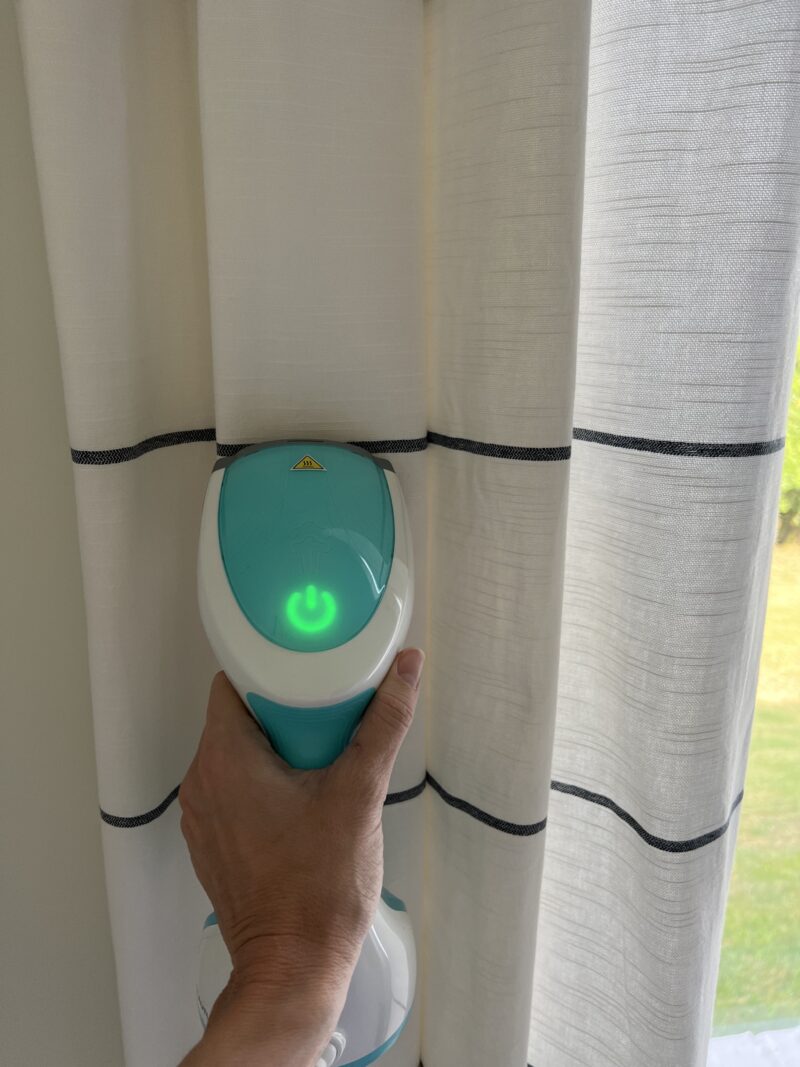
This steamer works wonders. Having said that please avoid my big mistake. I should have steamed the panels prior to hanging them because I think steaming them relaxed them enough to make them a tad longer than I wanted. Major bummer. My advice is lay them on your bed and steam them. Then proceed with hanging them. Then give them a once over with this and they should be beautiful.
TIP #4: USE DRAPERY PINS AND RINGS
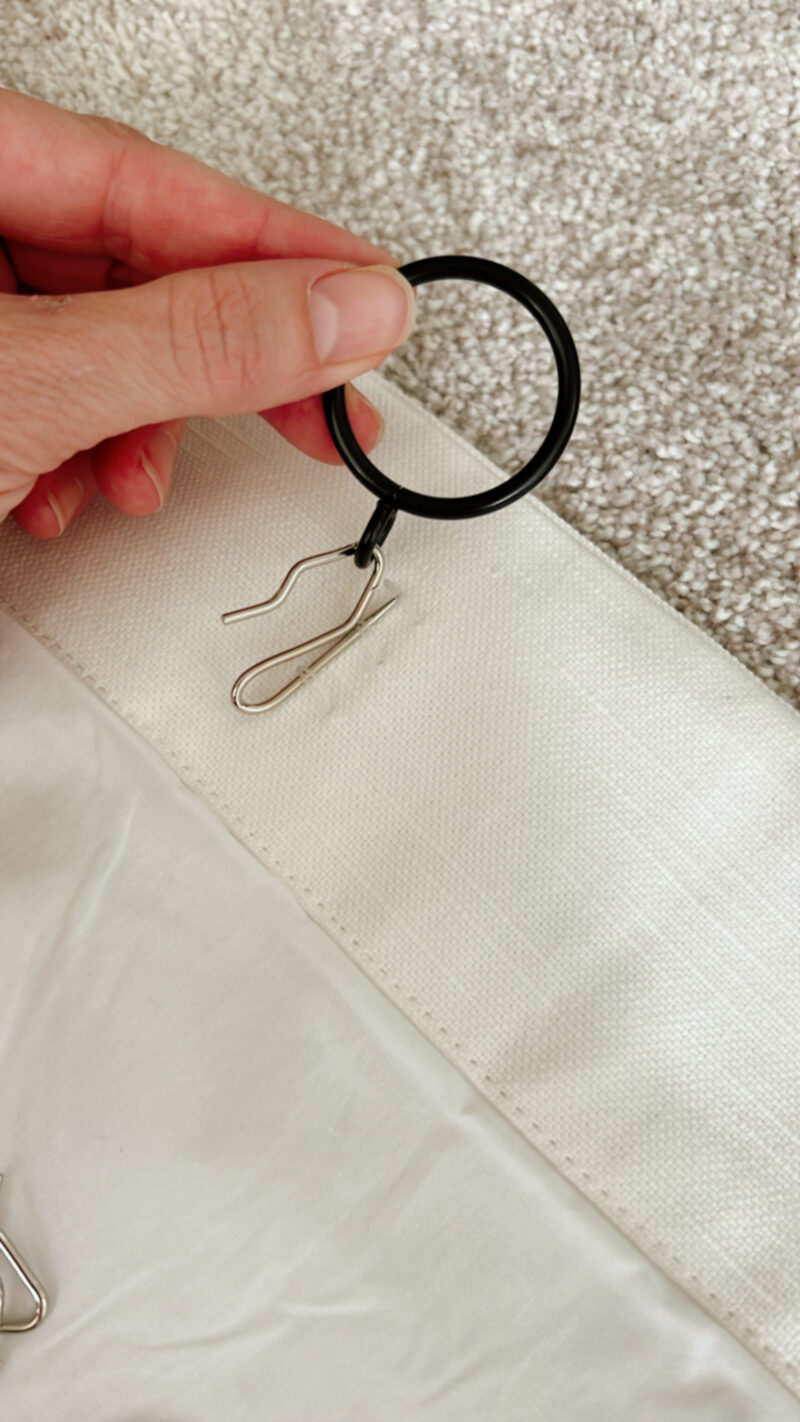
One of the things that make custom drapes look so amazing, other than the fabric, is the way they are hung. If possible, opt for drapery pins and rings (not the clip rings). These panels came with the loops and pins. Having said that, I have hung drapes that didn’t and I inserted pins directly into the back of the pole pocket. All it takes is some carefully measuring and marking. Typically, a panel will require 10 rings so you’ll want to space them out evenly if you are adding the pins yourself. I promise it’s much easier than you think and will give your panel a custom look. These are the rings I like to use.
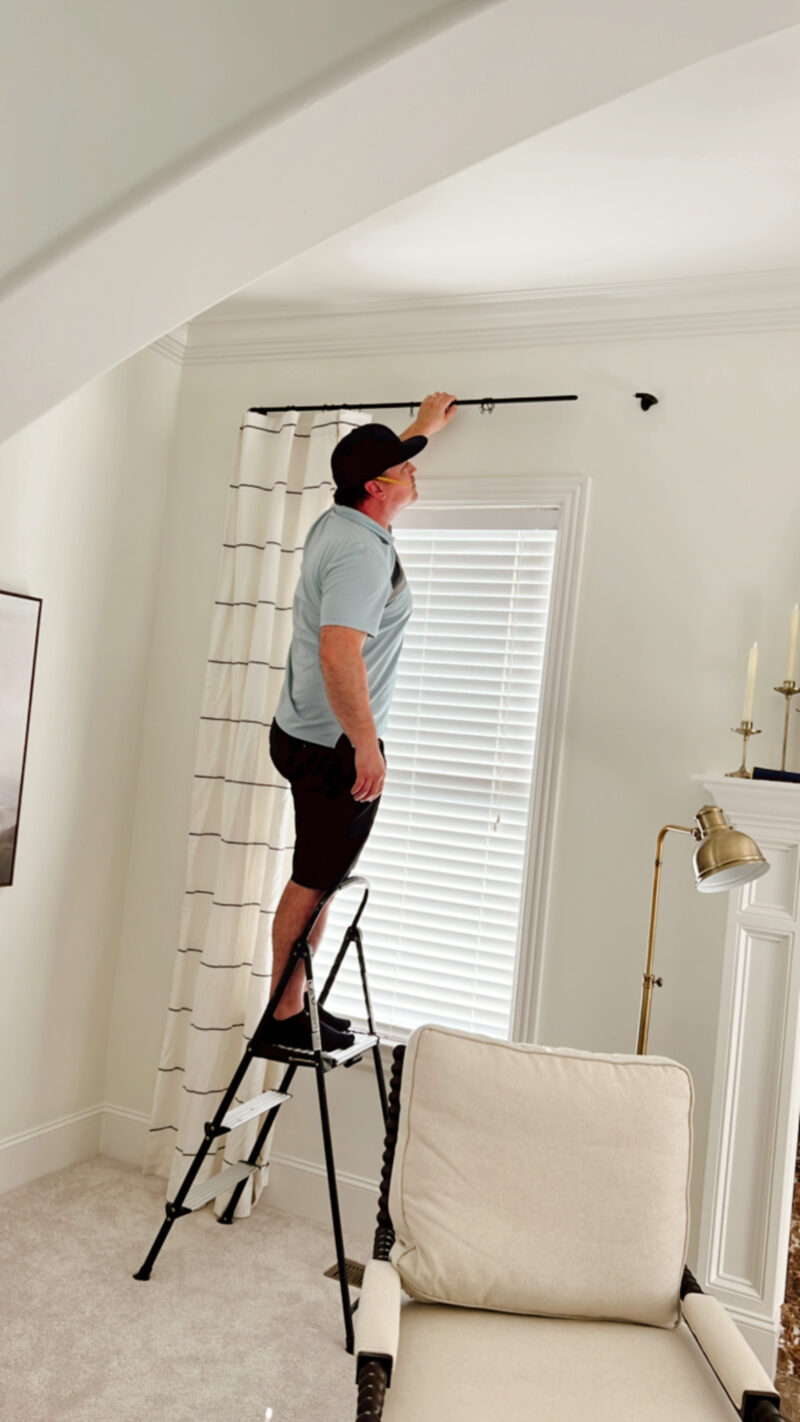
TIP #5: HANG JUST ABOVE THE FLOOR
Add a drapery panel and test out your height. Mark the wall for your rod brackets. You’ll want the drapes to hang just above the floor. Avoid my mistake below and steam them first so you are getting a good indication of the length.
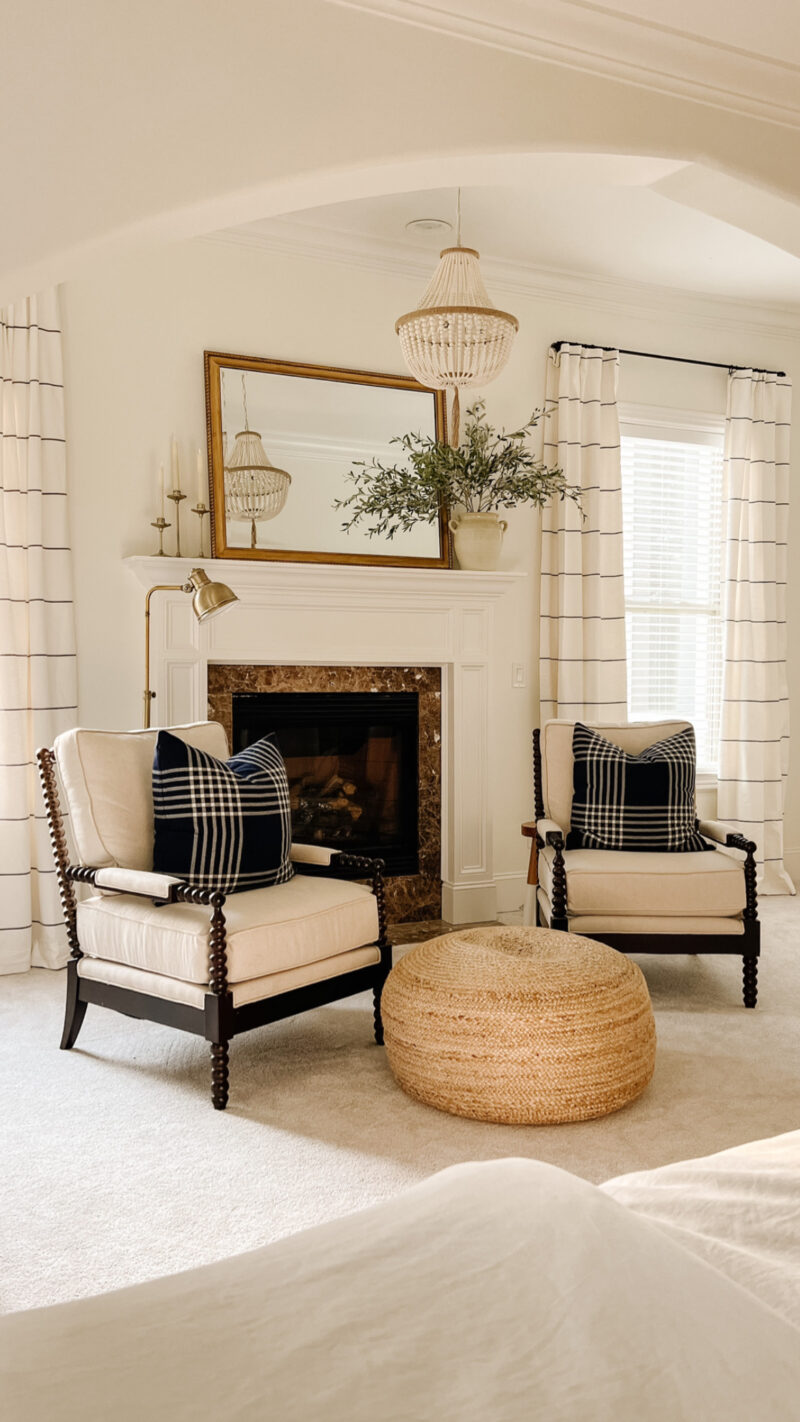
The color I chose for the drapery panels is called “indigo.” While technically the stripe is a navy, I think it reads charcoal and a great neutral choice. For reference our walls are Alabaster (a warm white) and the drapes are ivory.
OUR GO-TO DRAPERY ROD
These are the rods we used. We love that they aren’t too bulky and not challenging to hang. Plus you can’t beat the price. These are the rings we like.
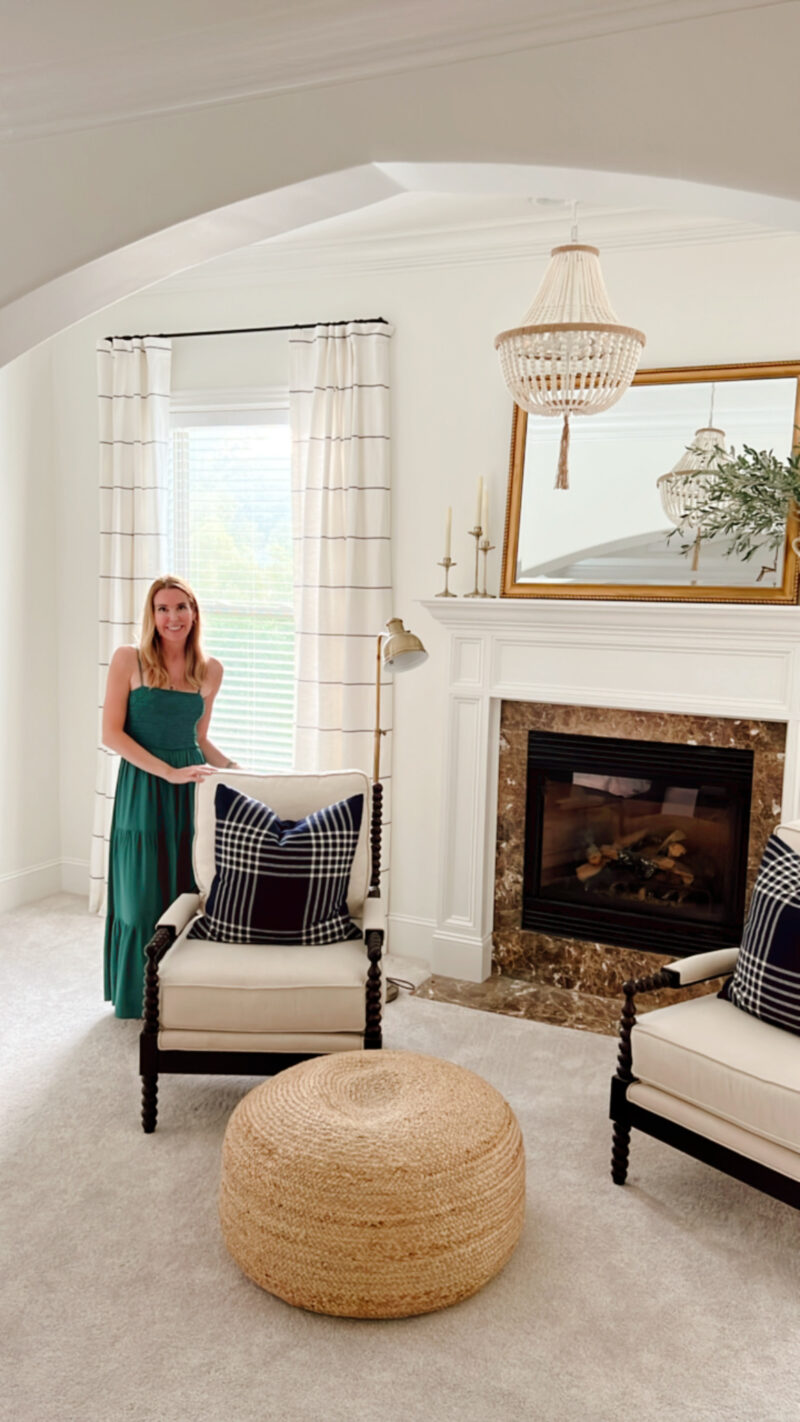
These panels definitely put the finishing touch on this space. I might swap the plaid pillows for something a bit softer. Maybe this floral design.
MORE SOURCES FOR THIS SPACE
- woven ottoman
- battery operated candles
- set of 3 gold candle holders
- striped drapes
- drapery rod
- chandelier
- olive branches
- similar vase
- similar chairs
*In case you missed it, I shared some really great deals I thought you should know about here.
I’ll confess I never knew how those rings fit onto drapes! 🙂 thanks for explaining!
Looks like you could move the pins up to accommodate the longer length!