Ok, ladies! Let’s talk shiplap and all things related! We recently embarked on a butler’s pantry project and I needed to know what I was talking about before I begged my husband to install shiplap for me. I have to admit I was definitely confused about what exactly is available and what was best for our project. There is so much information out there so I thought it would be fun to give you a quick and simple girl’s guide to shiplap.

Keep in mind this space is still unfinished (hence no kick plates, upper cabinets, or hardware)! But girls we have shiplap and that’s good enough for me. Truth be told so many of you have been asking to know what we used so I figured I better get this info out there. It may be weeks before we finish up this space.
LET’S GET STARTED
Of course we have Chip and Joanna to thank for the resurgence in shiplap. Having said that, it’s as old as time and there are different ways to accomplish the desired look. Some walls use planks, some use traditional shiplap, and others are made from tongue and groove. It really comes down to knowing what you like best and what type of look you are hoping to achieve. No matter what style you use, the look adds architectural interest and charm.
SOLID WOOD PLANKS
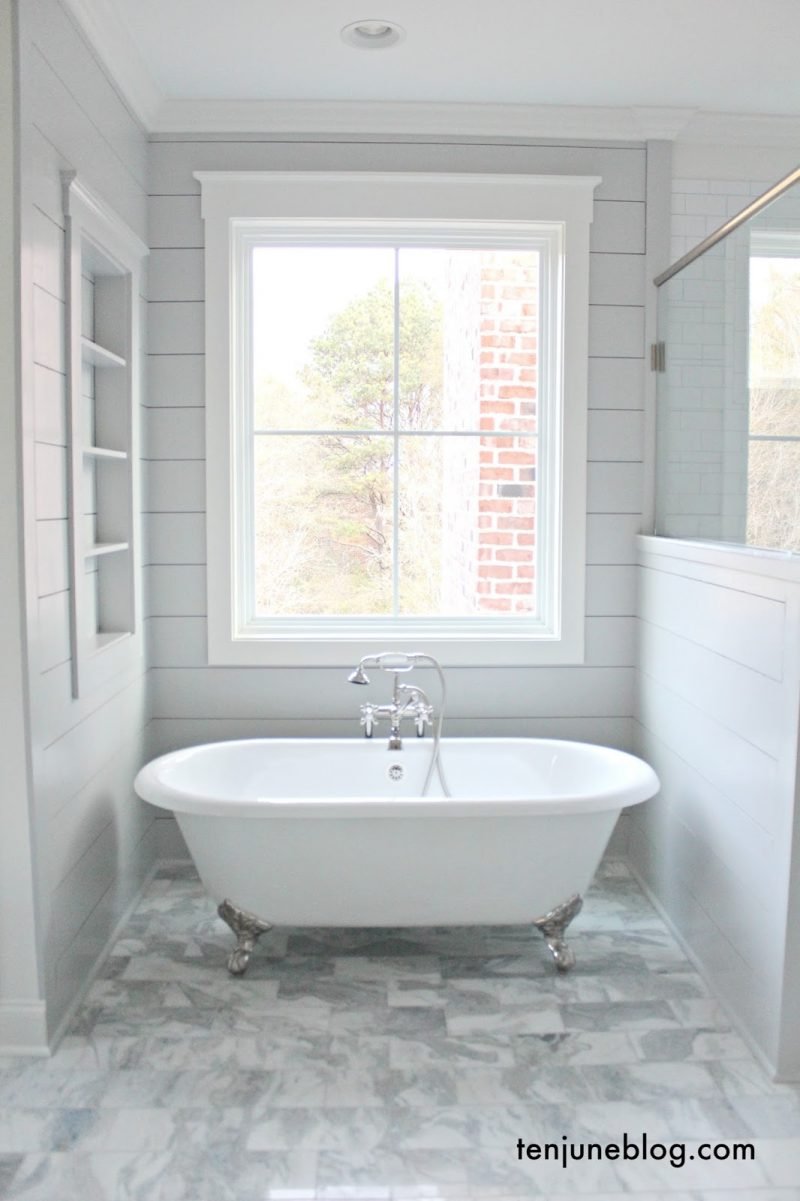
Michelle is a dear friend of mine and she and her husband recently built their dream home. They used solid wood planks to accomplish the shiplap look in their bathroom. Absolutely gorgeous.
MDF PLANKS
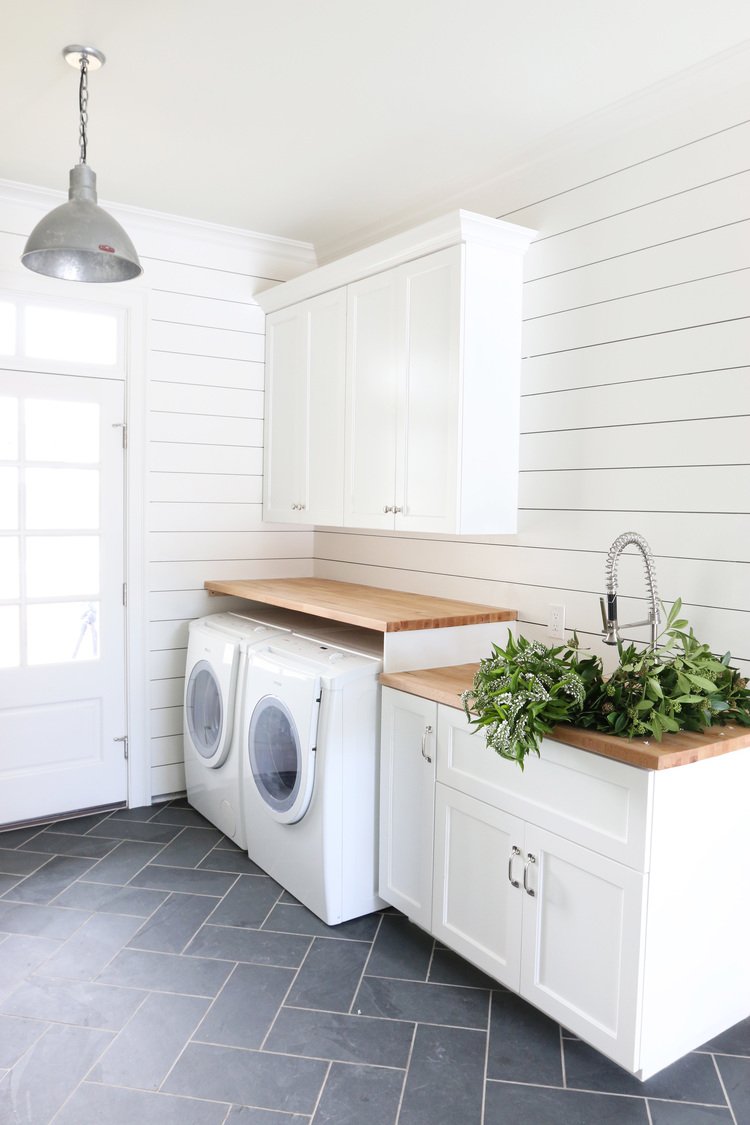
You all know how much I adore Studio McGee. They install shiplap in many of their builds and have a great post about it. They often use MDF planks for walls and tongue and groove for ceilings. Using planks gives you a nice, clean linear look like you see above. It’s often noted for having the look of black lines in between each plank.
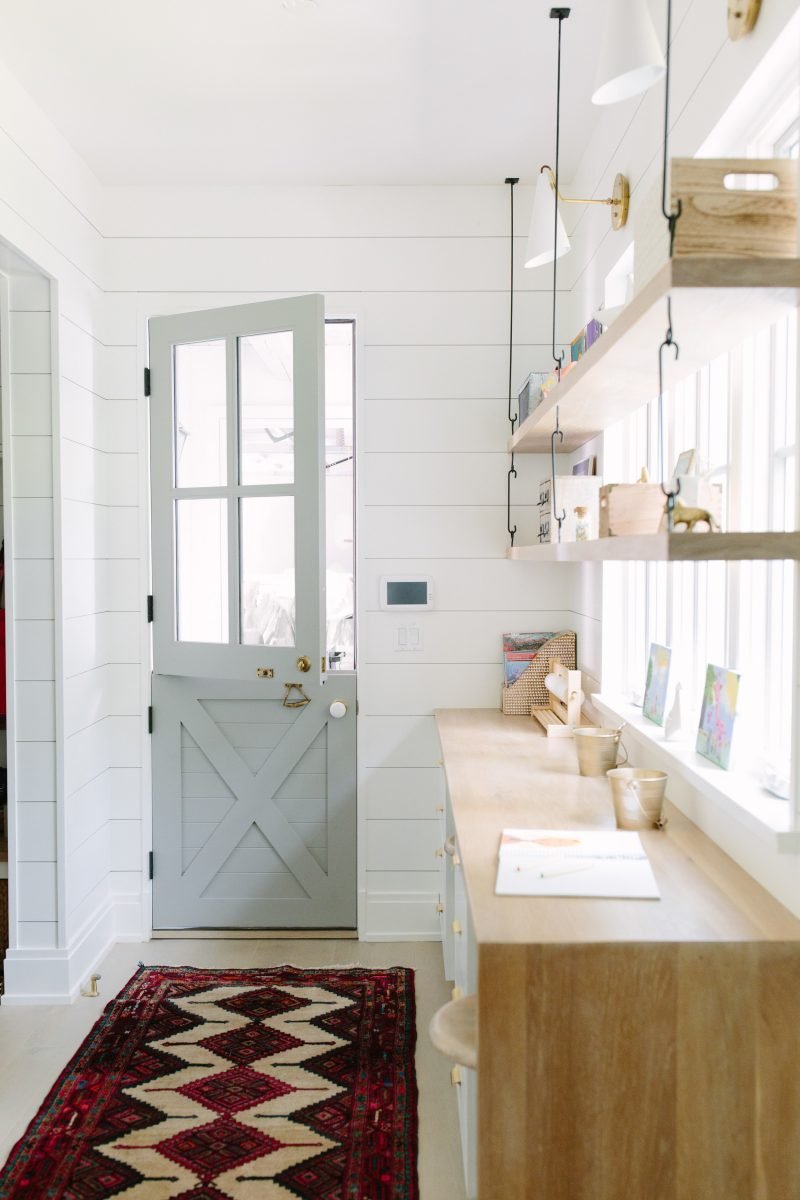
DIY PLYWOOD PLANKS
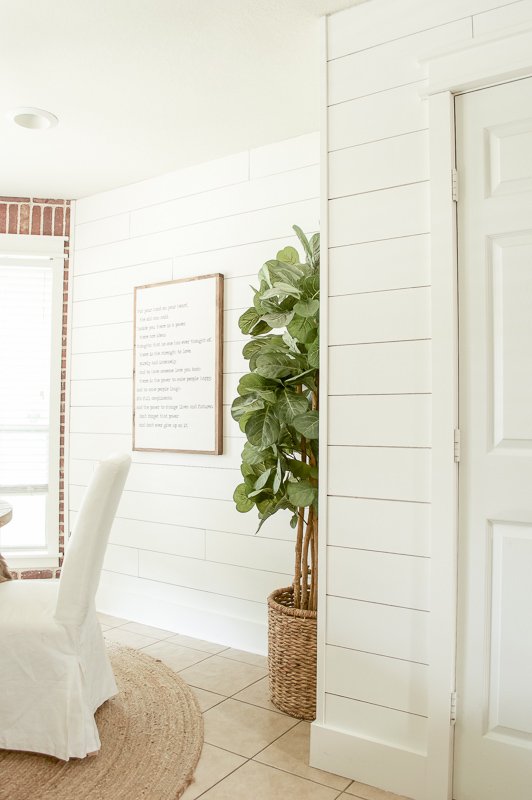
Another way to accomplish the look is to rip pieces of plywood into 6-8″ strips. This is inexpensive and there are many tutorials in blog land for this type of planking. Such a pretty look.
SIZING
In general, the boards are between 6-8″ depending on the space. I suggest taping off a few “boards” with tape to see what size works best for you. We went with boards that were around 7″ each.
SPACING
If you decide to use planks you will need to evenly space them out. This is true whether you use MDF, plywood or solid wood. Many people have had success using nickels to accomplish the proper gaps between boards. You can also use tile spacers. Either work great.
SHIPLAP / TONGUE & GROOVE
In doing research for our space, we realized that traditional shiplap has notches or rabbets on each side of the board which allows them to self space and fit tightly together. It was originally designed as siding that would prevent water from leaking through.
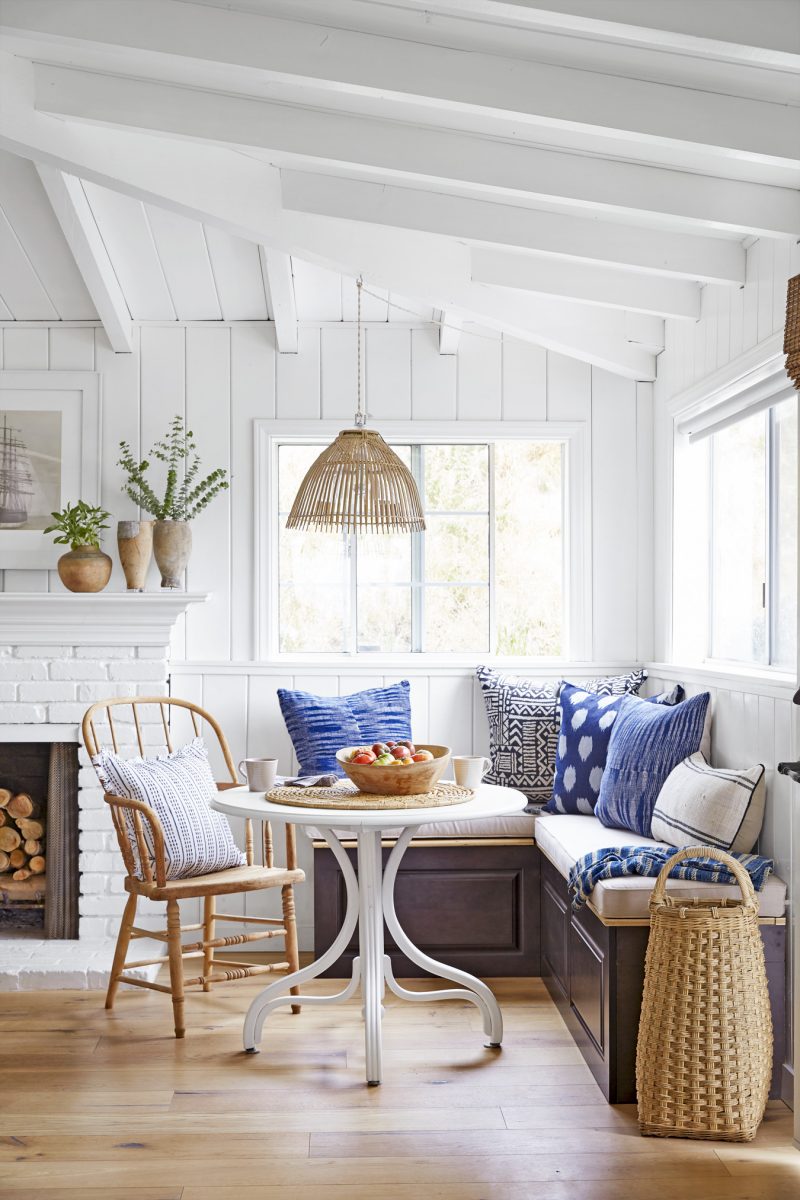
heather bullard via country living
Here is a great example of boards that have rabbets on both sides. It’s quite similar to tongue and groove. In both cases, the boards self space and fit together like a puzzle. I love how this is hung vertically. Such a gorgeous small space feature in Country Living.

This doesn’t get much better. I just adore the aged look it gives this room. So pretty and yet so simple.
WHAT DID WE USE?

We decided to use shiplap pine boards. We love the look that the rabbets on each side create and it was just what we wanted for this room. The cabinets and tile read so flat so we really wanted to bulk up the walls and add a lot of interest.
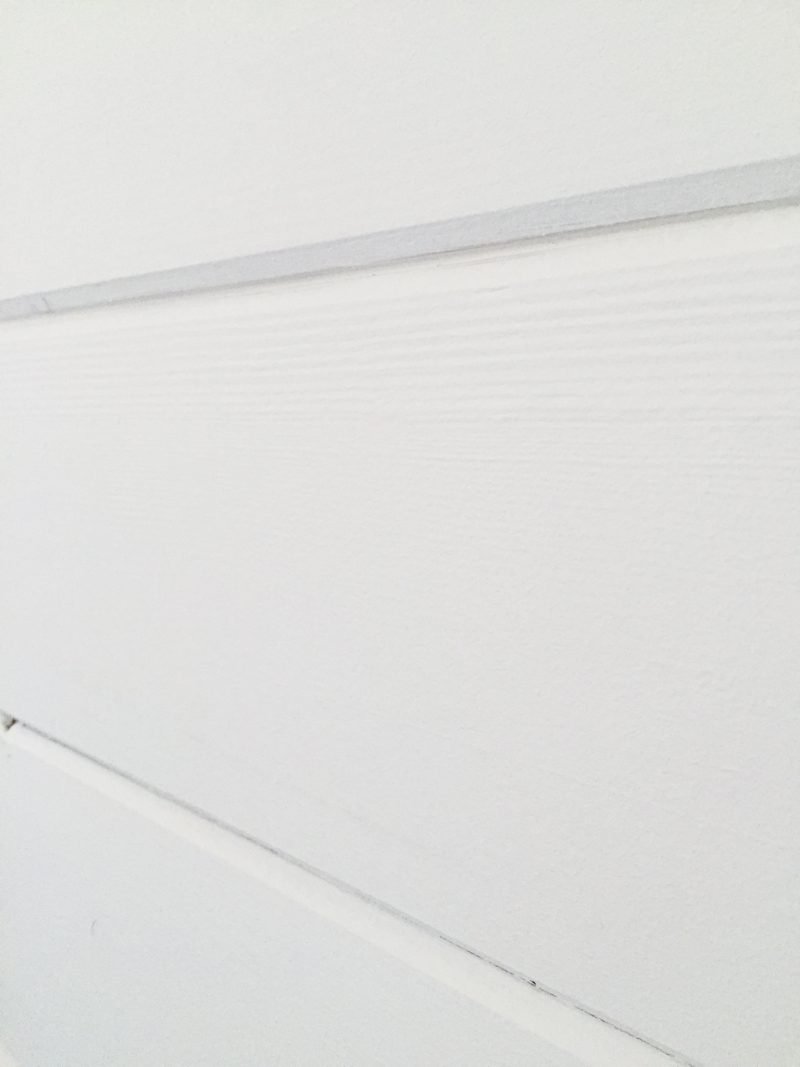
We chose to hand paint the boards to maintain the character in the wood. We wanted to see a little bit of the grain and have it look like the walls have been here a long time. If only!
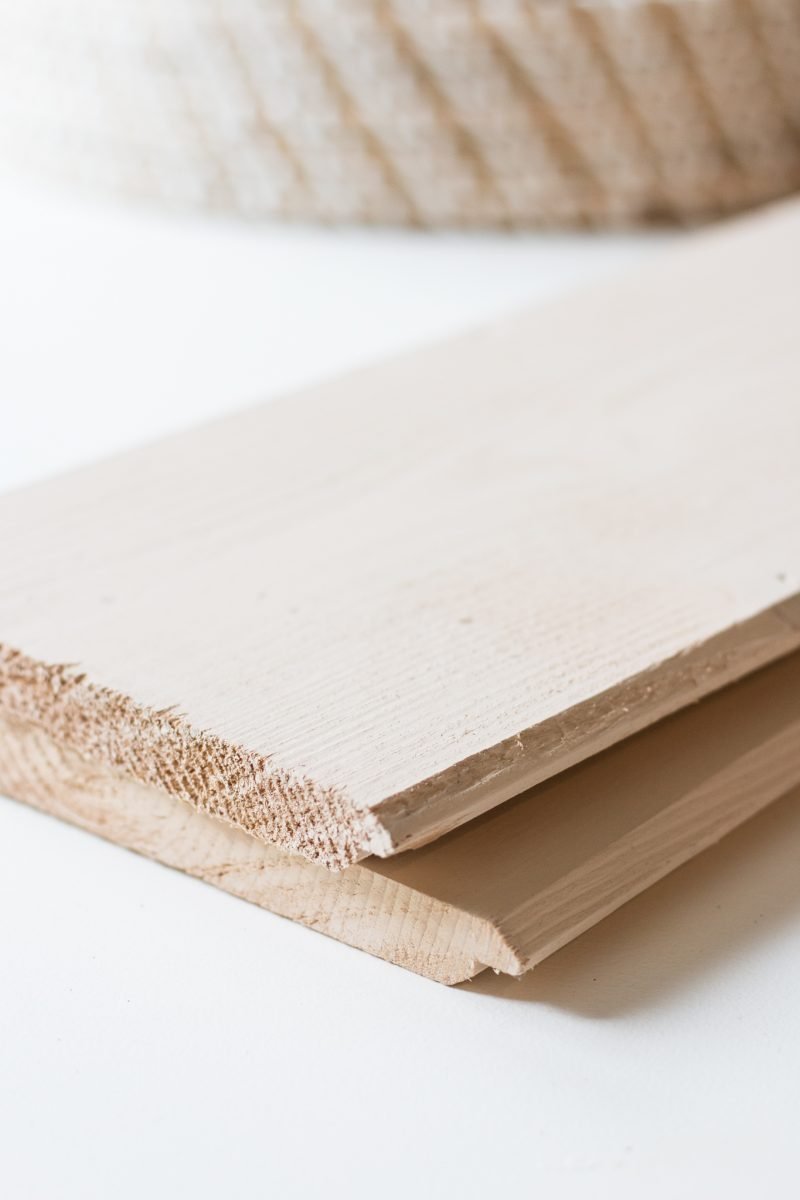
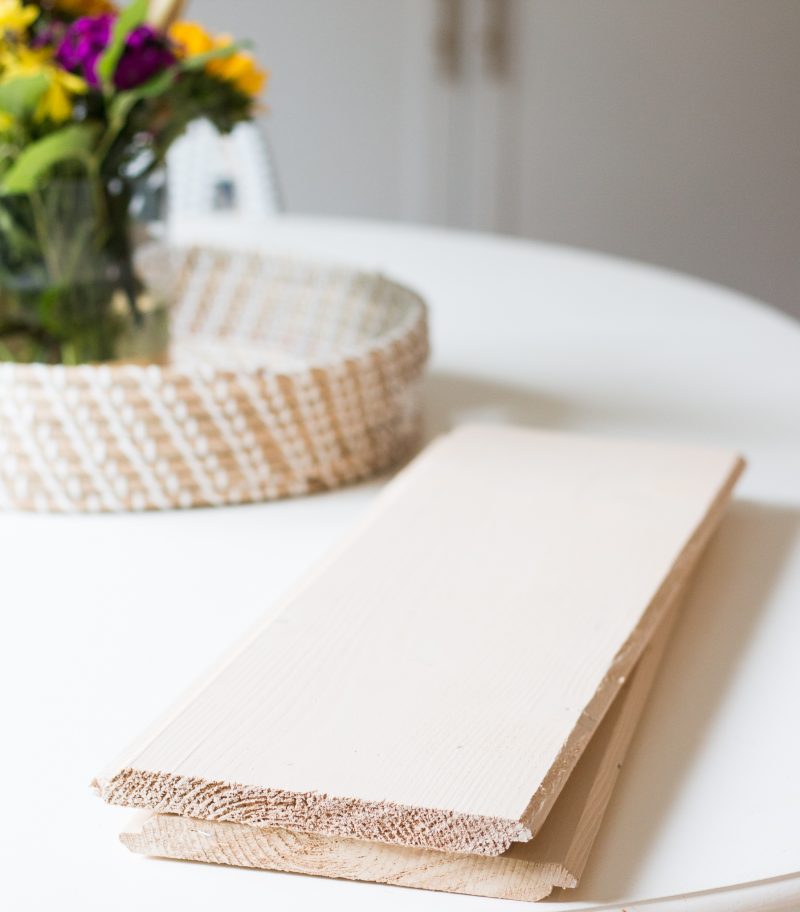 Here at the pine shiplap boards. We bought these at Home Depot for $7 a board. Truly not that expensive in a small space. Altogether, the boards for this room cost just under $300. Well worth it if you ask me. It would have cost us so much more had we hired someone to do this for us. My husband was over the moon excited at how easy they are to hang. No spacers necessary!!!!
Here is an up close shot so you can see the notches (rabbets) on each side.
You simply place them next to one another to create the gap. Again it all comes down to personal preference of whether you go this route or roll with planks. I love both looks!
NECESSARY SUPPLIES
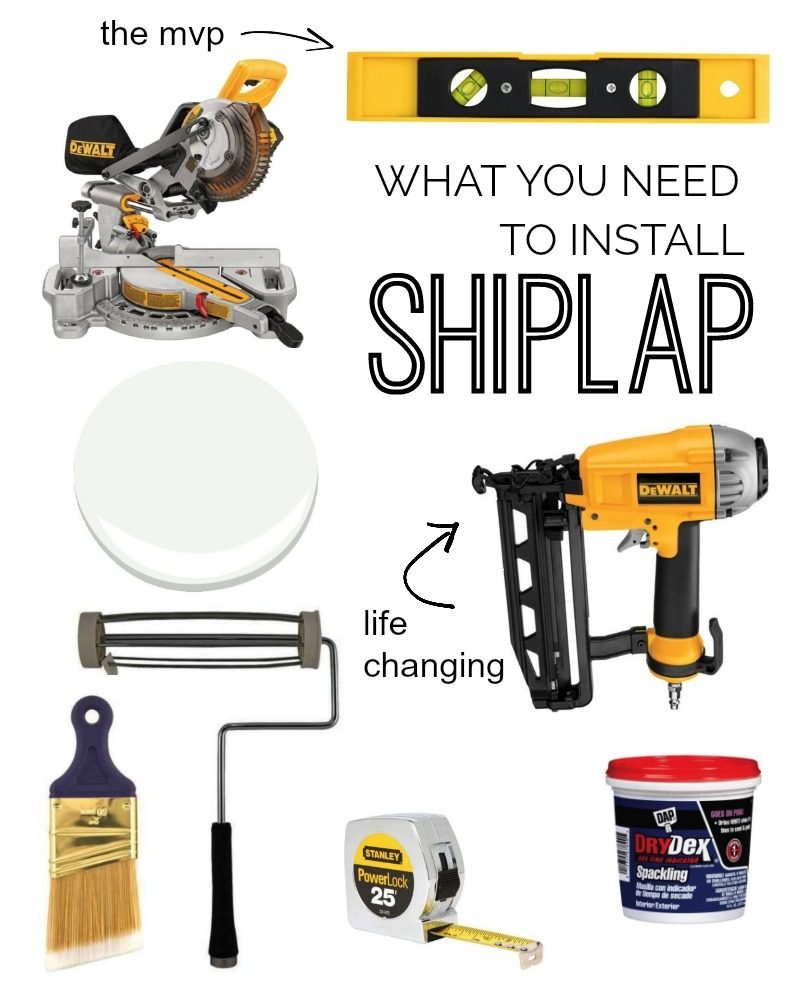
The true MVP of this shiplap show is the level. Don’t try this project without one. The pneumatic nail gun is pretty key as well. Here is a list of what you will need.
- shiplap boards
- compound miter saw
- level
- pneumatic nail gun
- measuring tape
- nail filler
- paint brush
- paint roller
- paint
HOW TO INSTALL
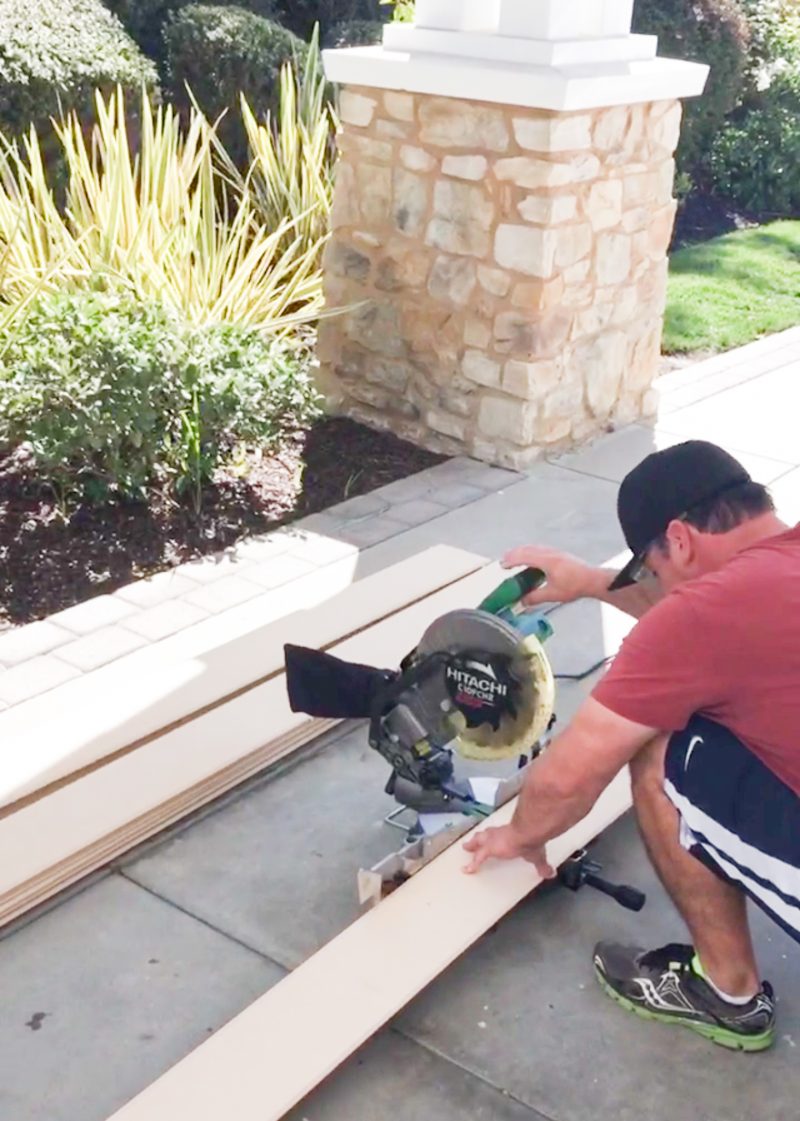
We had one major rule! Measure five times, cut once! My husband measured for each and every board as you never know if your walls are truly straight all the way down.
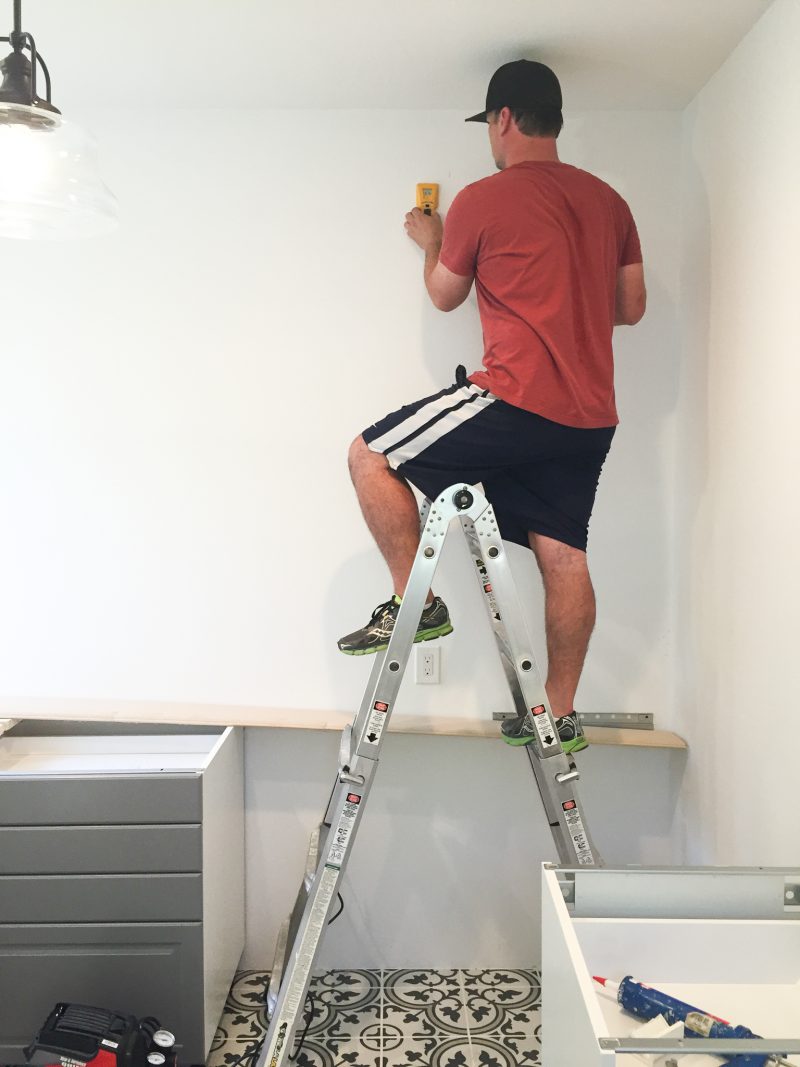
Locating the studs is very important. Once we found them we marked them all the way down the wall so we (and I mean he) could easily install the boards. The key is using your level for every single board. It’s crucial that your boards are perfectly level. Otherwise the lines that are created will suddenly be slanting. Plus installing a countertop would exacerbate the uneven boards so it was a non negotiable.
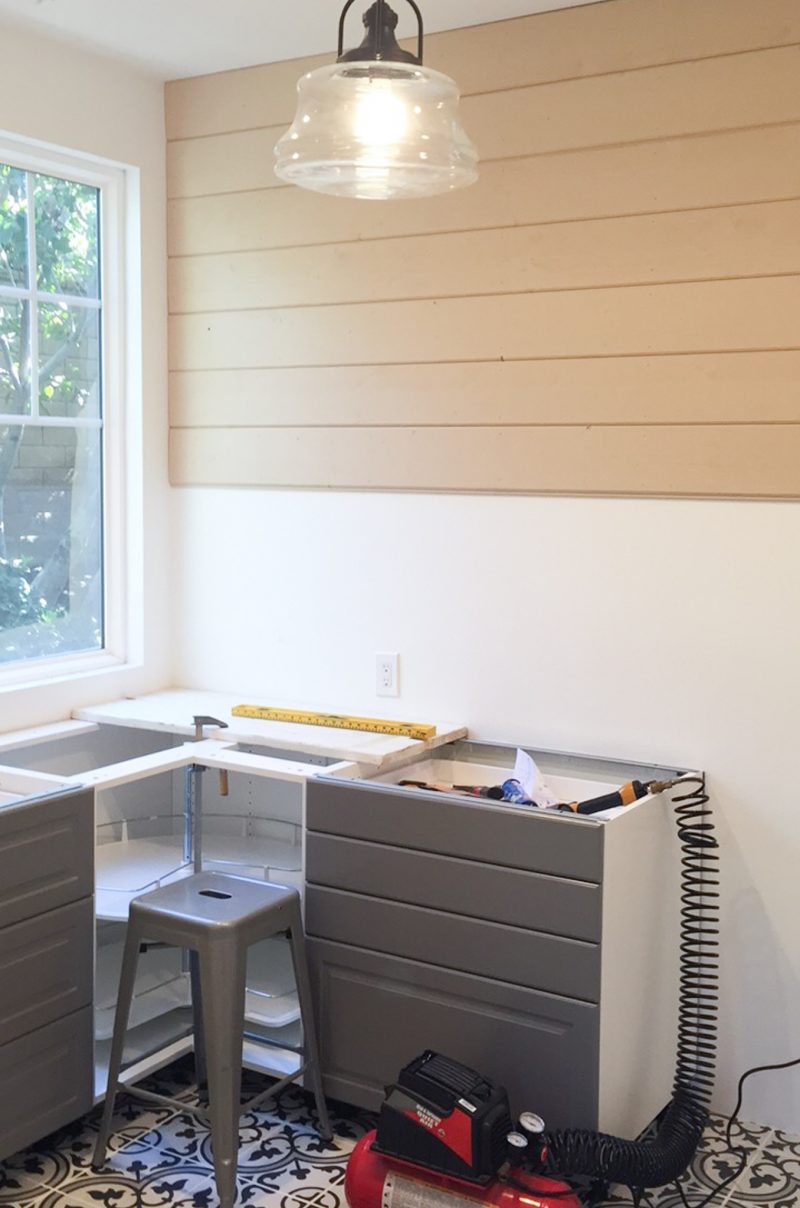
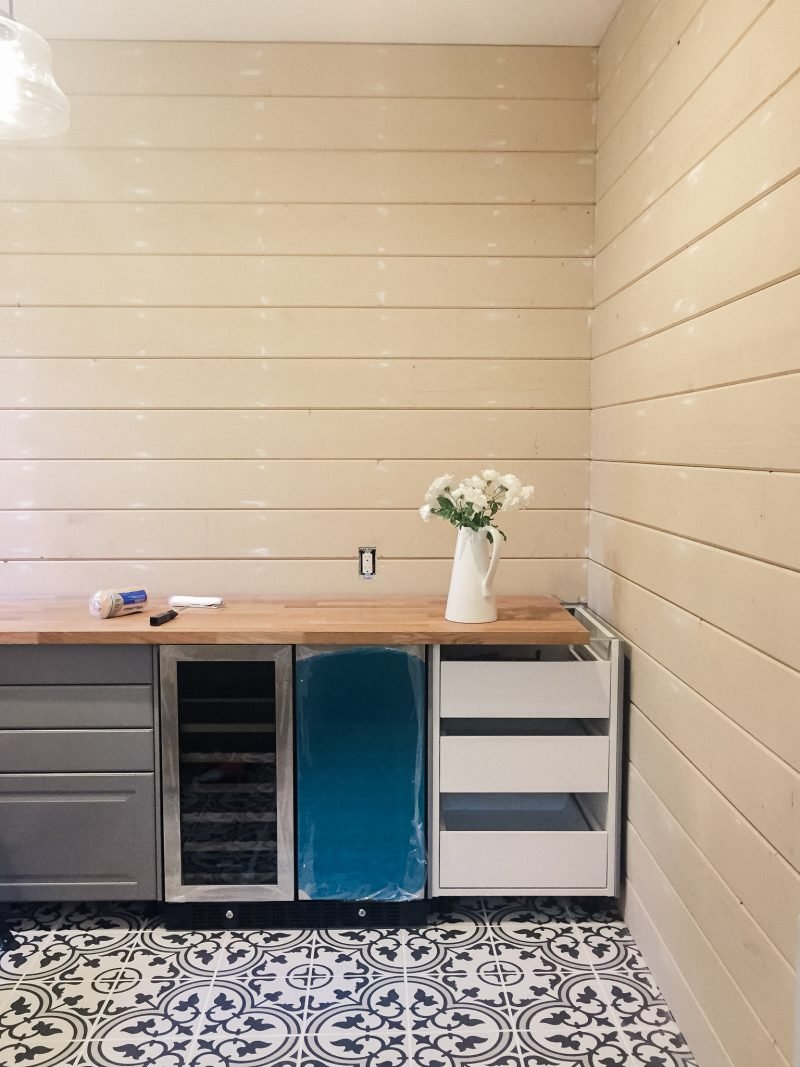
These boards went up so quickly. Having to cut around outlets definitely slows the process down. But just be patient. It really did go very fast. It took about two hours to do this first wall (including measuring and cutting each board).
If you are rounding a corner it will be very important to be sure your seams line up perfectly. It’s not hard but it takes some patience. Once the boards are installed, fill the nail holes, sand and paint!
PAINTING SHIPLAP
You can have your shiplap sprayed to achieve a very smooth surface. I love that polished look. For this space, we wanted a bit more of a lived-in look. We liked the juxtaposition with the sleek cabinets and tile. Painting shiplap is not for the faint of heart. It’s a process. It took my two days. Not bad at all but you need to be aware of a few things.
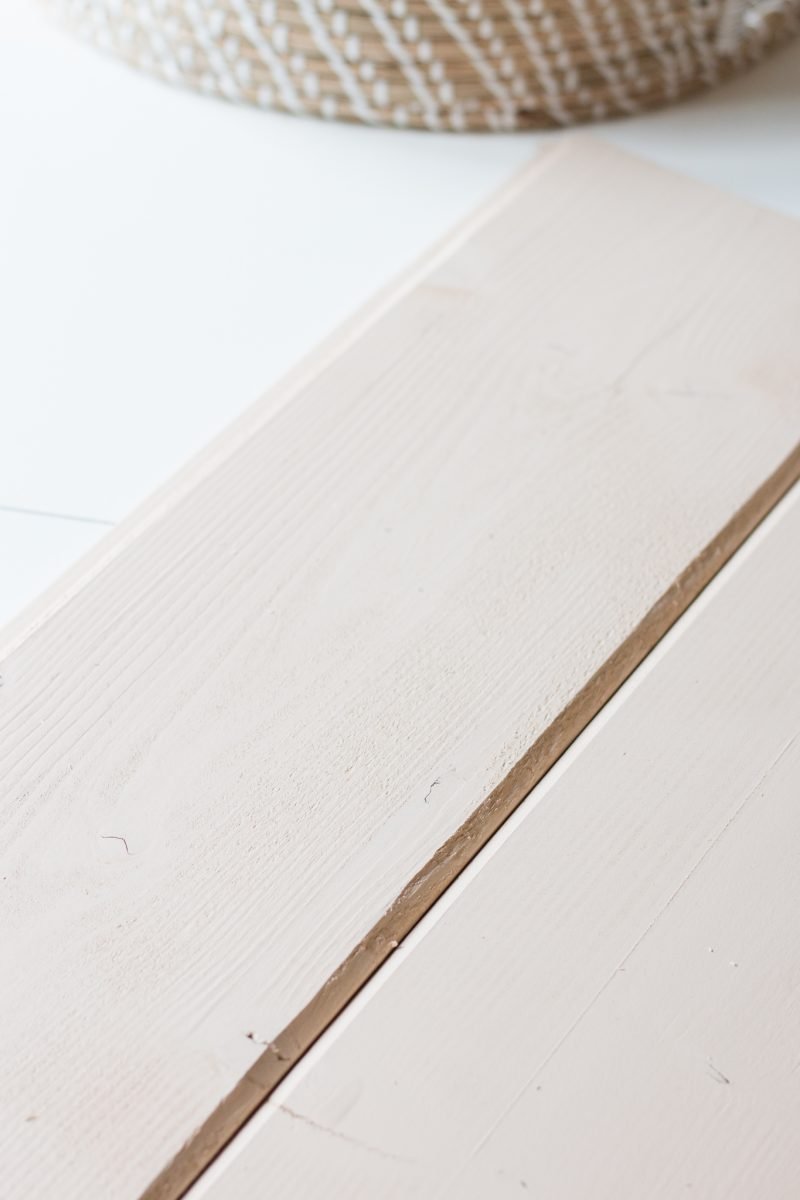
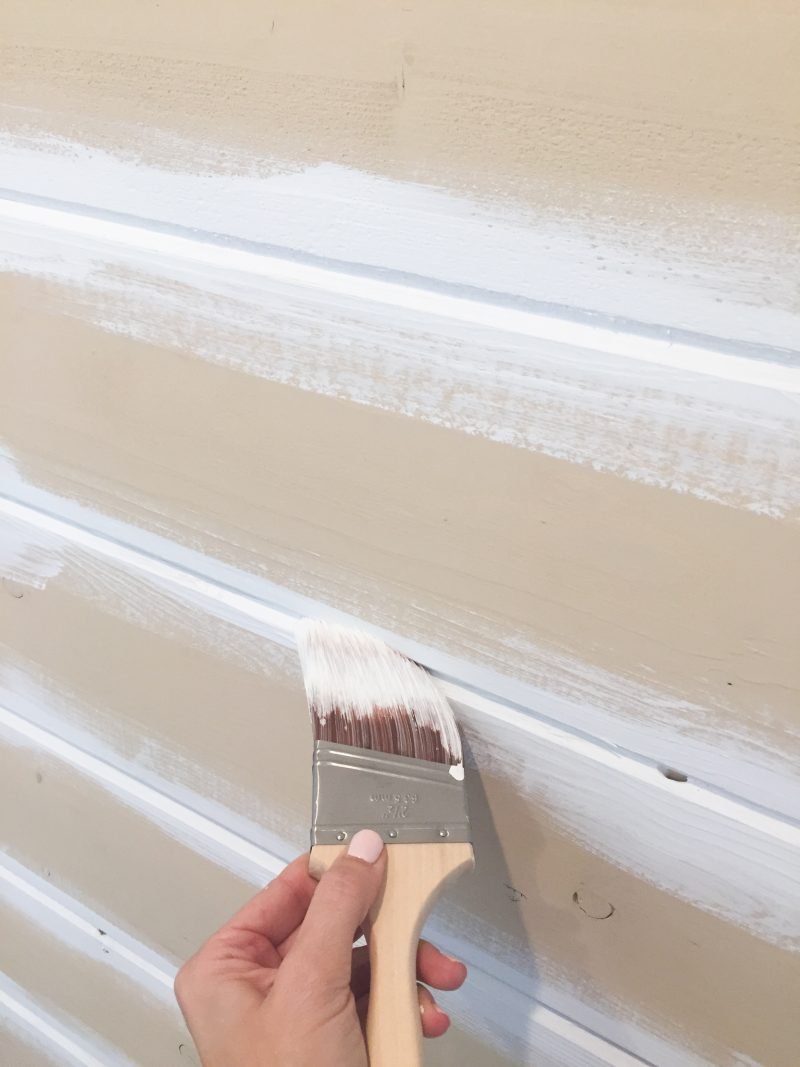
Step One: Use an angled brush to fill in all of the gaps. This is what took a VERY long time and caused some serious hand cramps. For some reason it’s just really hard to get the paint in those. But once you do that, it’s smooth sailing. We opted for one coat in between each board. Two would give it a much more polished look.
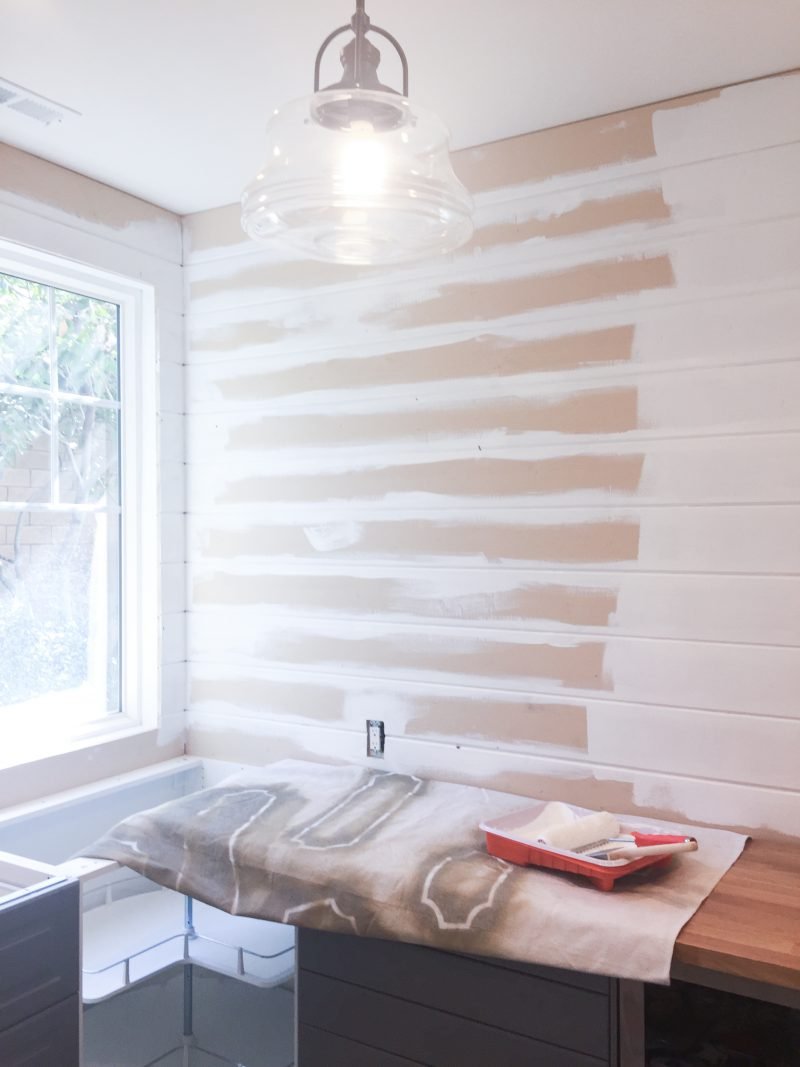
STEP TWO: Next up is rolling the walls! This part is a dream. They boards paint so nicely and you makes so much progress in a short amount of time. This definitely took two coats. In some places I opted for three coats because the boards absorbed so much paint. We used Benjamin Moore’s Chantilly Lace. It’s a very true white.
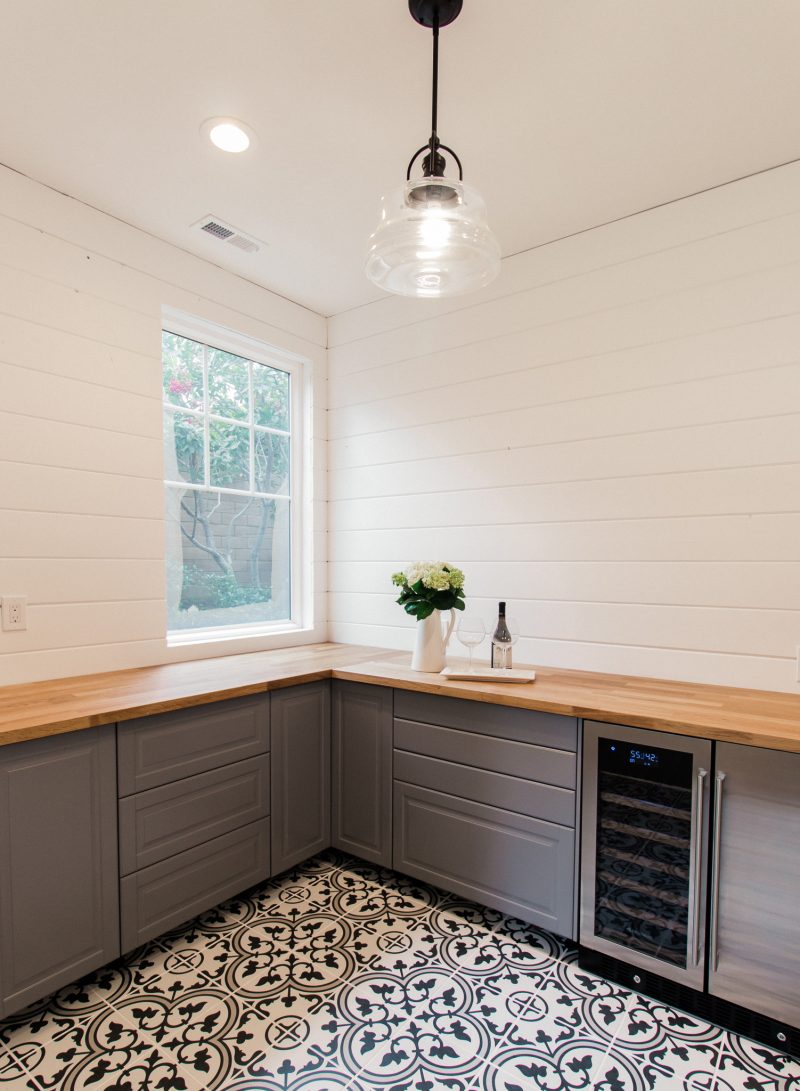
After the paint dries, you step back and appreciate the results! So worth it.
TIPS TO PASS ALONG
As with any project, once you have done it you can pass along bits of advice. Here are some things that are great to know.
- Crank up the music and take your time. Go slowly and methodically.
- Some boards are taller than others (by a very small amount). If you start to find your seams are not lining up when you turn a corner, check your stack of boards for a larger or smaller one. This really helped us.
- It takes two to hold the board up and check that it is level. Use the buddy system.
- If you are doing it yourself, you are my hero. If your hubby is doing it, tell him he is doing an amazing job the whole way through. Flattery gets the job done. Right, honey?!
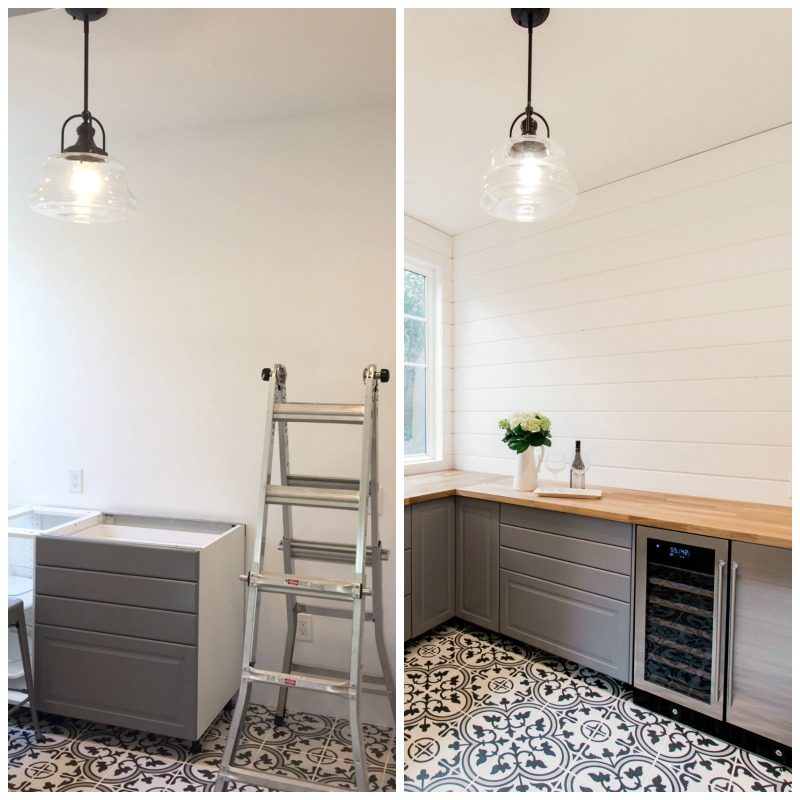
Here is a side by side so you can see what the shiplap added to the space. I am very thankful we decided to take the time to go this route. I am happy to answer in questions in the comments below. Hope this was helpful if you’re contemplating a little bit of shiplap in your life!
Now wish us luck finishing this space. Next up we are hanging the upper cabinets. That and some hardware so we can actually open the drawers and cabinets! Details. Details. All in good time. I’ll be back with an update as soon as there is one.
Your pantry looks amazing! I adore shiplap and wouldn’t have thought the process would be easy enough to DIY. Great job to you (and your hubby)!
Xo,
Michele
Thank you so much, Michele. We are getting there. He deserves the credit on these walls. He did such a great job. I like to say it was my support that paved the way. LOL. xo
It looks great Courtney and Ryan. Ryan if you’re anything like Steve he’s always out the garage asking for Dad’s help he still even try tries to phone him sometime,
So sweet. He learned so much from Gramps. Have a great day.
So proud of Ryan’s skills – just wish he lived closer so he could do some work for his mother! 🙂
I obsessed with Chip & Joann a Gaines and their style and I love shiplap now and wish I had somewhere to use it.
Great job! Would you mind sharing the paint color on your cabinets? thank you!
This is beautiful. It is such a nice, large room. What was it before?
Are any walls long enough where you needed two boards on the same row, creating seams? If so, did you fill in the seams? I plan on doing this with sanded plywood but can’t decide if I like the look of seams, but they seem like they’d be hard to fill so just wondering if you experienced that. 🙂
I had the same question about seams. Were the boards long enough that one board was all that was needed all the way across? I’m wondering the best way to do this if you had a much longer wall and needed multiple boards. Thanks!
it’s coming along very nicely.
can you link the product you bought at home depot? Thank you.
Your shiplap is beautiful! Thank you for this post. I have the same question about seams – or were you able to purchase board the length of your wall? What about corners – did you simply buy them against each other or did you miter? Thank you. ????
Hi Courtney, I tried to find these at Home Depot last night, the pine shiplap boards, with no success. Are they available online? Thanks.
What color of Home Depot paint matched the IKEA Grey for your crown moulding???
It’s custom. Here is the link: https://athoughtfulplaceblog.com/how-to-match-ikea-cabinet-color/