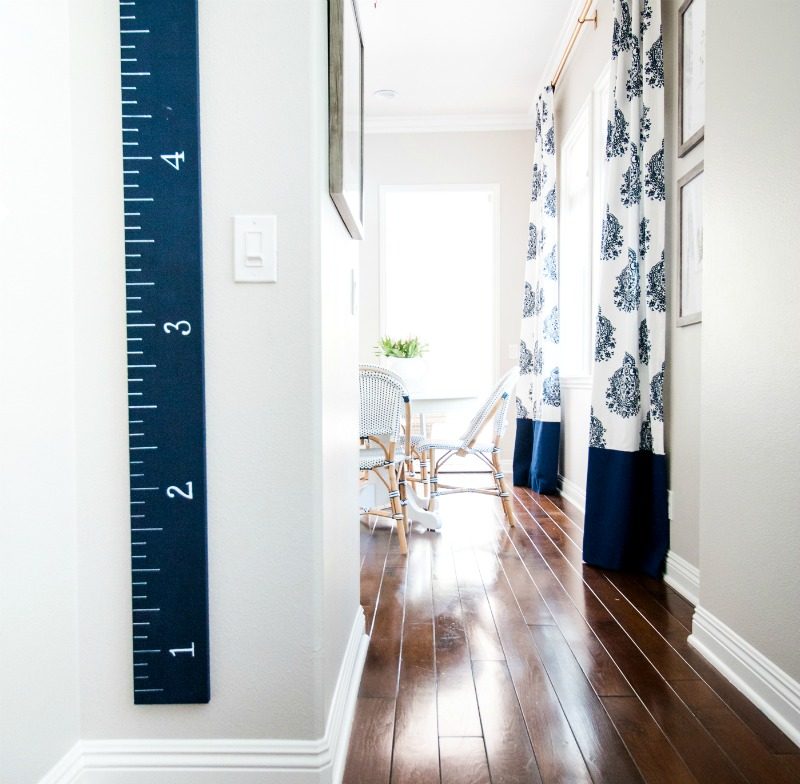
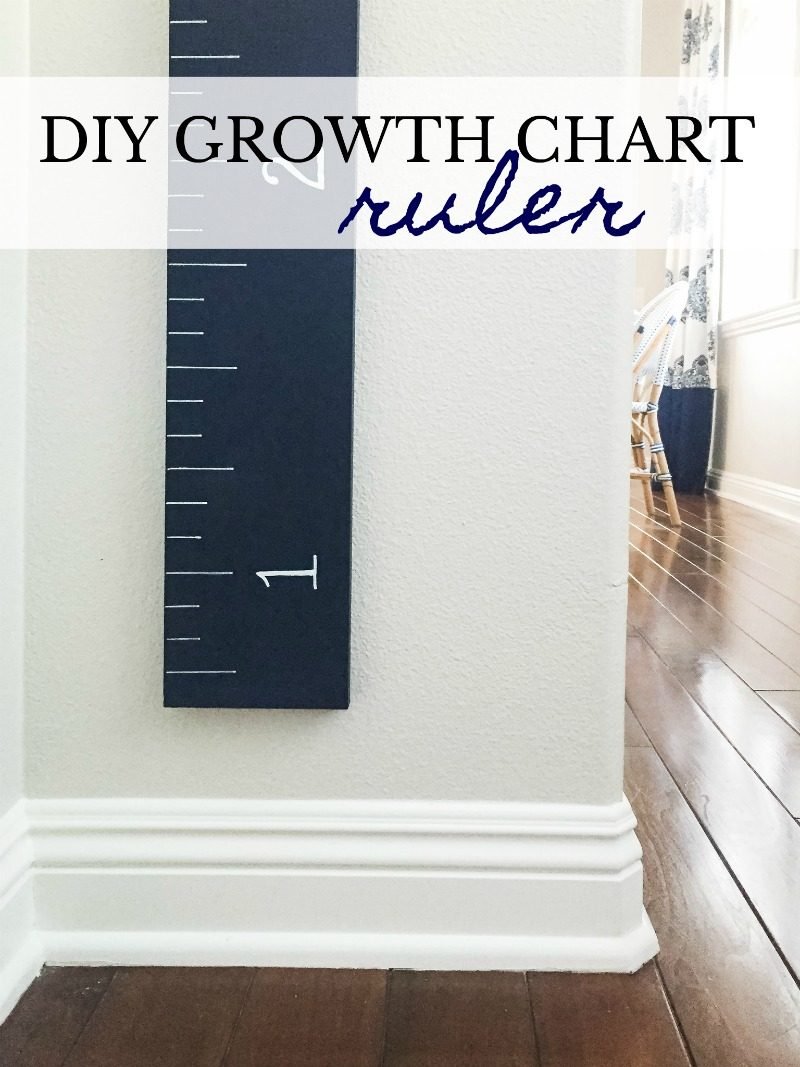
Ok, friends! I showed you this DIY Growth Chart Ruler on Instastories and so many of you asked for a tutorial so I put one together with the iPhone photos I snapped. It really was a simple project that I put off for far too long. We made the mistake of keeping track of our children’s heights on a door jamb of our last home. Yep! Can’t take it with you. So we recorded all of the measurements and promised to make a portable version. It may have taken us a year, but we are thrilled to have it up now.
WHAT YOU NEED
- 1×6 board (cut to 6.5′ long . . . or desired length)
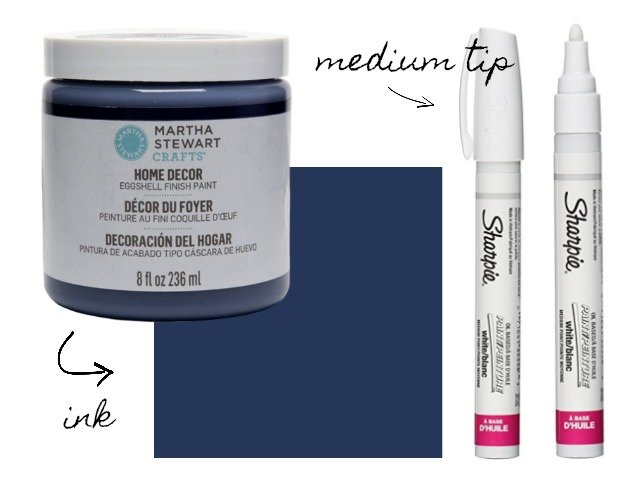
- paint of your choice (I used “ink” by Martha Stewart)
- medium tip paint pen
- paint brush
- ruler
- pencil
- velcro strips (to hang the ruler)
DIRECTIONS
STEP ONE
Once your wood is cut to size, give it two coats of paint and allow it to dry over night.
STEP TWO
You need to decide what measurement will begin your ruler. We knew we had 6″ baseboards and visually wanted it about three inches above that baseboard. This meant our board would begin at nine inches so we would need three marks before the 1′ line. Sounds more complicated than it is!
STEP THREE
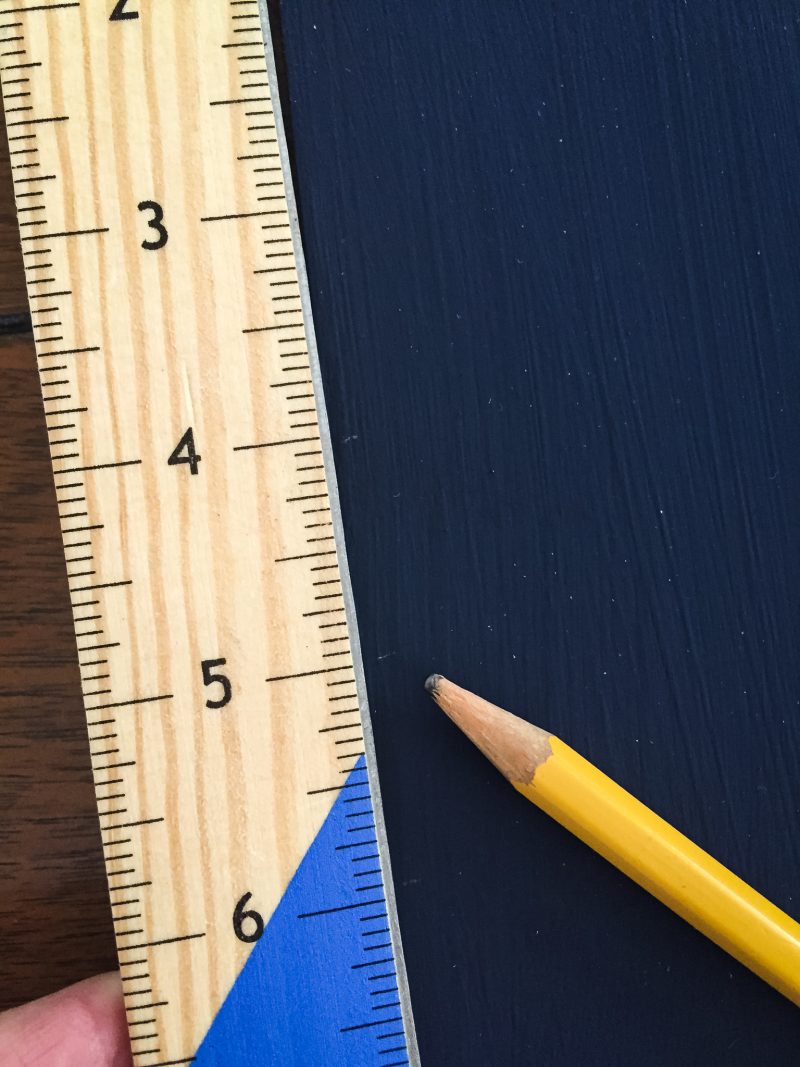
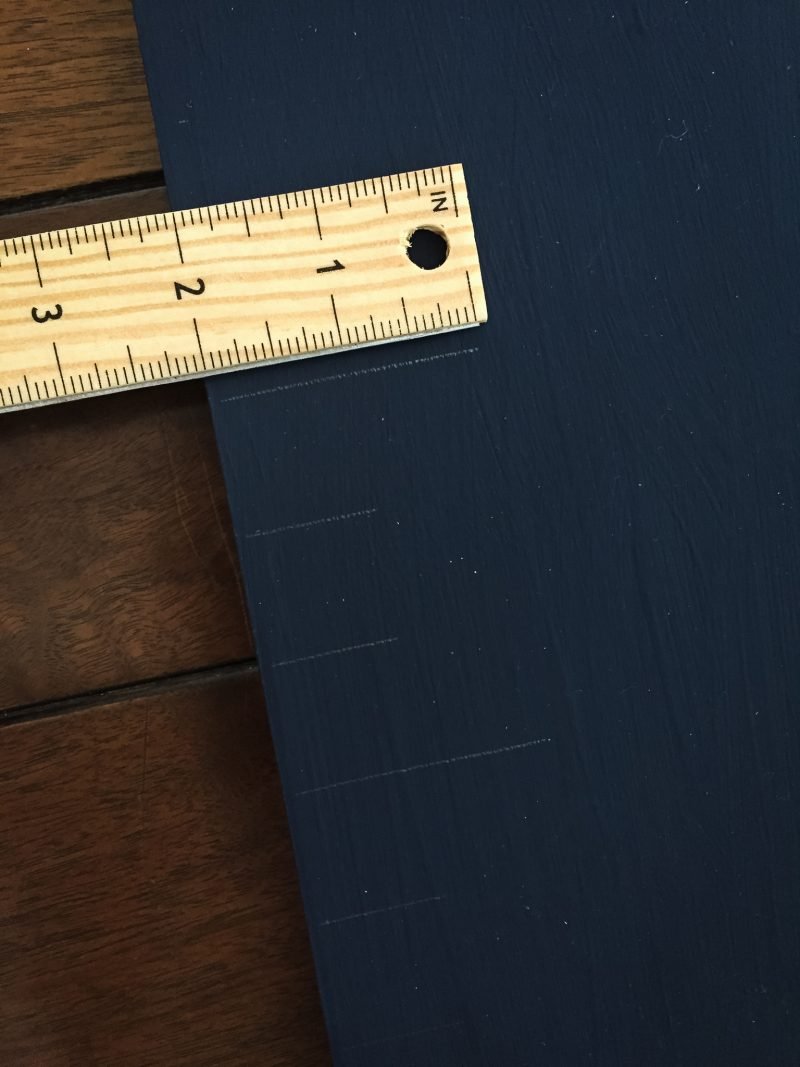
Use a ruler to mark every inch on the entire board. If you look closely you can see that the pencil marks every inch. Do this very close to the edge.
STEP FOUR
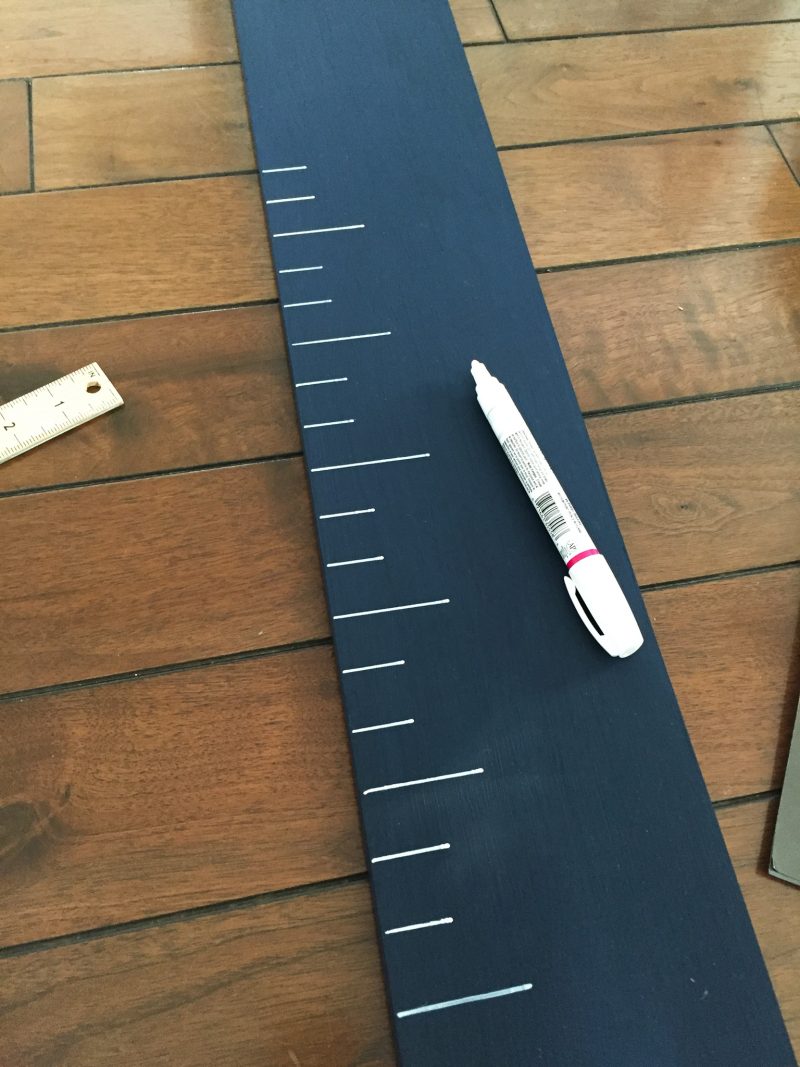
Now it’s time to make your lines. First locate where your 1′ line will be. That line needs to be 2″ in length. You will alternate with 2 lines that measure 1″ and then one line that measures 2″. Look at my board for an example. To be sure your lines are level, either use a level or line it up with the planks on your wood floor should you have them! Be sure to use a pencil to draw these just in case. The nice thing is that if you ever make a mistake you can whip out your paint and easily paint over it.
STEP FIVE
Use a Sharpie paint pen to go over each line. I still used my ruler to draw each line to ensure they were straight. And remember you’re not looking for perfection. It’s just a fun way to keep track of your kiddos’ heights and as long as the measurements are correct it’s all good.
STEP SIX
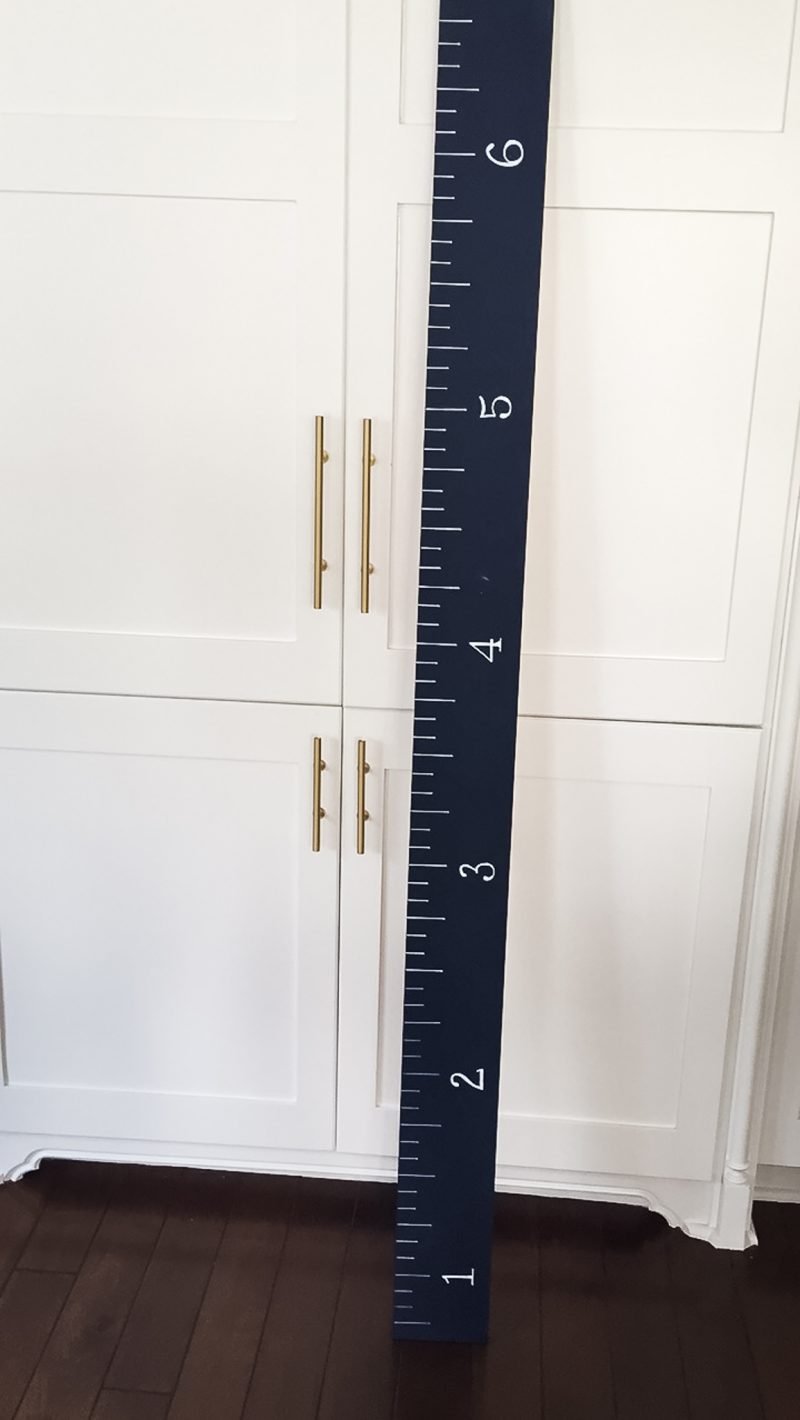
Now it’s time to add your numbers. I chose to free hand them but you could also use a stencil. After drawing each basic number, I made certain portions of them wider with another stroke of the paint pen.
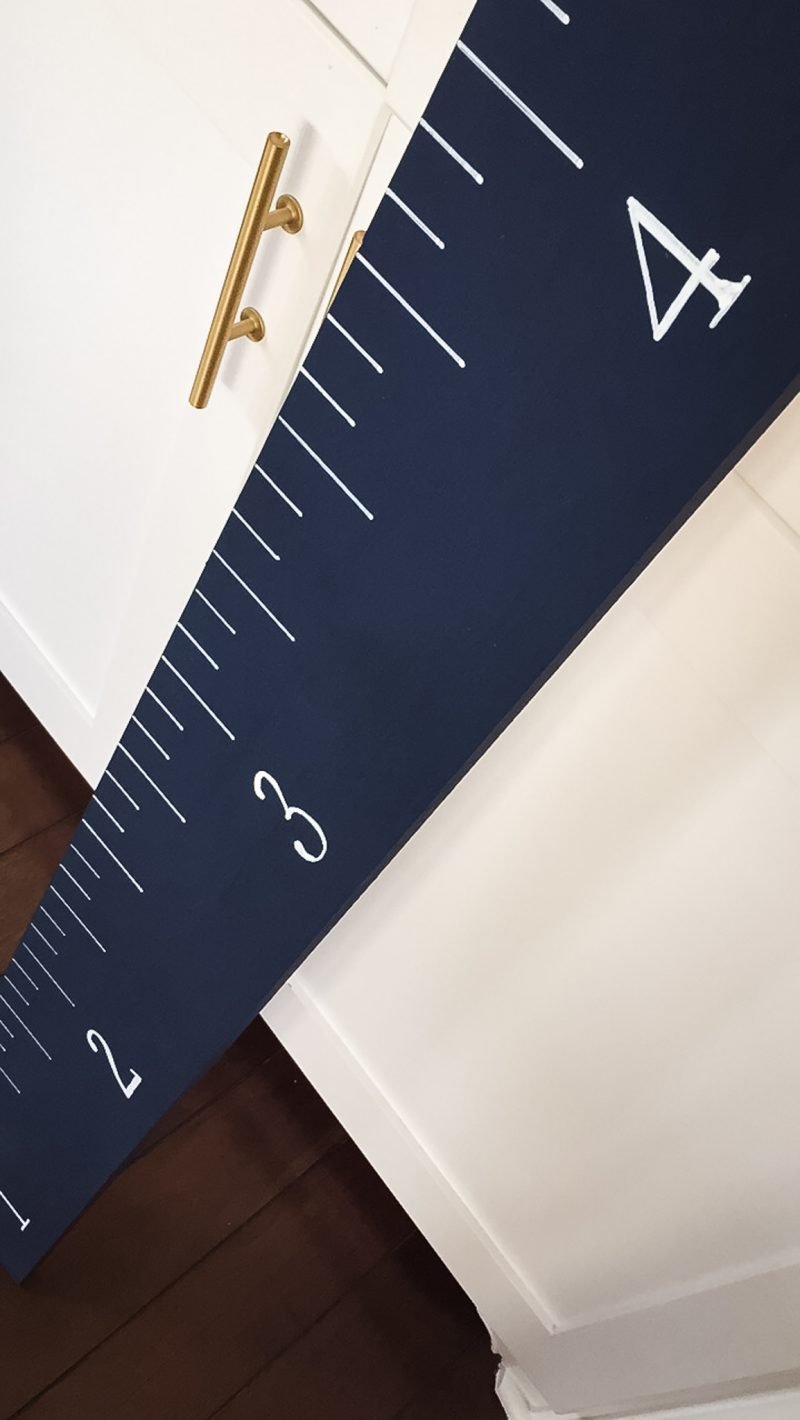
And that’s it, my friends. It actually did not take as long as I thought to make the marks and paint over them. It can be done in an afternoon or you can take a break and do it over the course of a couple of days.
HOW TO HANG THE RULER
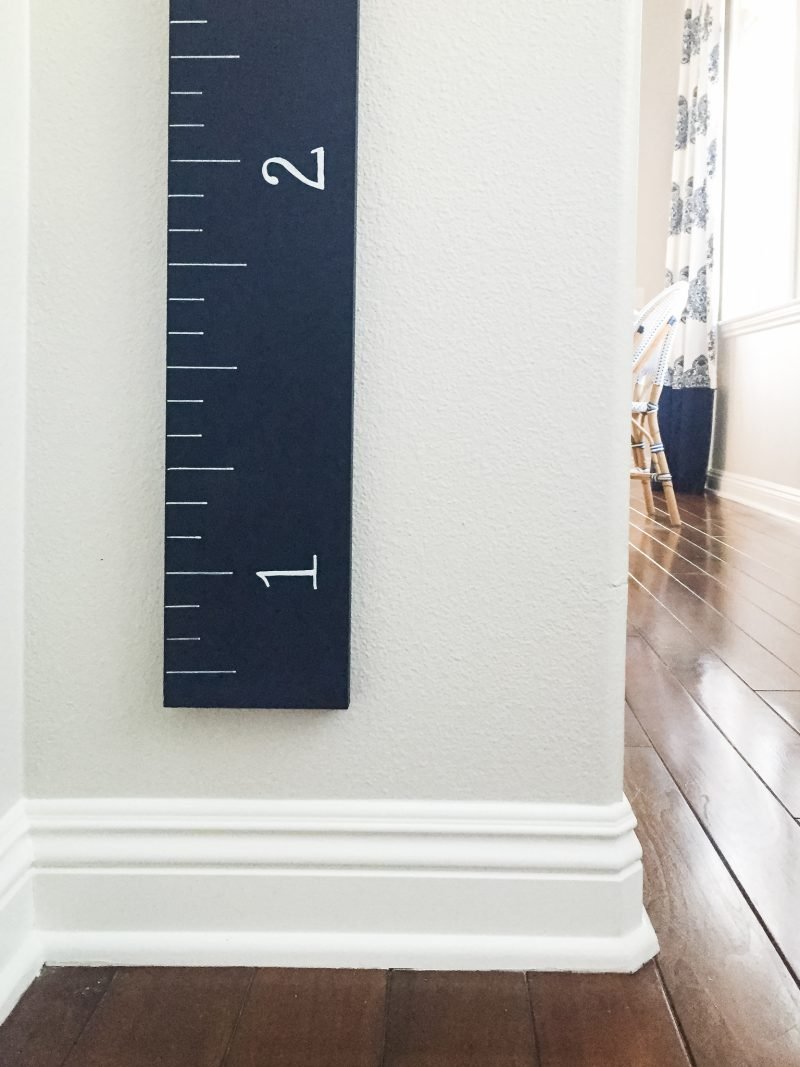
First and foremost, be sure you line up the ruler on the wall so that your measurement marks match up with a true height. For example use a measuring tape and find 5′ on your wall. Be sure that lines up with the 5′ on your ruler (otherwise you will be measuring your children incorrectly!). We chose to use velcro strips by Command. Could not be easier. We placed four on the board. Two near the top and two near the bottom. It doesn’t get much easier.
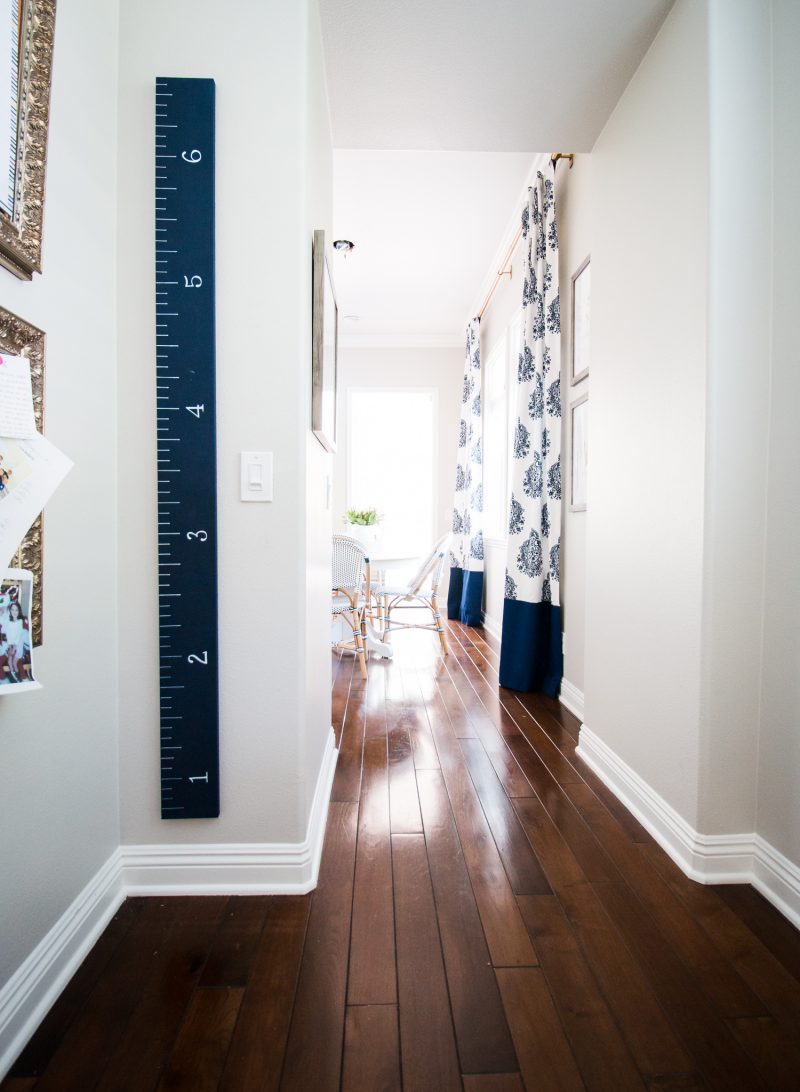
chairs | drapery panels (gray) | drapery rods
The ruler is hung on the wall by our powder room and by the children’s bulletin boards. Now it’s time for us to transfer 11 years of measurements. Wish me luck. Planning to use a fine tip gold paint pen to do so. I’ll show a photo on my Instastories once I tackle that.
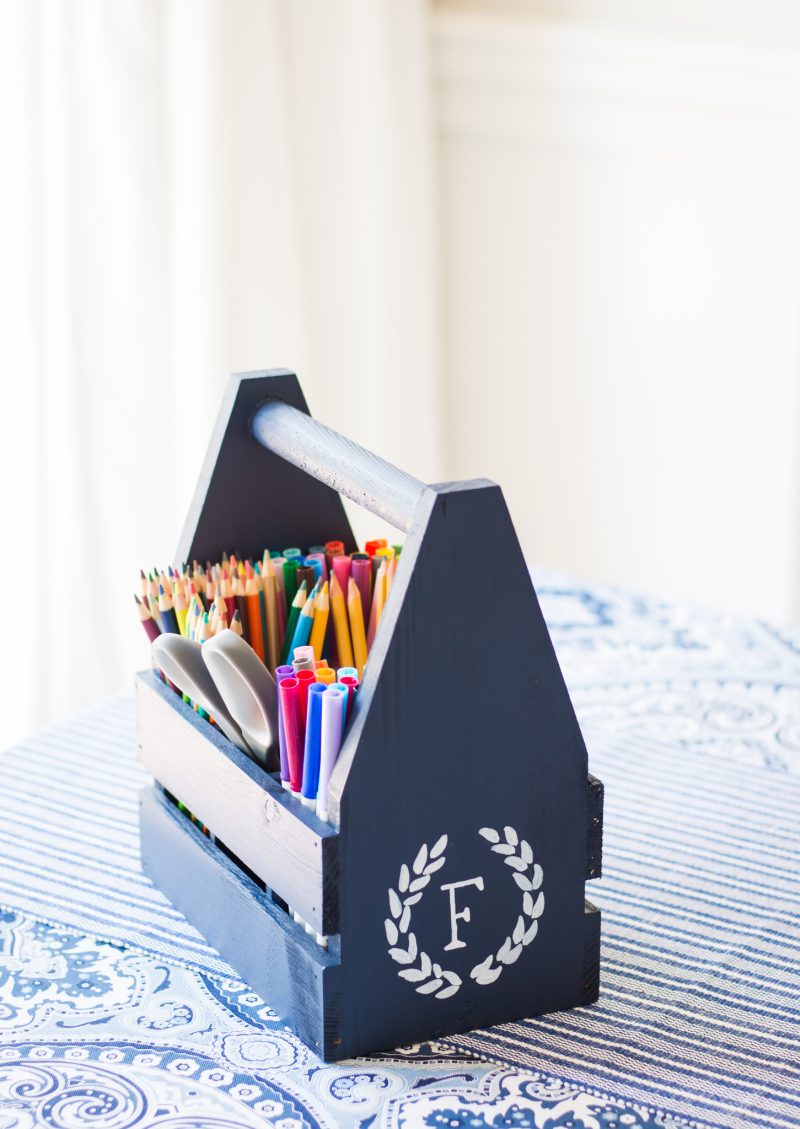
I recently made another DIY project with the same navy paint. The kids have used it, no joke, every single day since I put this together. Whether you make something or just grab a caddy and gather supplies, I highly recommending doing it this way. It’s been a huge hit and so easy for the kids to clean up and put away. That’s a mommy score!
What’s on your agenda today? Whatever it may be, I hope it’s a great day.
Love this! My little boy will be one soon so this would be wonderful to make and have as he grows 🙂
First of all. Congratulations. Such an exciting time and there is nothing better than a baby in the home. Yes! Start now, my friend. It’s so fun because he will be the one begging you to measure him from time to time. My daughter just had us measure her last night. She is dying to reach 5′ before middle school.
Have a great day.
You make it seem so simple. I should totally do this. Got my wheels turning…
It really isn’t too hard at all. If you tackle it and have questions just shoot them my way! Have a great day.
Aw, that’s adorable! My sister made something like that when my niece was born. They’ve moved 3 times since then and it’s such a great little keepsake to have.
A variation of the theme would be to use a vintage water ski or snow ski and put the measurements on that. Choose the ski type that suits your family or what is sentimental in your family.
That is a darling idea! LOVE that so much.
What pen/pencil/marker are you using for the measurements? Also the white sharpie? Thanks!
I just used an old #2 pencil I grabbed from our junk drawer to mark the board. The paint pen is the medium tip sharpie oil based pen. Worked great. Hope that helps.
I love this Courtney and such a great and easy to follow tutorial! My Dad made one when my sister and I were little and I was asking him to measure me every week. I was so anxious to get taller! The navy blue looks looks beautiful in your house. I am thinking of following your tutorial and making this for a baby shower gift. I think it would be a fun gift!
I am so going to make this for the twins. When did you start this? How old were your kiddos?
Love this! You make things look so easy! Please share a pic once you add their marks!
My husband is working on this today for our grandkids at our beach house. We are anxious to see how you are recording heights.
Thank you for sharing!
Oh I love that you all are doing one for the grandkids. So sweet. And special. Hope it goes smoothly. I will post as soon as we have them on there. I will actually have free time once the children go back to school next week.
Have a wonderful weekend.