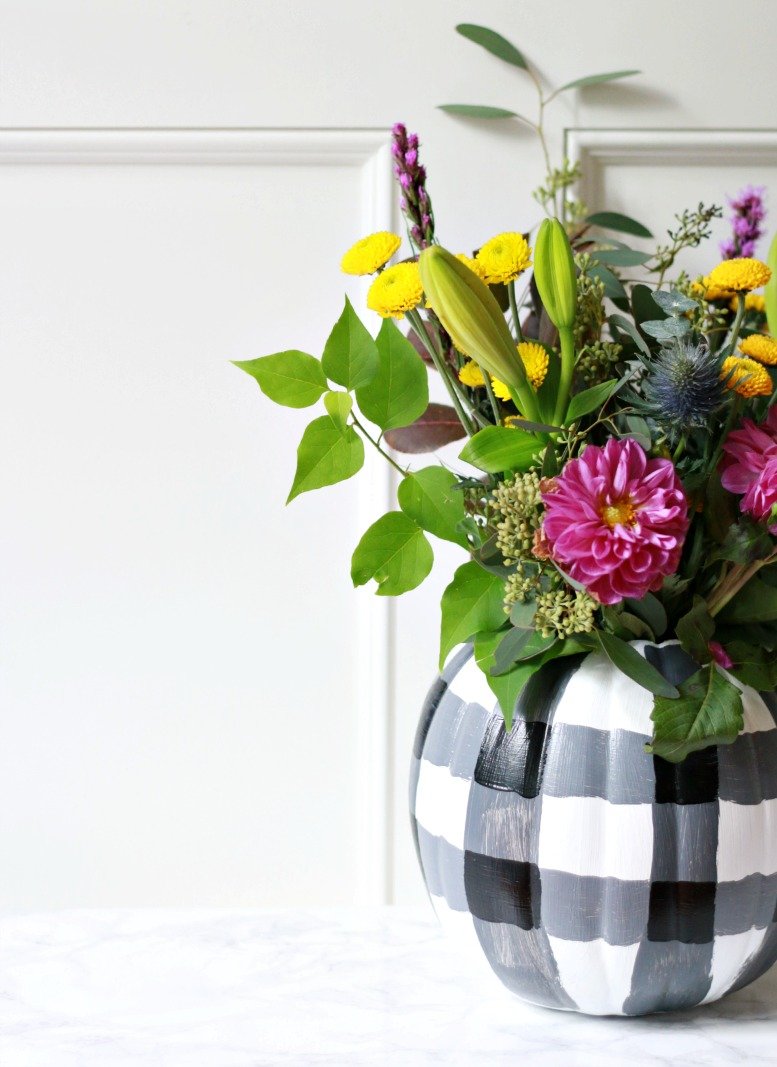
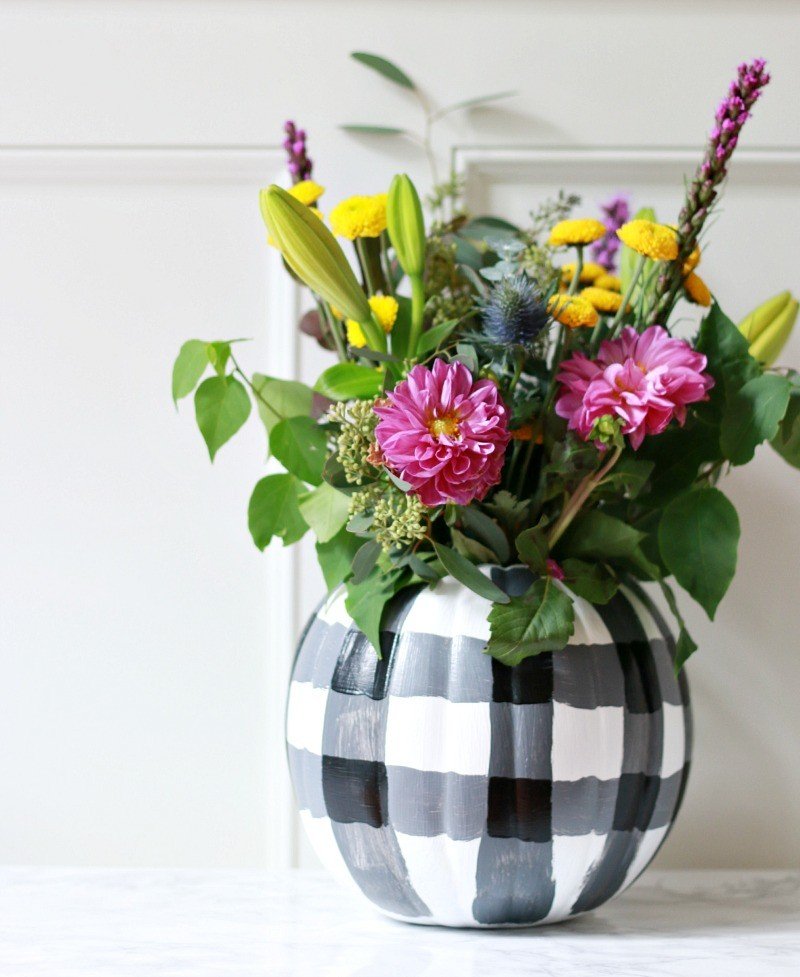
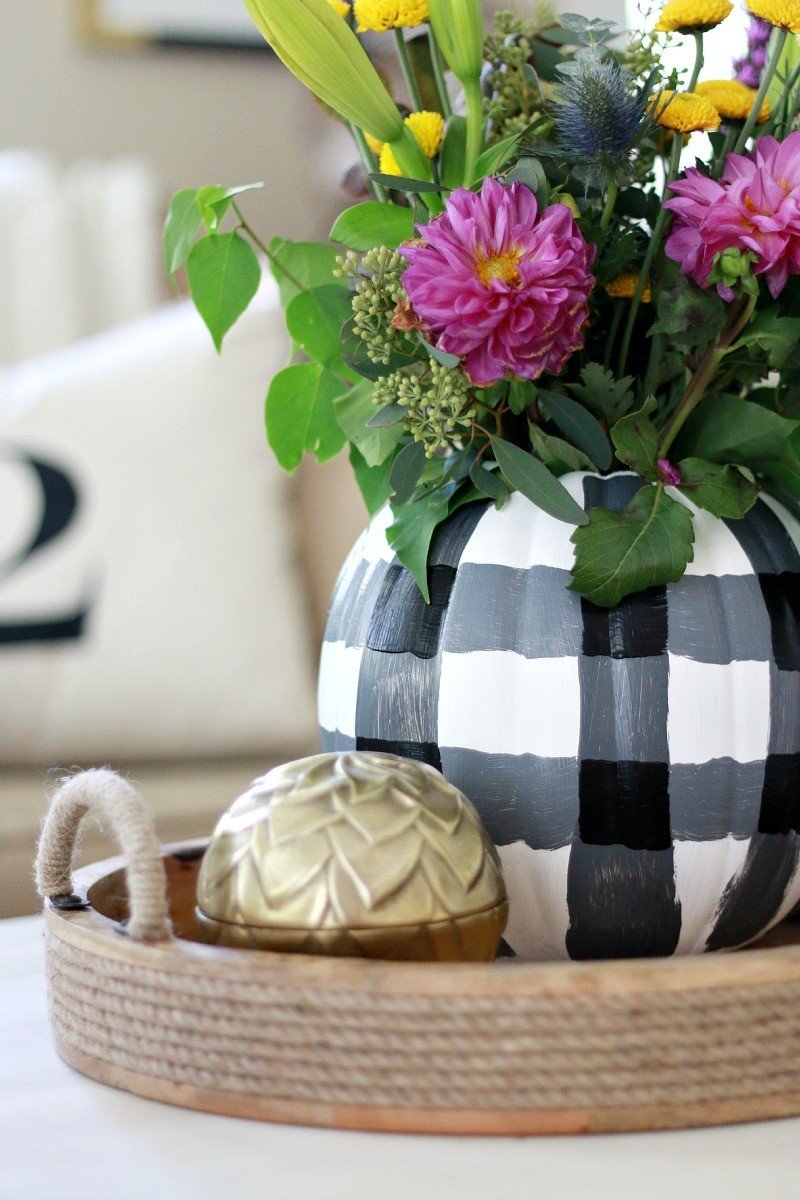
With Halloween just around the corner, I wanted to create a fun diy plaid pumpkin that could be used as a vase. And since I have a small obesession with buffalo check, I knew a plaid pumpkin would fit in well around our home. I used the black and white pillows in my living room to help me get the pattern right. Here are the simple steps to creating this look.
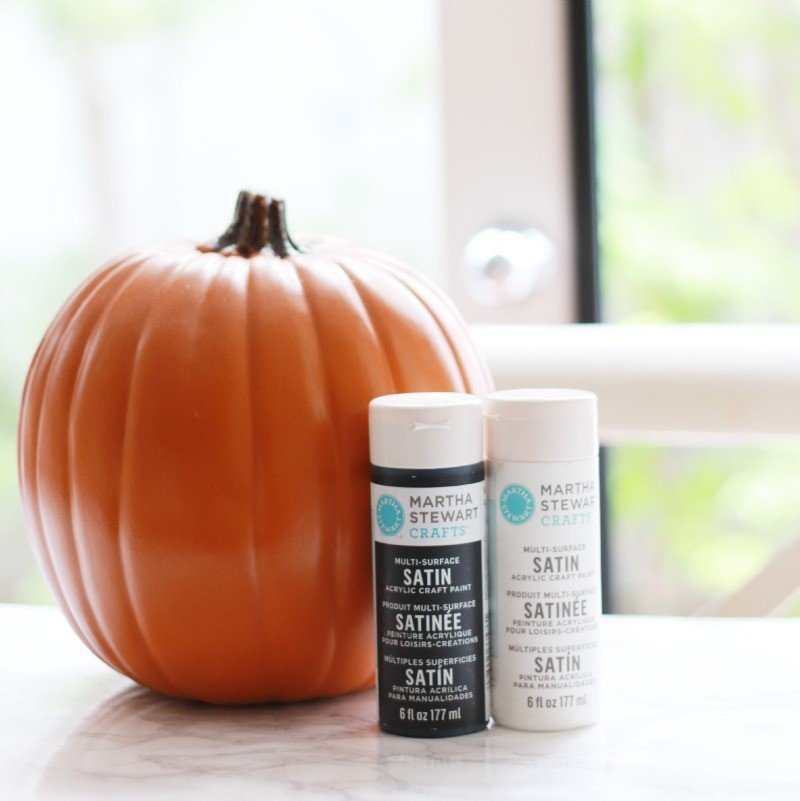
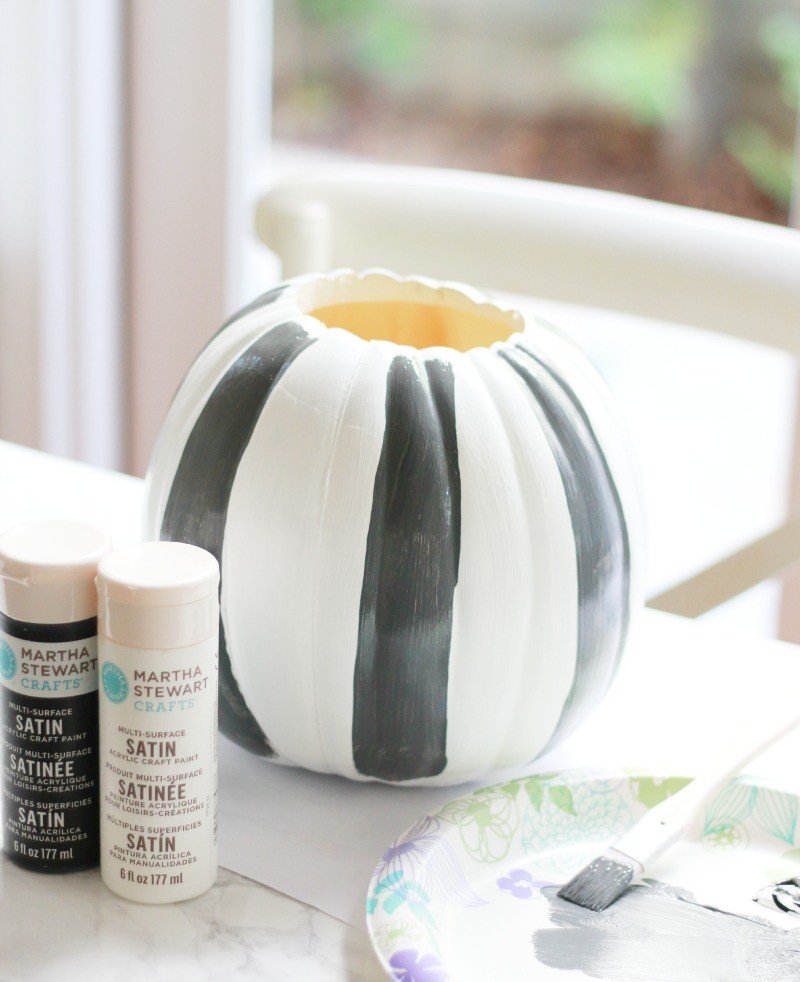
Craft stores now sell white craft pumpkins so you could begin with a white one to eliminate an entire step. It’s just up to you if you want the whole pumpkin to look painted. I had an orange craft pumpkin on hand so I used that to begin with.
Supplies Needed
- craft pumpkin
- white craft paint
- black craft paint ( I used chalkboard just because I had it on hand)
- one paint brush
- a knife
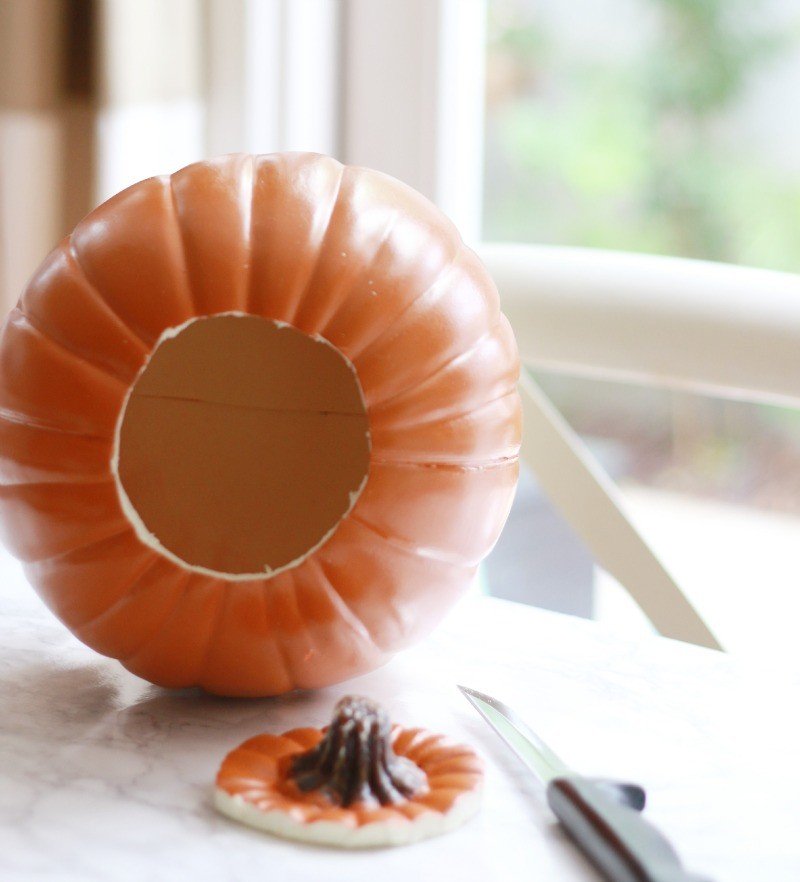
If you are planning to use this as a vase, cut out the top with a knife. It does take some elbow grease to cut through the craft pumpkin so go slow and steady.
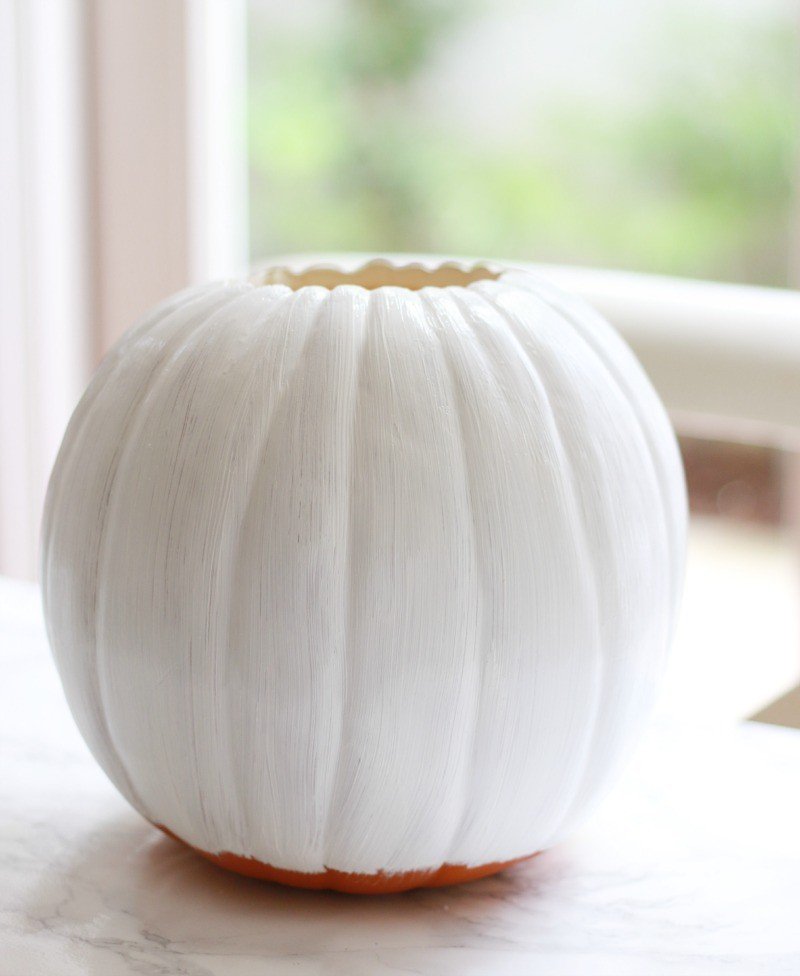
(this was after one coat before I turned it upside down to paint the bottom)
Step 1: Give your pumpkin two coats of white craft paint. Allow the paint to dry well in between coats. This takes a bit as you need to let it dry so you can turn it upside down and paint the bottom. You could even work on this step the night before. Or just use a white pumpkin and skip this entirely!!!!
Tip: Creating the plaid really only took about 10-15 minutes and you do not need to wait for the paint to dry so you could even do this at a craft night with girlfriends.
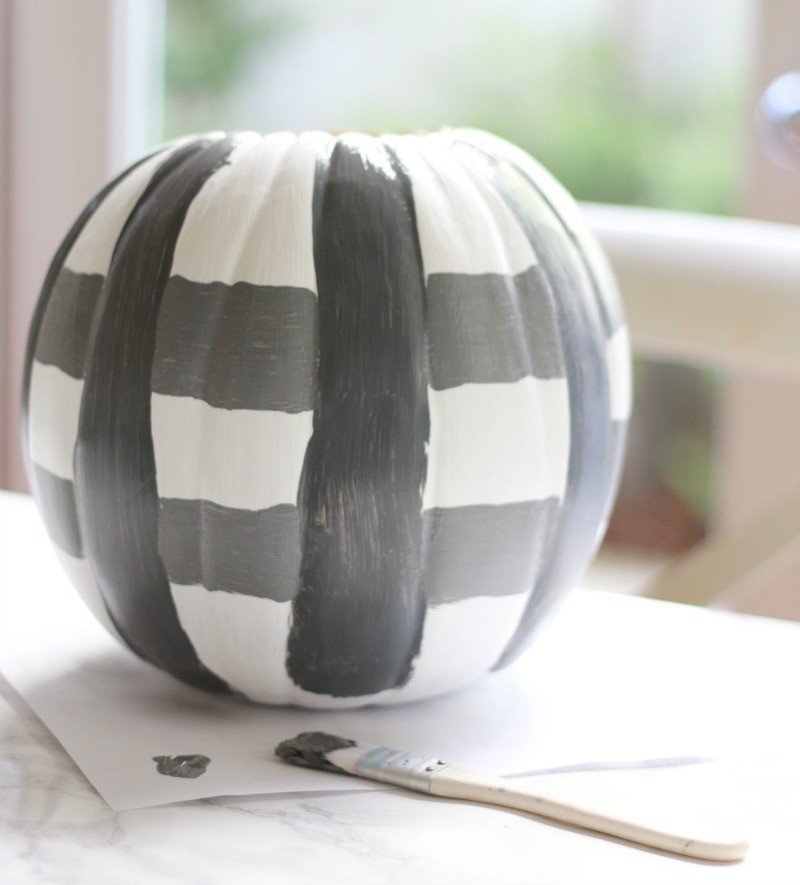
Step 2: Mix black paint with white paint to create a gray you are happy with. Just be sure to make enough of it so you don’t have to color match when you run out.
Tip: Use a paint brush that is similar in size to mine. It was easy to create one large stripe with this size.
Step 3: Paint the vertical stripes. I painted 8 stripes on my pumpkin. There is no exact science to this and please don’t worry about making it perfect. Mine is far from it and it still looks good, I think. And don’t try to use the pumpkin lines as guides. While they help a bit, they can also get in the way to just pretend it’s a flat surface. Hope that make sense. (notice my stripes are slightly different grays because I ran out of the mixed paint and made more . . . all good).
Step 4: Connect those stripes you just made in two places (horizontally). You do not need to go through the stripes you just pained. Just connect them. Again, they will not be perfect and that is ok!
Tip: It will appear as a bit of a hot mess until Step 5 so do not panic!
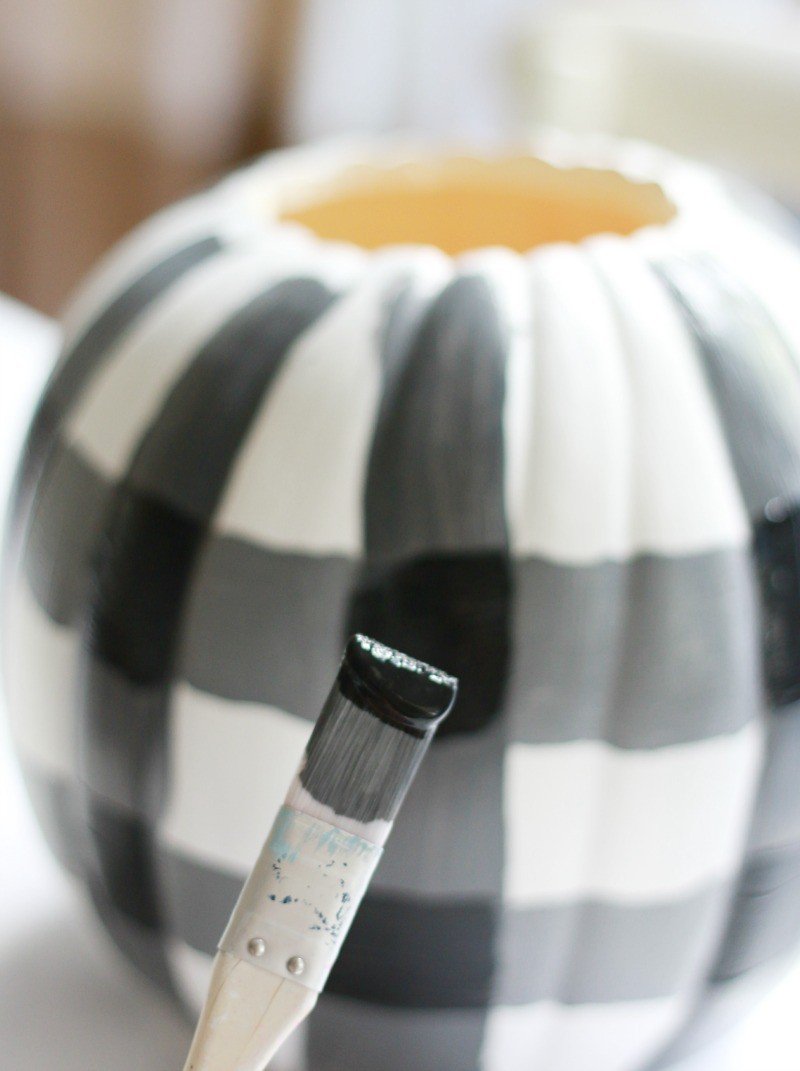
Step 5: Create the black squares to finish off the buffalo check pattern. So you are using just black paint here to connect the squares you just made. That gives it the plaid look and suddenly your pumpkin will look chic and fun!
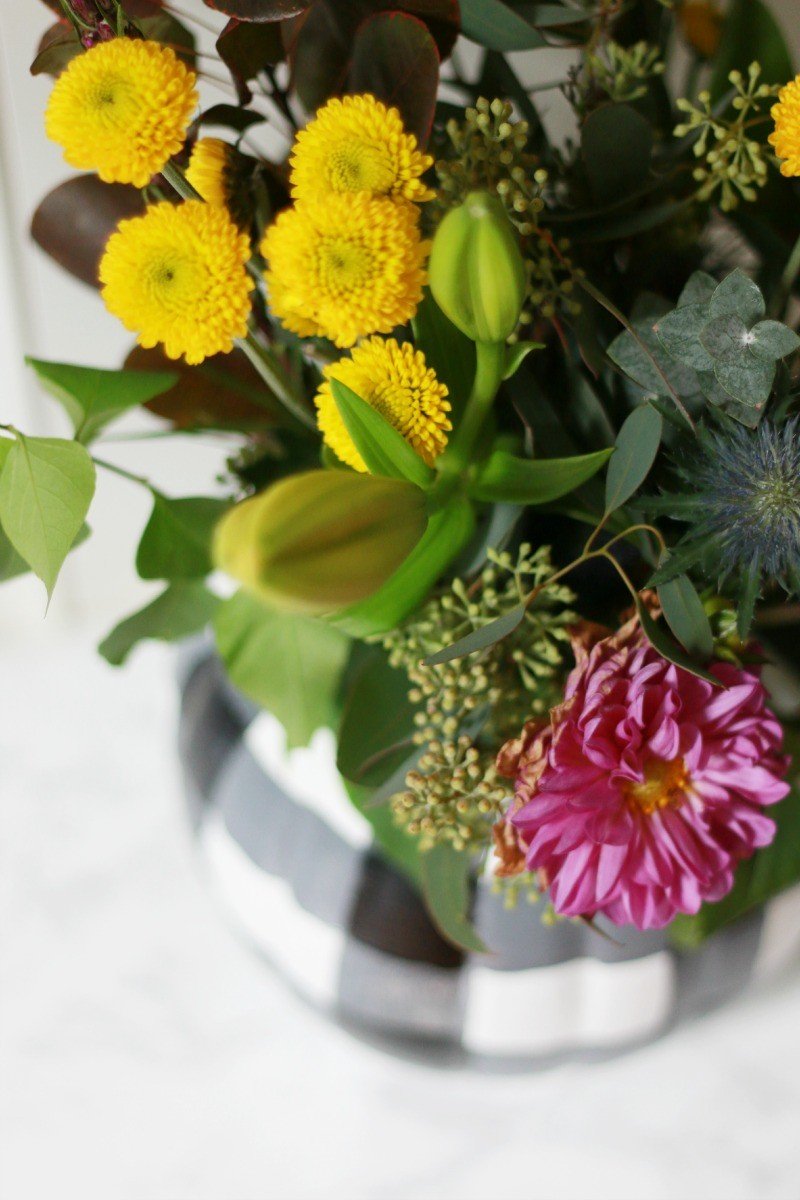
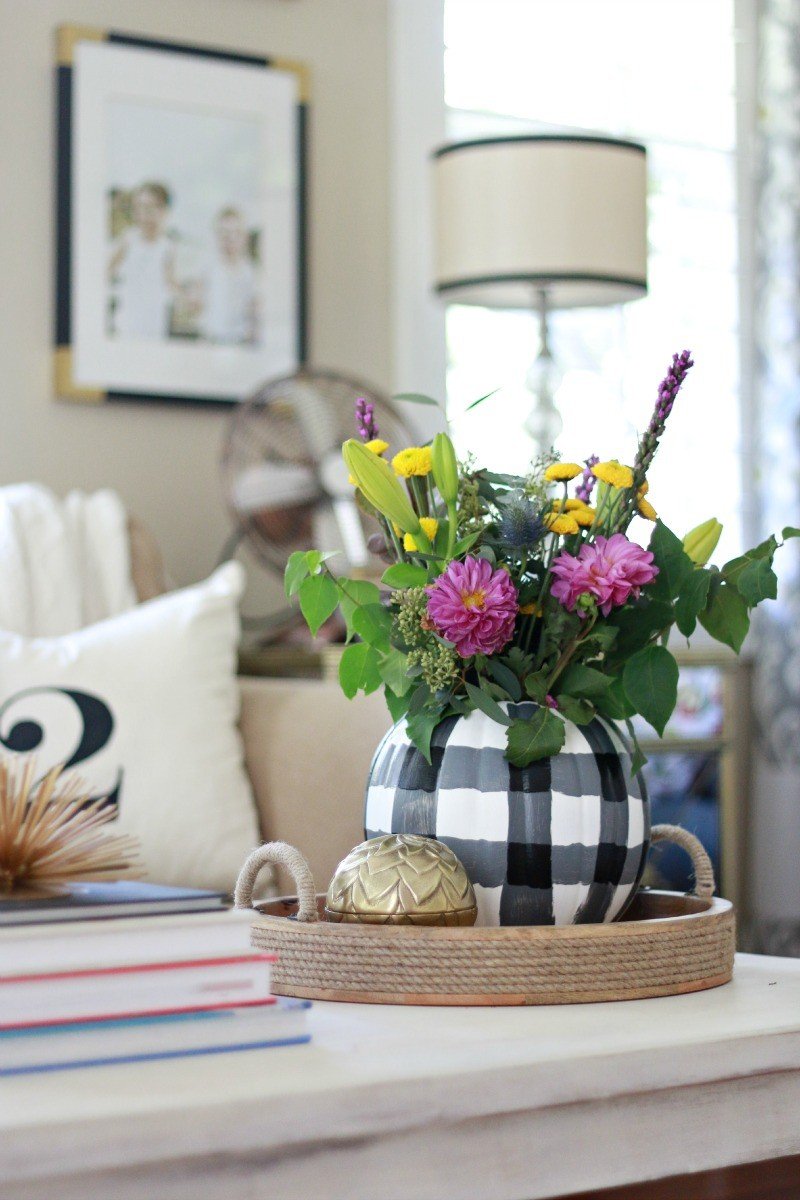
Tip: I placed a mason jar filled with water inside my pumpkin and arranged the flowers in that. I didn’t want to deal with a moldy pumpkin down the road if I filled it with water and couldn’t dry it out properly. I just felt the mason jar would be much easier.
I love the way the black and white pattern looks with the purple and yellow flowers. If you are more of a Halloween Traditionalist, you could fill this with pretty orange flowers. And making two to put on a long table would really create a dramatic and chic Halloween table. I hope you’ll give it a try.
Always happy to create a how-to post in partnership with #12MonthsofMartha. See more of my projects here.
Courtney,
I loved this on instagram and hoped you would do a post on it. I just bought a black and white checked pillow at Target and I LOVE it!! The mason jar in the middle was a great idea for using read flowers. I think this is something I’m going to have to try.
Jenn
I think this plaid pumpkin is my favorite pumpkin! I love it. We have some new neighbors and I think this might be a fun welcome to the neighborhood gift to give them. Your photos are beautiful Courtney!
This is SO cute! I absolutely need to create one for my home, thanks for sharing 🙂
xo – Michelle
http://www.borncreativeblog.com
I LOVE THIS!!!! I am going to attempt making one this weekend, I think! XO!
I love that plaid pumpkin!
Her Heartland Soul
http://herheartlandsoul.com
What a cute idea. I love it . Great tutorial too.
This might just be the cutest pumpkin I’ve EVER seen!
This is definitely the year of the pumpkin!!!! I just love yours! I’ve never seen a plaid pumpkin! It’s so cute!
Melanie | Toots + Dill