I am beyond excited to share this space in its entirety with you. We took a basic builder-grade bathroom and transformed it with a budget of $1000. I am happy to report we came in just under that and have a space we are thrilled with. Here is our son’s new bathroom.
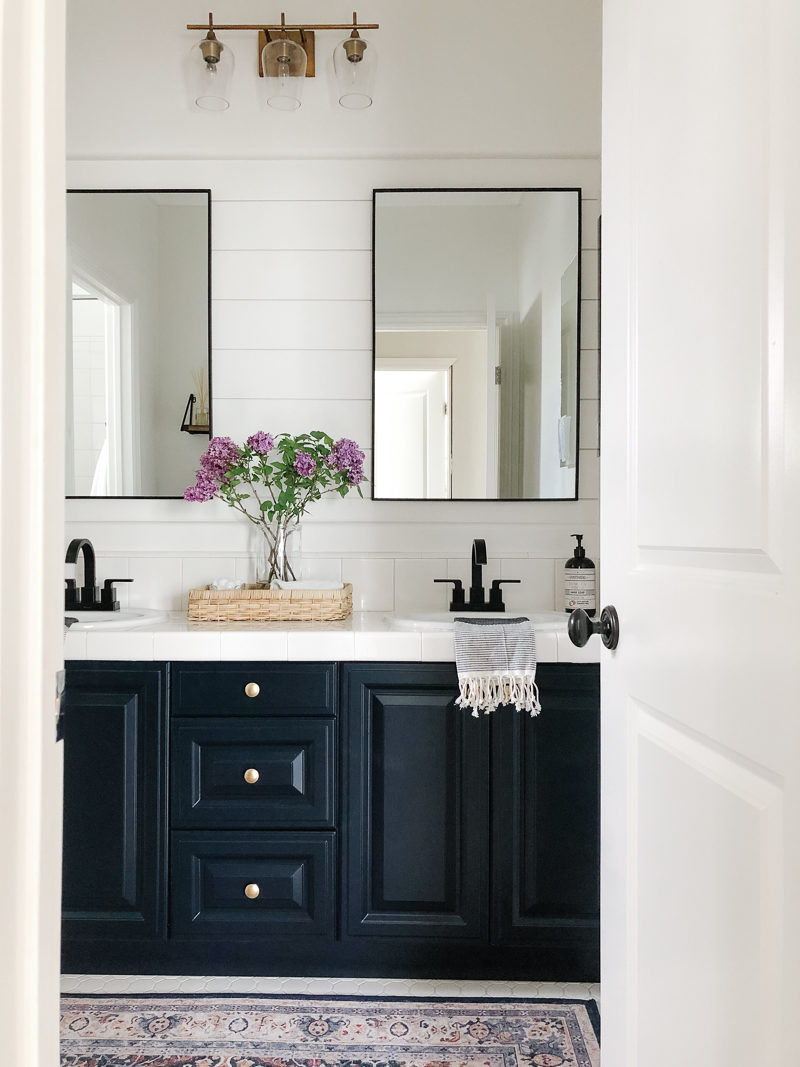
To fully understand what we did in this space, it’s fun to look back at the before photo.
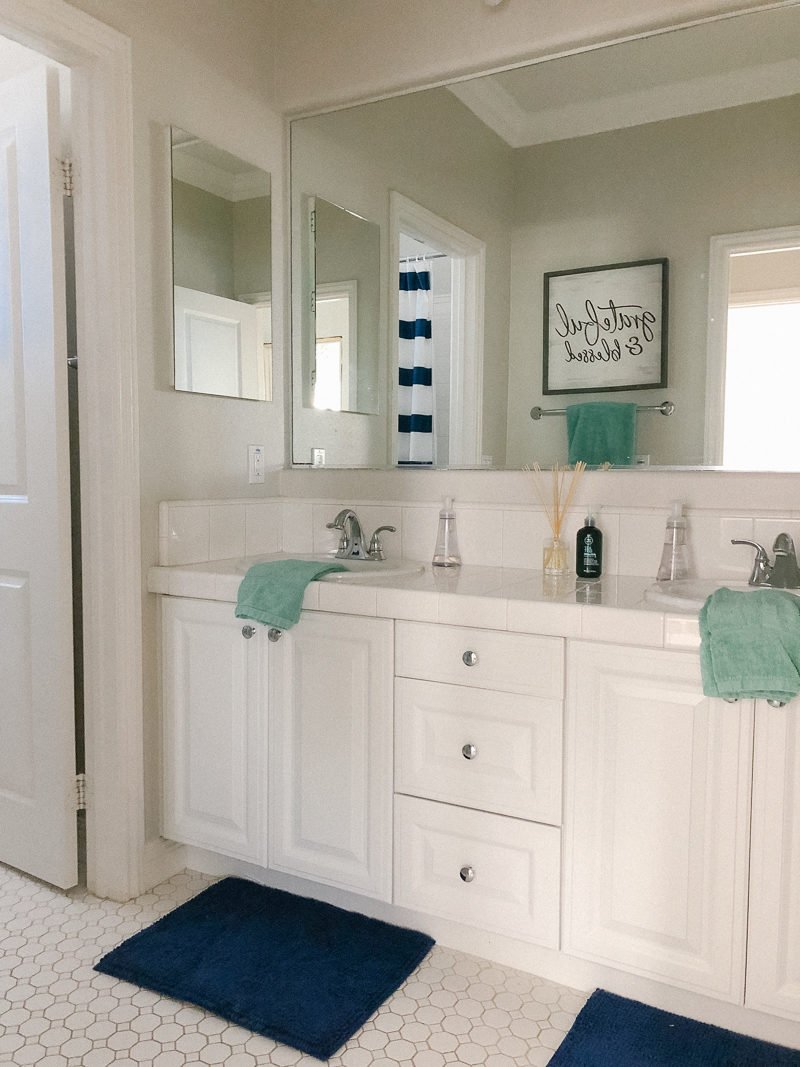
Pretty darn basic. Nothing at all wrong with it but we wanted to infuse our own style and personality This bathroom had so much potential and we knew that when we bought the home. Because we did not want to gut the space or spend a ton of money, I challenged myself to design it all with DIY projects and only $1000.
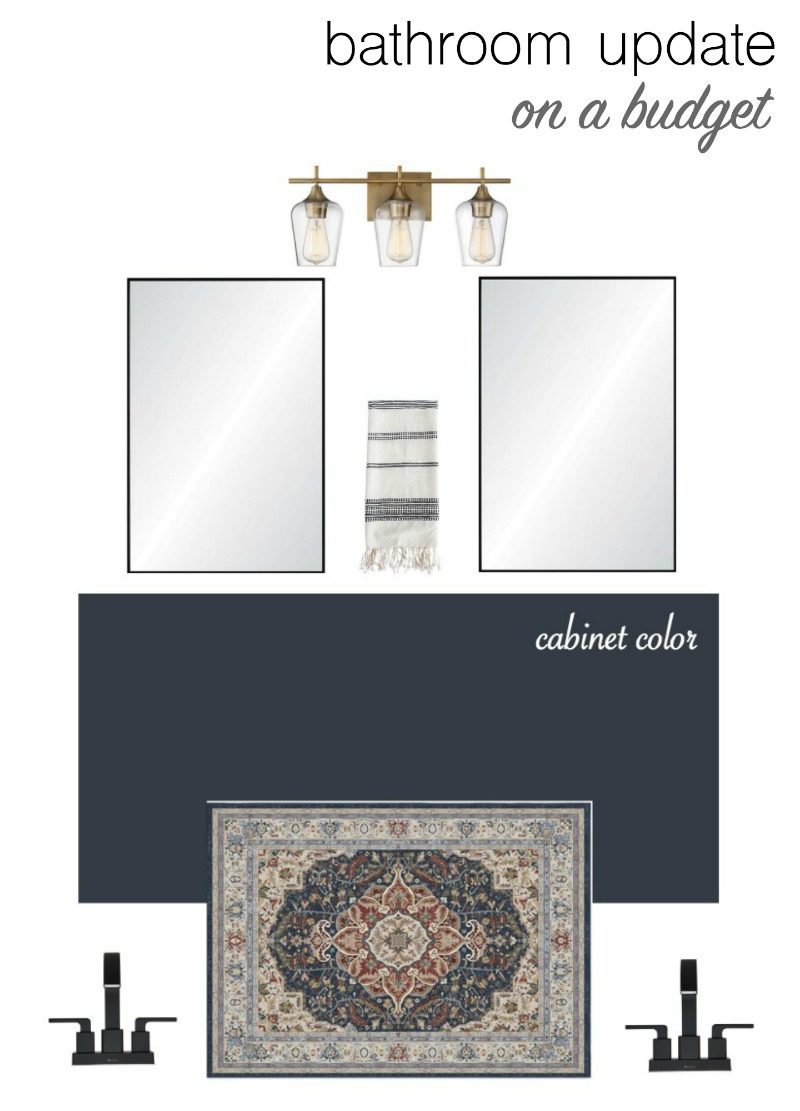
I stuck closely to the design board and we knocked out one project at at time.
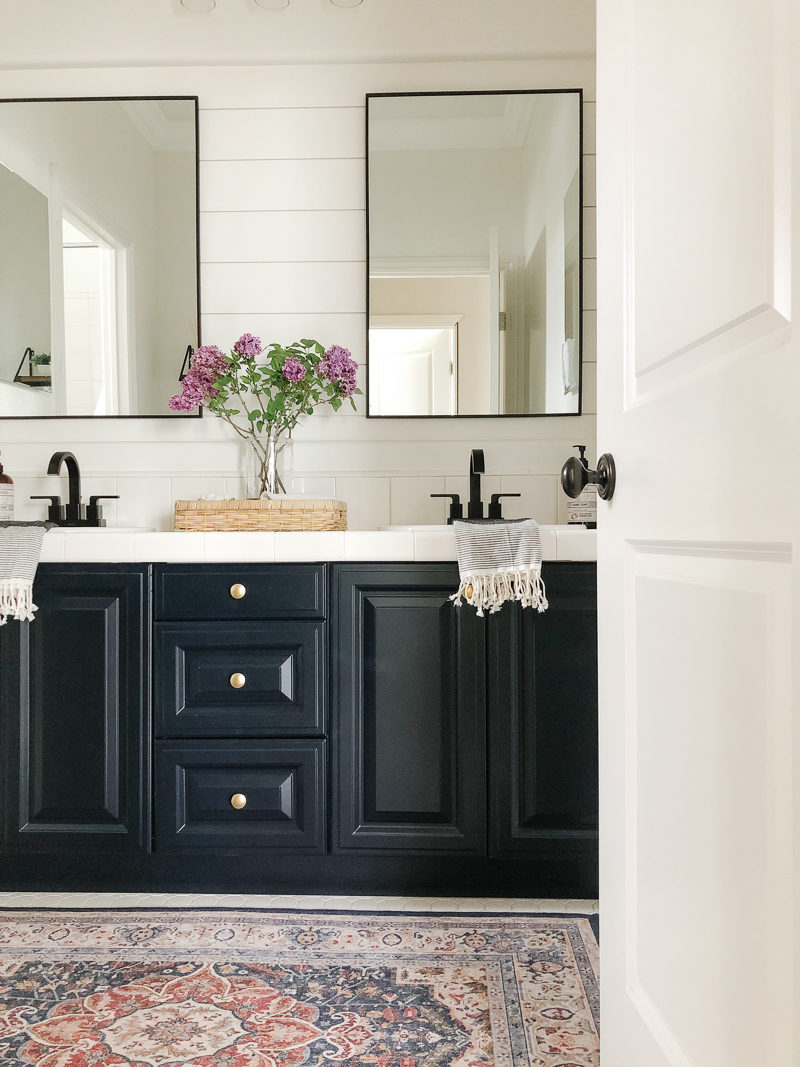
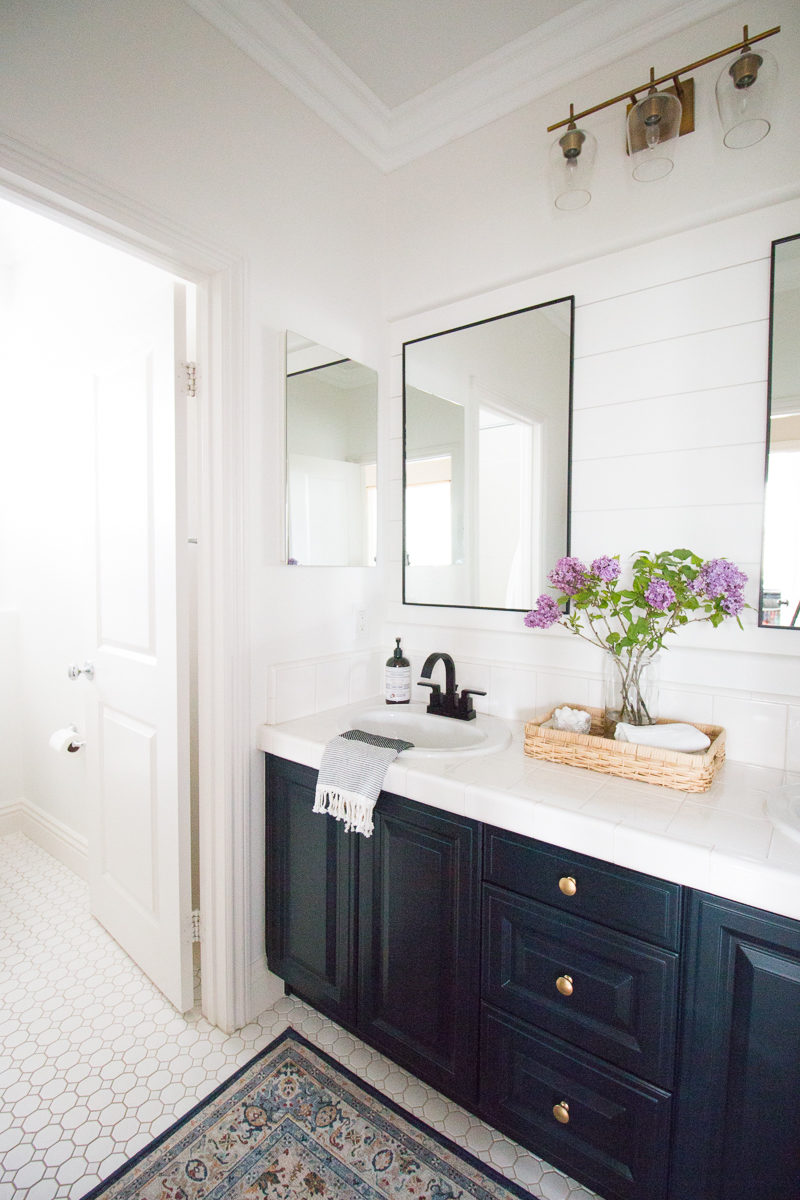
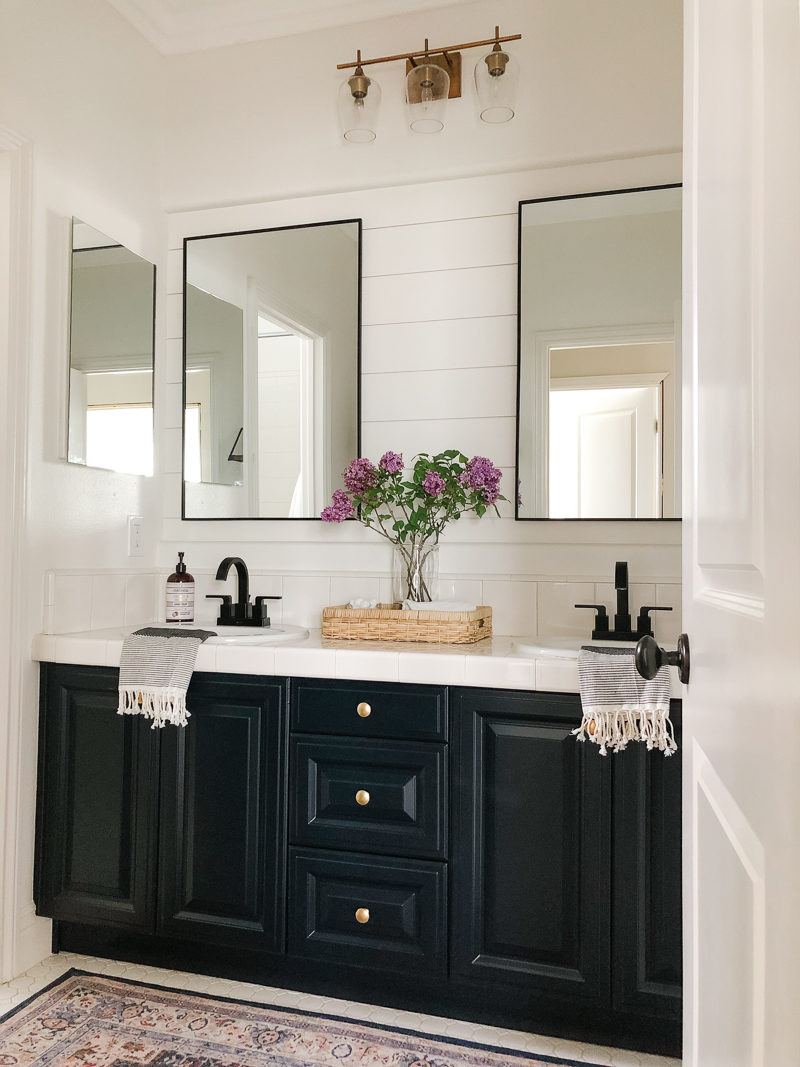
These are Thermofoil cabinets. That means they are not real wood and painting them can be a challenge. I spoke to my own cabinet maker and did plenty of research before tackling this vanity. So many of you have asked, so I will do a post next week on how we painted them but I did use this sprayer to achieve the smooth finish. While not a difficult process, it is long and involved one that deserves it’s own step-by-step post.
The color is Galaxy Black (a Home Depot color that is discontinued but still in their system). It reads as a deep navy in person.
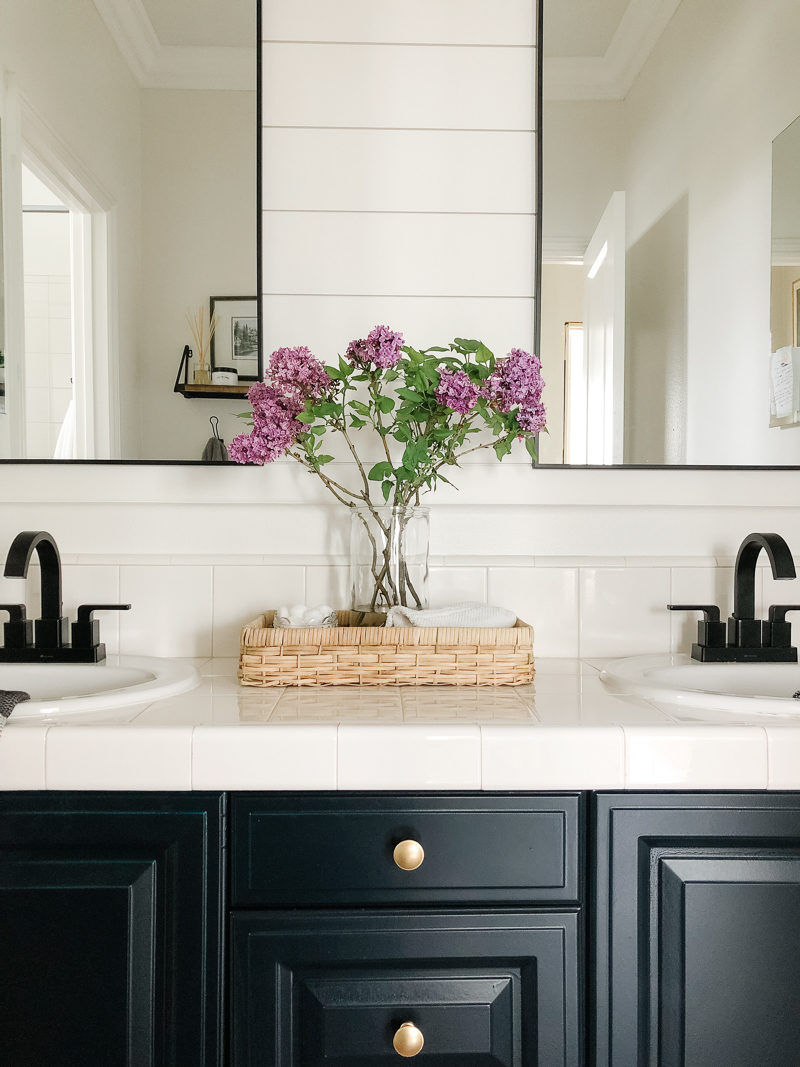
We are thrilled with the quality of the mirrors. The clean and simple black frame is just the understated look we were going for.
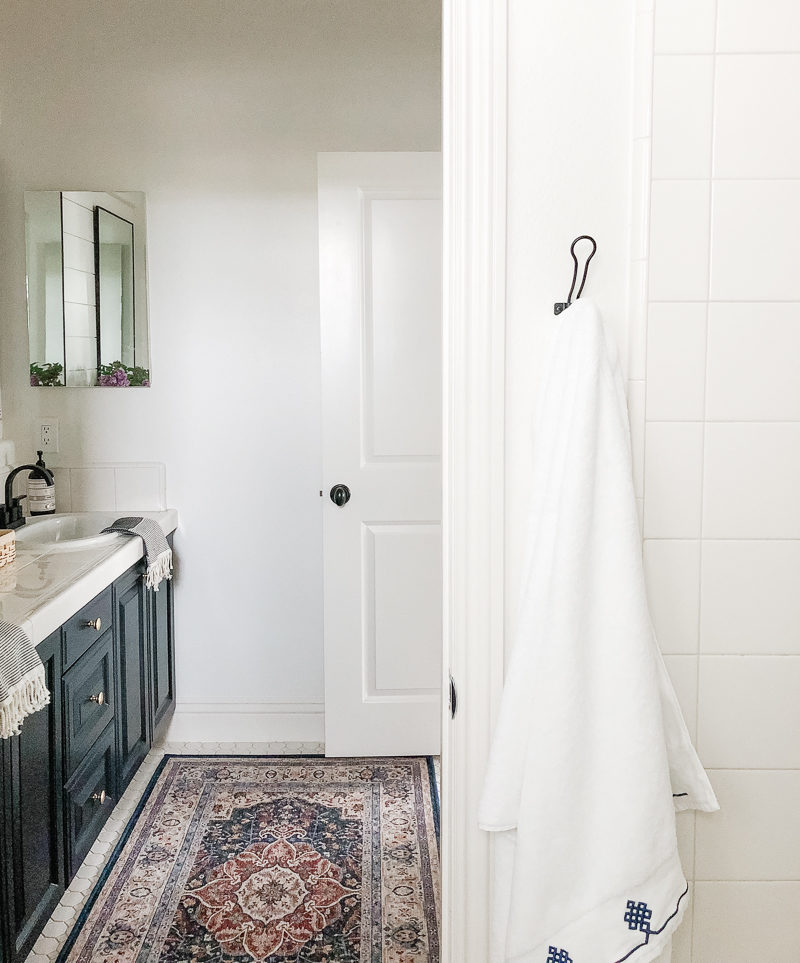

This rug is AWESOME. It’s by a company called Ruggable. The top layer disconnects from the padding so that it can be tossed in the washing machine. Perfect for a bathroom.
update: Eight months in and we absolutely love the rug.
We hung a hook right next to the shower so my son can hang his towel there before hopping in. We kept both medicine cabinets because they provide such great storage. In fact my son prefers to use his medicine cabinet over a drawer.
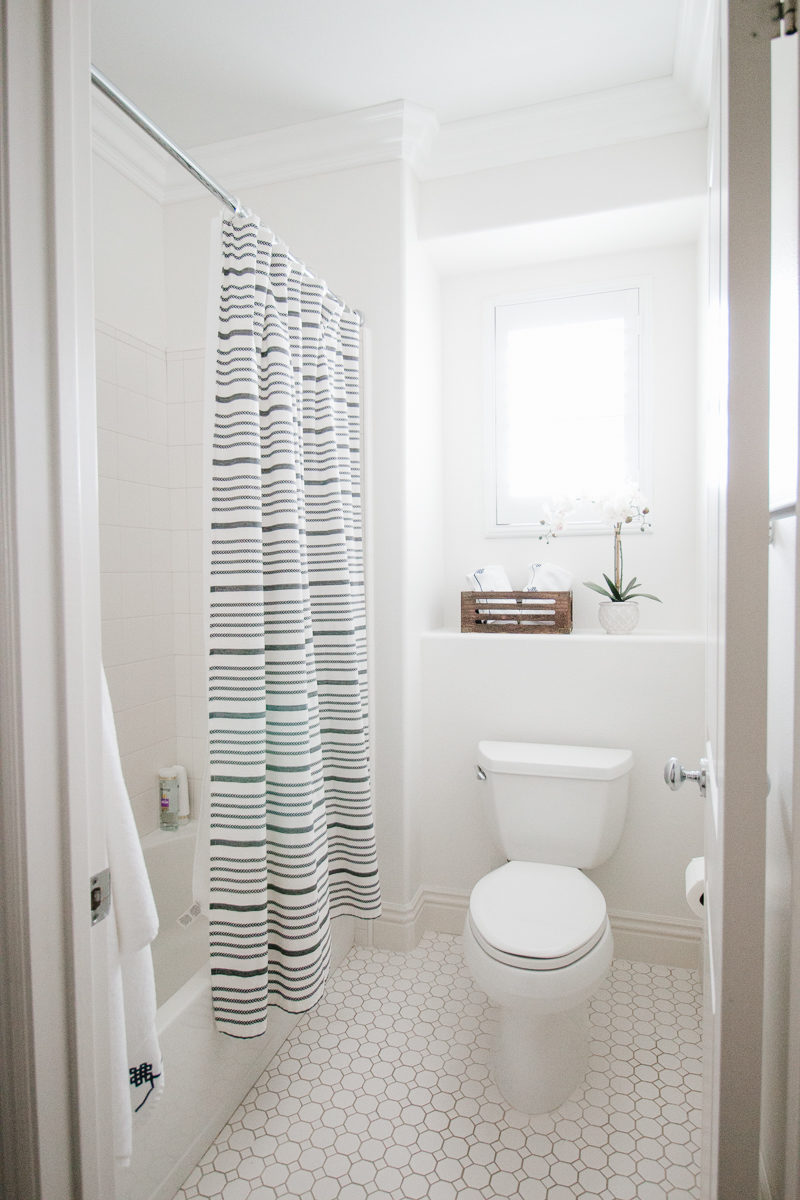
My husband ripped out the shorter baseboards and installed the ones we have throughout the house. It gave it a much cleaner look.
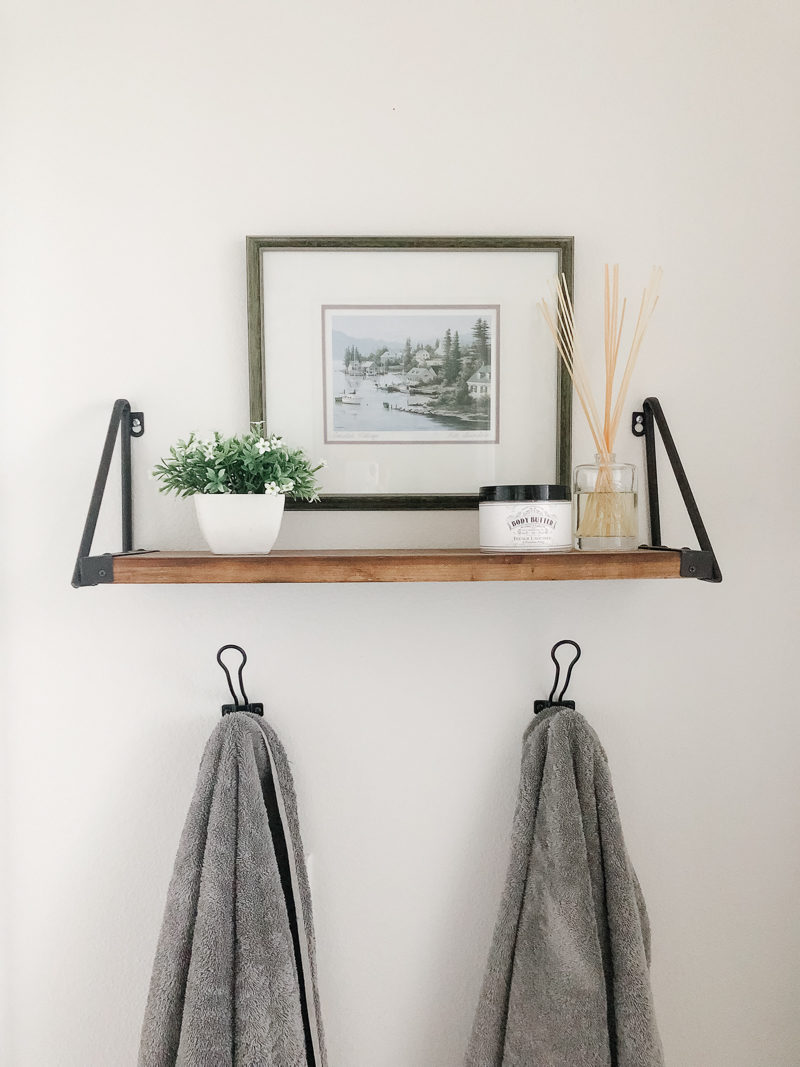
I was so torn on hooks vs. a towel bar. In the end I went with the hooks so it’s easier to keep tidy. I also wanted to hang a shelf and didn’t want two horizontal pieces on top of one another (yes, these are the things I think about). So far so GREAT. His towel has been drying well and it’s never on the floor. A win-win.
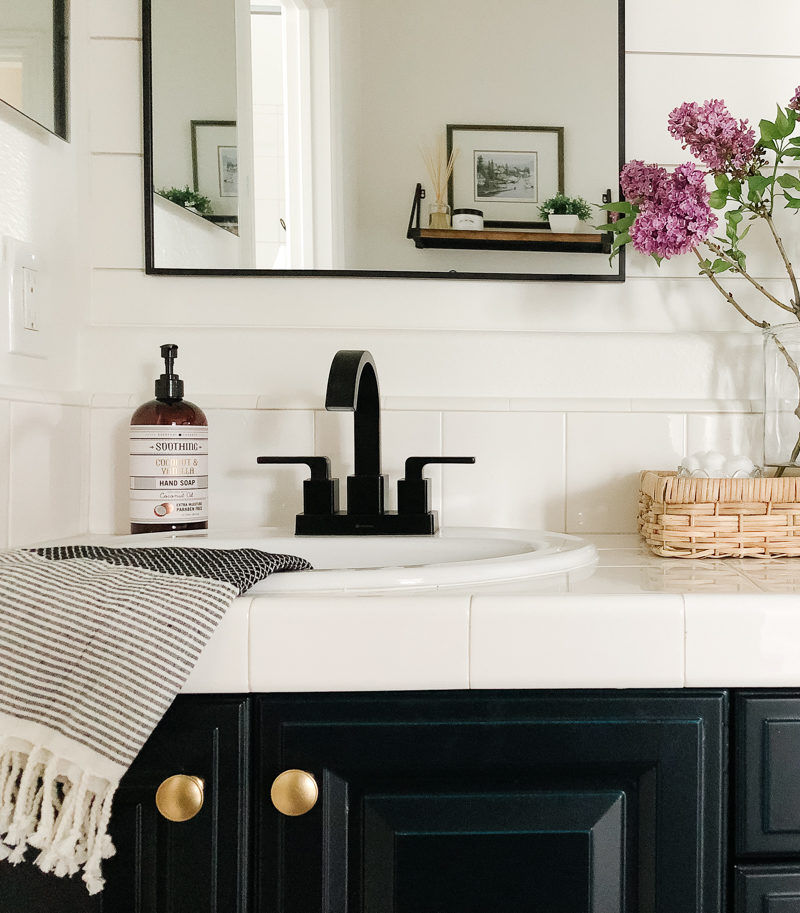
The artwork belonged to my parents and it makes me so happy to have one of their special pieces in this space.
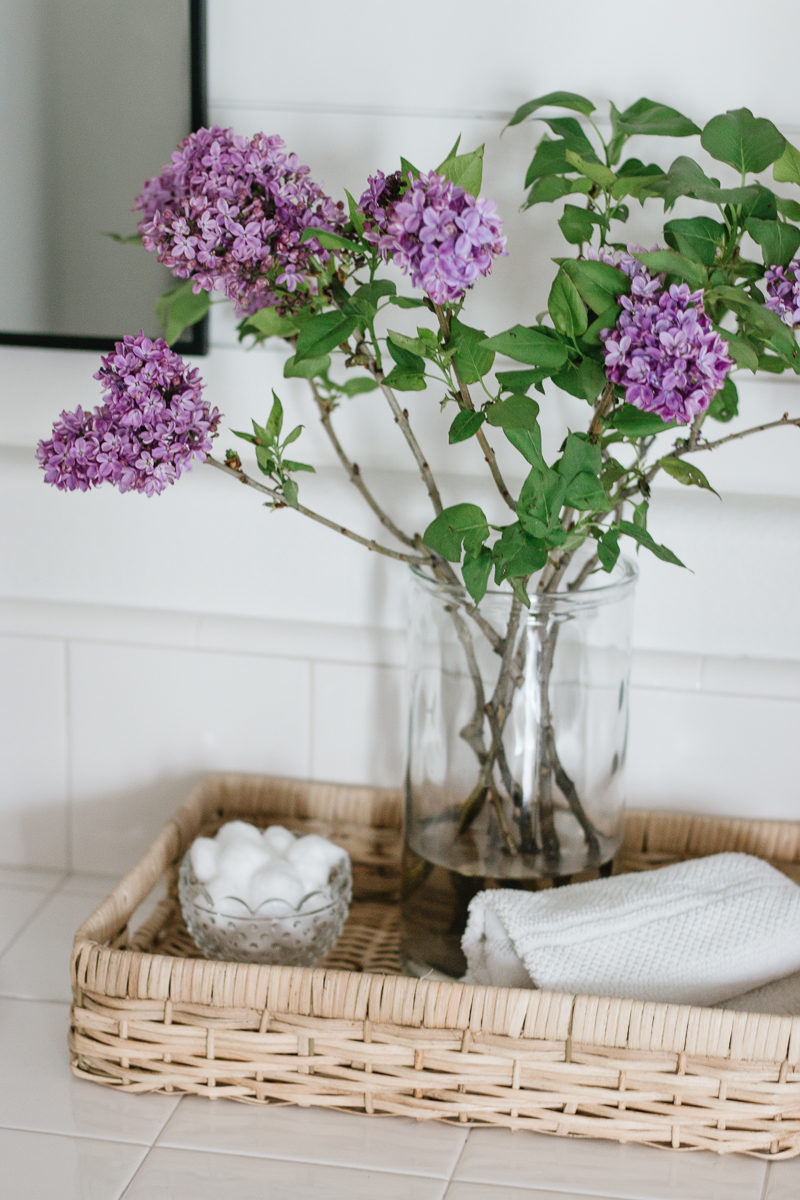
The basket on the counter adds texture and warmth and is a nice place to leave things for guests if they come and stay with us. My exact one is sold out, but this one is almost identical.
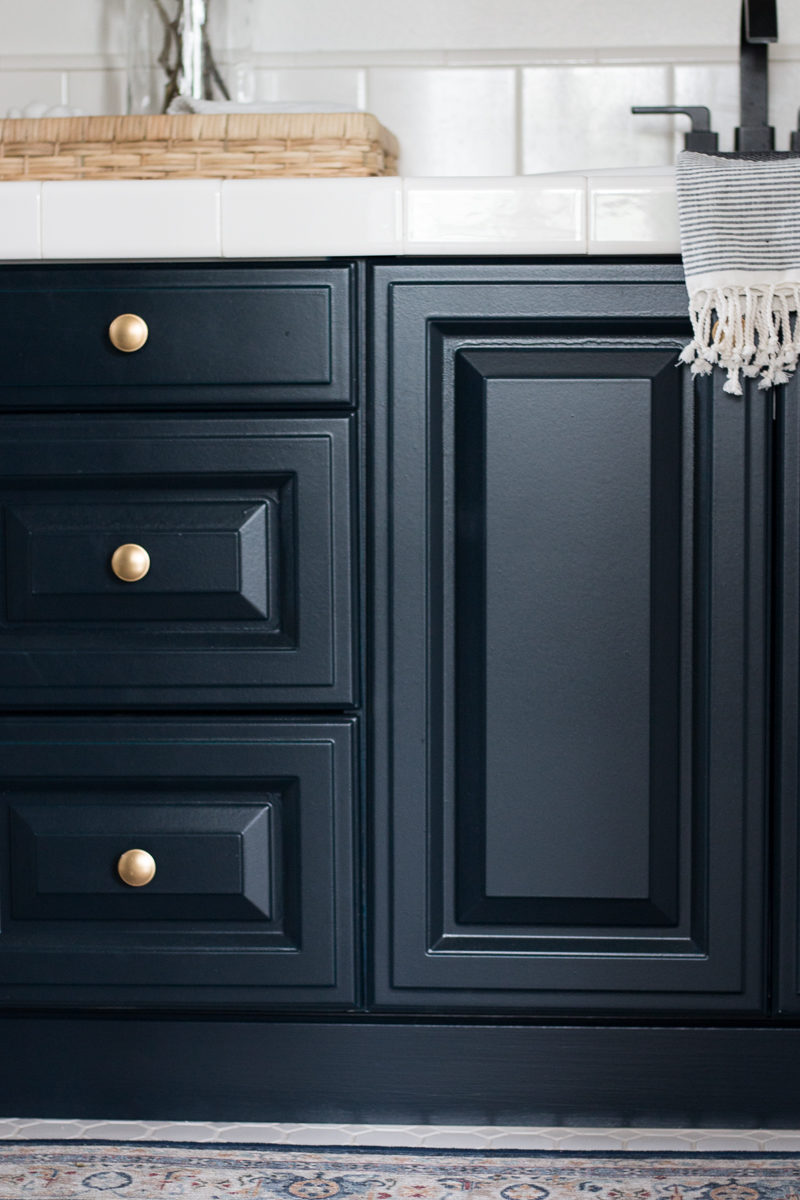
My husband added a piece of wood under the cabinets to make it look more custom. I gave it a couple of coats of paint before installing it. To cut down on costs, I used the existing hardware and just sprayed it gold.
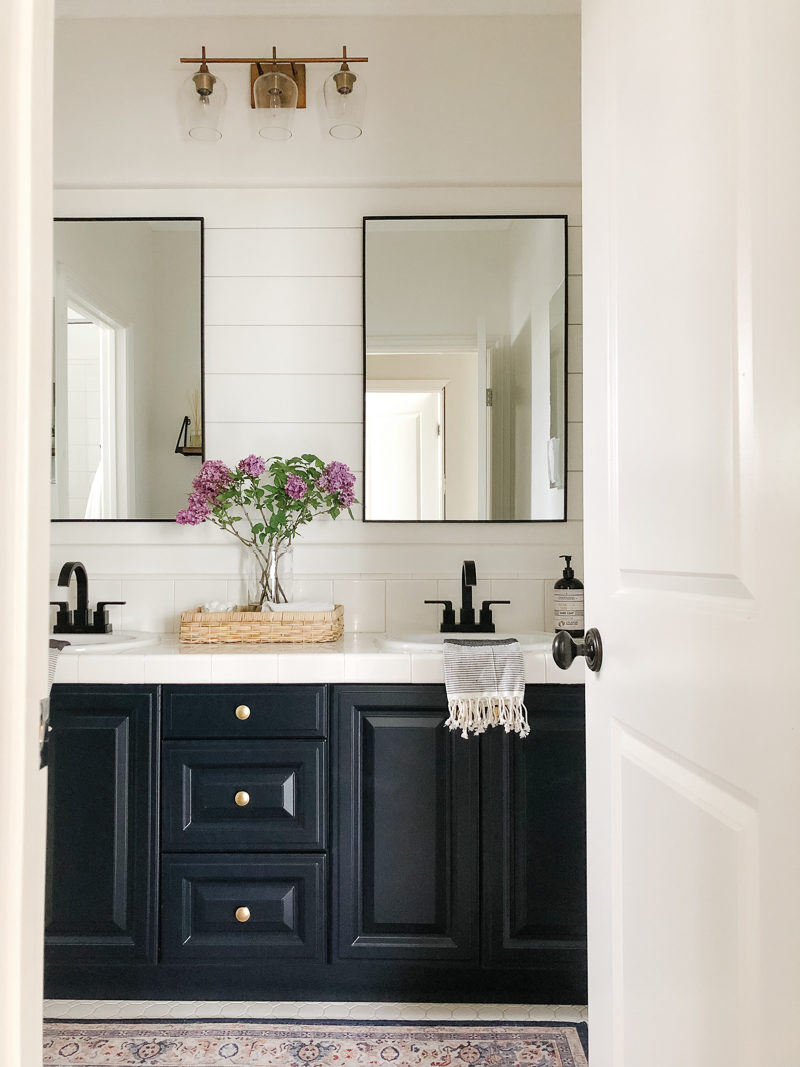
The shiplap is my favorite element in this new bathroom. The area was already inset with a builder mirror. After removing that, my husband used the shiplap from Home Depot. I used my trusty sprayer once it was installed to paint it White Shadow by Vista Paint. The entire shiplap project took us half a day (painting included) but makes a huge difference.
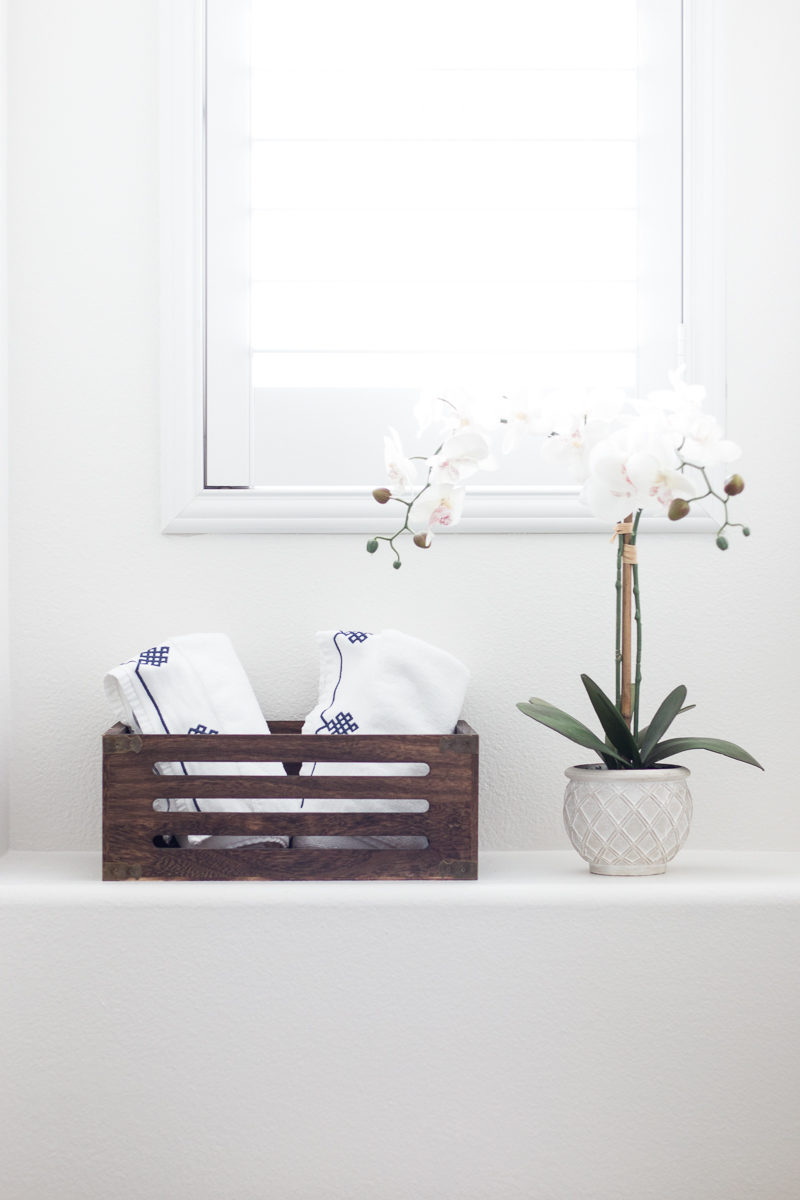
This is the only outstanding project left in the space. I would like to build a wood top for this ledge. I think it would add some warmth and custom charm. For now it’s a wood crate with pretty hand towels!
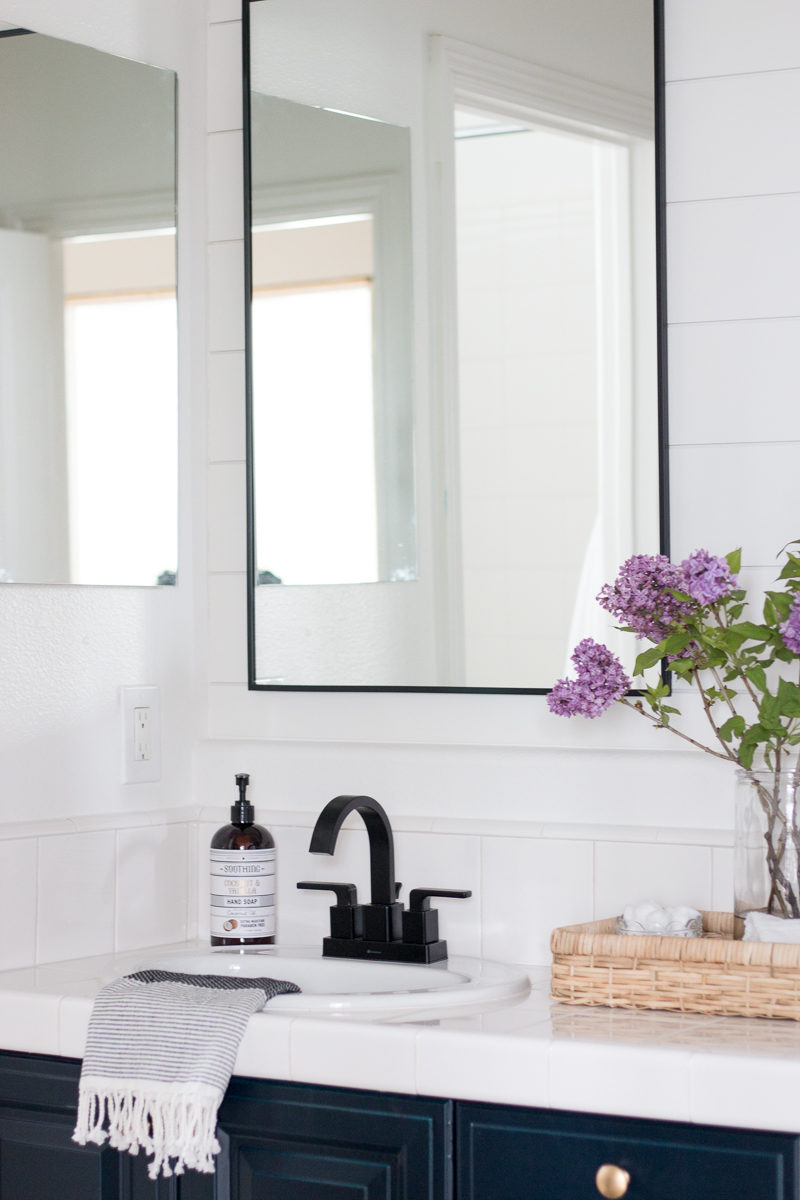
Because we did not want to go down the path of ripping out the tile countertop or sinks, we simply upgraded the faucets. I went with matte black because not only are they masculine for my son, but they really make a bold statement and draw the attention away from the outdated sinks. Fresh caulk around each sink also freshened things up quite a bit.
SOURCE LIST
- sconce
- faucet
- mirrors
- hand towels – found these at Hobby Lobby for $6!
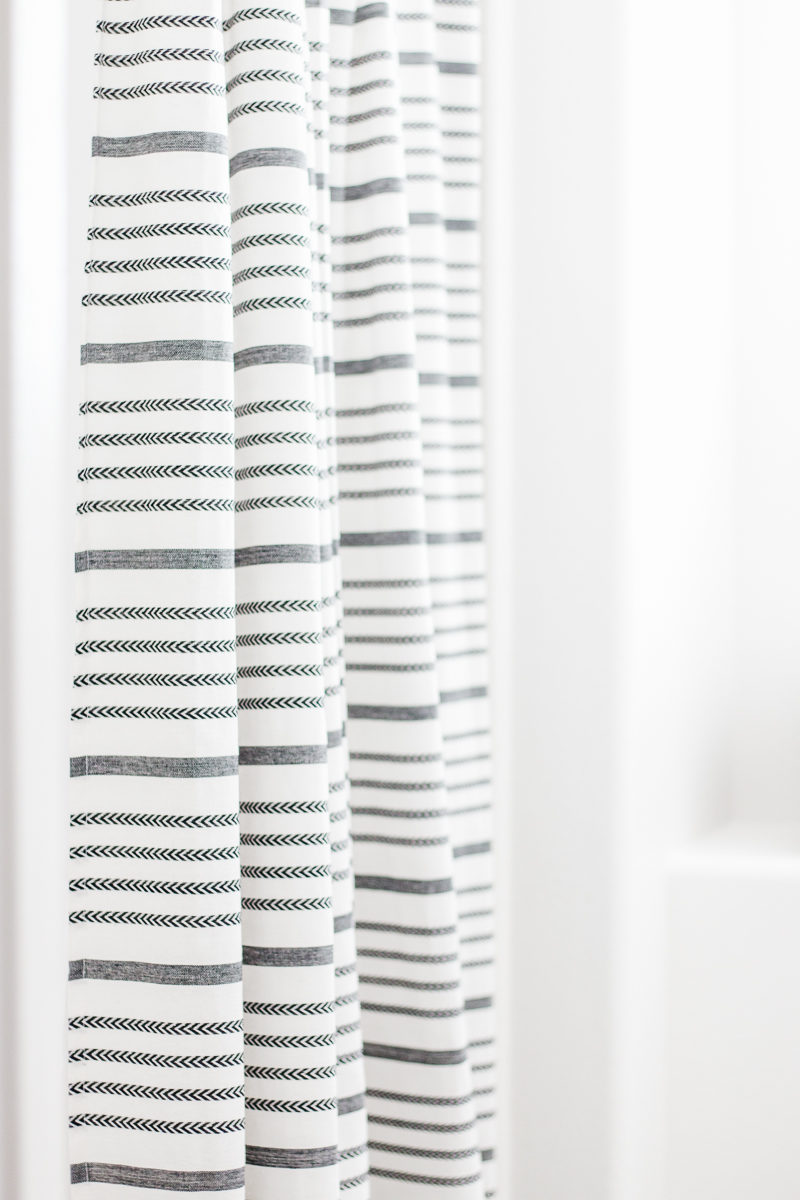
- shower curtain
- trash can
- basket tray
- scroll hand towels
- wall shelf – Michaels
- cabinet paint color: Galaxy Black by Home Depot
- wall color: White Shadow by Vista Paint
- rug
mirrors | sconce | faucet | basket tray | rug | shower curtain
I hope this inspires you to tackle one of your own spaces. You can see the breakdown of our budget here. With a little sweat equity and some careful planning, a bathroom on a budget is a real possibility. I will be back with a detailed post on how we transformed the vanity with paint. Thank you for following along with us on this one. It was such a fun project from start to finish.
Check out another DIY space we tackled: Pantry Reveal
Great job – hope I get to utilize it sometime soon!
Grandma Sue
Thank you!! Time for a visit! xo
Hi. May I ask your opinion on the diffuser sticks and source
Hi Jen. Not sure as they were a gift and so far so good.
So great-I have a guest bathroom that is in desperate need of an upgrade! You have inspired me!!! 🙂
Oh that makes me so happy to hear, Shawna! Go for it!!!
Wow–looks great! I love everything about it! Was the shelf a recent Michael’s find? We’re in the midst of a renovation and something like that would be perfect in my new bathroom. I’m hoping I might still be able to find it. Thanks!
Thank you, Kristen. Yes! Found it just a couple of weeks ago in the area with all of the frames. Hope that helps.
Yay! Thank you!!
Looks great!!!
Thank you so much. Have a great week.
Love this!
Where did you find the towel hooks?
I honestly can’t remember. Maybe just Home Depot. I need to look at my receipts!
Love all of it! It’s amazing what a little paint and upgrading fixtures can do. You do such a beautiful job of accessorizing too. Love the shelf above the towel hooks, and love the wood crate with the hand towels, too. That shower curtain from Target is a great find!
Thank you so much, Nicole. I so appreciate that. It was such a fun project. And I agree. . .score on that Target shower curtain. Hope you and the family are having a great week.
Love it! I was looking forward to this reveal and it does not disappoint!
That is so sweet. Thank you!!!!
This is soo pretty!!
Awwww. Thank you, Kristy. Have a wonderful afternoon.
Great update on a budget! I’m curious if the shiplap decision was because of the condition of the wall after removing the mirror? Also, why no hand towel bars/hooks, maybe under the medicine cabinets?
Hi Allison. Thank you. Great questions. No we actually decided to use shiplap as an architectural element after we used it in our master. But that would be a great solution if the wall were in rough shape. Our mirror had been glued on so the damage was minimal. Also a good question about the towels. We have them on the wall in our bathroom and I have a love/hate with them. But to be honest I never even considered them for his bathroom. Hmmm. Maybe I should??? xo
Gorgeous! Studio McGee, look out! You knocked this one out of the park. Makes me want to rip the Hollywood builder lighting out of my daughter’s bathroom and use this sconce.
Wow! I am so impressed! It looks fab- you used your budget so well!!
Thank you, Lucy. I appreciate that so much.
I love how this turned out! I’d like to do this in our master bathroom, but our thermafoil cabinets are starting to peel at the top! Did you have that situation? Did you do any prep to the cabinets prior to painting them?
Love this Courtney! I am redoing my boys bathroom (on a major budget), until I can do a full blown remodel in there. I am wanting to paint the vanity navy in there since the countertop is bright white. You’ve inspired me to go for it! What color navy did you use? There are so many that it’s overwhelming!!