At long last, I finally have part one of our butler’s pantry to reveal to you! I’m sorry it’s taken me so long. Life has gotten in they way of completely finishing this project but I thought it would be fun to share the before and after as well as half the room so that you all can get a sense for the space. Many of you have asked about resources and so I will cover that in this post as well. Welcome to our butler’s pantry.
OUR NEW PANTRY
This space has already brought us so much joy. For those of you who don’t know, we turned part of our third car garage into a butler’s pantry. It’s a space to house all of my vases, table linens, beverages, extra glassware and food. During parties, we welcome guests to come in and help themselves. This becomes our bar when we entertain.
GARAGE TURNED PANTRY
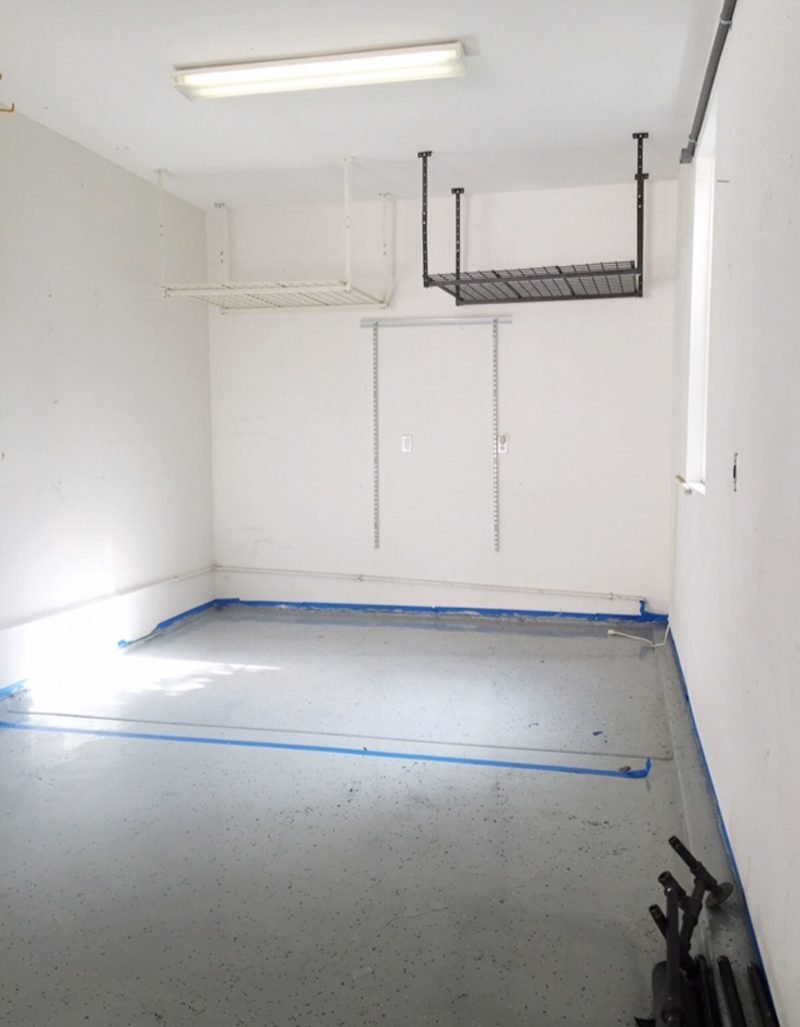
Here is a look at the before! What you are looking at is the tandem third car garage. The blue tape denotes the space we designed. Making it as large as we did allowed us to include one of the garage windows granting us all the natural light we were craving. The remaining portion of the tandem garage still houses all of my husband’s tools as well as the children’s sports equipment. We have not missed having more room out here at all.
THE PROCESS
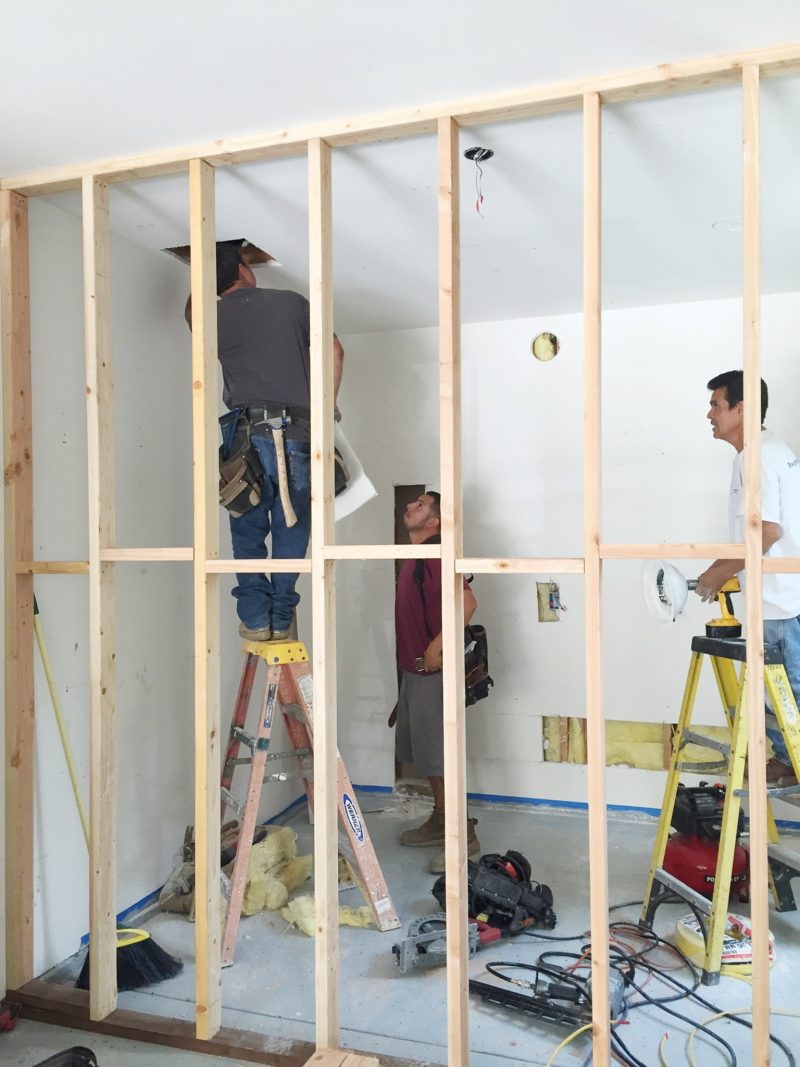
These guys worked their magic so quickly. It was amazing to see a wall go up right before our eyes. If you look behind the gentleman in red, you’ll see the beginning of the door being cut. This entire space is directly behind our kitchen so it was a natural choice for a pantry. The only major challenge was raising up the floor a decent amount before it could be tiled.
WHITE BOX CHALLENGE
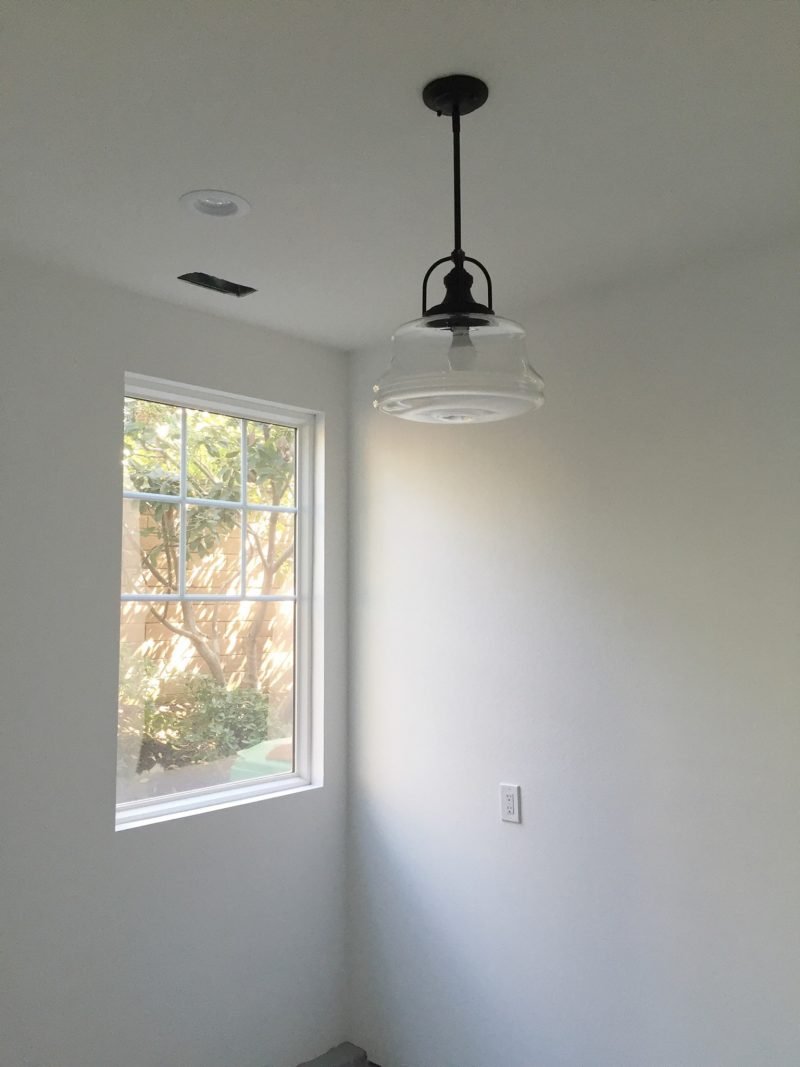
Once the workers left, we were left with a white box challenge. It was so exciting to have a blank space to design. I spent many nights planning and measuring. Once I designed where I wanted everything to go I still poured over it to be sure it was all going to function as I’d hoped. I wasn’t afraid to ask friends and family as they came over, too. In the end, we went with my original design. After getting a quote for custom cabinets (are you sitting down?) we decided Ikea made the most sense. Our original quote to outfit this space with custom cabinets was $35k. Ummm. Nope, not a chance. Time to bust out the DIY skills.
BE PREPARED
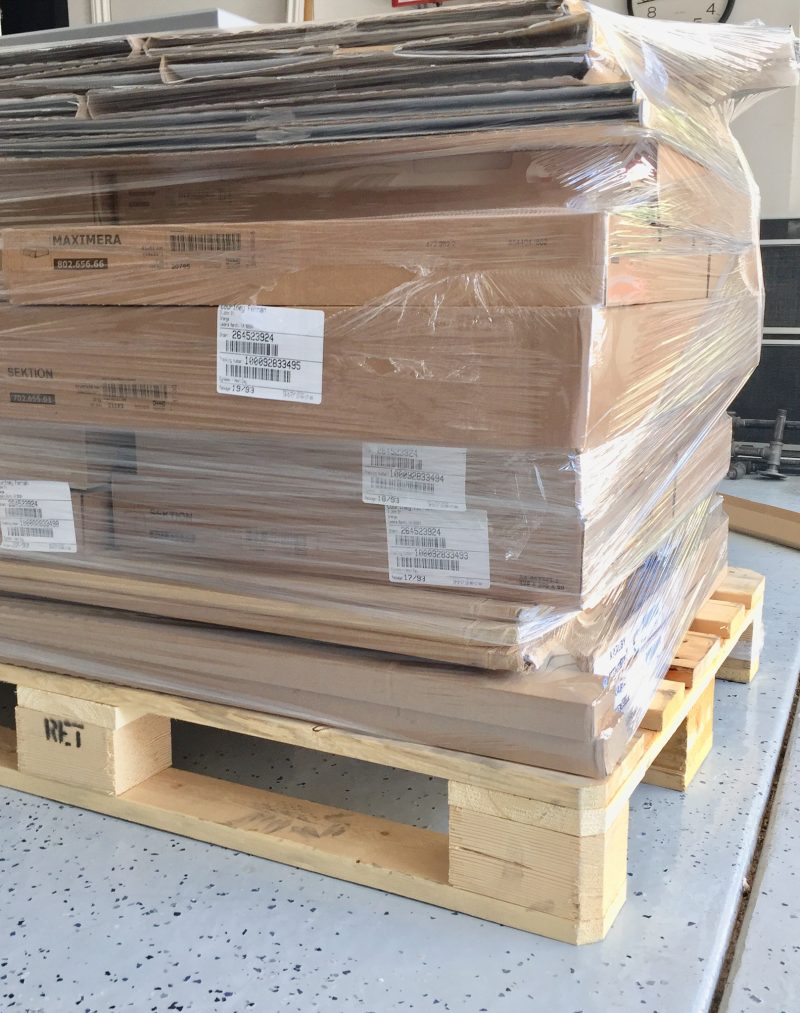
We have been thrilled with the Ikea cabinets. There is an online resource that allows you to create the room with accurate dimensions and design with cabinets. It worked great!!!! I designed it and then went it to sit down with someone at Ikea. They made sure what I had chosen would indeed fit. All of the cabinets were delivered they very next day. But let me warn you! I almost fainted when two giant palettes of boxes arrived. It was overwhelming to say the least. We parked our cars outside for a few weeks while we very slowly worked on this project. We had to fit it in between work, family, sports and life. Because we were in no rush, time was on our side. For reference, the cabinets came in under $4K. A HUGE savings.
NOT SO LAZY SUSAN
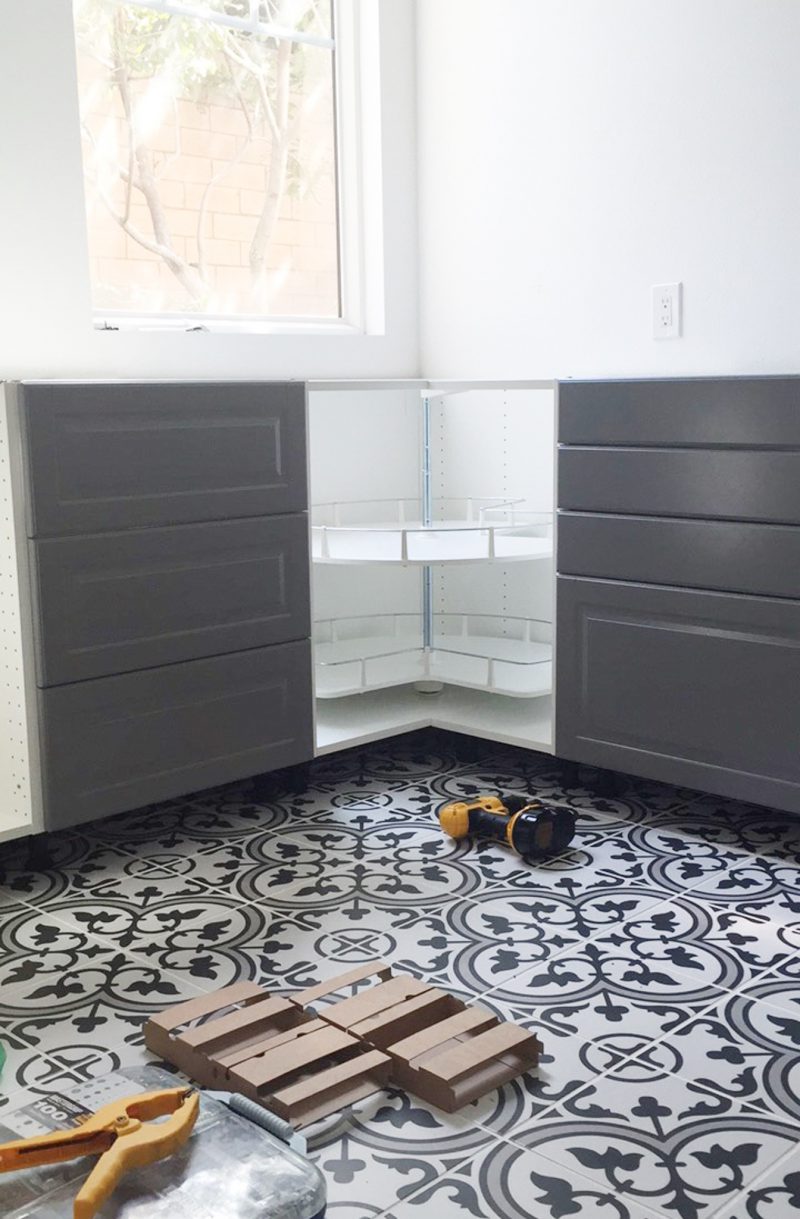
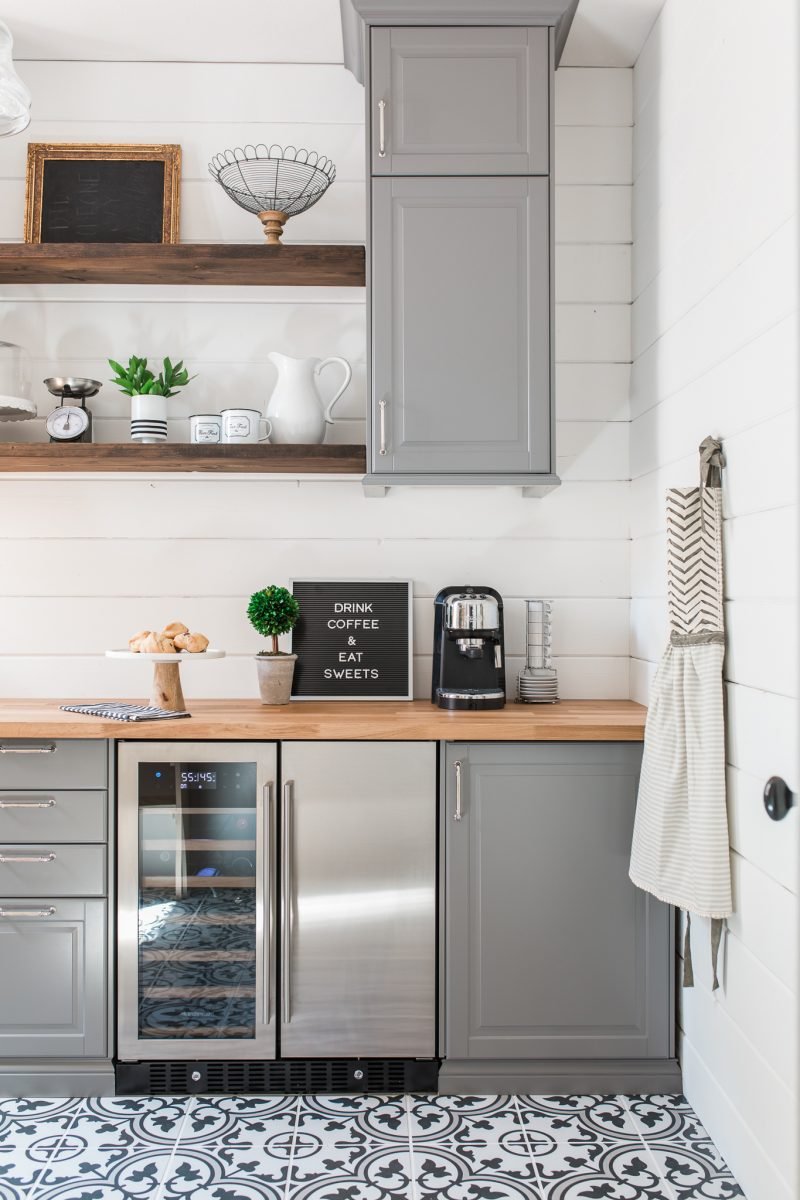
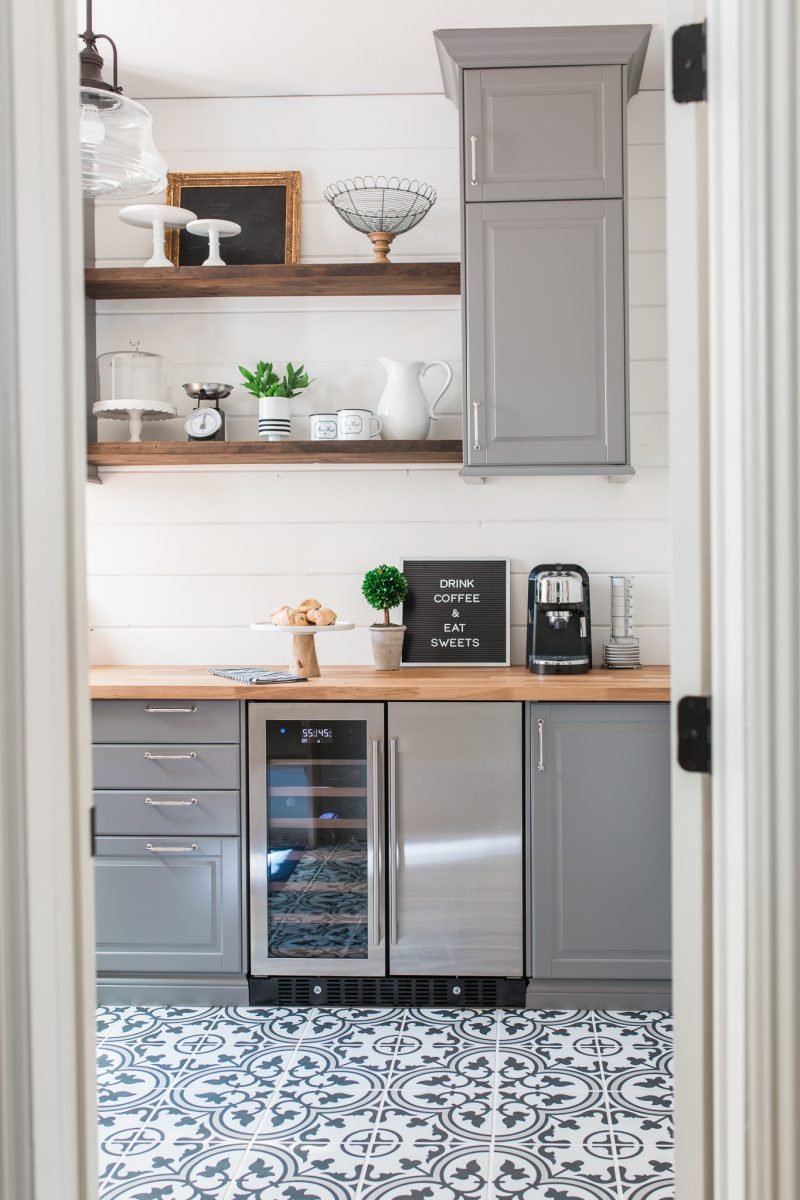
Without question, my favorite feature is the lazy susan. It’s amazing. It holds ALL OF MY VASES! It’s much larger than it appears and I am so happy to have all of them in just one spot. If you ever design a kitchen or a pantry I would say this is a must. The other feature I am head over heels for is the tile. I wasn’t afraid to go bold because this room is around the corner from the kitchen and really has its own identity.
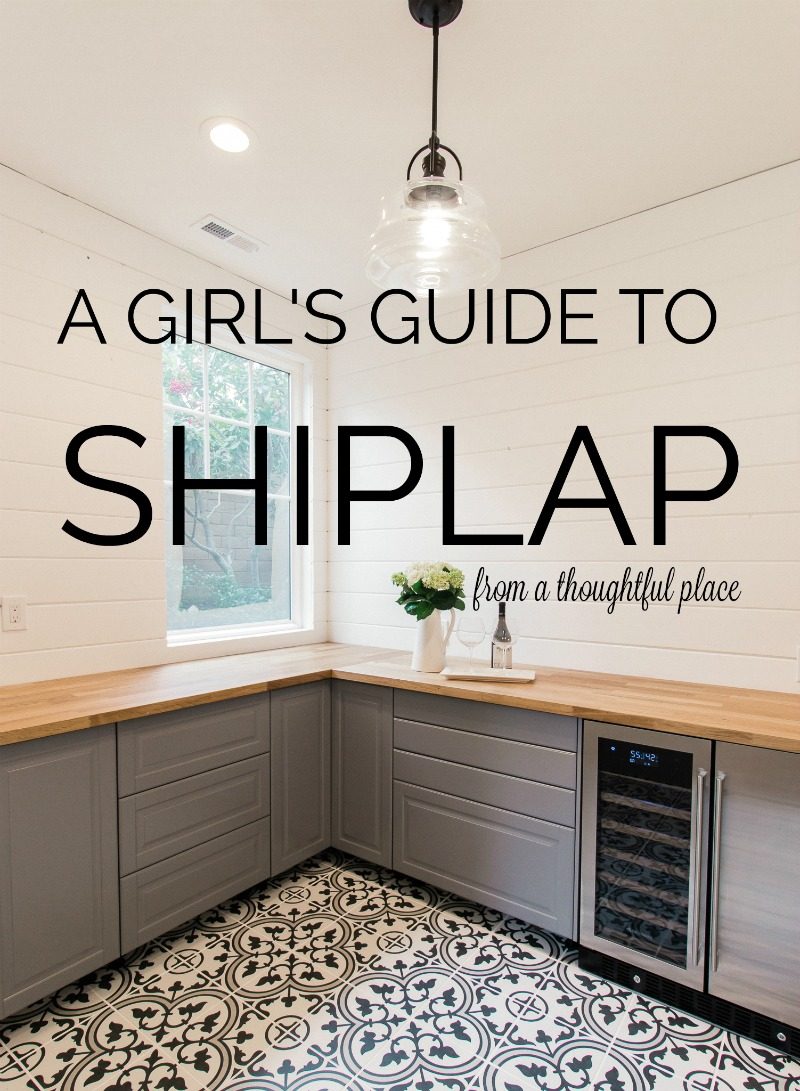
The shiplap process was actually quite straightforward and simple. We broke down the process as well as things you would need to tackle a project like this on your own in this post.
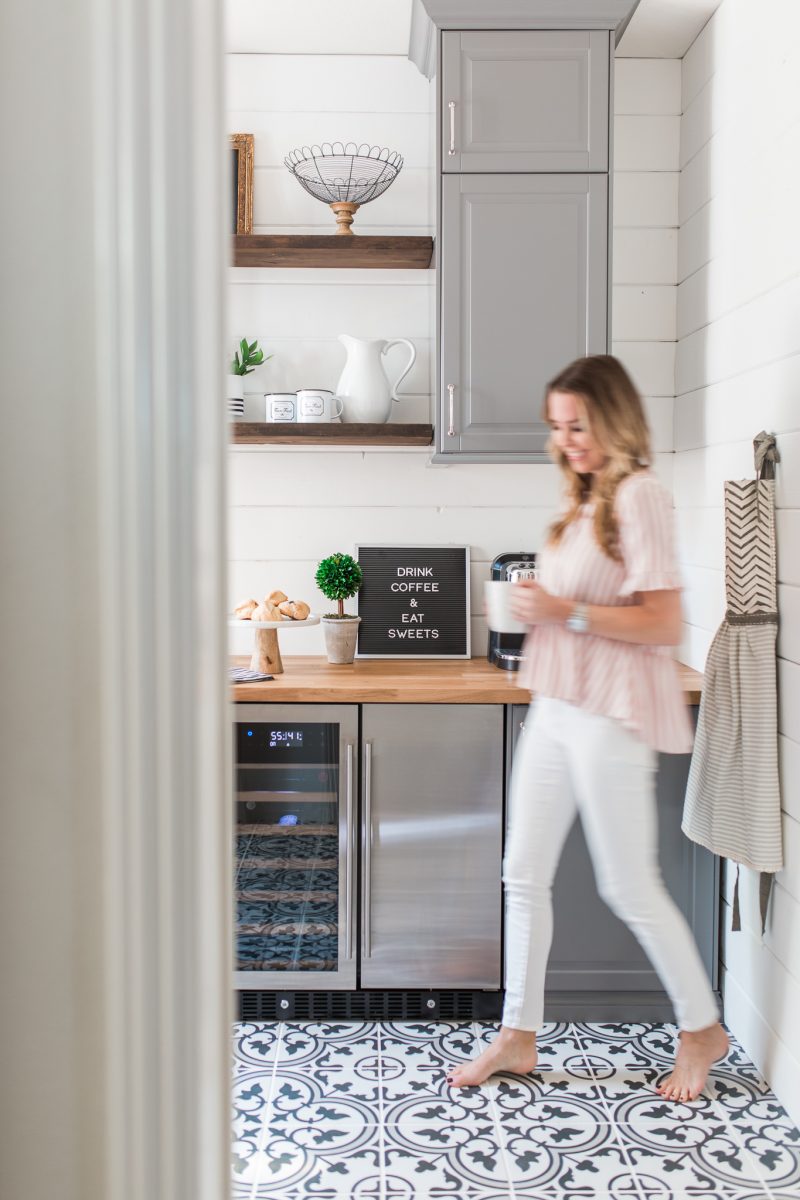
COME ON IN
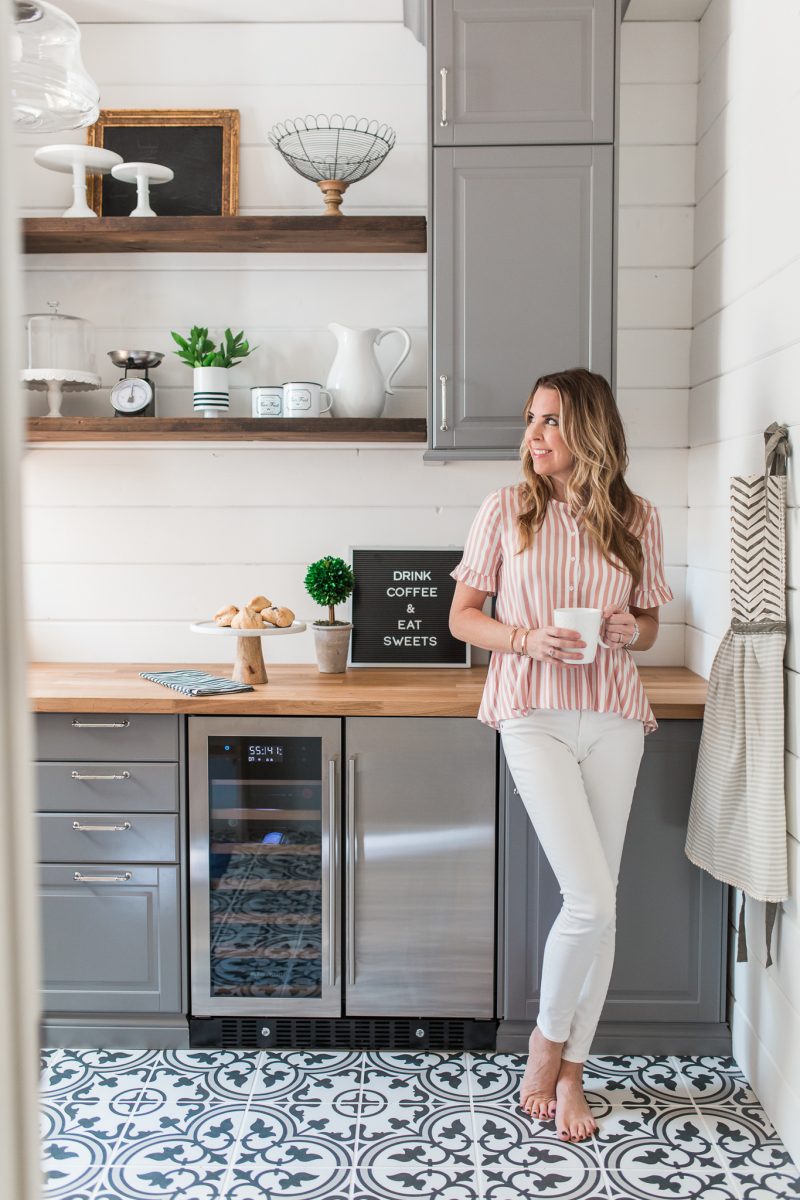
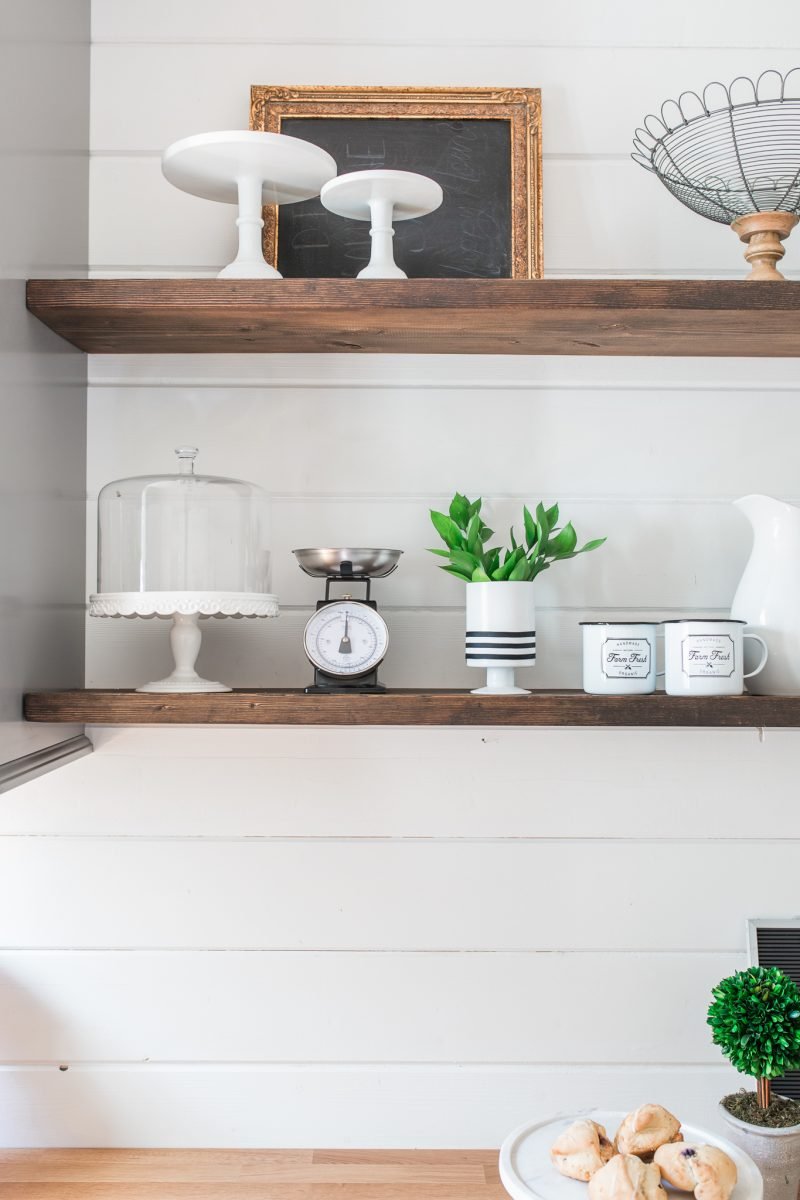
The shelves between the upper cabinets were made from simple pieces of plywood from Home Depot. My husband stained them darker than the wood counter top for contrast. The wood counter top and cabinets are both from Ikea. I get asked about this fridge all the time. It was not inexpensive but well worth it. One side holds wine and the other side holds all other beverages. When we host, we invite guests to help themselves. So much easier.
We did consider putting in a sink but in the end we did not feel it would be worth the expense of adding plumbing. The kitchen is literally right around the corner. We did add AC to allow us to count this as space as additional square footage.
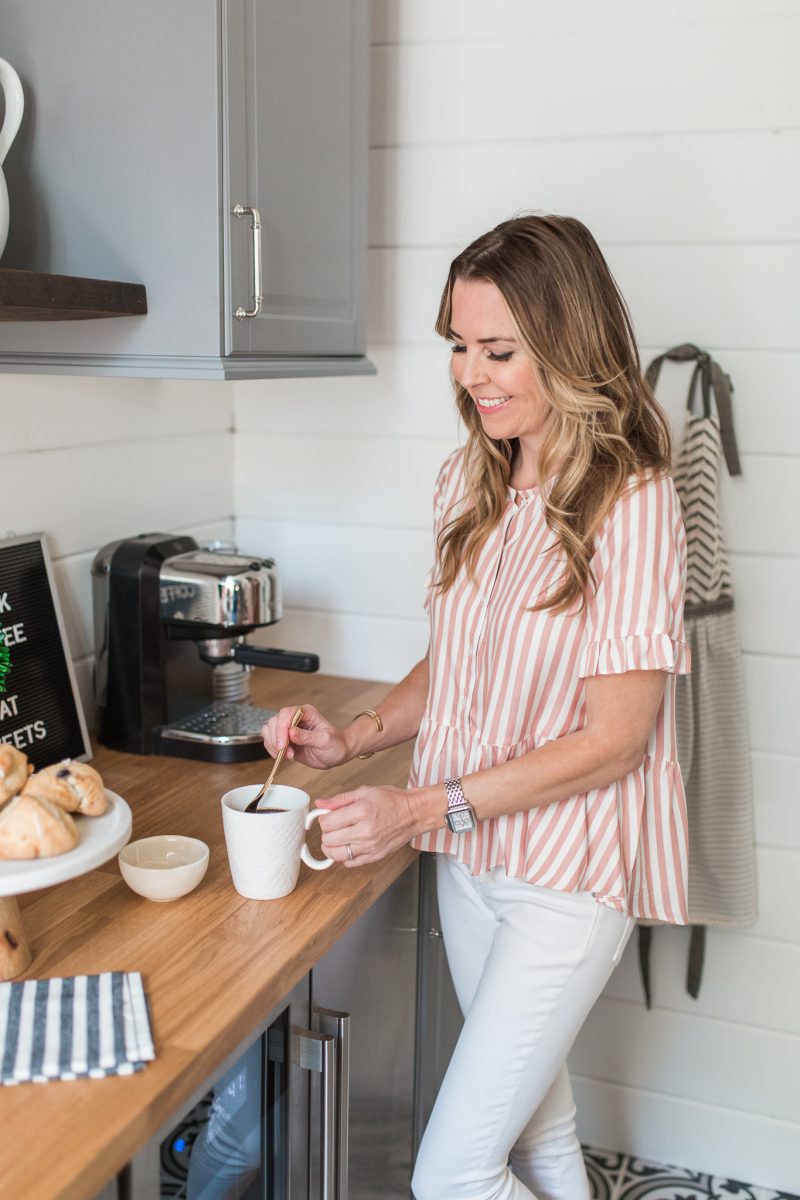
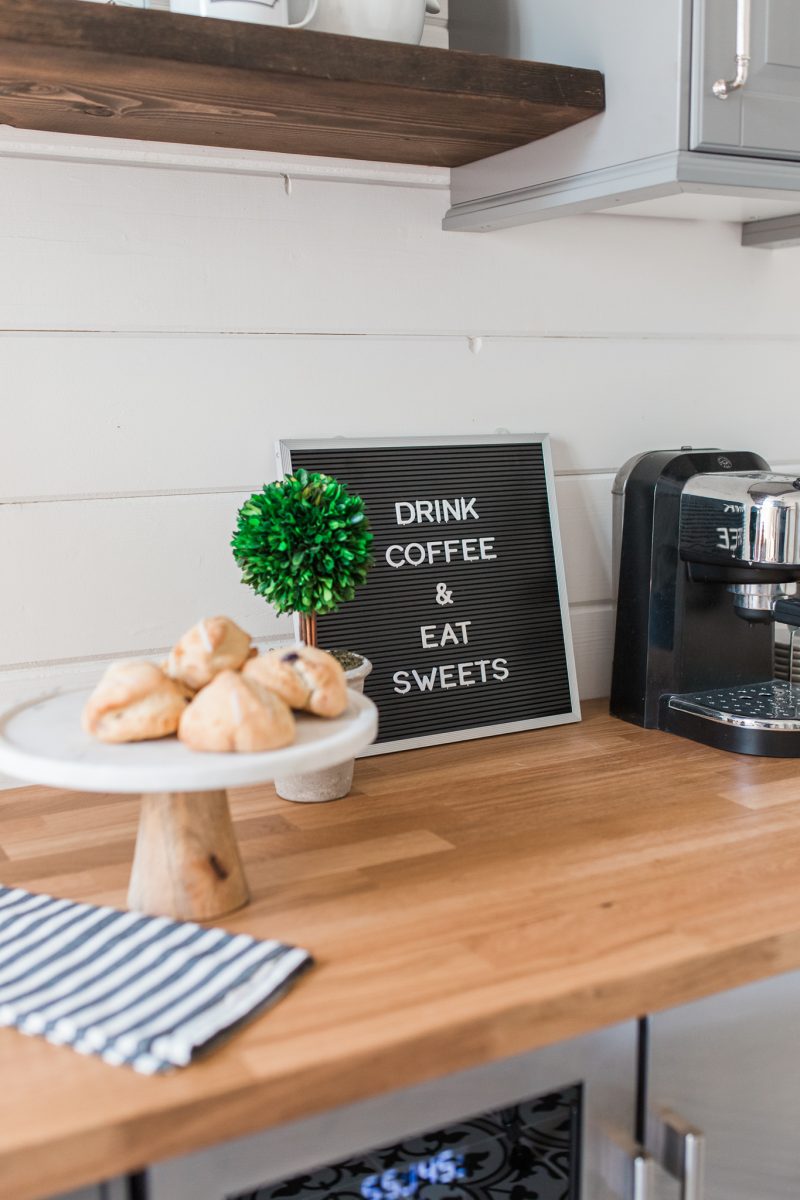
One of the things I really appreciated during the holidays was being able to make baked goods and store them in here until it was time to serve them. While we do have a generous island in our kitchen, we are short on counter space. That is one of the reasons we decided this would be a better use of space for us.

Shop This Space

Thank you for letting me share this space with you. While I designed the space, my husband gets all of the credit. He did all of this himself. Part two will reveal the rest of the room and how we incorporated floor-to-ceiling shelves for food storage. It’s nearly complete. My dad was so proud of us for what we did in here. He was interested every step of the way. I never dreamed he wouldn’t be around to see the finished product. Makes it a bit painful to work on but I know how pleased he would be. And I am so thankful to my husband for making this dream a reality.
*After photos by the talented Vanessa Lentine
Gorgeous! Love the floor! Your dad would indeed be very proud!
So pretty! And I’m positive that your dad is beaming with pride! I’m curious why the upper cabinet isn’t positioned all the way in the corner? We are making plans to build our dream home, so I’m devouring any information I come across!
It looks amazing! So happy for you! Looks like something Joanna would have done! : ) Congrats!
It looks amazing & so useful. One question though. How come the top cupboard doesn’t join the wall on the end allowing for longer shelving or wider cupboard as aesthetically it would have matched the cupboard below & not leave an empty space between the wall & cupboard? Still looks great though.
This space is just stunning! And awesome tip about the Ikea cabinets vs custom! That is an incredible savings!
I would love it if you would share the dimensions of this space!
Love it all. I hear you on having an island, but still needing counter space. I feel like the island gets used as “people” space, rather than “work” space. Does that make sense? When we entertain, everyone is around my tiny island, so I end up using our counter top for additional serving space. I can see where having this pantry would be a great extension of spreading out guests while still having everything right there. Your dad has the best view of the entire space 🙂 (((HUGS))) to you!
It is beautiful Courtney. So functional as well. I know you dad is smiling down, and so proud of what you and Ryan accomplished.
It’s so lovely!! You did a great job designing this space. Can you tell me how you installed the floating shelves?
Court! It looks SOOO good!! Love the shiplap and cement tile! Gorgeous! And such a fun way to extend your kitchen!
Love love love this!! Looks so great! I can’t wait to see part 2!
Love it! Is that the crown molding that Ikea sells or did you add to it?
Absolutely beautiful!!!! What a great idea with the tandem garage conversion. Love everything about it. Congrats!
Wow, it looks amazing! I love all the color choices and the flooring is beautiful!
LOVE!!! Funny, we recently finished a home renovation (literally three weeks ago) and when I was looking for tile for the bathroom, I fell in love with this exact same time you have pictured here. Unfortunately, it was sold out every single time I came back to the store. We ended up going with marble instead, but this tile is still so fabulous. One question for you: would you ever consider doing a post on styling open shelves? I have two in my new kitchen and for the life of me, I can’t figure out how to make them look good….no matter what I put on them. sigh….need help!
Wow it looks so great. Is there space in the beverage center to store an open bottle of wine upright? Just curious. I’m in the market for something like this.
This space is absolutely gorgeous and so functional! Kudos to you and your husband 🙂
Looks really nice! Great job! One question, how did you raise the floor from the garage? Do u poor that amount of concrete or is there another way? The reason I ask as we are in the market for a new home and some in our area have sunken family rooms which I loath. Wondering how it is fixed.
So fresh and pretty! That floor is stunning!
IKEA is the way to go! I would be useless in assembling them though. Do they have people who come out to do that?
Love the floor! Did you put in in floor heating?
The grey cabinets and wood countertops make a nice contrast. You and your husband did a fantastic job of designing and installing everything. It seems it’s much better use of the third garage. Space to spread out, store all the things you might not use everyday and a bonus for entertaining. You must feel immense pride in all that you accomplish.
so beautiful 🙂 can I borrow u to design my space 🙂 u both did an awesome job!!!
It’s beautiful Courtney! I love it. You and your husband did a great job on this. I’m sure your dad is smiling and proud of you.
What a gorgeous, happy space!! I imagine you often stand in the doorway and just gaze at it! 🙂 What a blessing to have that 3rd car tandem spot to “borrow” from! It certainly is a butler’s pantry of dreams. Looking forward to seeing part 2! Have a wonderful day!
I love it Courtney and it is truly beautiful love aunt Mary
This looks gorgeous! What a labor of love, and how fabulous it must be to see your design come to life so perfectly. Congrats!
Truly looks amazing and was a brilliant idea!! I’m also curious about the gap between the cabinet and the wall. Assuming perhaps it is for symmetry as I believe the other side abates the window and naturally there would be a gap there but would LOVE to see a pic of that entire wall.
This space is just WOW! And even more impressive that you did it all yourself!
LOVE this room, the friendship that it brings and that amazing floor! x
Hi Courtney – what a nice post and beautiful room. I love your creative use of space! I’d love to know more about the floating shelf install and how you selected the lower cabinets, specifically the ones with drawers. I’m looking at these exact cabinets but for a craft room instead! Also did you go for the fully extending drawers? I really like the cabinet with 3 “skinny” drawers and one big one! How did you decide what you needed? Anyway, I just love it – would love to have a space outside of the main kitchen to dedicated to coffee, drinks and snacks (oh and of course, extra storage!!) Congrats on this beautiful space.
I’m wondering if you wouldn’t mind sharing the name/brand of your double drink fridge…we are looking! Thanks in advance.