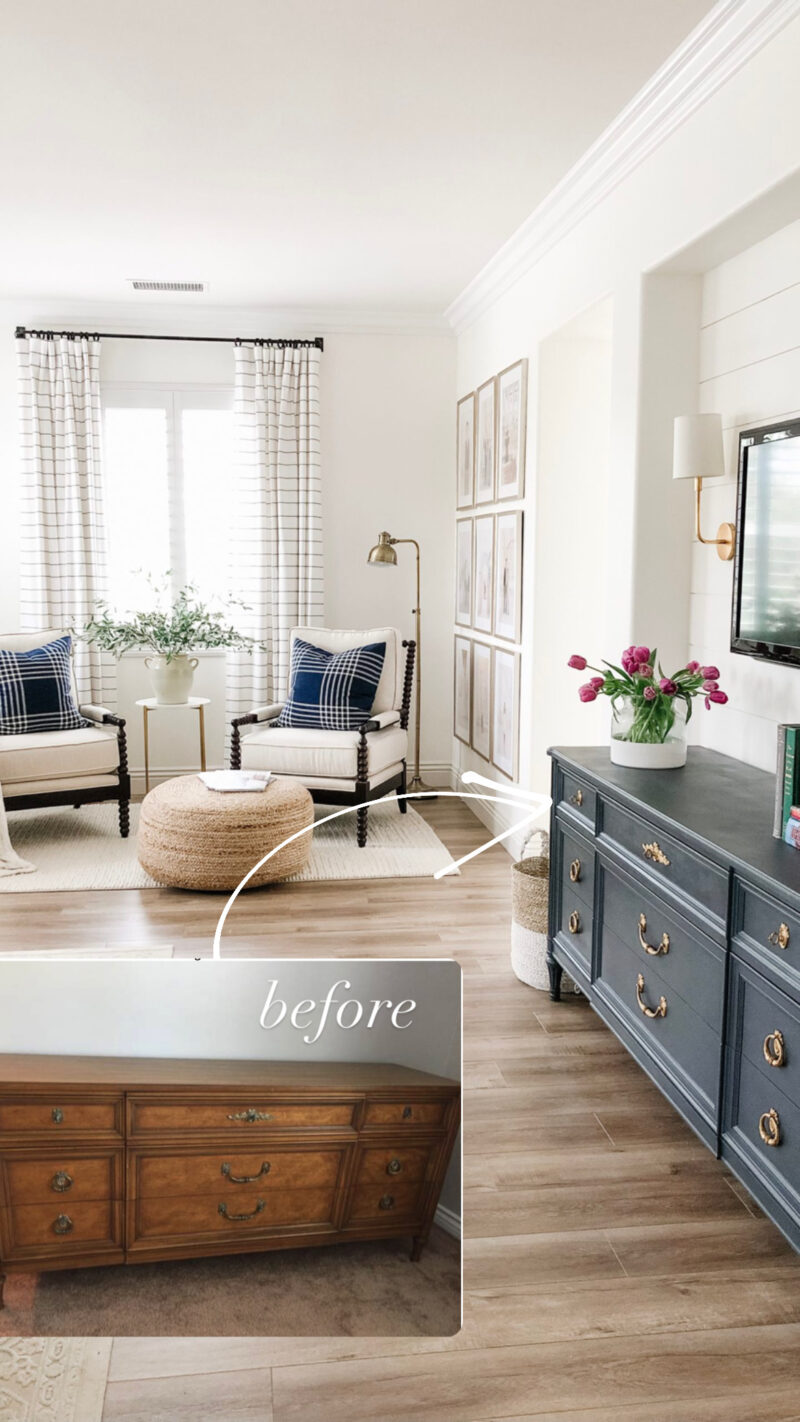
Good morning. New year, new projects! I feel energized and ready to get some thing going over here. First up is finishing our master bedroom and that means our dresser needs an overhaul. I posted about our vintage find here. It’s definitely been a project but the end result will be worth it. We hope. I’ve learned a great deal in the process and wanted to pass along a few furniture painting tips.
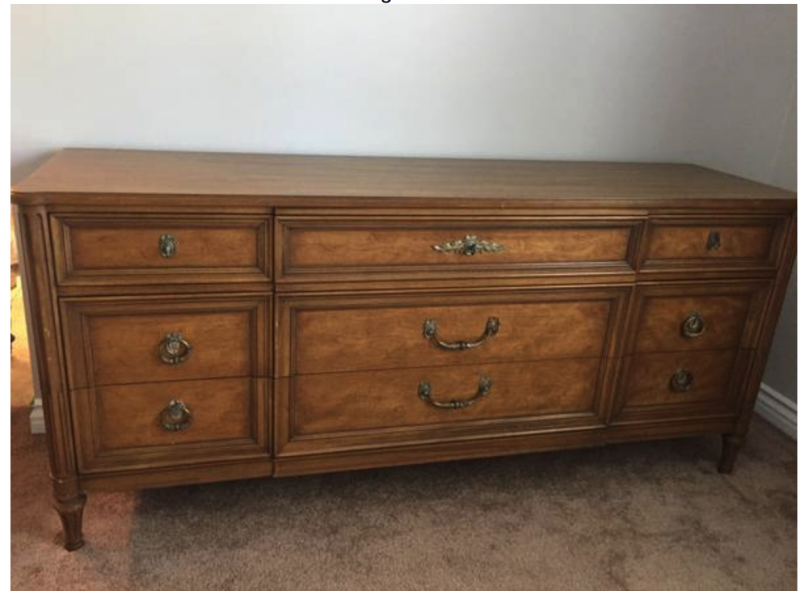
The detail work, the fluted legs and the shape all had me at hello. Not to mention the dresser boasts the dimensions we were looking for. The orange-hued finish is now removed and this beauty is sanded down and ready to go. I will recap more of that process soon.
GET CREATIVE
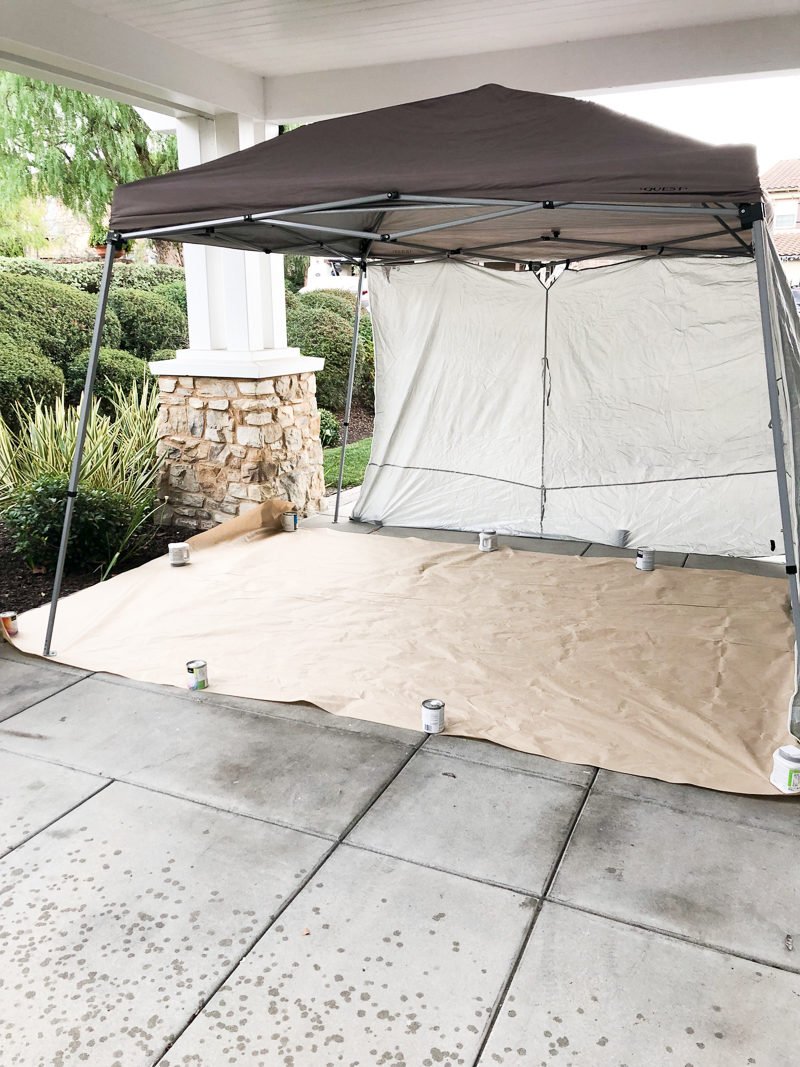
It’s all about the prep work! When I decide to do something, there is no turning back. Notice the rain. It rained for about one hour on New Year’s Eve so I waited it out. But I was able to prep the painting station. Even though we have a covered portion of our drive way, my husband had a the great idea of putting up the EZ up with the windshields. Although I used the sprayer, no pain ended up on the shields.
Tarp Tip: I am a big fan of the paper tarps (I picked it up at Home Depot). It comes in a package of two and is only $3! Such a bargain. I drop cloth can cost $26. I weighted it down with extra cans of paint. It can be folded up and reused to it is definitely a price performer.
TAPE IT OFF

The roll of paper is also really easy to use. I wrapped it around each drawer and secured it with a couple of pieces of tape. Take your time and be patient with the prep. You’ll thank yourself in the end.
REMOVE THE RESIDUE
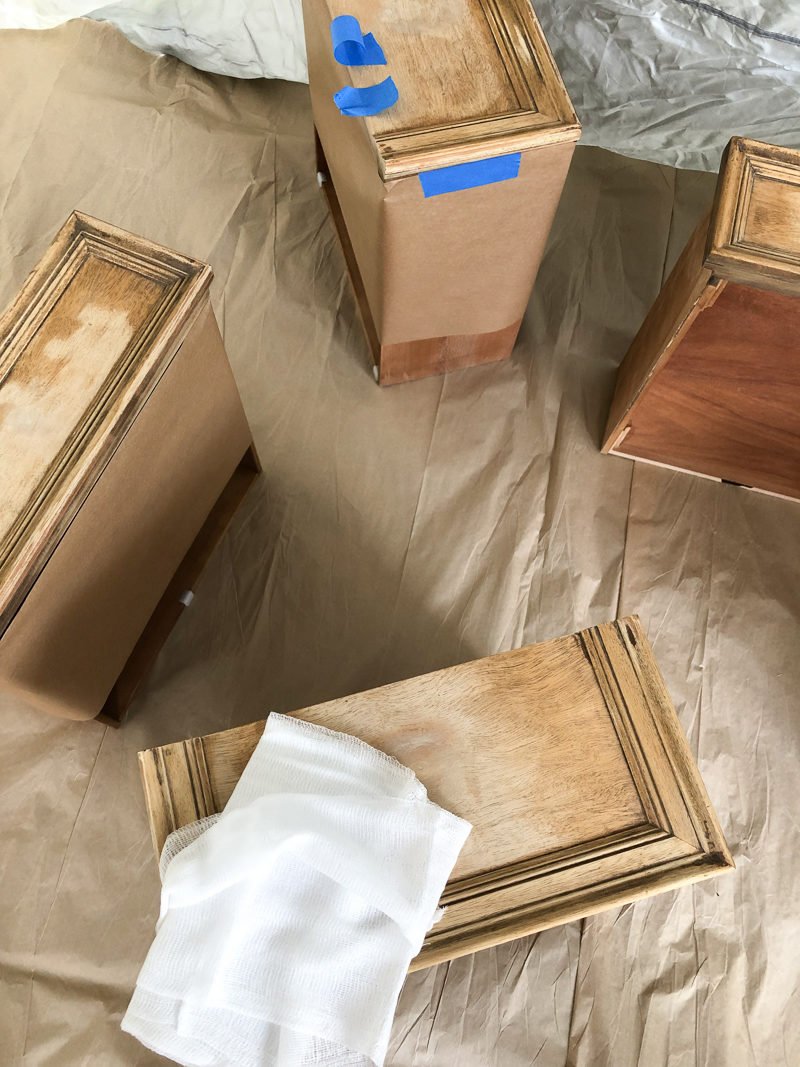
Cheesecloth (loosely woven gauze) is key for removing any extra residue and dust. The dresser was sanded so there was a fine dust on each of the drawers. I like to use a dry cloth and then dampen a section of it and wipe off the remaining residue. Honestly, when it comes to painting, it’s the prep work that takes so long. The painting is a breeze.
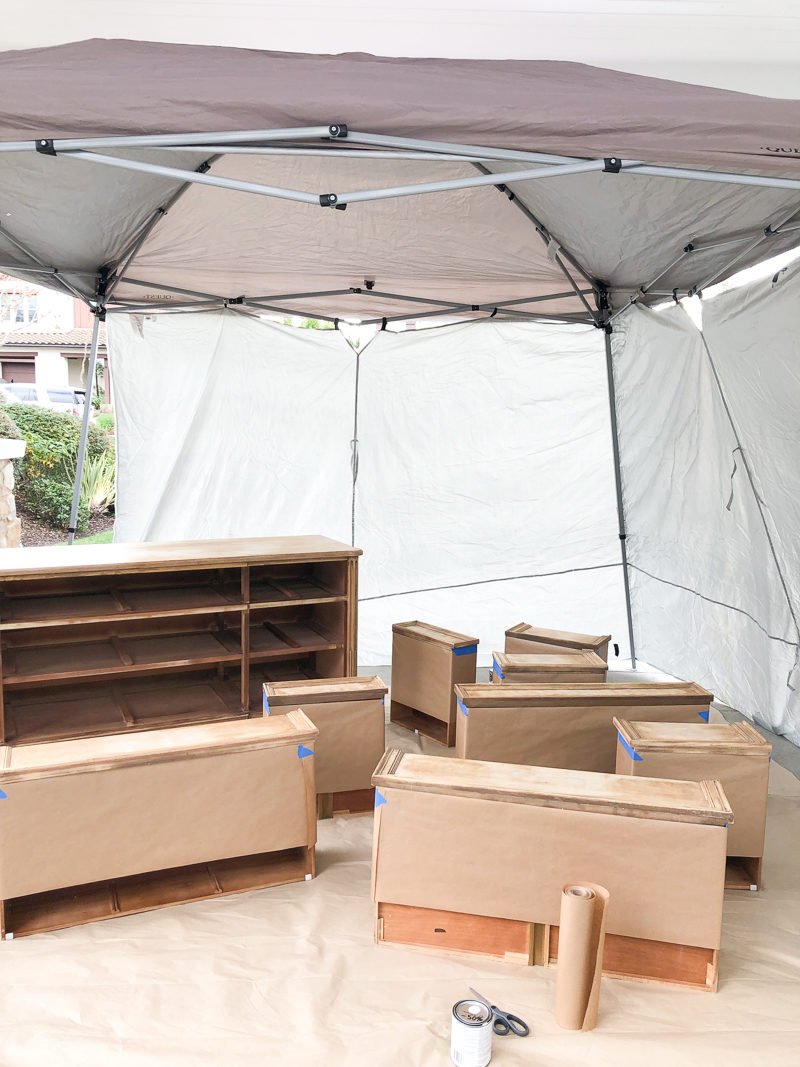
All set and ready to go! I thinned my paint with a bit of water (per the paint sprayer instructions) and got to work.
BUST OUT THE SPRAYER
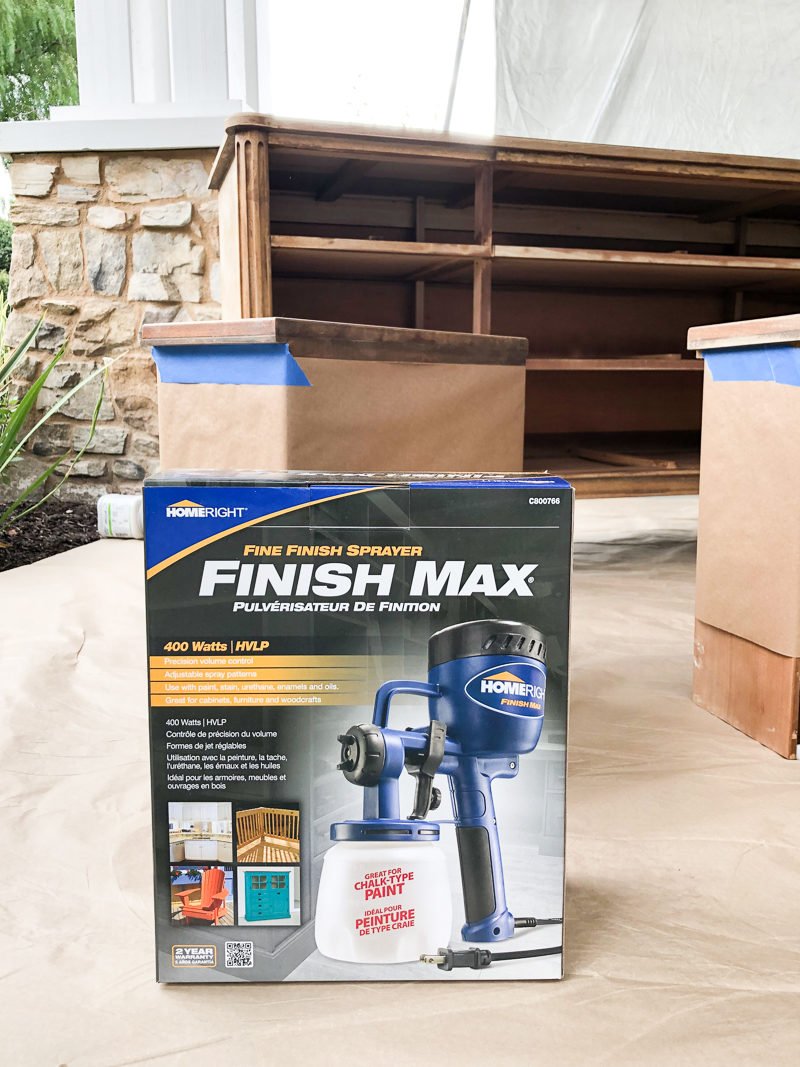
If you don’t already have a paint sprayer, I highly recommend you invest in one. Every time I use it, I honestly can’t believe I went without it for so many years. It is beyond easy to use and makes painting so much fun. No brush strokes and it really doesn’t make a mess. From one DIY girl to another, you need this in your arsenal. I used it on the trim work in our pantry and the finish is smooth and gorgeous. I never could have accomplished the same look with a paint brush.
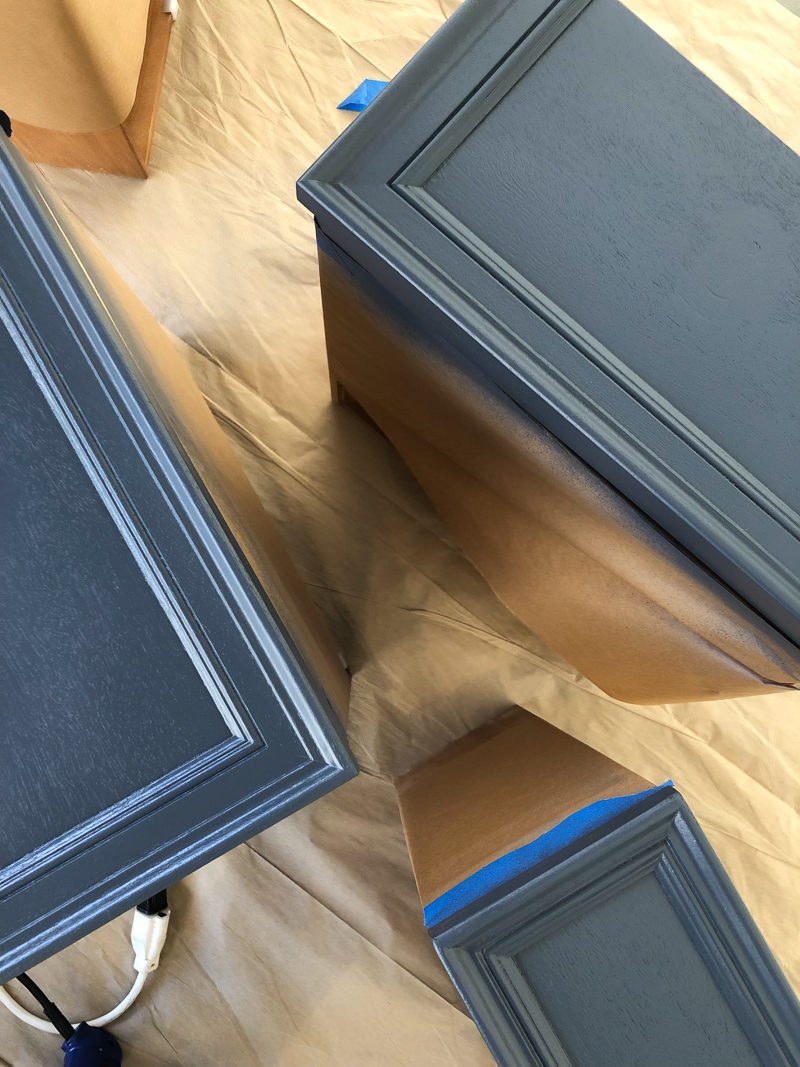
Here is a sneak peek of the color. I am so excited to see this dresser in our master bedroom. The color is Hale Navy by Benjamin Moore. I am considering a top coat so if you have any thoughts on that, please let me know.
HARDWARE LOVE
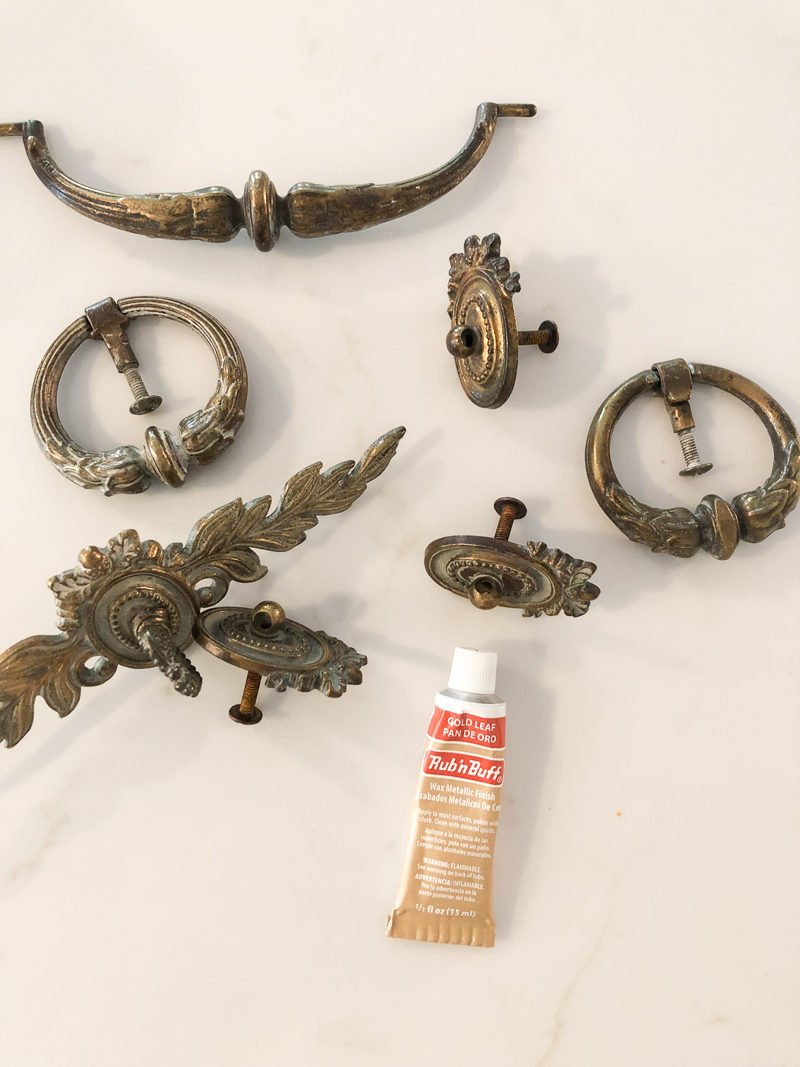
When we first bought the dresser I thought I would replace the hardware with something more current. After looking online, I suddenly realized how crazy that idea was. Part of the charm is the vintage hardware. It’s beautiful and just needs some love. It has far more character and interest than anything I could buy now. Rub n’ Buff to the rescue. I used a small paint brush rather than my finger to apply it. That allowed me to get inside all of the crevices. I used the gold leaf color.
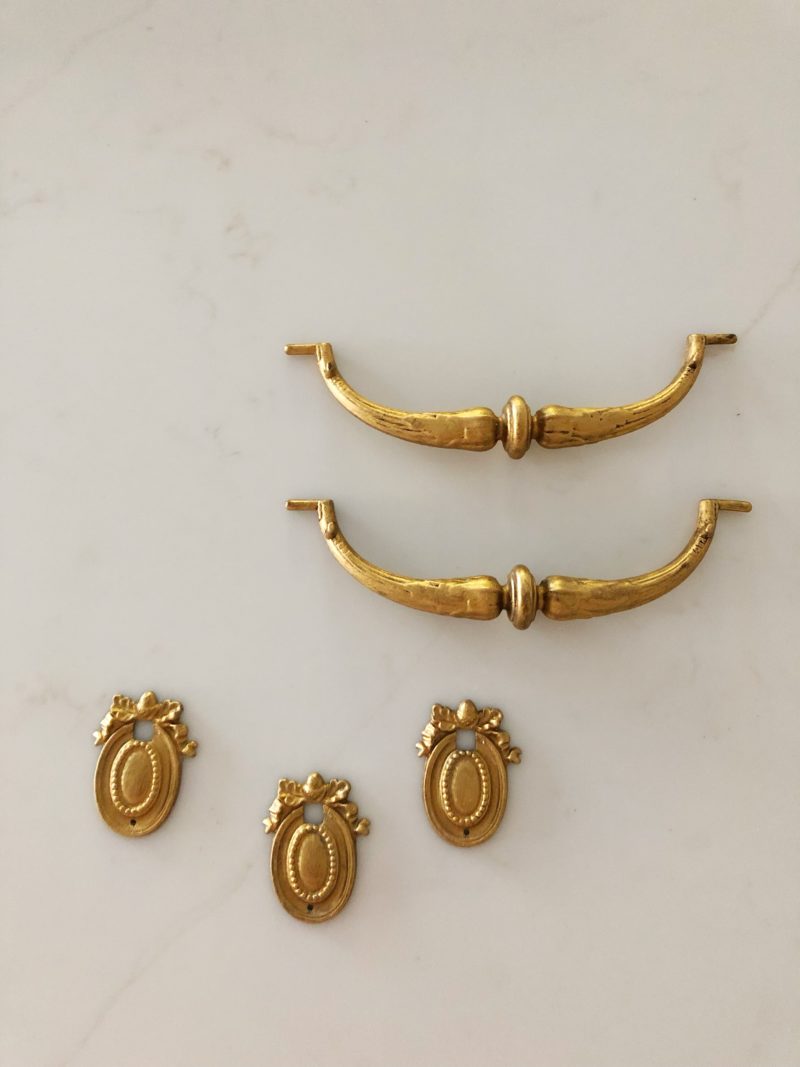
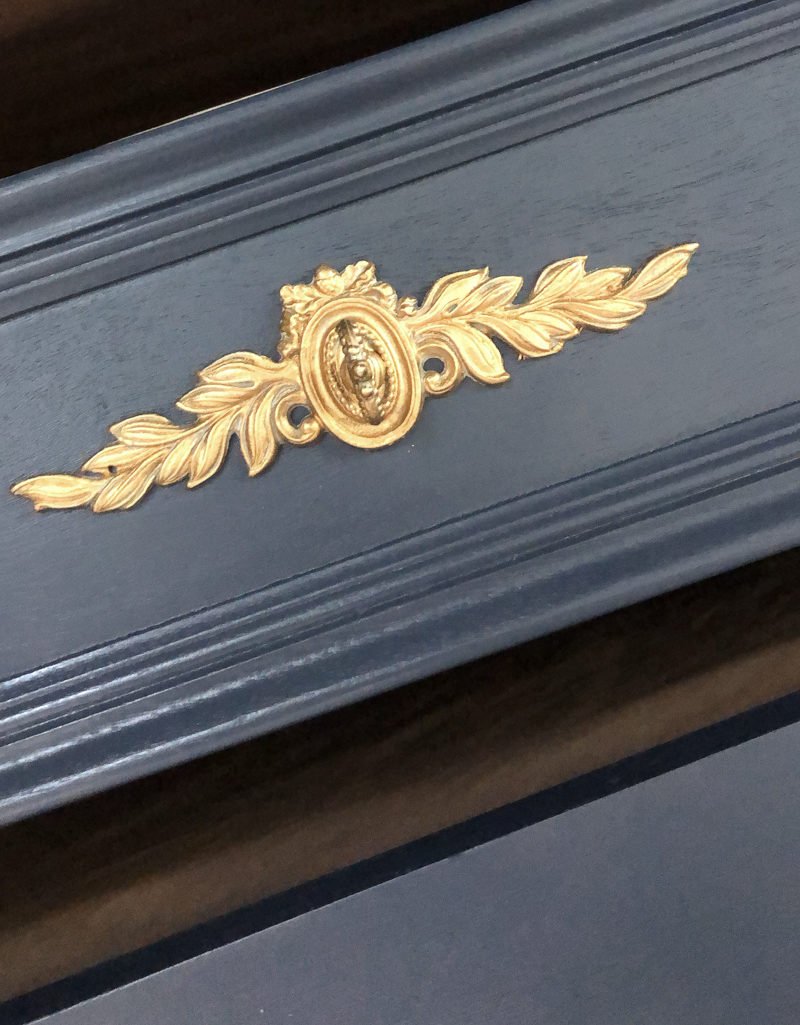
The tarnished hardware is now restored. I am just thrilled with how it turned out. Now we need to re-drill the holes we patched (oops . . waste of time) and reattach all of the hardware. And if anyone would like to volunteer to lift the dresser up to our bedroom, that’d be great. Mmmmkay?
I will do a follow up post on the dresser once it is in our room. Make it a great Friday. See you back here tomorrow.
*UPDATE:
We are so thrilled with how this turned out. Furniture isn’t built like it used to be so if you have the chance to find a beautiful piece, don’t pass it up. Here is another piece we upcycled for our Tennessee home.
Gah! So excited to see your finished product. It’s going to be great. I love redoing furniture. I’m frugal and love the challenge. The quality is so superior to what you can buy now on a budget.
Your blog is my favorite of many I read. I loved your last post. You obviously have a big heart, and such a talent for putting your thoughts into words eloquently!
I love the color and think it will look great in your space. Looking forward to more detail about how you got into all the details and nooks and crannies to get it sanded.
Love the color you chose! And now I’m excited to use the
Rub& Buff! I need to use it on bathroom fixtures! Thank you for posting. I’m looking forward to seeing the finished dresser!
It looks magnificent Courtney, you are such an artist.
Mary
So far it looks great! Can’t wait to see it in your room. We just painted kitchen cabinets with a sprayer, and it was definitely easy to use. I also ordered Rub and Buff. I’m excited to try it! Thanks for all the helpful tips.
I need this sprayer. The piece looks fantastic and the hardware is perfect! I’ll definitely be on the lookout for your next dresser post. I’ve purchased some quality pieces through the FB Marketplace. Keep inspiring us.
I love the color and the hardware. Thats amazing work and I use to do projects like this because we didnt have a lot of money and I enjoyed it but quit doing it. This inspires me to do it again.
Wow, it looks gorgeous, and I can’t wait to see it in your space!
Hale Navy is a classic, gorgeous choice. We’ve used it in many different spaces throughout the years including our son’s room; the only thing that didn’t change when he left for college! Your style and blog have been a consistent source of joy and inspiration. Wishing you an amazing 2019!
General Finishes Arm-R-Seal oil based top coat in Satin is the best finish coat I’ve used. It was recommended to me by a cabinet maker. Super easy to use as it wipes on, no brush stroke marks.
Can you share what type paint you use for these type projects… I just ordered the sprayer you recommend but now I need to know what type paint. Thanks in advance for sharing.
Hi! I don’t buy anything unusual. You can use any paint you want. Just be sure to thin it. The instruction book will tell you how much water to add and how to test the consistency.
I love your dresser rehab!! Did you prime the dresser prior to painting?
Thank you. We did not prime it but we did sand it down prior to painting.
Beautiful! General Finishes High Performance Flat is a wonderful topcoat.