Good morning. Today I am sharing how to create a custom coat closet. This is a quick project that transformed how we use this storage closet. I’ll share the materials we used as well as why we made certain decisions. If you are comfortable cutting wood and have a nail gun, this is an easy project you can knock out in a few hours.
OUR NEW COAT CLOSET
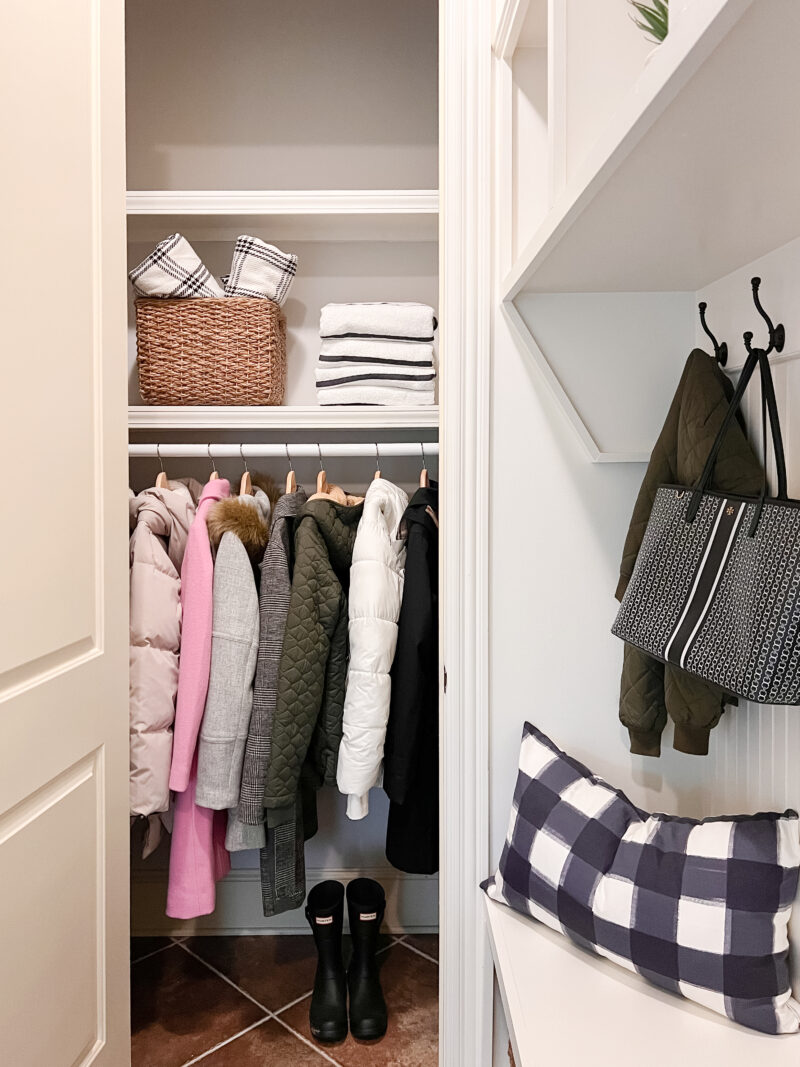
The new closet isn’t anything fancy, but it is efficient and provides us with so much useable storage space. Two shelves and a hanging rod took this from a dumping ground to a functioning coat closet.
THE BEFORE
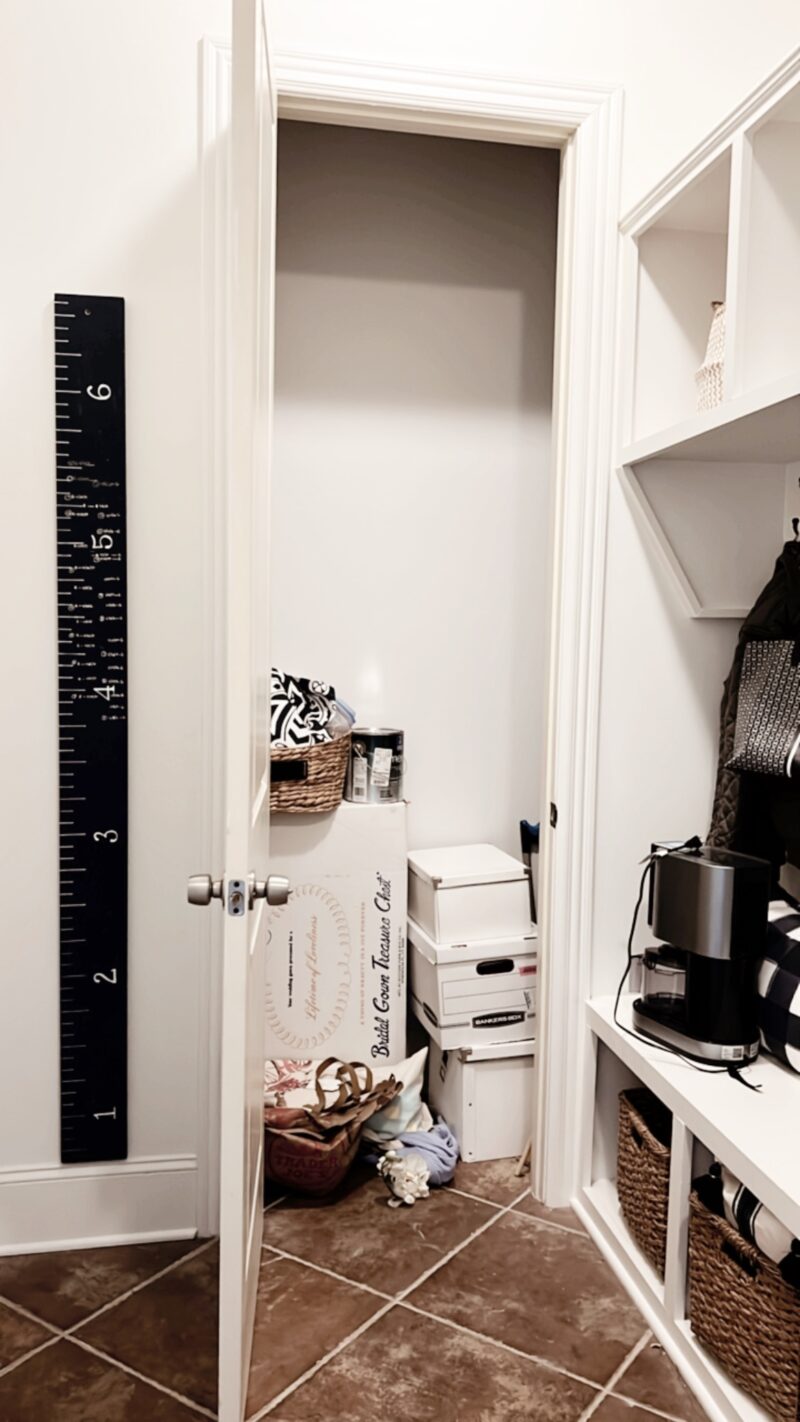
Lovely, right? So let me back up with why we tackled this to begin with. Most of you know we are in the middle of a huge basement renovation. This mudroom is in between our garage and our basement. Because we will be installing new flooring, we decided to take that flooring into the mudroom. That means we need to rip up the tile which means the closet needs to be emptied.
When I opened the door the other day it was painfully obvious we could do better. We literally threw things in here after we moved that didn’t have another home (including my wedding dress). It’s also the spot we toss the giant pack of TP after Costco trips. After seeing this closet, I said to my husband, “I have an idea!” His response, “No thank you!”
But after I explained my idea and how I thought we could knock it out quickly, he was on board. And now that it’s done, he is very thankful we tackled it. It took a couple of hours over the course of two days so all in all very little time.
THE PROCESS
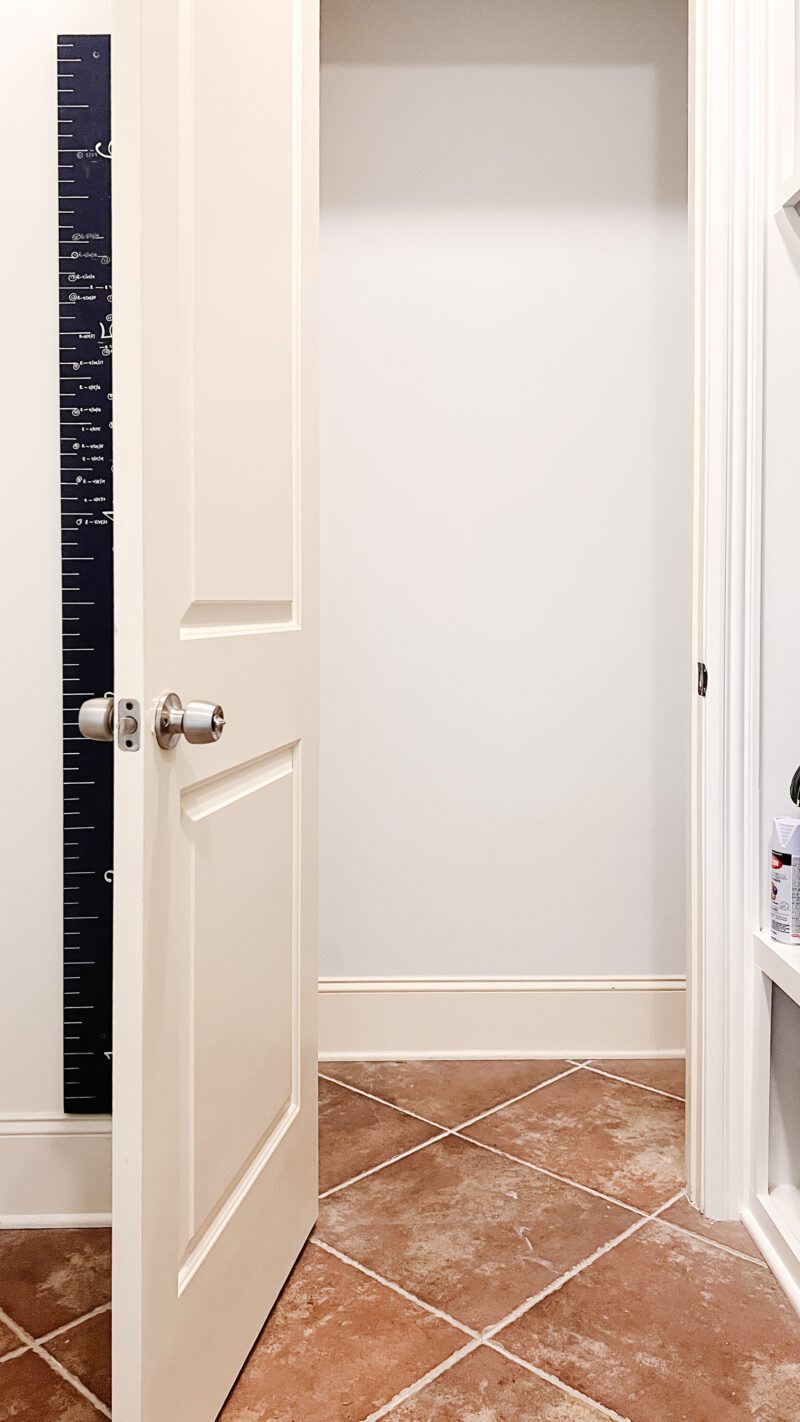
First up was clearing it out (my job). While I still don’t know where I am putting my wedding dress, everything else was super easy to deal with. It either belonged somewhere else or wasn’t something we needed to hold onto. For reference, our closet is 72″ wide and 120″ high which is quite generous. The goal was to make this a true coat closet so we could gather all of the coats (mostly mine) and add shelves to make use of the height.
SUPPLIES WE USED
- heavy duty rod
- heavy duty rod socket
- 2 pieces of trim
- 1 x 2 (2) 1 x 3 (4)
- 1 x 12 (2) – common board
- measuring tape
- drill
- level and pencil
- nail gun and nails
- saw to cut the wood
- metal hack saw or pipe cutter to trim the rod
- air compressor
- pin nailer (for nailing in the final trim pieces)
- tape and paint (we used what we already had)
Total cost of project: $140
Step 1: Determine where want everything. I knew I wanted the rod lower than standard height to make better use of the closet. So many times there is too much room left under the rod and the top portion of the closet is unreachable. Mark where the rod and shelves will be placed.
TIP: Get out your longest coat and see where the rod needs to be. We have a trench coat that belonged to my dad so we used that to measure where the rod placement should be. Also think about what you are storing on the shelves. I knew I wanted to stack two 6 packs of TP on top of one another on the bottom shelf so I measured accordingly.
TIP: The shelf should be about 3 1/2″ inches above the rod placement so you have room to put the hanger on it.
The level is your best friend with this project. Use it every step of the way.
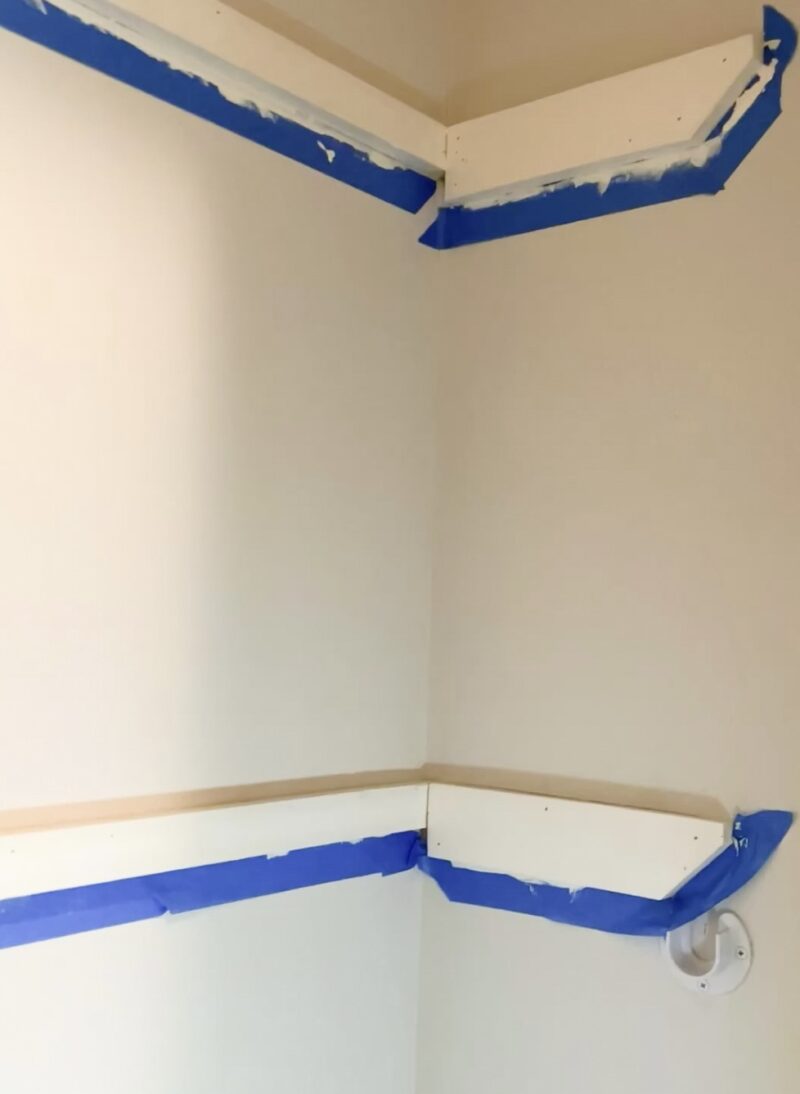
Step 2: Cut the support pieces and nail them to the wall (using a level).
Step 3: Cut the shelves and trim to size (remember walls are uneven so measure for each one).
Step 4: Drill the rod sockets into the wall.
Step 5: Tape off the supports. Paint supports, trim pieces and shelves. Allow to dry overnight (I did two coats on everything).
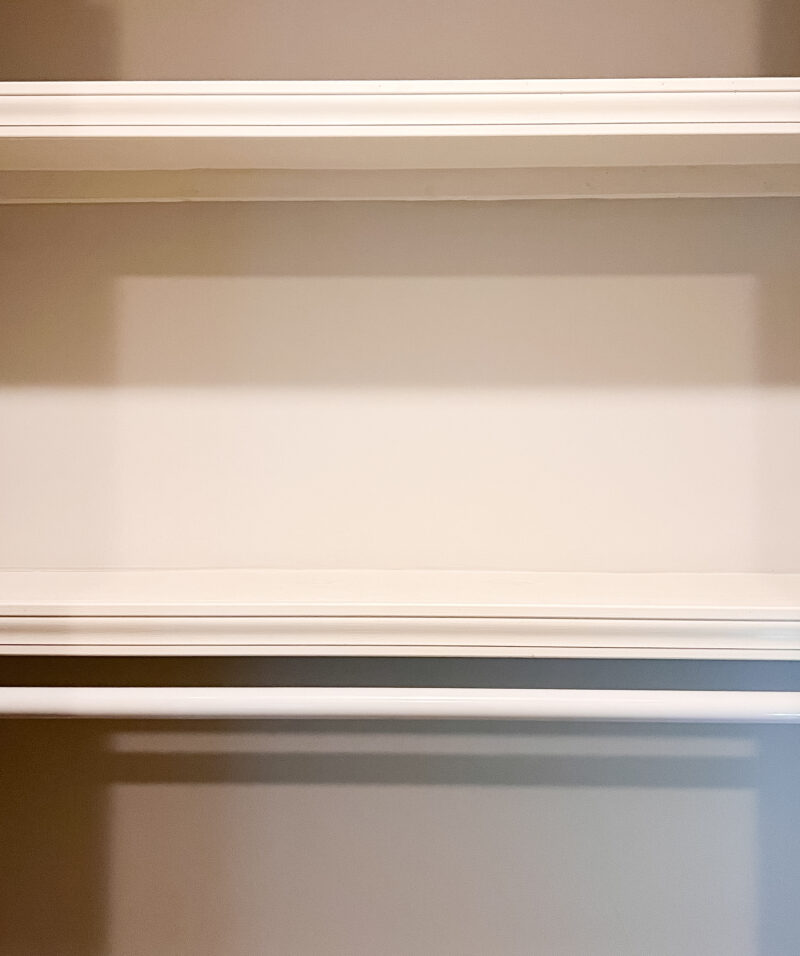
Something to note. Our closet is not very deep so we could not hide the rod with the trim. It needed to come forward more to allow the hanger to fit. If you have a deeper closet, aesthetically, you can mount that rod under the trim and farther back (just be sure you have room to get the hanger on the rod).
Step 6: The next day, place shelves on the supports (nail gun to secure).
Step 7: If you have a pin nail gun, switch to that for the trim (holes will be tiny and easier to hide with just paint). Touch up with paint once installed.
Step 8: Trim the rod to size and insert. Done!
*I painted everything Alabaster by Sherwin Williams to match the door trim and built ins. Much easier than painting the entire closet.
Our specifications:
- distance from floor to bottom of the rod: 57″
- distance between bottom of top trim piece to bottom shelf: 19″
- distance from bottom of lower shelf to the top of the rod: 3 1/2″
SO MUCH STORAGE
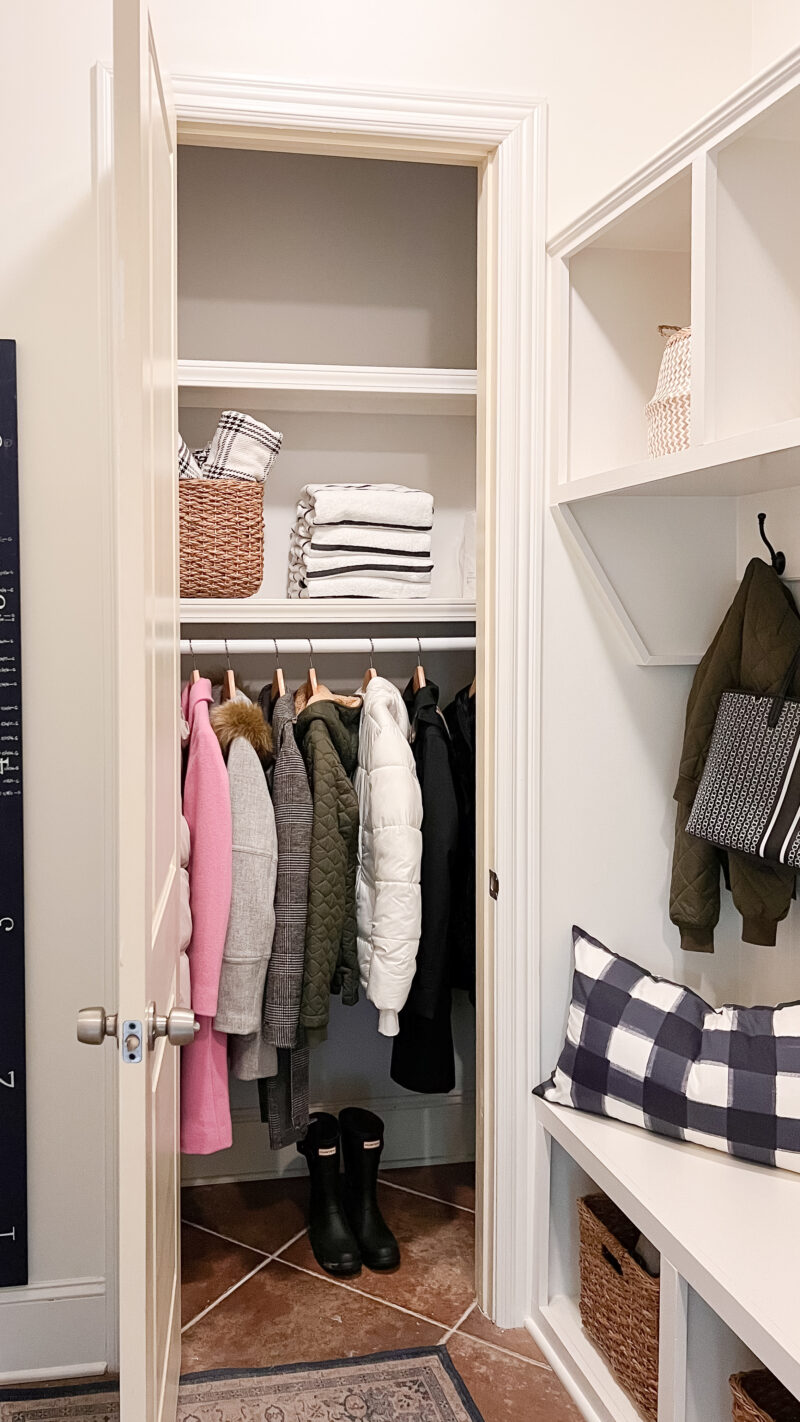
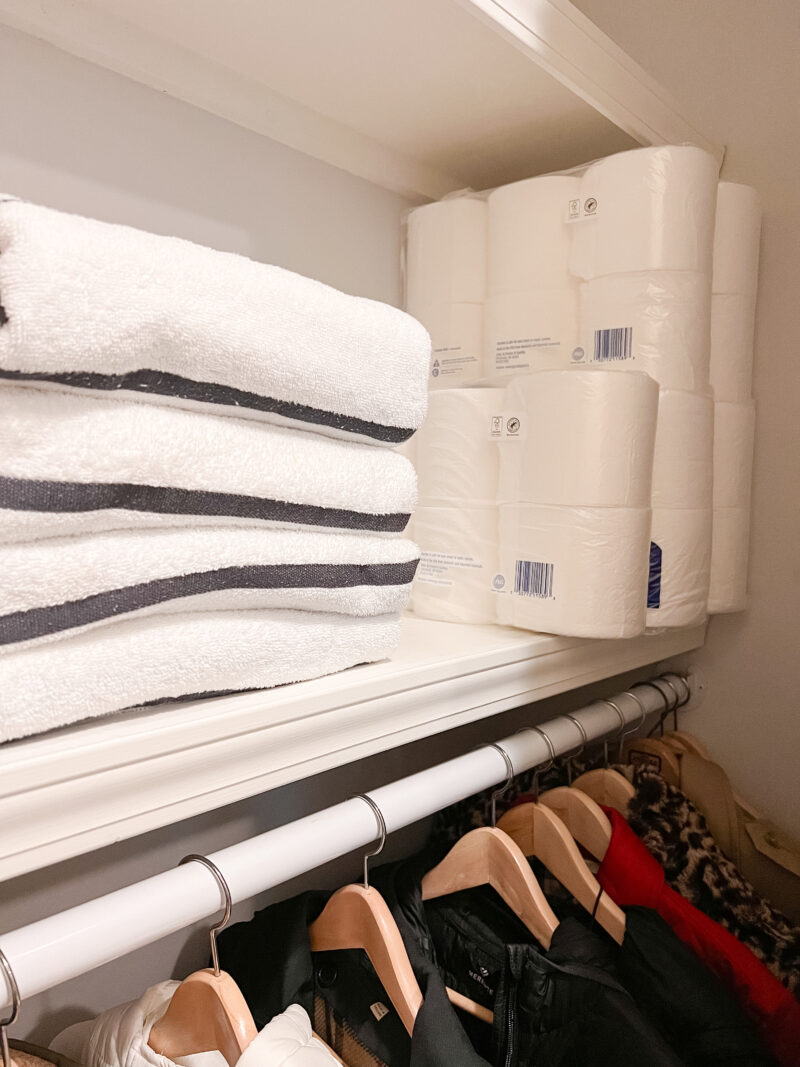
This has provided us with so much storage. Not only does it hold all of our coats (so deep on each side), but the infamous Costco TP pack is to the right of the towels and out of sight. But so easy to grab.
Hanging the rod lower allowed us to install two shelves that we can easily reach without a step stool. Plus we don’t have three or four feet of wasted space under the coats.
I’ve also learned I don’t need any more coats. There’s that.
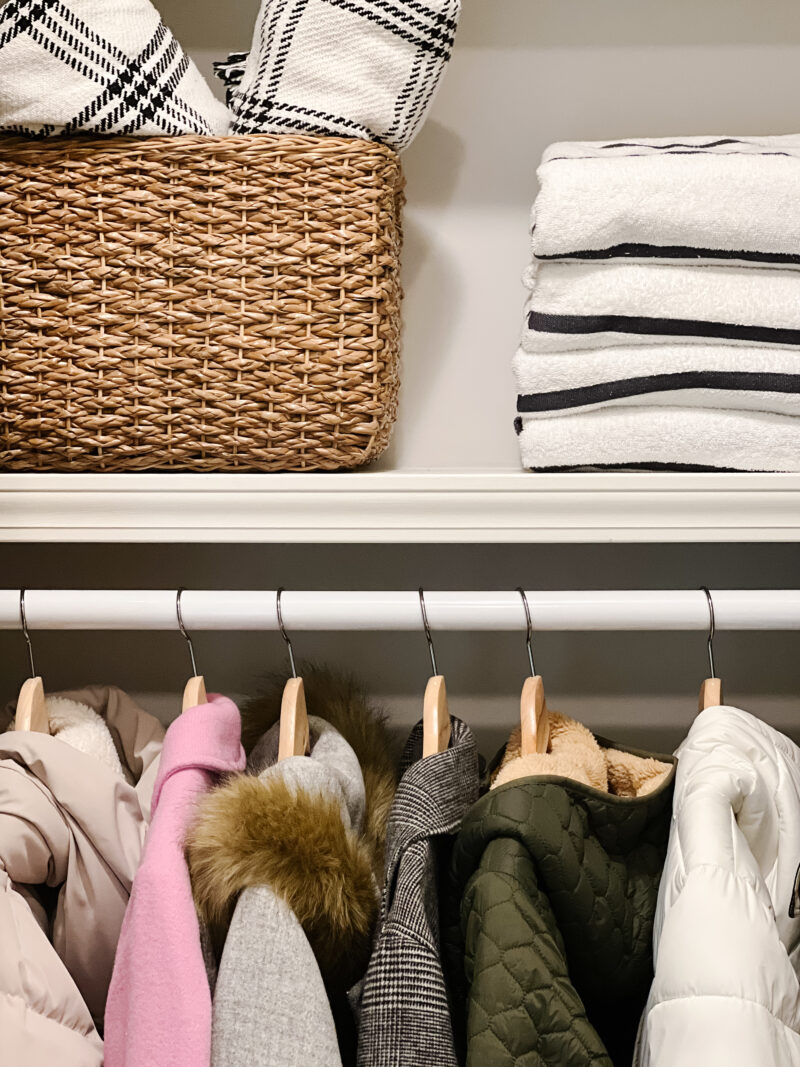
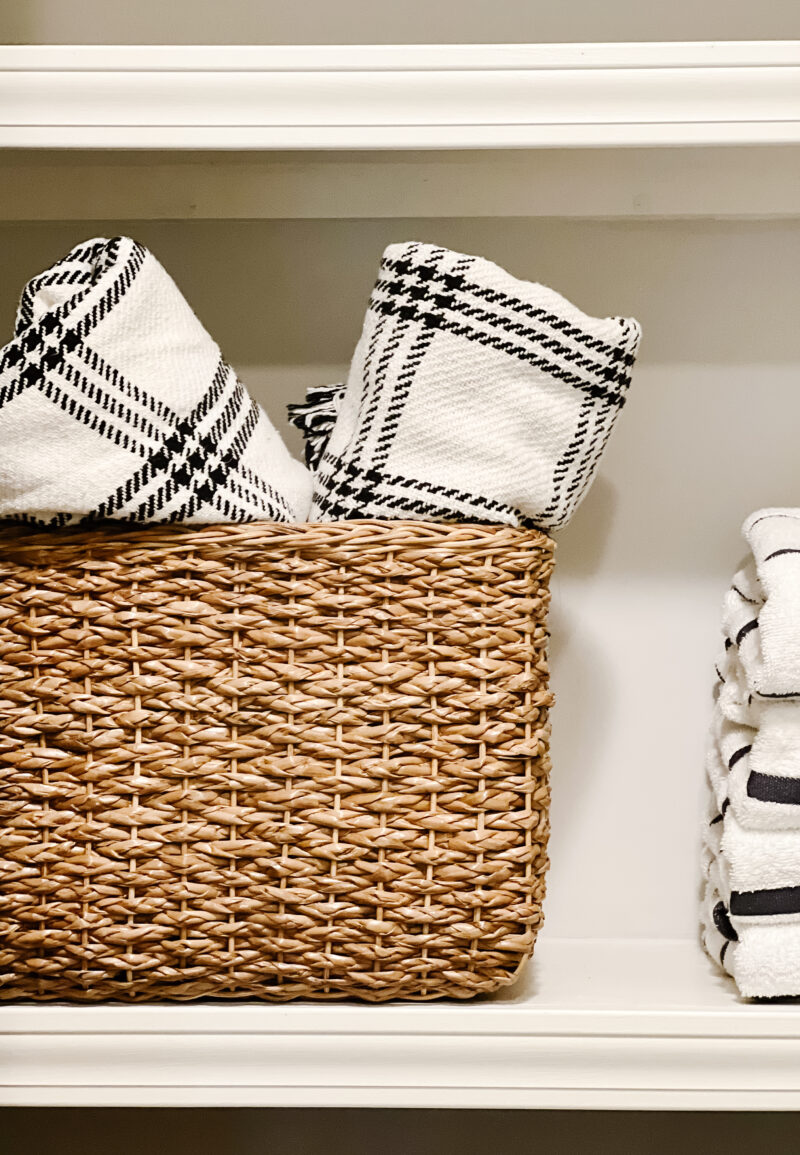
These plaid throws are what we use when we head out to our fire pit. Nice to have them in one spot. And the striped towels are for the hot tub. Now I don’t have to hear, “Where are the towels?” when my daughter and her friends go to use it.
Now we can proceed with taking the tile out of this space and keep the basement project rolling. I hope this is helpful if you are looking to add more efficient storage to a closet. More closet inspiration below:
Thank you. I don’t have a coat closet, but I have a cleaning closet that I need to leave room for vacuum and shampooer (cats) You gave me great ideas, but I just love anything you post.
You never have enough coats in my Canadian opinion. For every 10 degrees up or down you need a different coat. That means in my Saskatchewan Canada climate I should have 7-8 coats, which I do.
The closet is perfect for your needs and that’s all that matters.