First and foremost, I was seriously so touched by all of the supportive and thoughtful comments left on my last post about our upcoming move. I am still writing back to some of you but can’t thank you enough. Every comment meant so much to my family and me. Turning to a little DIY. I recently shared how a table makeover turned out over on Instagram and so many of you wanted a tutorial. Let me preface this by saying I am no furniture expert and I am sure there are techniques I should have tried. But I really am thrilled with the results so I will pass along any tips I can. As I mentioned, this table was one of the very first purchases my husband and I made after we got married. It has a history with us and I like to hold onto pieces like that.
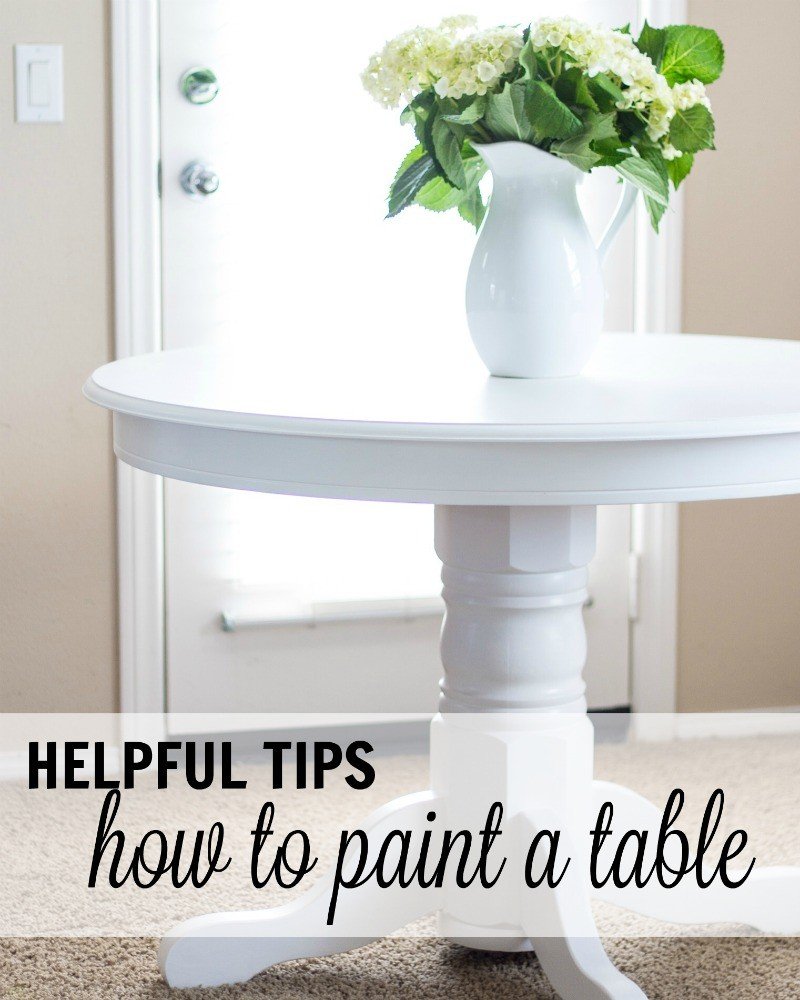
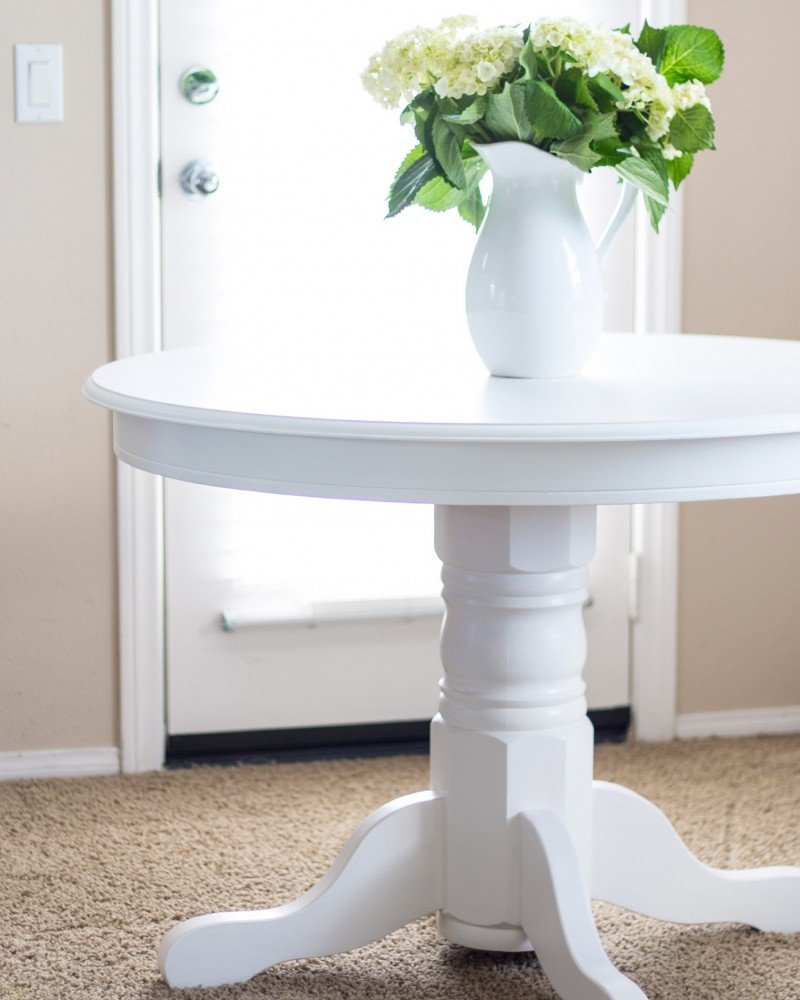
This new version of our table will likely be our breakfast table in our new home. The bright white coat of paint gave it new life and it was really super simple to do.
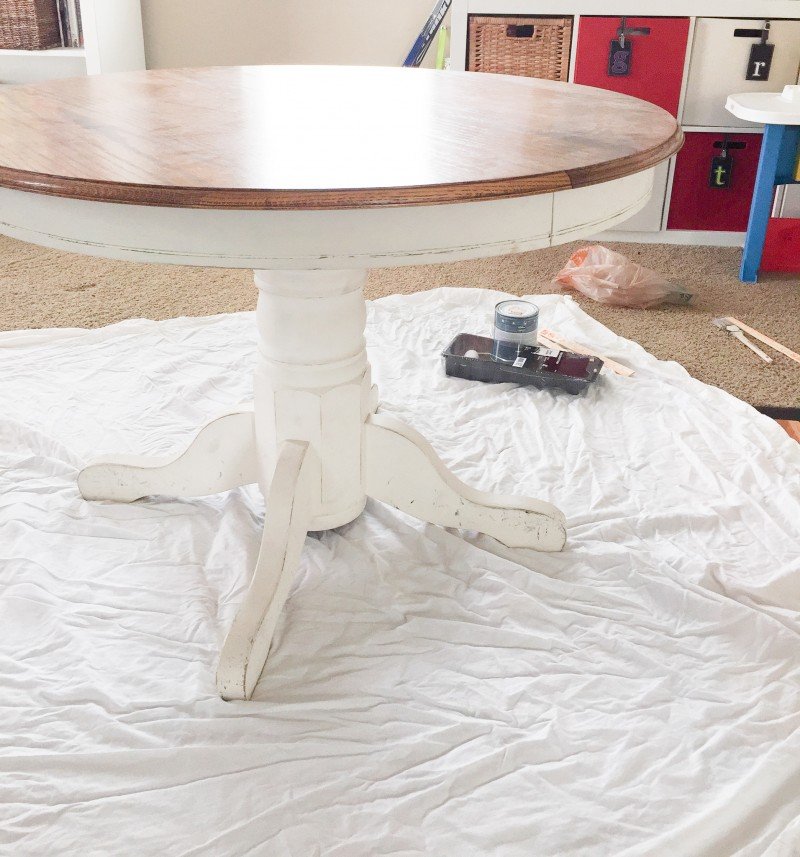
When we first bought this from a consignment store, years ago, I painted the base an antique white and sanded it a bit. The legs have taken years of abuse from metal chairs the kids use in the bonus room. So was time for a little TLC.
STEP #1: CLEAN THE TABLE
While this might seem obvious, I have definitely jumped into projects in haste only to find that the piece wasn’t perfectly clean. I recommend cleaning it with a damp warm cloth and allowing the piece to fully dry for a couple of hours. You don’t want any dust or debris on the table. I did not sand any of this table.
STEP #2: USE THE RIGHT SUPPLIES
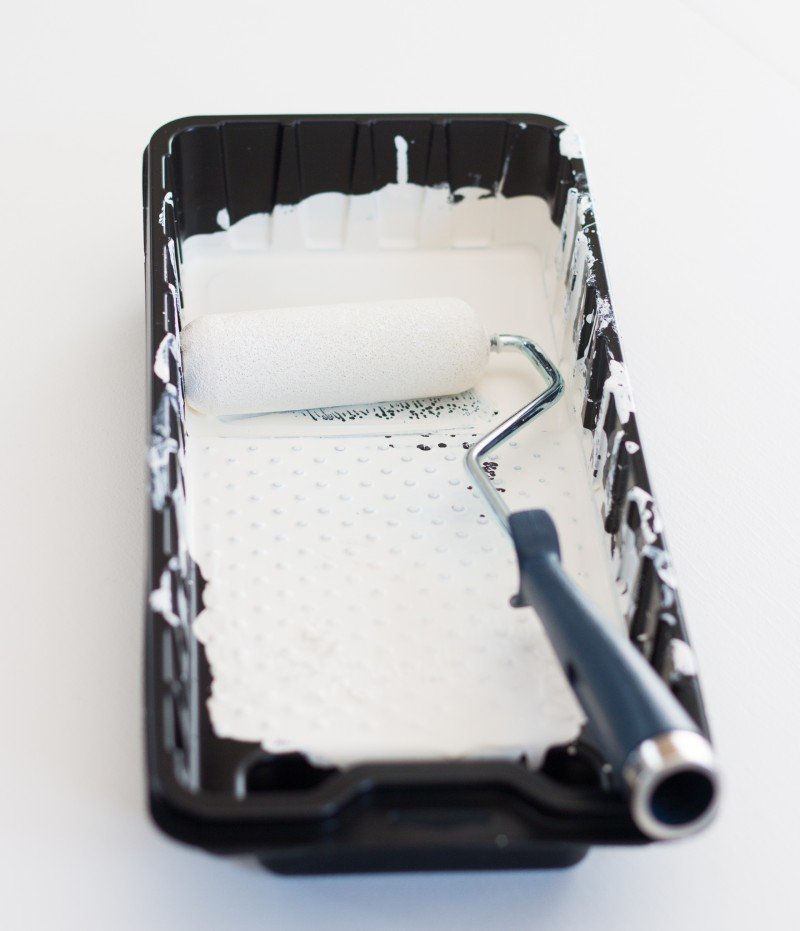
I chose to use Clear Moon by Behr. It’s a white paint color I truly love. I painted both children’s rooms in that white. It’s a beautiful true warm white. No undertones of any other color at all. The sponge roller is the secret weapon to a smooth finish. You can pick up this little roller/tray set at your local hardware store for under $10. My advice is to place your piece of furniture where it can be out-of-the-way of little ones or activity for a few days.
STEP #3: APPLY 4-5 LIGHT COATS OF PAINT
Yes! I did say 4-5 coats of paint. Here is the deal. For a piece to turn out nice and smooth and well done, you need to take your time. Back in my early DIY days I would have busted out this table during nap time and then been super disappointed in the results. The key is patience and very light coats. The roller brush works wonders and rest assured that even though the first couple of coats look thin and awful, they will eventually look just like this table. I allowed each coat to dry for at least two hours. For the parts of the table that were not easily accessible with the roller, I used a brush. I painted the table over the course of a few days adding a coat when I had the time.
STEP #4: SEAL THE TABLE
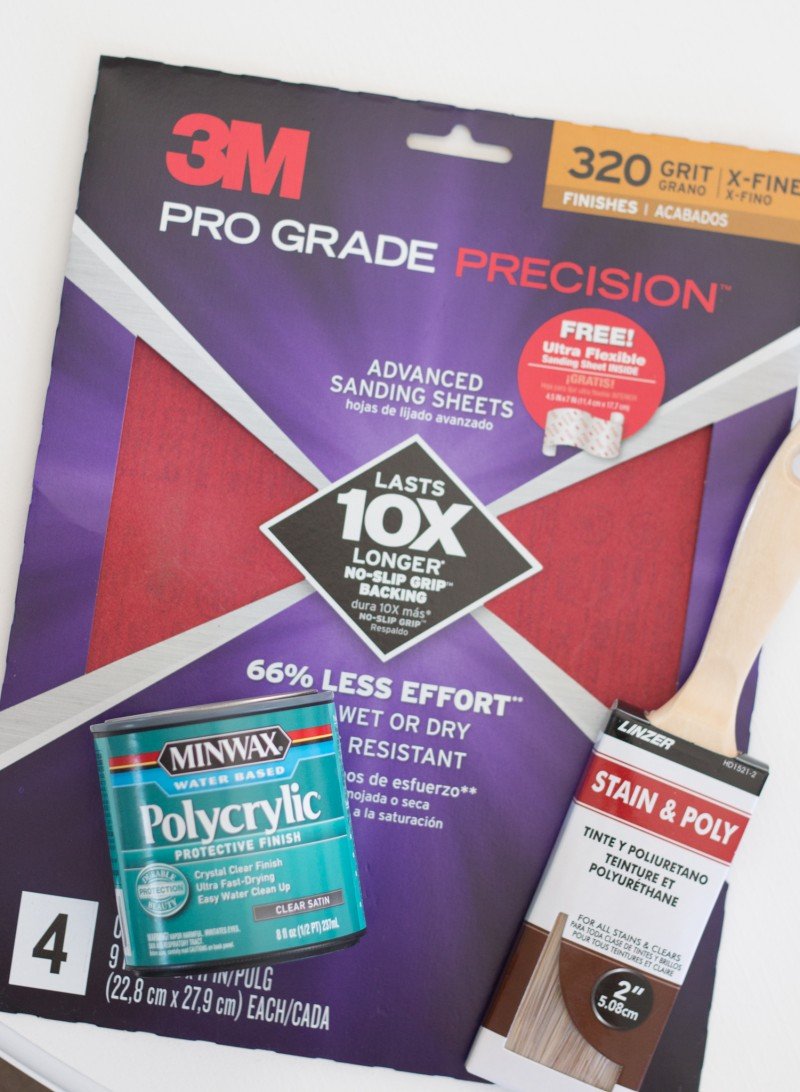
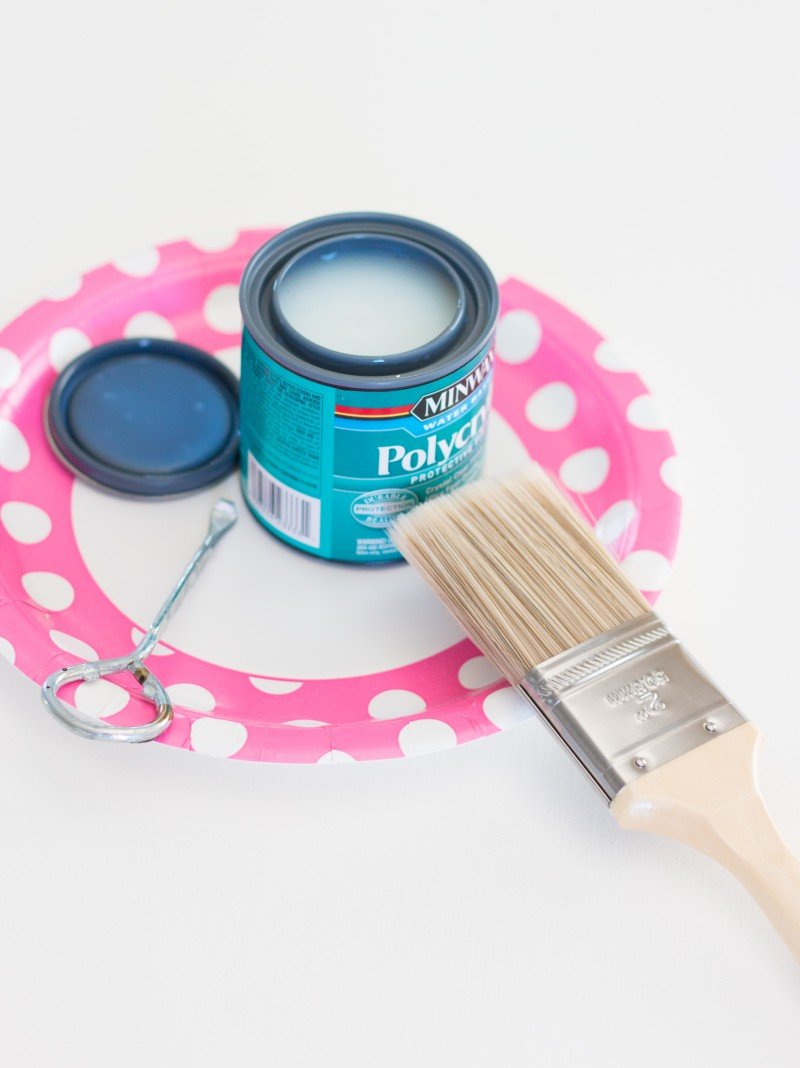
Because this will be a table we use daily, I wanted to seal it with a water based polycrylic. This dried crystal clear so there will be no discoloring of the table. The directions recommend three coats with a drying time of two hours in between each coat.
It is vital that you apply this in the same direction as the grain of the wood and apply only a very thin coat. Otherwise it will drip and dry unevenly. After two hours of drying time, I used an extra fine sandpaper to lightly sand the table. This is recommend so that the next coat will adhere correctly. Use a synthetic brush for this type of sealer.
And that’s it my friends. I hope some of these tips helped. It really was quite easy. It’s more about thin coats and patience with drying time more than anything else. Let me know if you tackle a piece and how it goes.
And for those of you who love the look of a white pedestal table but want nothing to do with a DIY project, you can score one here!
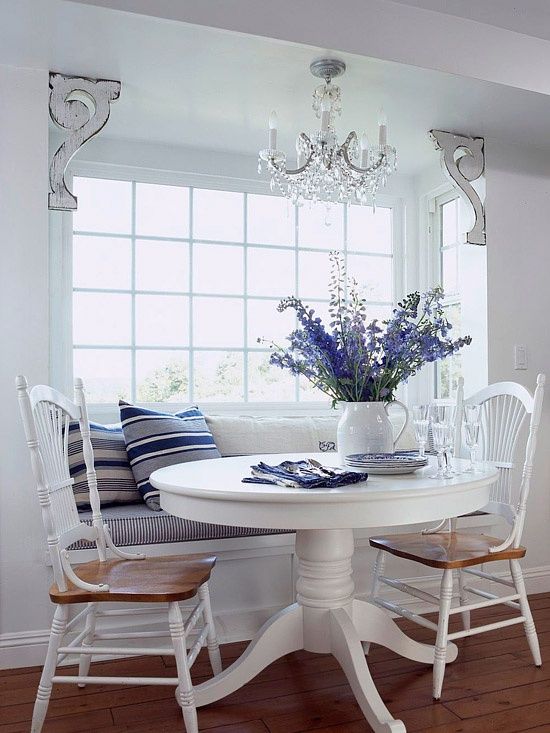
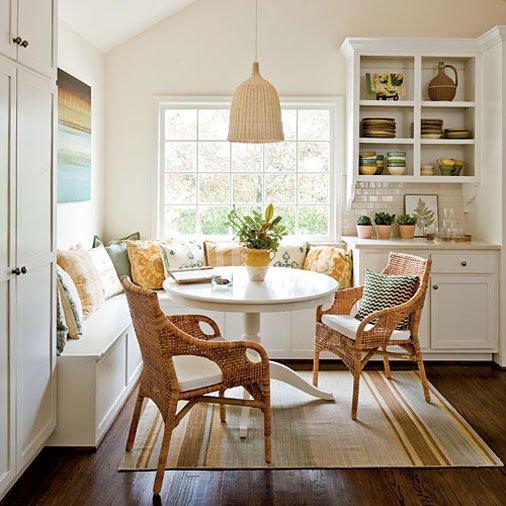
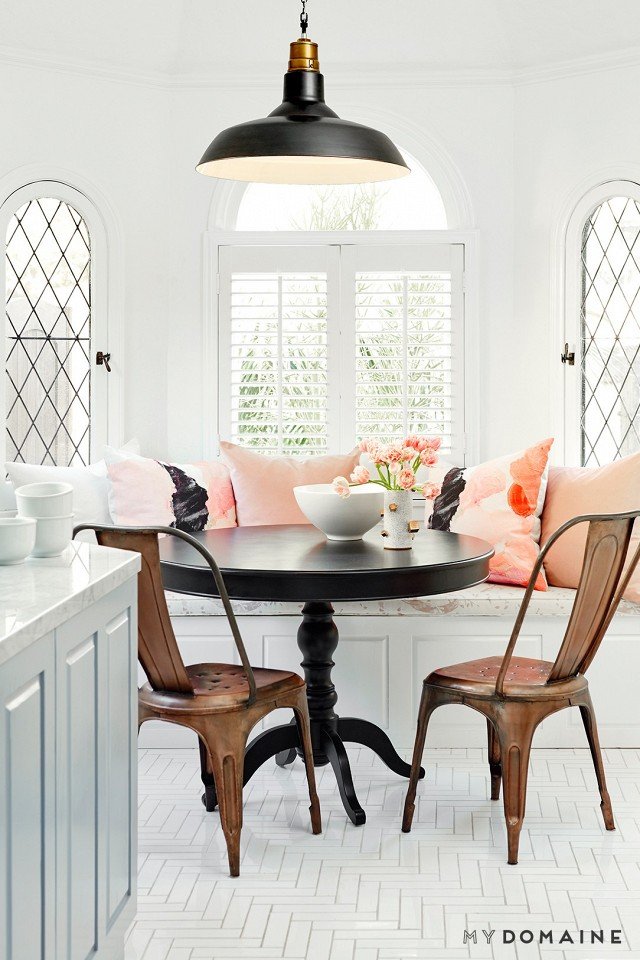
And I have to leave you with a little bit of inspiration. How beautiful are these spaces. Timeless, indeed.
Wishing you all a great day.
Hi Courtney I didn’t get to comment on your last post. Congratulations on the house I can’t wait to see you work your magic in each and every room. The table came out beautiful!!!
I love how the table turned out. It will be perfect in your new breakfast room. I love how it holds special memories for you. What I meant about you can take them with you!!
This post was so timely – I am looking to repaint a tv stand/hutch. Just to confirm, no primer is required prior to applying the paint? The table looks wonderful! TIA
Oh! So perfect! We just picked up a round, wood coffee table from a thrift store in San Clemente on a “date weekend” love the shape yet hate the color, so I am thrilled you posted this.
Yes, I too, would have rushed through this so thank you for the tips of going slowly;)
Blessings on your new home. It looks amazing! Many many blessings on the years ahead.
XO
What a great job you did. I had a similar cream table ready for the curb and his post has inspired me to bring it back inside for a paint job! Question-what did you do with your roller in between coats? New roller each time or did you just wrap it in Saran Wrap?
Hi. Looks great. I have a pedestal table from pottery barn that I love but it has taken a beating. It is mahogany veneer. Do you have any tips for what to do with furniture with veneer?
Gorgeous results! Would love one of these tables myself, just don’t think I have the space, sigh…..thanks for sharing on craft schooling Sunday!
Love! I always feel like I can’t get cheap/thrifted items since I don’t feel like I could pain or reface them well. Thanks for the tips! And thank you for sharing at the Share the Wealth Sunday party! We hope to see you again soon.
Wow, your table turned out beautifully. I love white, and I have a table that needs a makeover. What type of white paint did you use? Thanks for sharing on Sunday’s Best. Looking forward to seeing more of your posts.
This table turned out beautifully! I love the white paint. Thanks for the tips and for sharing your project at the Family Joy Blog Link Party this week!
Yay! I’m pinning this – we just got an older smaller table that I would like to paint. My husband is grumbling about it, so at least now we have an idea how to get it done. Thanks!
I love giving a piece of furniture new life with a fresh coat of a paint. These are great tips! Pinned for future reference and sharing. Thank you for linking up at Family Joy Blog Link-Up Party this week. We hope to see you back again starting Sunday at 12 EST.
Absolutely love how the table turned out! I so want to dive into the restoring furniture and make them pretty again! These tips a so useful and pretty much logical. sometimes we want to see results right away and we rush it. Doing it with patience seems the way to go!
Thank you!
I helped my daughter paint a table set but, now I have one to do. Great tips. Thanks for joining us at the Inspiration Spotlight party. Shared.
The bright white gives the table a totally different look than the previous colors (although I love it painted both ways.) Thanks for sharing the painting tips and your project at the #HomeMattersParty