Good morning. We are excited to finally be sharing the direction for our powder room. This bathroom was once finished, but a whole house repipe, discontinued wallpaper, and a crooked sink have lead us to this point. We are thrilled to create a room that works well with our style. Because we are tackling it ourselves, it is definitely a process. But at long last, we are well on our way.
THE BACK STORY
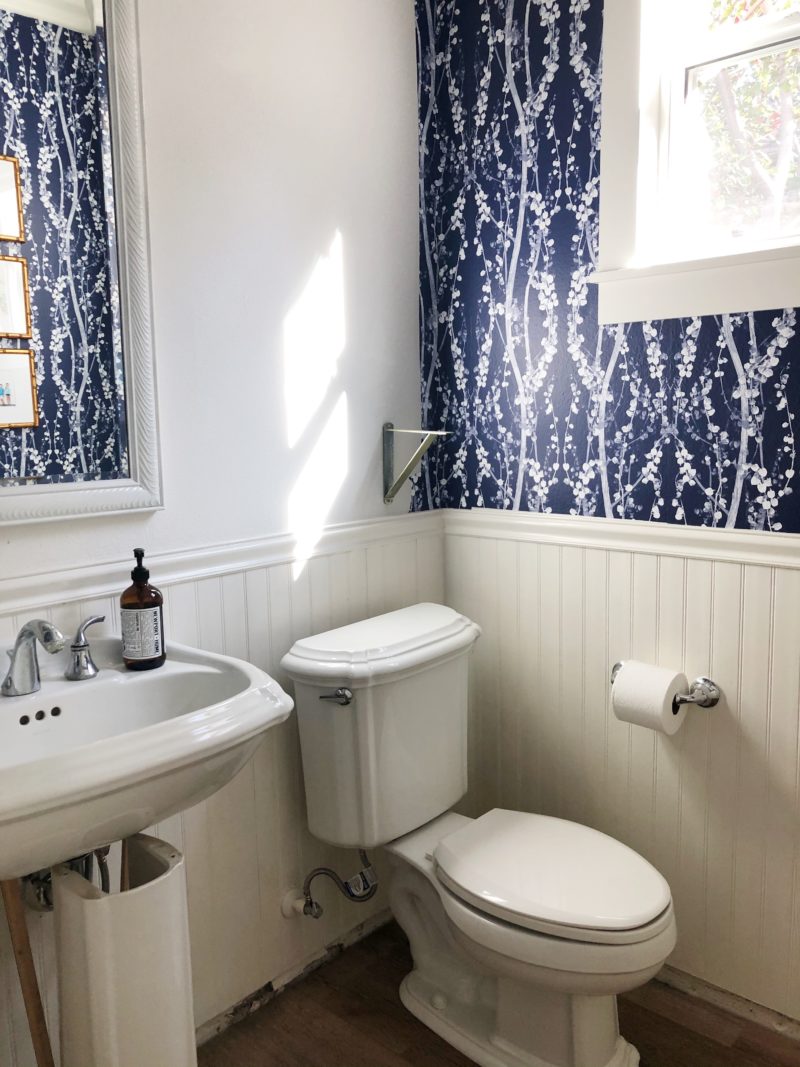
As a reminder, when we repiped our home, a large section of our wallpaper was removed. It’s one that they no longer carry. That was the beginning of this remodel journey.
MAJOR OBSTACLES
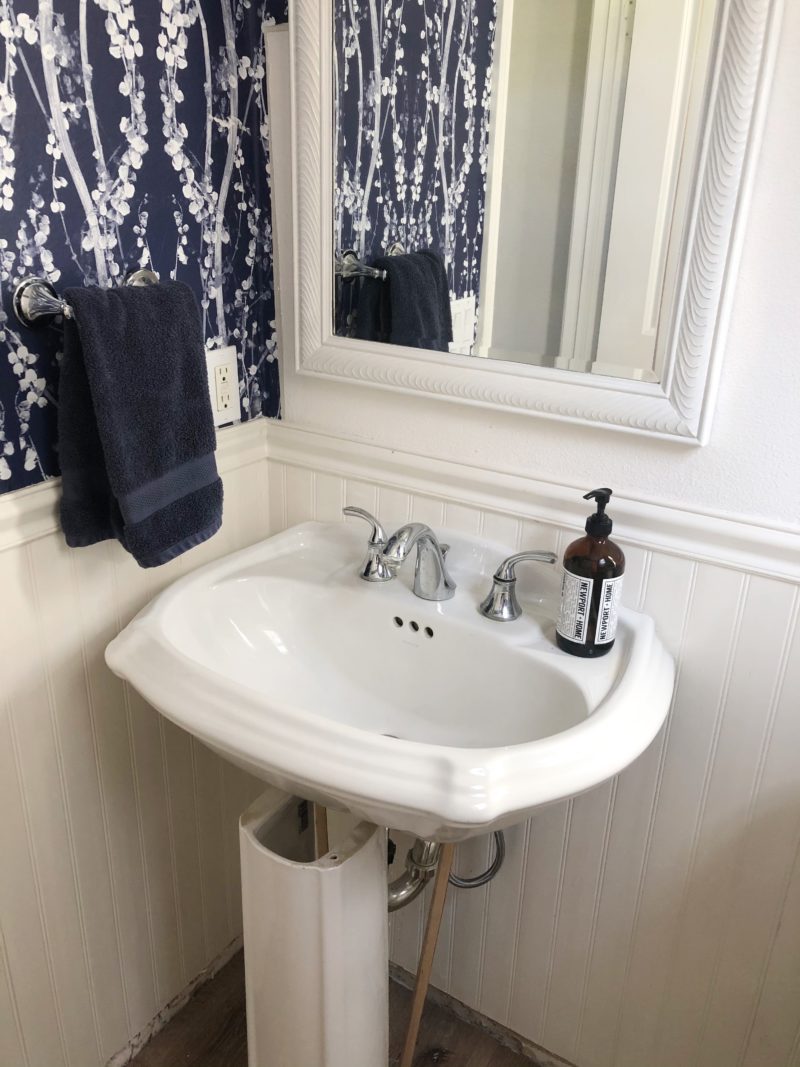
After our new floors were installed, the sink base was off by about 1/4″ which meant we could no longer have it sit correctly. This space was going down hill quickly. While we could have tried cutting down the sink stand (a risky move), we decided to take a breath and really evaluate this room. I’ve always wanted a vanity with a bit of storage and this was the time to make that happen.
After living it with like this for months we decided to renovate the powder room and make significant changes. My husband has been anxious to install wood paneling in place of the plastic beadboard. It’s been an adventure to say the least. Here is a look at the direction we are going.
THE DESIGN PLAN
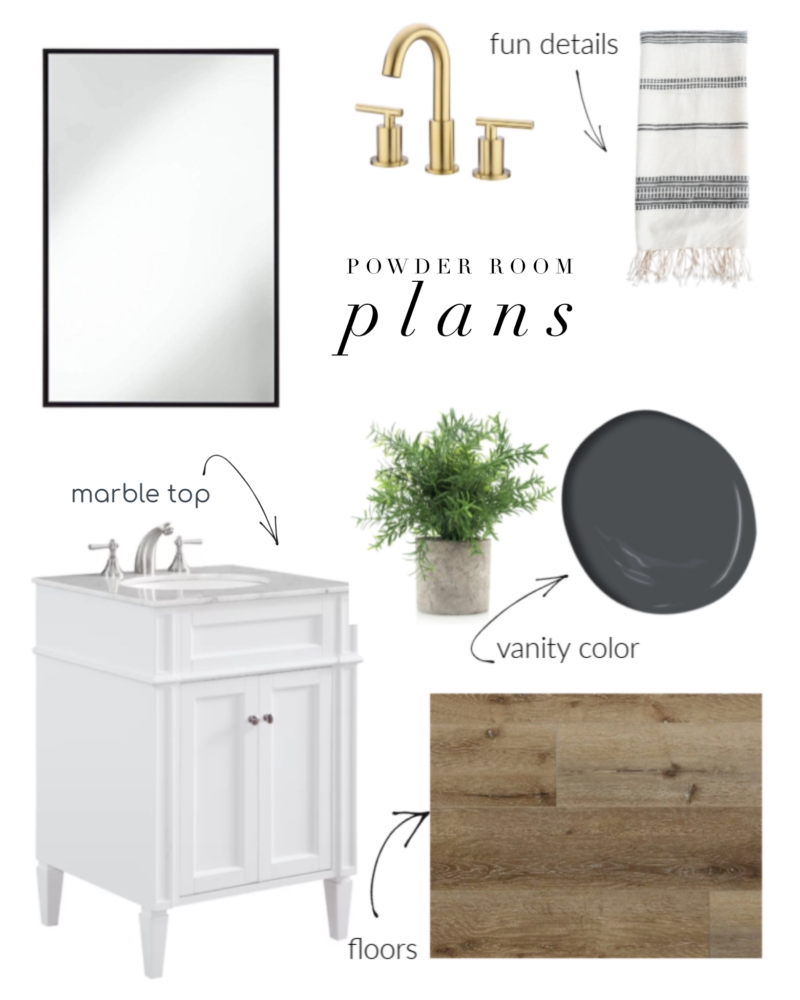
vanity | mirror | faucet | plant | hand towel
This is my favorite part of the process: creating the design. It keeps me focussed and excited for the final outcome. Choosing the finishes as well as shopping for the accent pieces helps me deal with the headaches in between. This space has seen plenty of them.
The walls will have white paneling and the vanity is now French Beret by Benjamin Moore. It’s a deep charcoal gray color. It has a touch of navy in it and is just a rich, beautiful color. I really like the way it plays off the color of our floors. I chose this brass faucet to add warmth and will hang a black mirror. I treated myself to this pretty hand towel from McGee and Co.
MAKING IT WORK
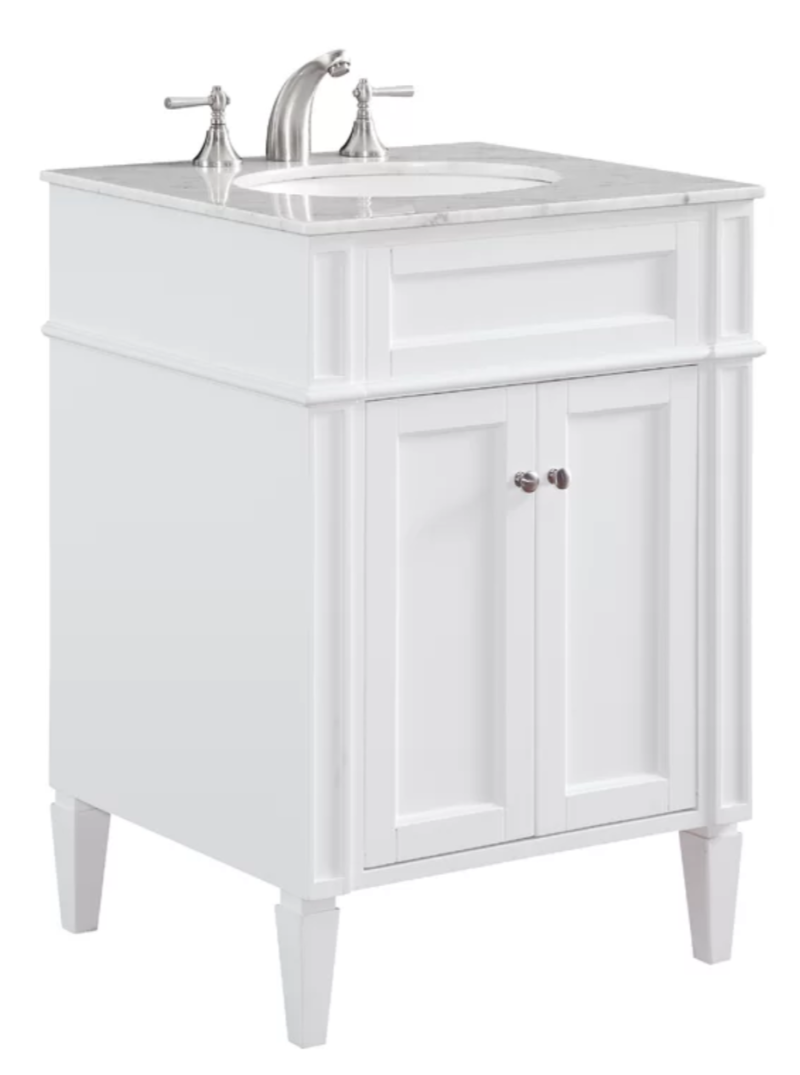
This is the vanity we chose. If you have followed our bathroom saga on my stories you know that this road has been a rough one. This vanity first arrived damaged. We were so bummed. But it was quickly replaced. Guess what? Also damaged. But instead of ditching both vanities, we ended up combining the two. Sounds crazy, I know. It was far too much work for my husband but in the end we have the vanity we wanted. And when you are talking about a very small powder room, there aren’t a ton of 24″ vanities to choose from.
Vanity A arrived with a cracked marble top and Vanity B arrived with a damaged cabinet. My husband put a great deal of sweat equity into separating them both from their tops. Vanity B top is now on Vanity A bottom. Are you still with me? I don’t blame you if you’re not. It’s been a process. The nice thing is that we were able to have it painted when the top was off of it.
FRESH NEW LOOK
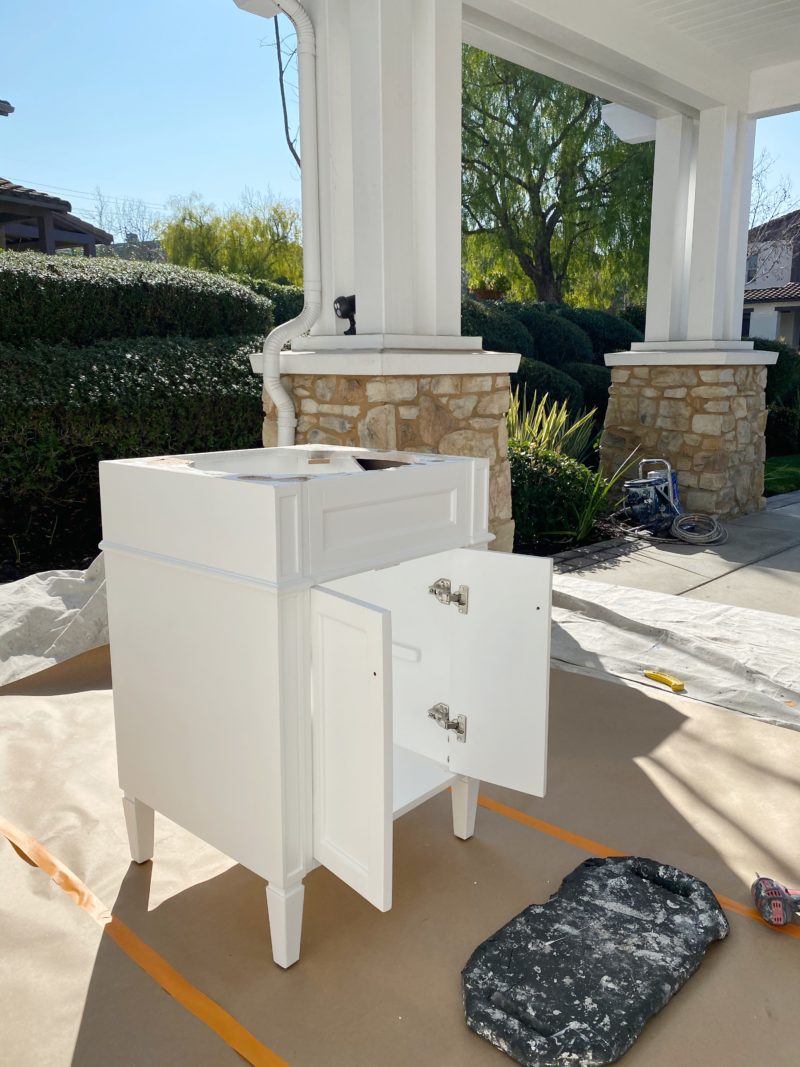
We did hire someone to paint the vanity. I knew I wanted it to be perfect and I wasn’t the girl for the job. When it takes a painter over an hour just to prep he has already done a far better job than me. This was money well spent.
SNEAK PEEK
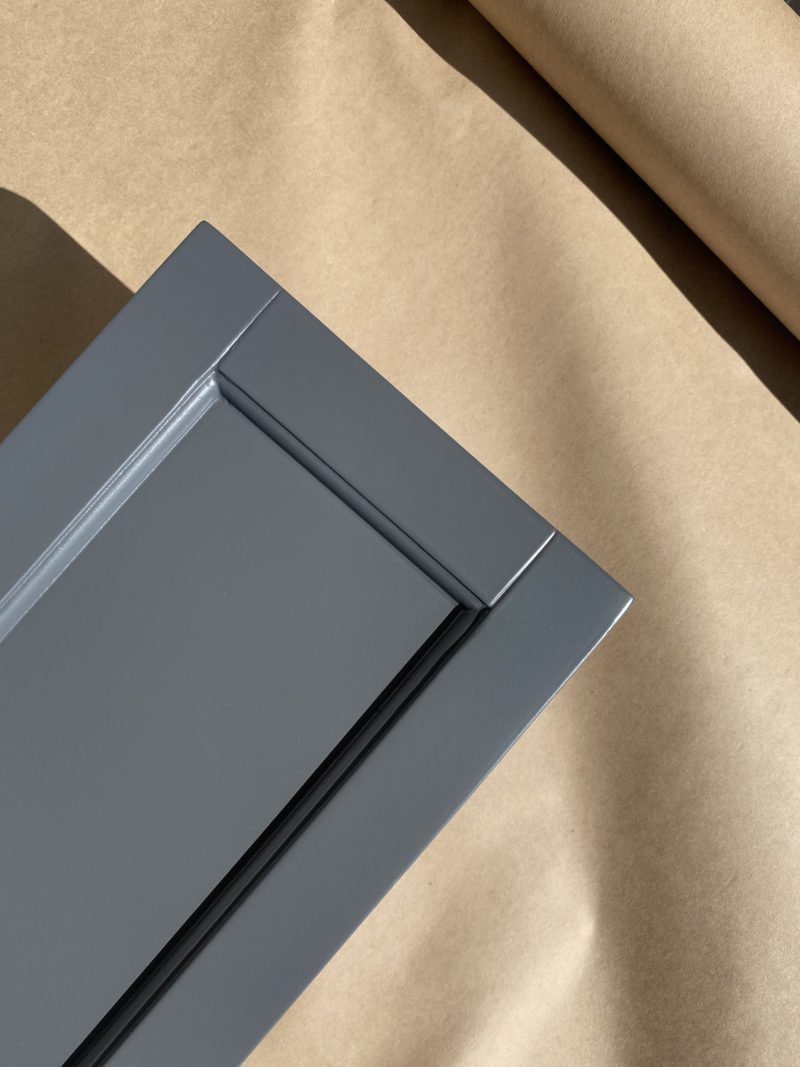
Flawless finish. I am beyond excited about the color. I think it will look so pretty against the new white paneling in the bathroom.
PLANNING IT OUT
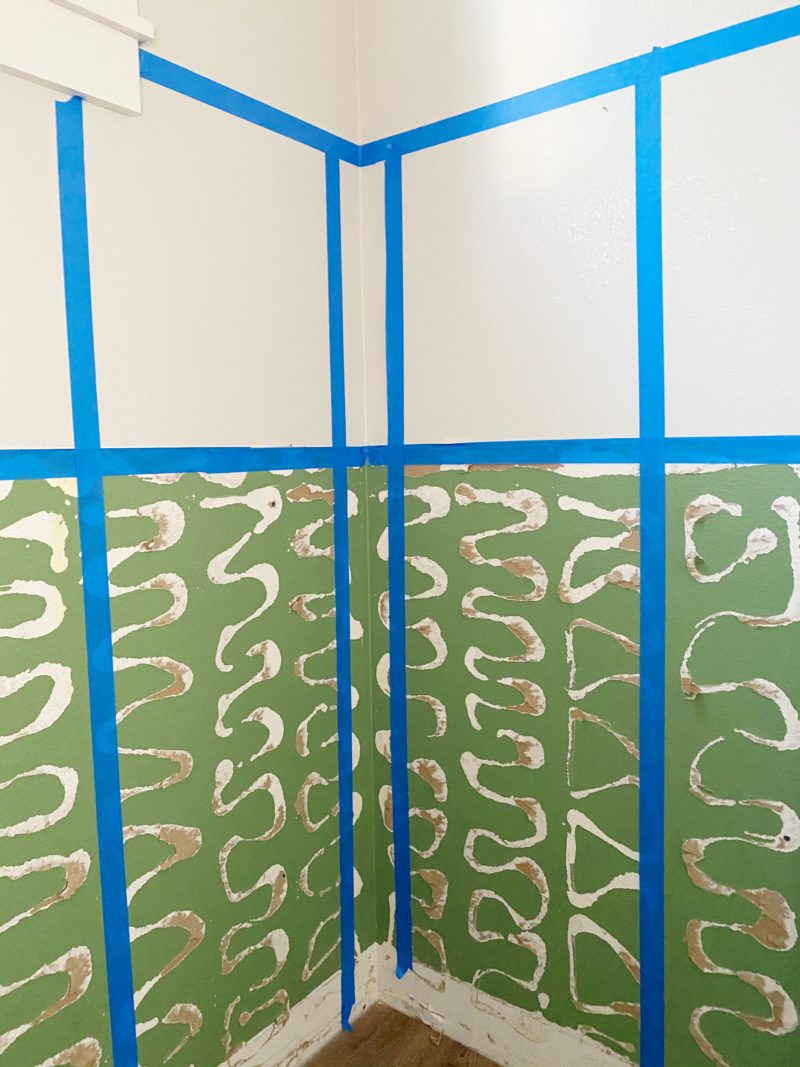
This was our first attempt at taping off the wood paneling. We decided to mimic the pretty woodwork that is in our entryway. Our entire downstairs is craftsman style and we love that look. Staying consistent was important to us. We will just take it up higher in the powder room.
Being the math nerd in the family my favorite part of any project is putting pencil to paper and figuring out all of the measurements. I highly recommend taping off your design. We have since moved these pieces of tape all around. It really is so helpful before you buy your supplies.
OUR INSPIRATION
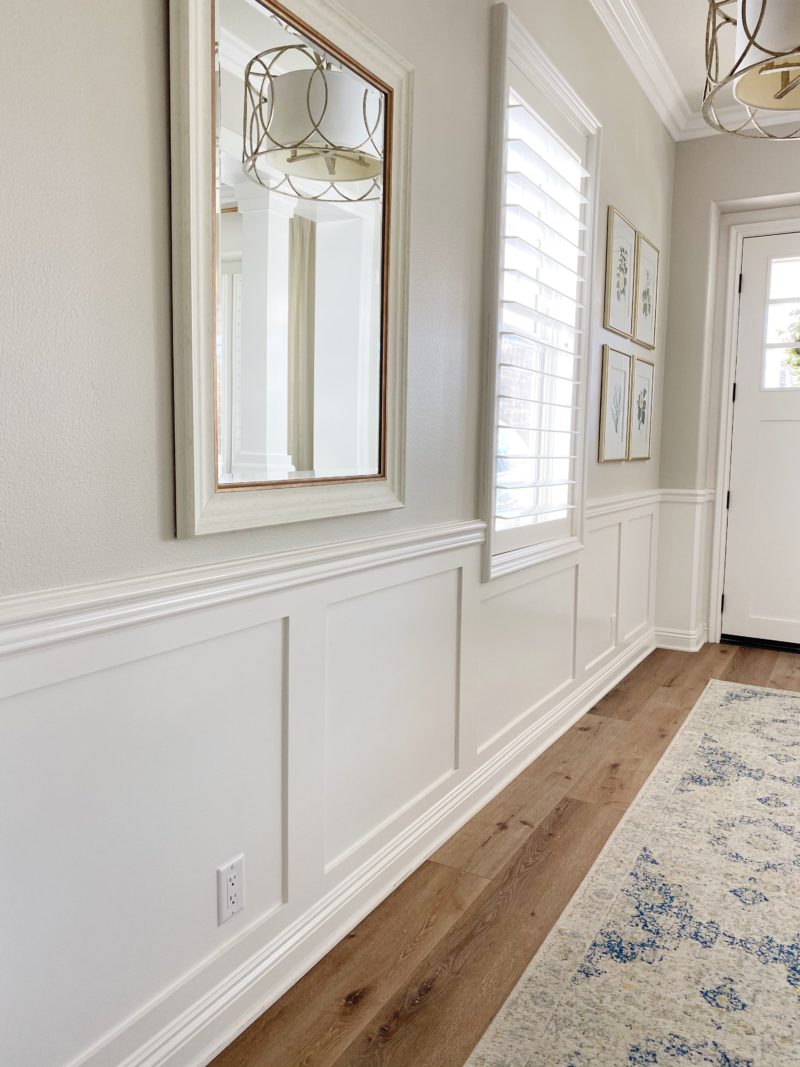
I actually called in two different wood working guys to give us an estimate. I asked them to recreate this look but taller. But when the estimate for a small powder bathroom was in the $3k range, I just couldn’t do it. And that’s before having it painted. It’s one thing if no one in the house is handy, but my husband is great at all of this. The issue has been finding the time. I wrote all about questions to ask when hiring our or tackling a DIY in this post. We really were so close to handing this project over but at the end of the day I did not want to part with that money when we can do it ourselves. So onward we go!
SEEING PROGRESS
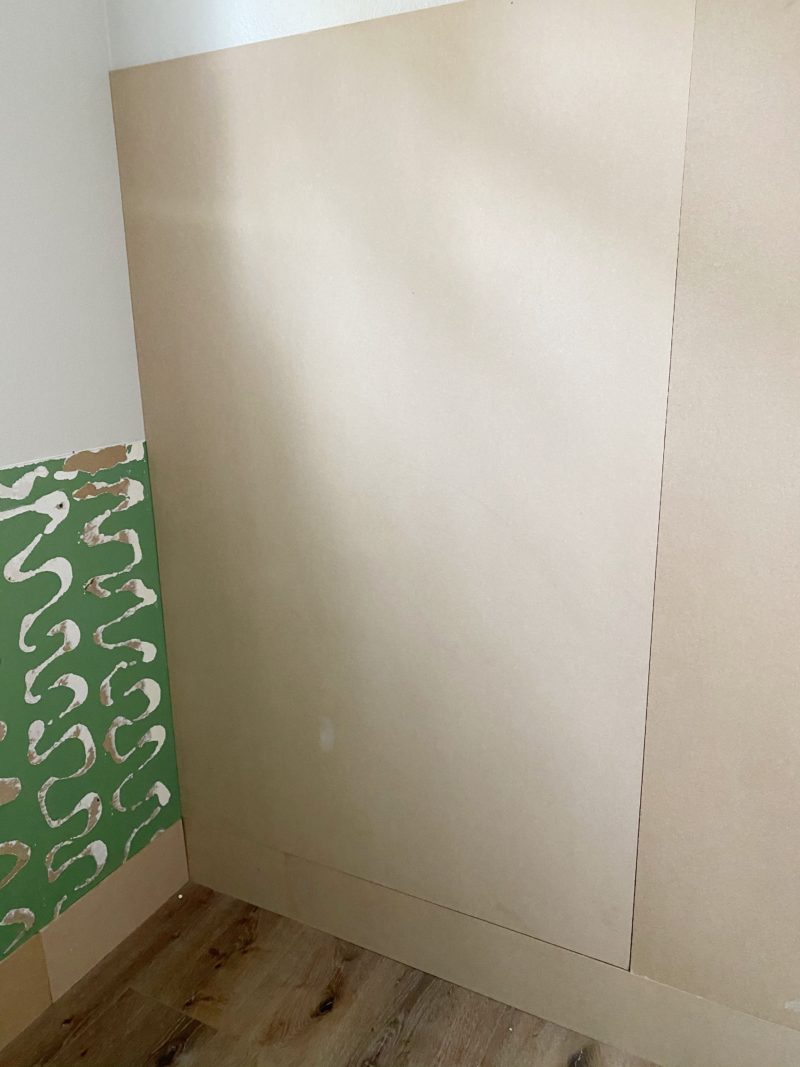
Progress! I see progress. So we have two walls of flat paneling up. Our Southern California walls are textured and need flat panels prior to putting up trim work. Otherwise it looks unfinished. We went with 1/4″ boards. While 1/8″ would be preferable, we were afraid that it might crack or that some of the walls may be uneven. That can cause issues down the road when you use thin paneling. Hoping to get a lot accomplished over the next couple of days so that we once again have a bathroom. I’ll be sharing more updates on my Instagram Stories.
Wishing you a wonderful day. Not sure about you, but Tuesday was not my favorite so here’s hoping this day begins on a better note.
Love the vanity paint color – may I ask what color it is? We are in the middle of redoing our master bath and looking for the right gray color. Thanks!
Hello! Thank you for sharing your bathroom adventures. I was wondering how did you go about finding a painter willing to do such a small job- painting the vanity cabinet? We have small projects from time to time but I worry that it won’t be worth the contractor’s time 🤷♀️.
Thanks!
-Emily